


用js写卡牌游戏(三)
废了又废话
上篇文章发了之后,有挺多朋友来注册线上地址的,受宠若惊。
然后看了看上篇文章的日期,6个月前,emmmm,为什么我这么懒。。。
开了一个交流群,532413727,大家有啥想问的想说的可以加群交流。
第三回(卡牌攻击)
接着上节所说,接下来制作卡牌的ui,首先创建一个component文件夹,在文件夹中创建我们的Card.vue,按照上一章我们的设计图:
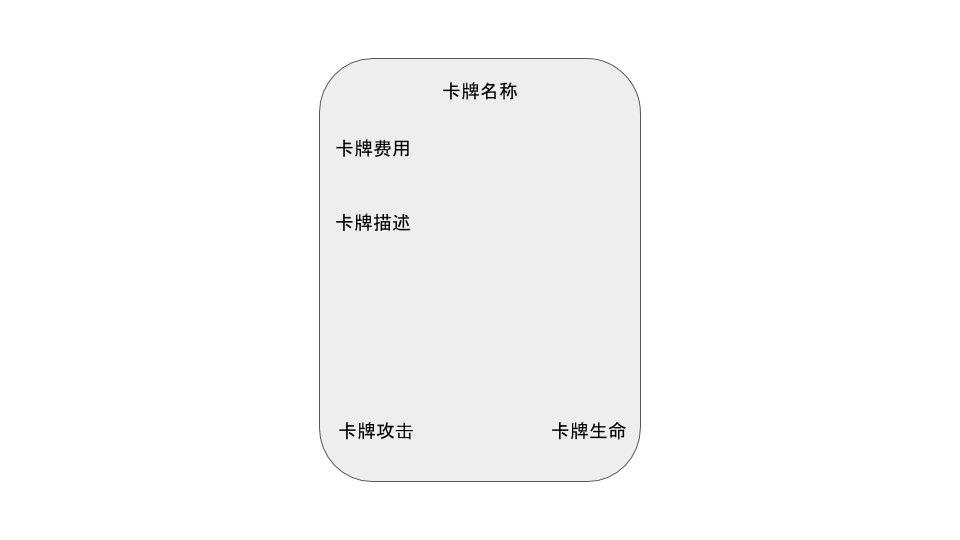
写出Card的简略dom如下:
<template>
    <div class="card">
        <div class="card-name">{{name}}</div>
        <div class="card-cost">
            {{cost}}
        </div>

        <div class="card-content">{{content}}</div>

        <div class="card-bottom">
            <div>
                <div class="attack">{{attack}}</div>
            </div>
            <div>
                <div class="life">{{life}}</div>
            </div>
        </div>
    </div>
</template>

<script>
export default {
    name: "Card",
    data () {
        return {
            name: "测试",
            cost: 5,
            content: "测试卡片",
            attack: 10,
            life: 10
        }
    }
}
</script>
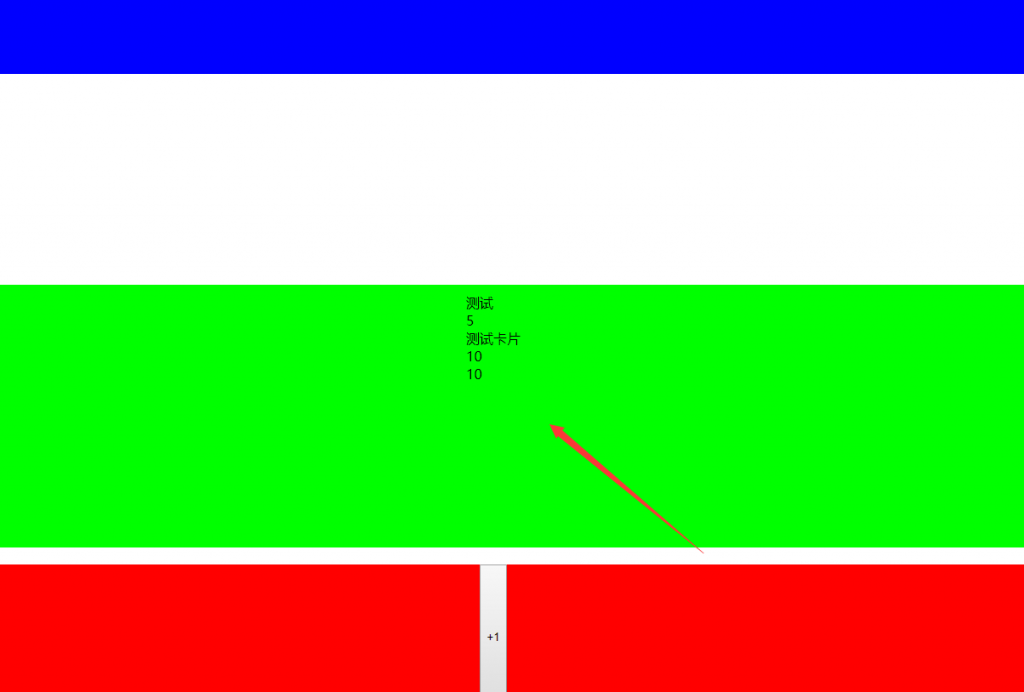
这个时候可以在GameTable.vue中引入这个组件进行一下预览,在my-card-area区域中去掉之前的{{count}},加入刚刚Card组件,记得要在script里面引入Card。这个时候就能看到一个非常丑陋的卡片了。
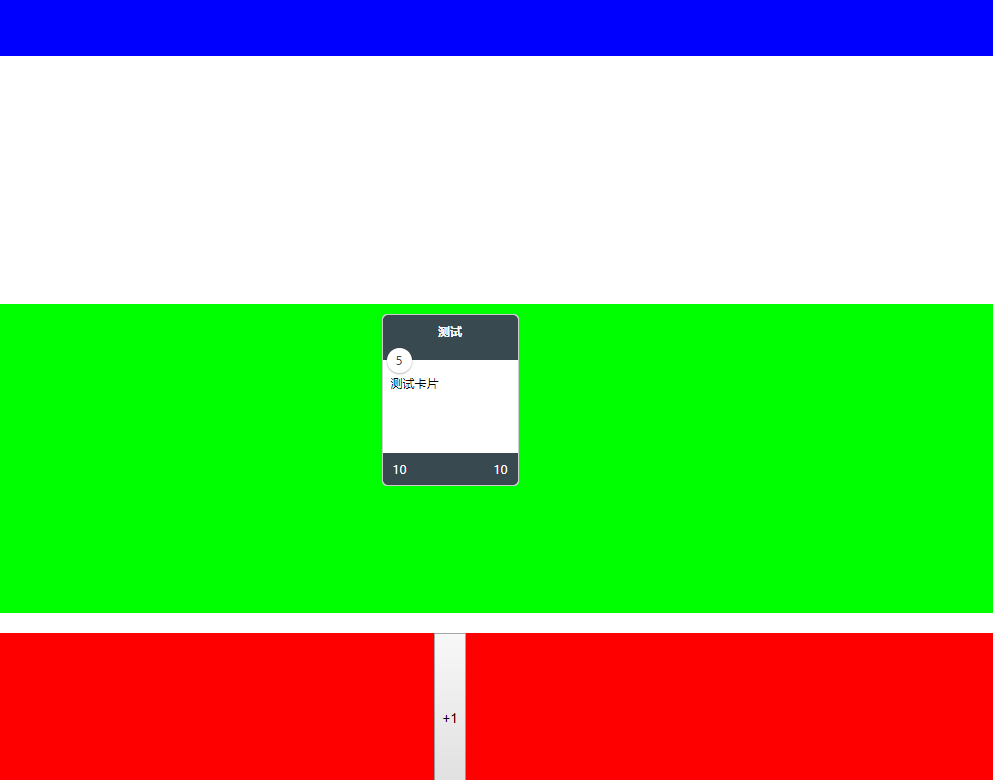
这是因为我们还没添加组件的样式,我们为组件加上基本的样式:
<style>
.card {
    position: relative;
    width: 135px;
    height: 170px;
    font-size: 12px;
    border: 1px solid #ccc;
    border-radius: 5px;
    background: white;
}

.card-name {
    height: 45px;
    background: #394950;
    color: white;
    border-top-right-radius: 5px;
    border-top-left-radius: 5px;
    text-align: center;
    margin-bottom: 15px;
    box-sizing: border-box;
    padding: 8px 0;
    font-weight: bold;
}

.card-cost {
    position: absolute;
    background-color: white;
    color: #394950;
    border-radius: 50%;
    width: 25px;
    height: 25px;
    left: 4px;
    top: 33px;
    display: flex;
    justify-content: center;
    align-items: center;
    box-shadow: 0 2px 2px 0 rgba(0, 0, 0, 0.16), 0 0 0 1px rgba(0, 0, 0, 0.08);
}

.card-content {
    padding: 0 8px;
}

.card-bottom {
    position: absolute;
    bottom: 0px;
    width: 100%;
    background: #394950;
    display: flex;
    justify-content: space-between;
    padding: 8px 10px;
    color: white;
    box-sizing: border-box;
    border-bottom-right-radius: 5px;
    border-bottom-left-radius: 5px;
}
</style>
添加了这些样式之后,就能看到我们想要的卡片效果了,当然,你也可以按照自己的想法修改上面的样式,卡片的样式不会影响游戏的功能。
这个时候给对手的桌面上也放上一张卡片,也就是在other-card-area中也增加一个Card。
<div class="table">
    <div class="other-card-area">
        <Card />
    </div>
    <div class="my-card-area">
        <Card />
    </div>
</div>
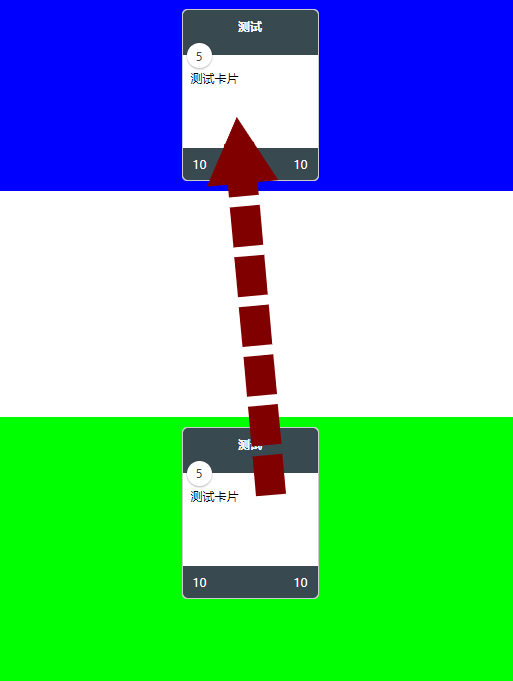
双方都有卡片了,现在要制作攻击效果了。
攻击的效果如果使用dom来制作,会非常的不方便,所以需要使用到canvas来绘制这部分的效果,我的思路是先将动画制作出来,然后再应用到卡片上,然后再实现攻击的逻辑部分,那么开始动手。
首先在页面上添加canvas,编写样式和context初始化:
HTML:
<canvas id="animationCanvas" v-show="showCanvas" :width="windowWidth" :height="windowHeight"></canvas>
Javascript(GameTable文件,mounted方法的尾部):
this.windowWidth = window.innerWidth;
this.windowHeight = window.innerHeight;

window.onresize = () => {
    this.windowWidth = window.innerWidth;
    this.windowHeight = window.innerHeight;
}
this.canvasContext = document.querySelector("#animationCanvas").getContext("2d");
CSS:
#animationCanvas {
    width: 100%;
    height: 100%;
    position: absolute;
    left: 0;
    top: 0;
    z-index: 999;
}
我们需要的效果是鼠标按下后,在页面上画一根线条,松开鼠标时线条消失,所以思路很简单,在按下鼠标时记录按下的点A,在鼠标移动的时候绘制点A到当前位置的一根线条,在松开鼠标的时候清除线条,所以添加下面的代码到mounted代码尾部:
window.onmousedown = (e) => {
    window.isAttackDrag = true;
    this.attackStartX = e.pageX;
    this.attackStartY = e.pageY;
}

window.onmousemove = (e) => {
    if (window.isAttackDrag) {
        window.requestAnimationFrame(() => {
            this.canvasContext.clearRect(0, 0, this.windowWidth, this.windowHeight);
            this.canvasContext.strokeStyle = 'maroon';
            this.canvasContext.fillStyle = 'maroon';


            this.canvasContext.save();
            this.canvasContext.setLineDash([40, 10]);
            this.canvasContext.lineWidth = 30;

            this.canvasContext.beginPath();
            this.canvasContext.moveTo(this.attackStartX, this.attackStartY);
            this.canvasContext.lineTo(e.pageX, e.pageY);
            this.canvasContext.fill();
            this.canvasContext.stroke();
            this.canvasContext.restore();
        })
    }
}

window.onmouseup = () => {
    if (window.isAttackDrag) {
        window.isAttackDrag = false;
        this.canvasContext.clearRect(0, 0, this.windowWidth, this.windowHeight)
    }
}
保存后查看效果,恩~还不错,不过总觉得少了点什么,哦!是箭头!
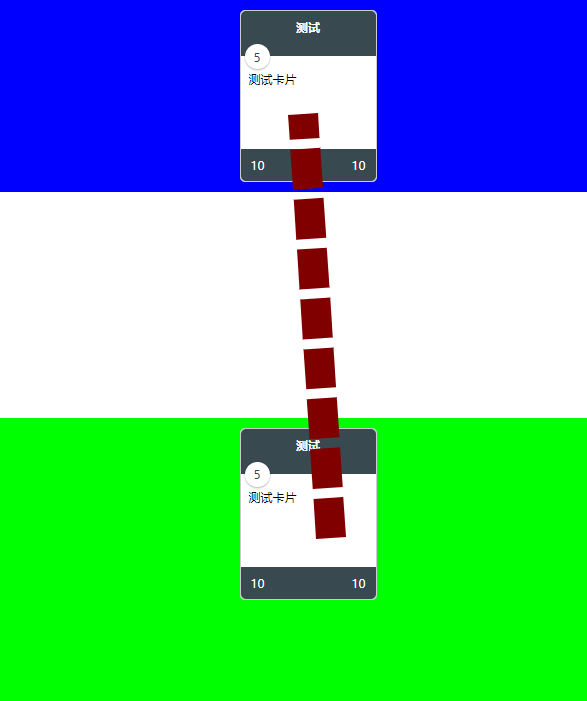
那么尝试画一个箭头在顶端吧,其实就是画一个三角形在顶端,绘制三角形其实很简单,但是难点就是这根直线是有角度的,所以三角形也要跟着直线的角度旋转。好在这些都是在网上能查到资料的,所以把下面这段代码加到刚刚绘制直线的代码后面,就能看到效果了:
this.canvasContext.save();
this.canvasContext.beginPath();
this.canvasContext.lineCap = 'square';
this.canvasContext.translate(e.pageX, e.pageY);
let getLineRadians = () => {
    let _a = e.pageX - this.attackStartX;
    let _b = e.pageY - this.attackStartY;
    let _c = Math.hypot(_a, _b);
    return Math.acos(_a / _c) * Math.sign(_b);
};
this.canvasContext.rotate(getLineRadians() - Math.PI /2);
this.canvasContext.moveTo(35, -40);
this.canvasContext.lineTo(0, 25);
this.canvasContext.lineTo(-35, -40);
this.canvasContext.lineTo(35, -40);
this.canvasContext.fill();
this.canvasContext.stroke();
this.canvasContext.restore();
到这里,实现了第一步,但是目前在任意位置都能绘制这样一根直线,而我们的目标是只有在我们的卡牌上才可以进行攻击操作,所以要修改一下我们刚刚的代码。
首先将原来的window.mousedown事件注释掉,将mousedown事件绑定到Card组件中,在Card的最外层的div上加入mouseDown事件,在事件里emit事件到外层:
mouseDown(e) {
    this.$emit('onAttackStart', {
        startX: e.pageX, startY: e.pageY
    })
}
外层中GameTable页面写一个onAttackStart的方法来接收事件,这个事件其实就是之前的mousedown事件,只是多了一个控制canvas是否显示的变量:
onAttackStart({startX, startY}) {
    this.showCanvas = true;
    window.isAttackDrag = true;
    this.attackStartX = startX;
    this.attackStartY = startY;
}
有显示canvas就要能隐藏,在之前的onmouseup方法里,加入this.showCanvas = false
与此同时,在GameTable组件中的my-card-area里的Card组件,传入刚刚写好的onAttackStart,这样就实现了只能在Card上面拖拽进行攻击了。
下一回我计划做卡牌攻击的效果和服务端的一些事情,感兴趣的同学请继续留意吧。
github地址在这里,这篇文章的代码tag是a-3。


 被折叠的 条评论
为什么被折叠?
被折叠的 条评论
为什么被折叠?
 到【灌水乐园】发言


