


多栏文档
原 文:Multiple columns
译 者:Xovee
翻译时间:2022年2月23日
介绍
在LaTeX 中,你可以使用\twocolumn命令来轻松地创建双栏文档。如果你需要更多的文档布局,或者创建多栏文档,你可以使用multicol包。本文介绍如何使用multicol包来做到这一点:
\documentclass{article}
\usepackage{blindtext}
\usepackage{multicol}
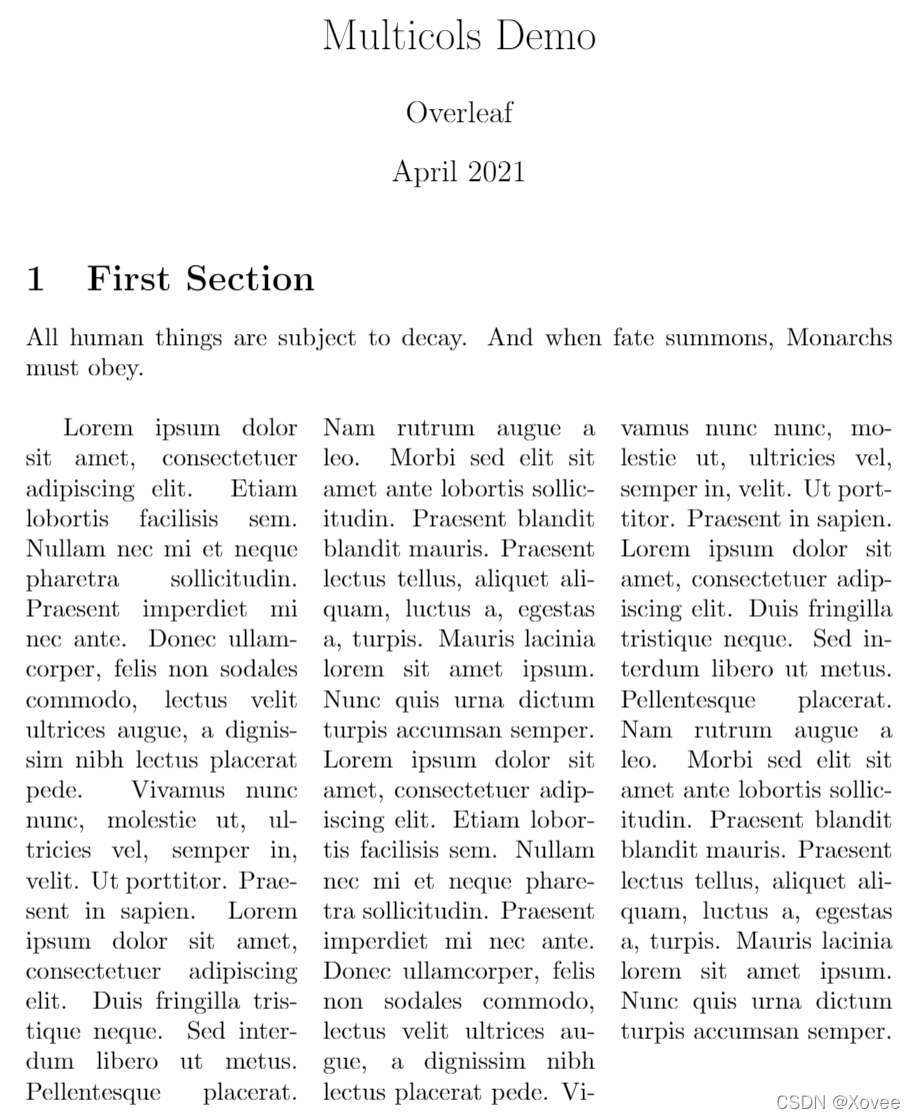
\title{Multicols Demo}
\author{Overleaf}
\date{April 2021}
\begin{document}
\maketitle
\begin{multicols}{3}
[
\section{First Section}
All human things are subject to decay. And when fate summons, Monarchs must obey.
]
\blindtext\blindtext
\end{multicols}
\end{document}
首先导入这个包
\usepackage{multicol}
然后我们使用multicols环境。这个环境有两个参数:
- 列的数量。在这个例子中,我们使用了
3。 - 标题文字。在方括号中输入文字的内容。这些文字将会出现在多列文本的上方。你可以使用任意 LaTeX 命令,但是不能使用浮动元素例如图片和表格。在这个例子中,我们输入了一个标题和一小段文字。
标签\begin{multicols}和\end{multicols}中的文字将会以多列的格式显示。
列间隔
我们可以使用\columnsep命令来设置列之间的间隔。例如:
\documentclass{article}
\usepackage{blindtext}
\usepackage{multicol}
\setlength{\columnsep}{1cm}
\title{Second multicols Demo}
\author{Overleaf}
\date{April 2021}

\begin{document}
\maketitle

\begin{multicols}{2}
[
\section{First Section}
All human things are subject to decay. And when fate summons, Monarchs must obey.
]
\blindtext\blindtext
\end{multicols}

\end{document}
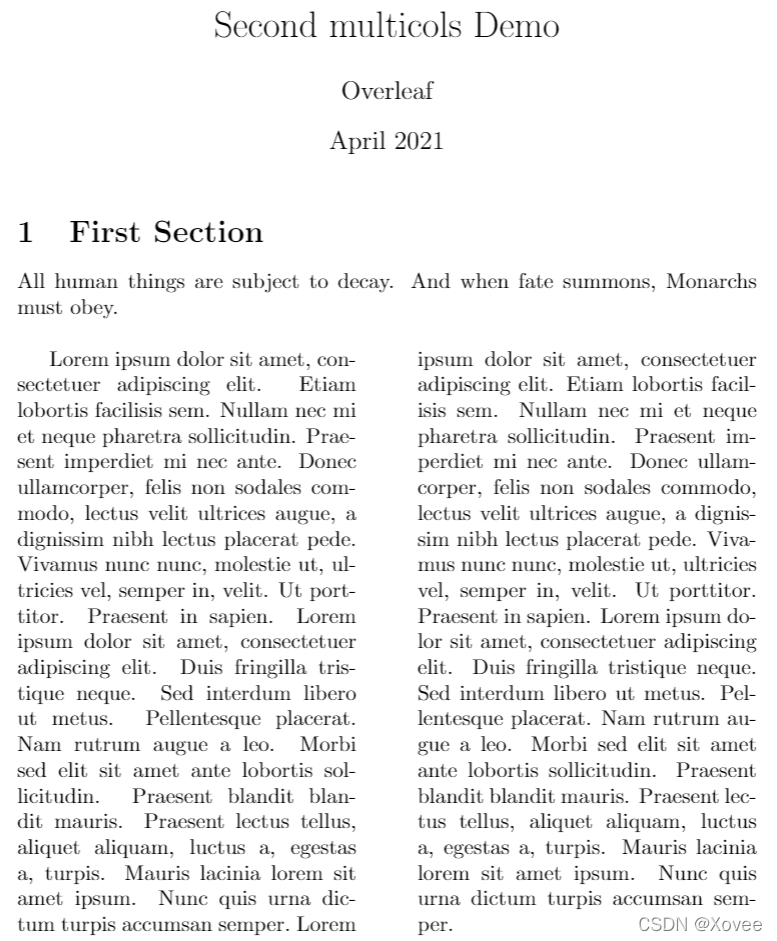
在这里,命令\setlength{\columnsep}{1cm}把列间隔设置为一厘米。有关 LaTeX 中的长度单位可以参考这篇文章。
不平衡的列
默认情况下文档中不同列中的文字数是相等的。我们可以使用multicols*改变这一点:
\documentclass{article}
\usepackage{blindtext}
\usepackage{multicol}
\setlength{\columnsep}{1cm}
\title{Second multicols Demo}
\author{Overleaf}
\date{April 2021}
\begin{document}
\maketitle
\begin{multicols*}{3}
[
\section{First Section}
All human things are subject to decay. And when fate summons, Monarchs must obey.
]
\blindtext\blindtext
\end{multicols*}

\end{document}
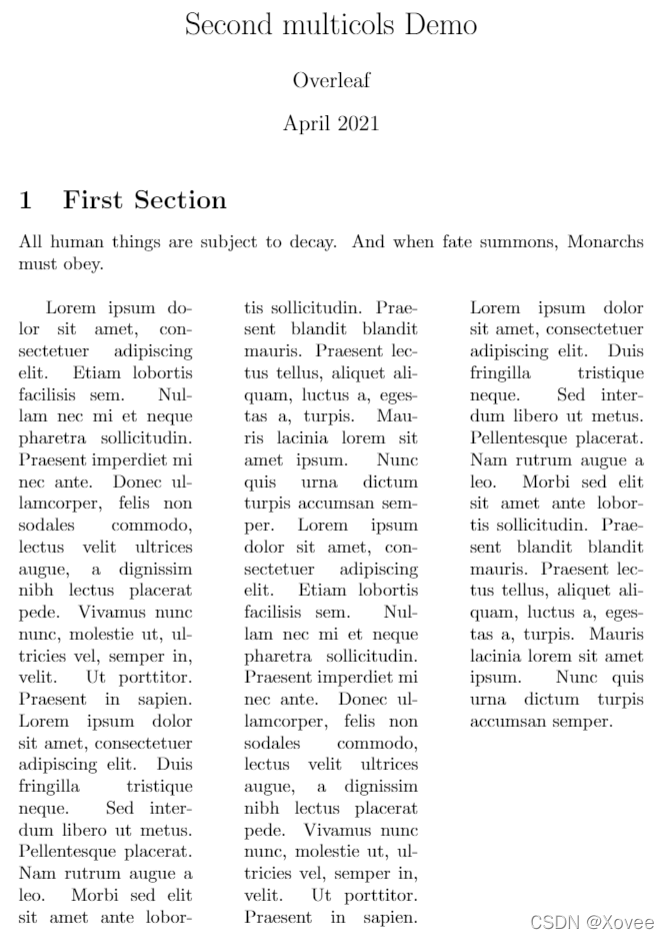
我们可以看到,文字从左列到右列依次进行显示。
插入浮动元素
我们可以在多列文档中使用wrapfig和wraptable来插入图片和表格。
\begin{multicols}{2}
[
\section{First Section}
All human things are subject to decay. And when fate summons, Monarchs must obey.
]

Hello, here is some text without a meaning.  This text should show what
a printed text will look like at this place.
If you read this text, you will get no information.  Really?  Is there
no information?  Is there.

\vfill

\begin{wrapfigure}{l}{0.7\linewidth}
\includegraphics[width=\linewidth]{overleaf-logo}
\caption{This is the Overleaf logo}
\end{wrapfigure}

A blind text like this gives you information about the selected font, how
the letters are written and an impression of the look.  This text should
contain all...

\begin{wraptable}{l}{0.7\linewidth}
\centering
\begin{tabular}{|c|c|}
\hline
Name & ISO \\
\hline
Afghanistan & AF \\
Aland Islands & AX \\
Albania    &AL  \\
Algeria   &DZ \\
American Samoa & AS \\
Andorra & AD   \\
Angola & AO \\
\hline
\end{tabular}
\caption{Table, floating element}
\label{table:ta}
\end{wraptable}

\end{multicols}

\end{document}
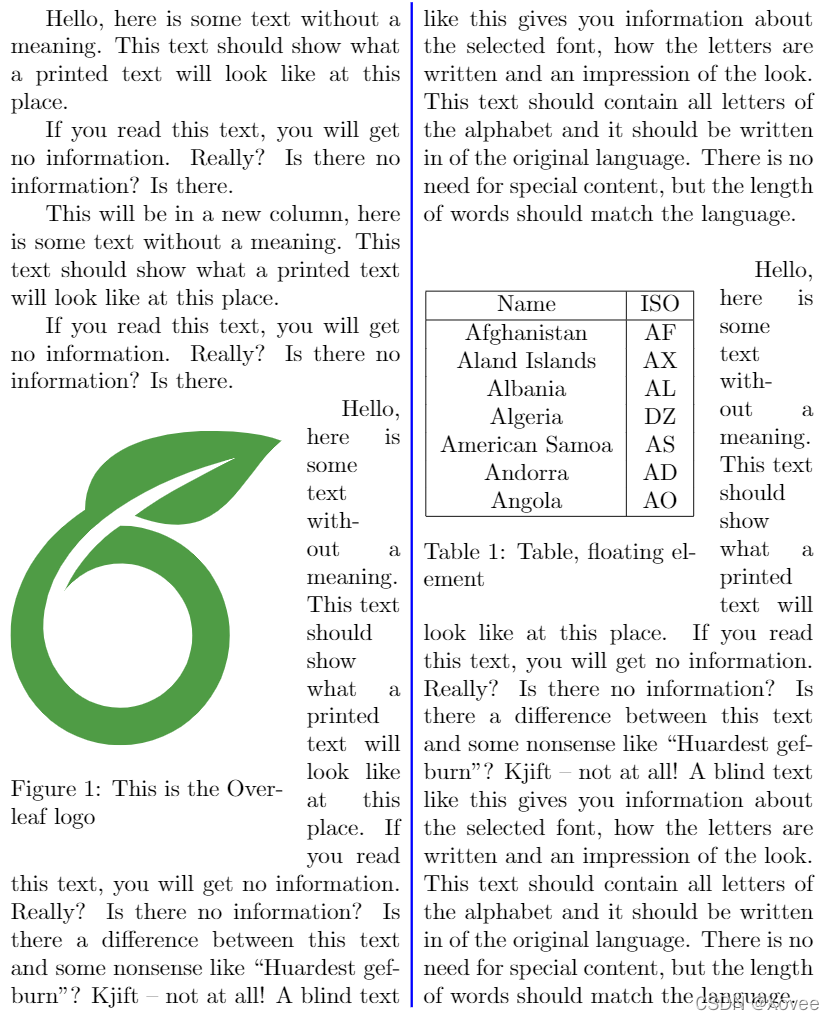
当前版本的multicol包对浮动元素的兼容性很差。如果你使用传统的figure*和table*环境,它们将出现在下一页的页首或页尾,从而破坏了文档结构。上面的例子展示了一种变通的方法(并不完美,例如如果你将元素的宽度设置为\linewidth,你将会看到文字重叠)。下面简要介绍一些命令:
\usepackage{wrapfig}。在 preamble 中引入这个包。wrapfigure环境将会插入一个被文字环绕的图片。更多信息和例子你可以参考这篇文章。
插入垂直线
你可以在文档中插入垂直线来提升列之间的可读性。
\documentclass{article}
\usepackage{blindtext}
\usepackage{multicol}
\usepackage{color}
\setlength{\columnseprule}{1pt}
\def\columnseprulecolor{\color{blue}}

\begin{document}

\begin{multicols}{3}
[
\section{First Section}
All human things are subject to decay. And when fate summons, Monarchs must obey.
]
Hello, here is some text without a meaning.  This text should show what
a printed text will look like at this place.

If you read this text, you will get no information.  Really?  Is there
no information?  Is there.

\columnbreak
\blindtext
This will be in a new column, here is some text without a meaning.  This text
should show what a printed text will look like at this place.

If you read this text, you will get no information.  Really?  Is there
no information?  Is there...
\end{multicols}

\blindtext

\end{document}
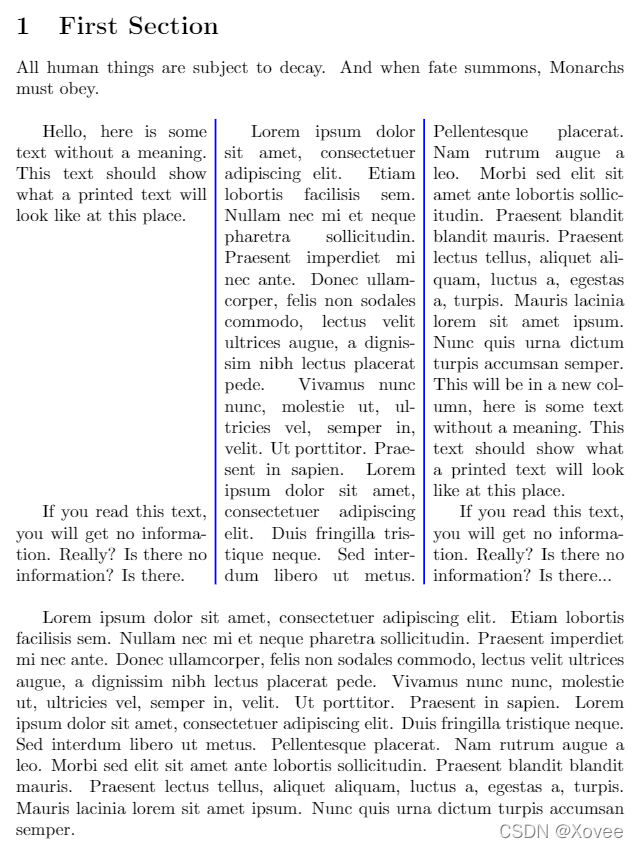
下面介绍各个命令:
\usepackage{color}:引入包。\setlength{\columnseprule}{1pt}:这个命令设置了垂直线的宽度,它默认为 0。在上面的例子中,它的宽度为 1pt。\def\columnseprulecolor{\color{blue}}:垂直线的颜色被设置为蓝色。columnbreak:这个命令插入了一个列断点。在这个例子中,第二段之前会出现大片空白,以让之后的文字填充满之后的列。也就是说,断点之前的段落会均匀地填满可用的空间。


 4万+
4万+

 被折叠的 条评论
为什么被折叠?
被折叠的 条评论
为什么被折叠?
 到【灌水乐园】发言


