


1.阿里云市场购买短信服务
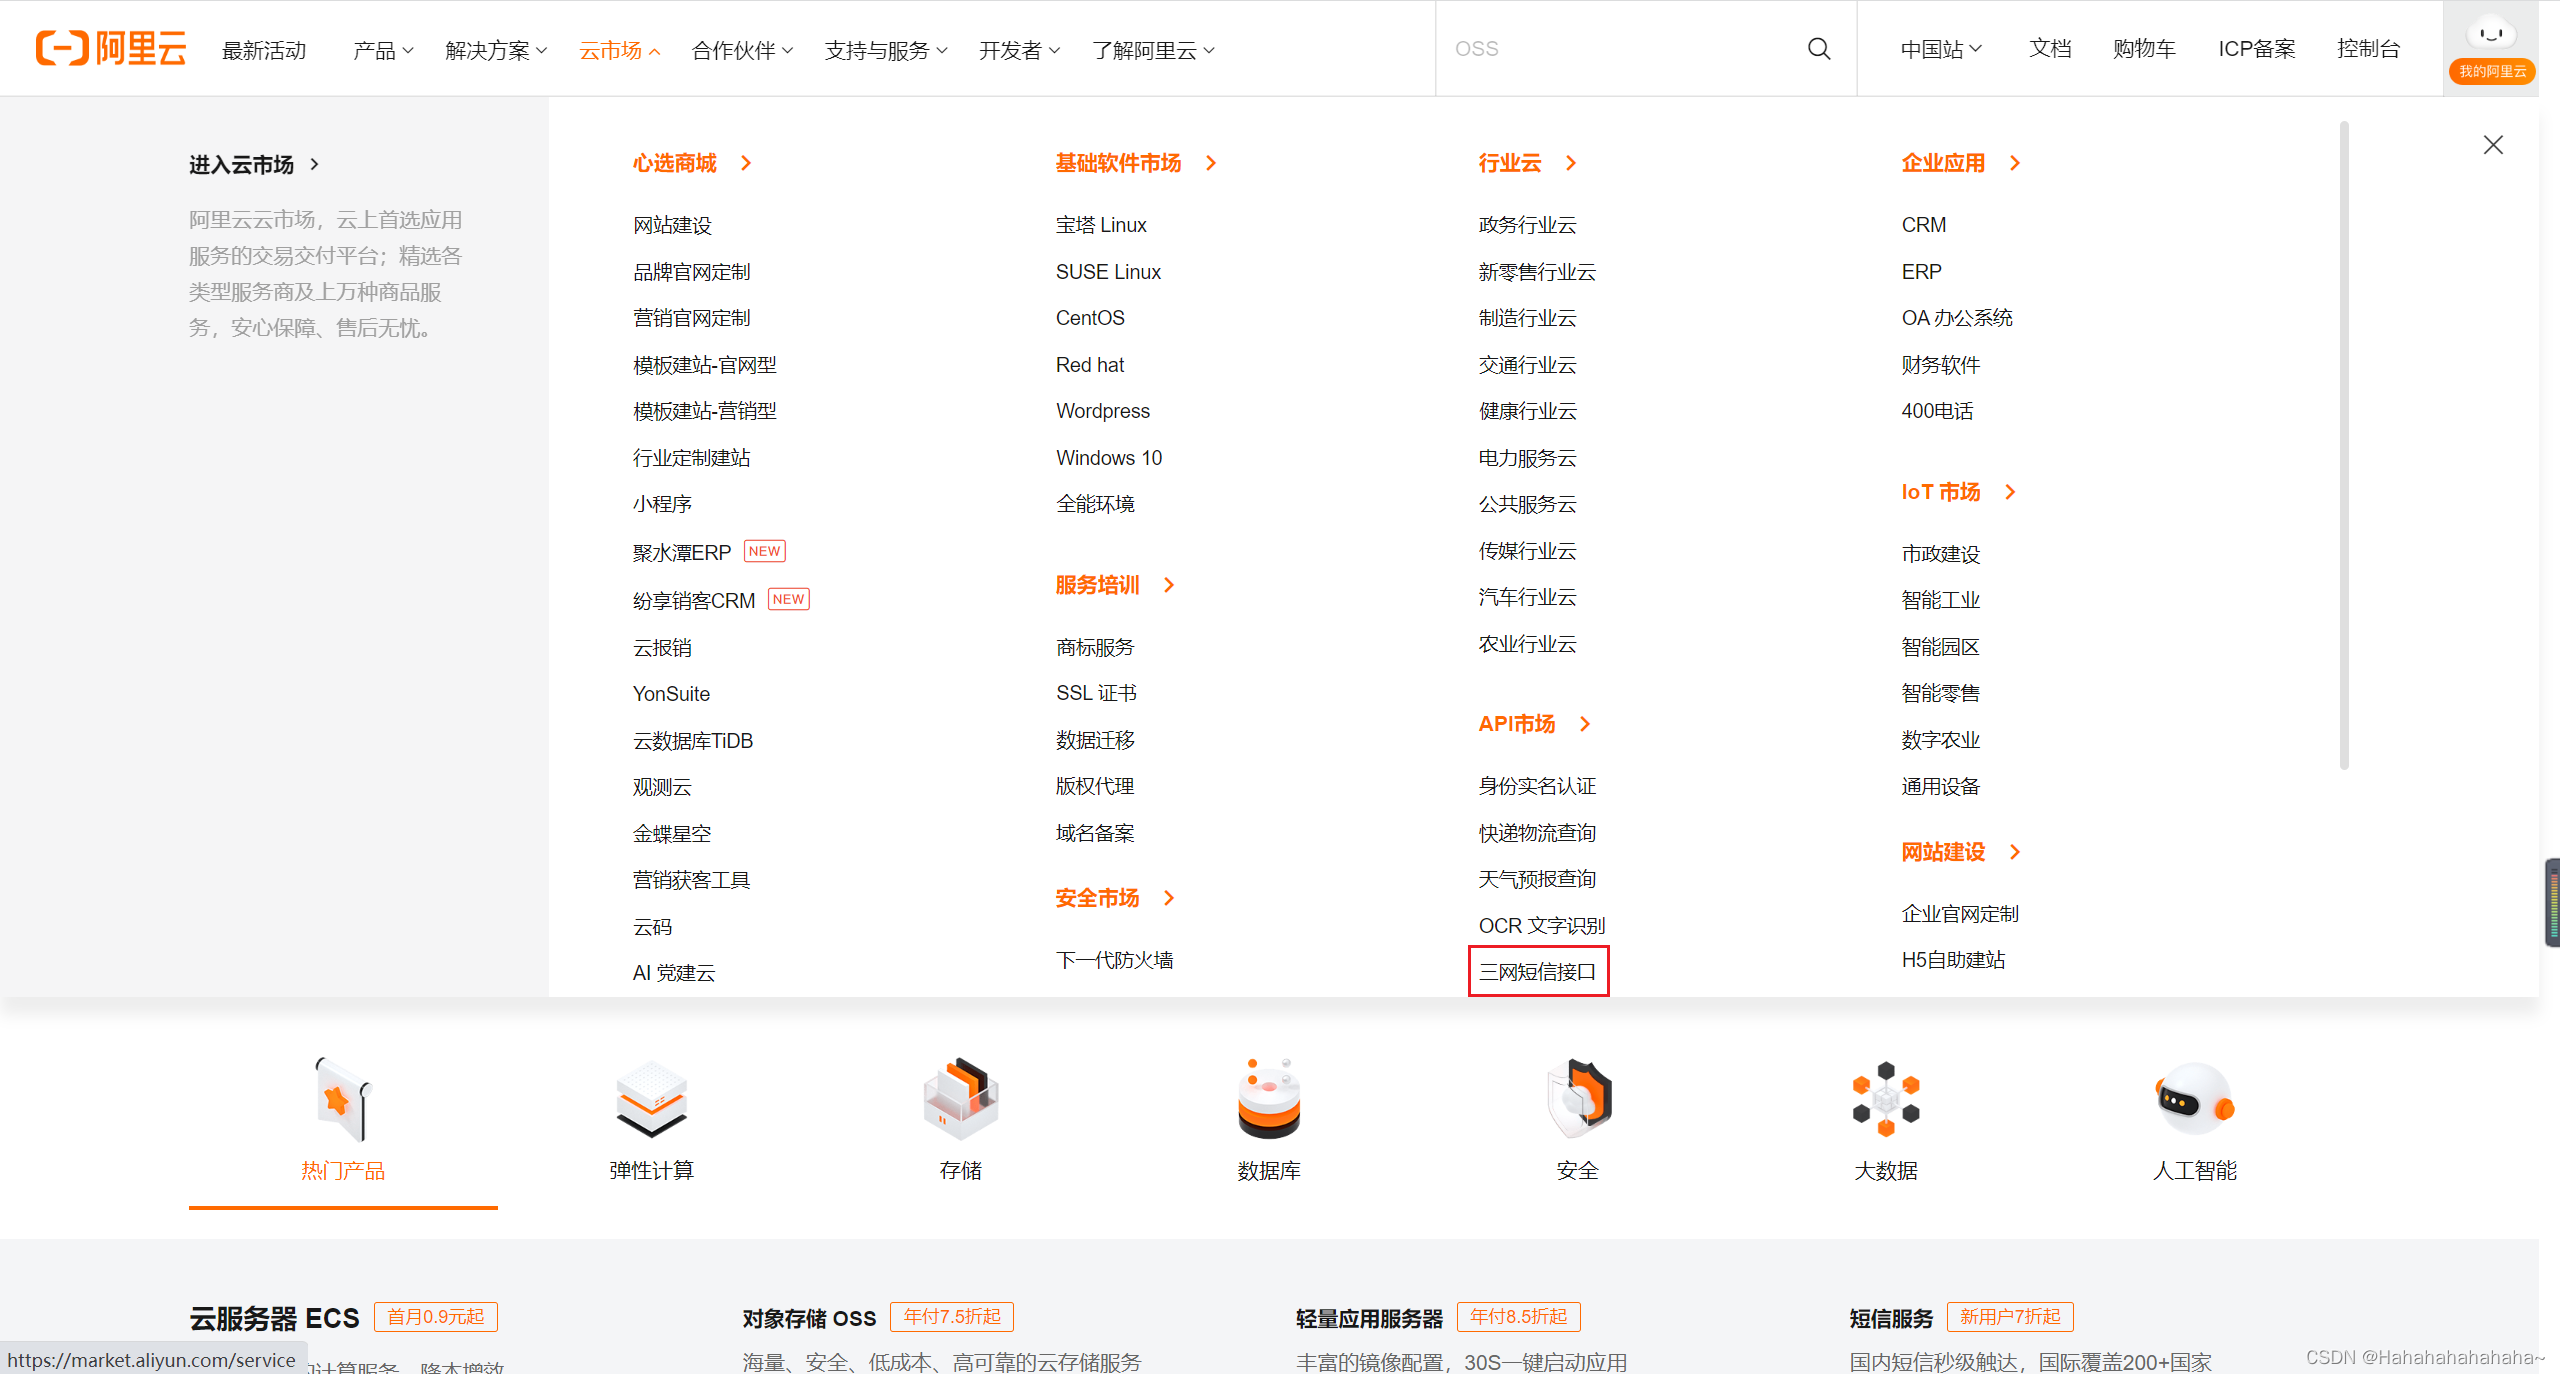
随便购买一个免费试用
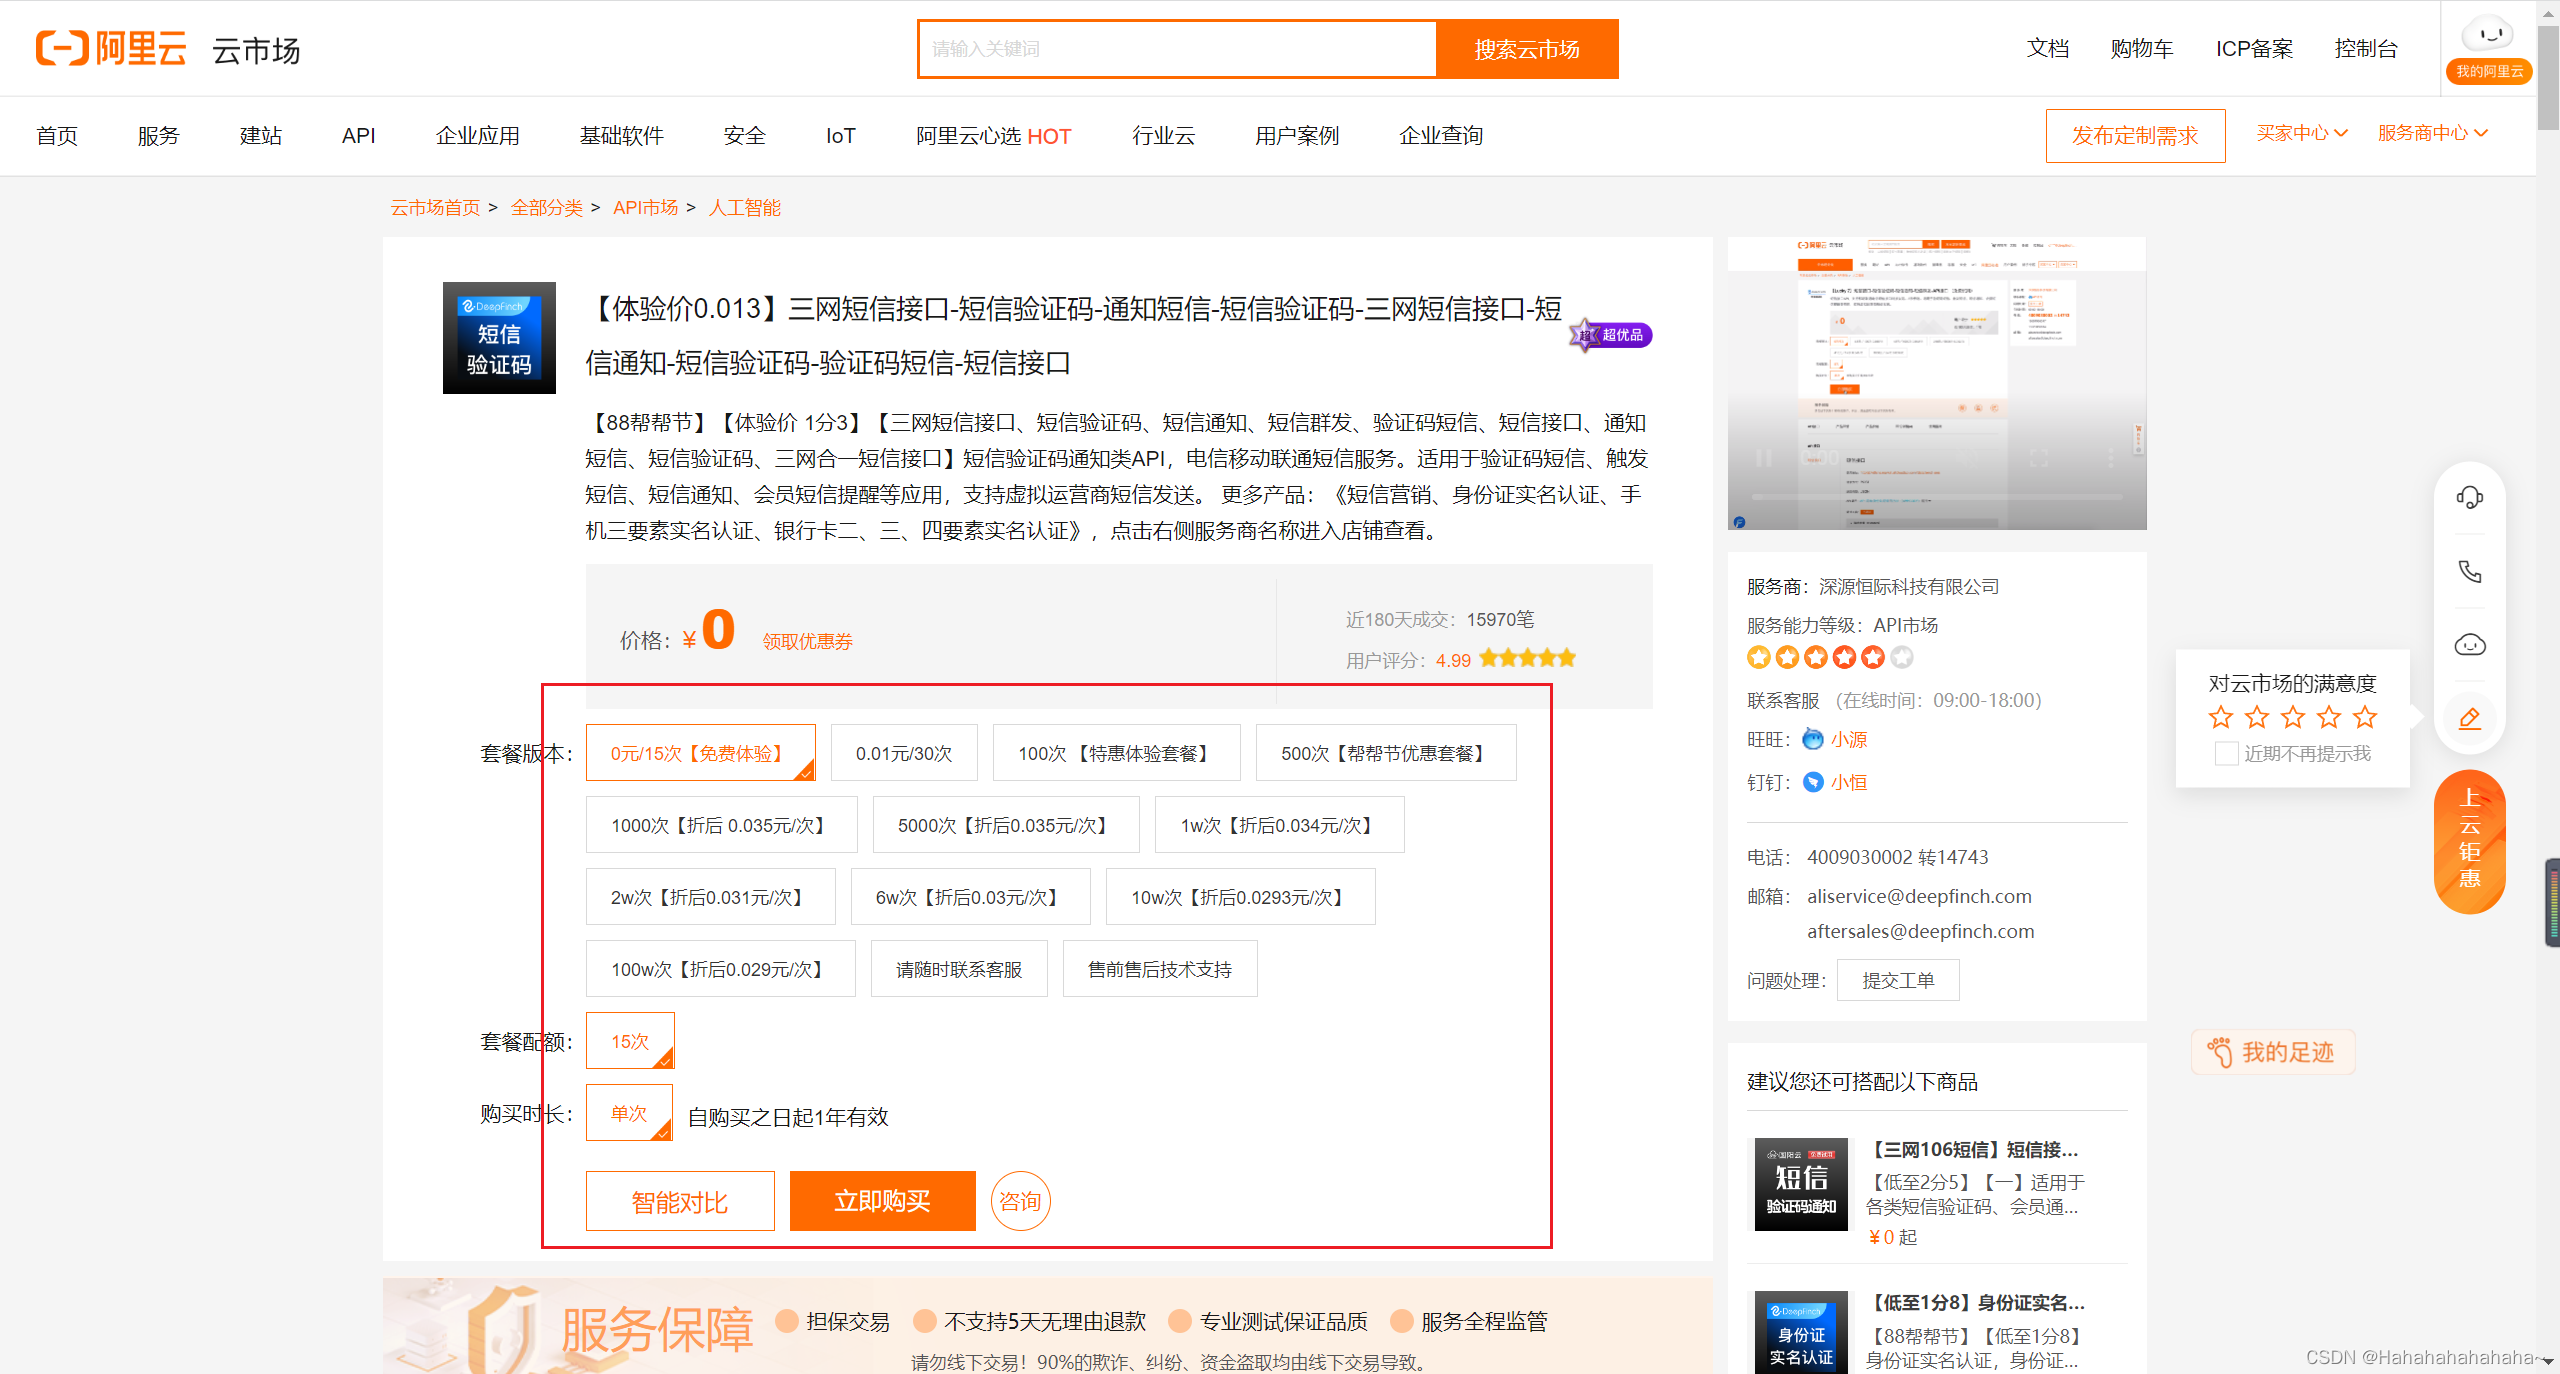
注意,appCode在下面的页面里,等下要用
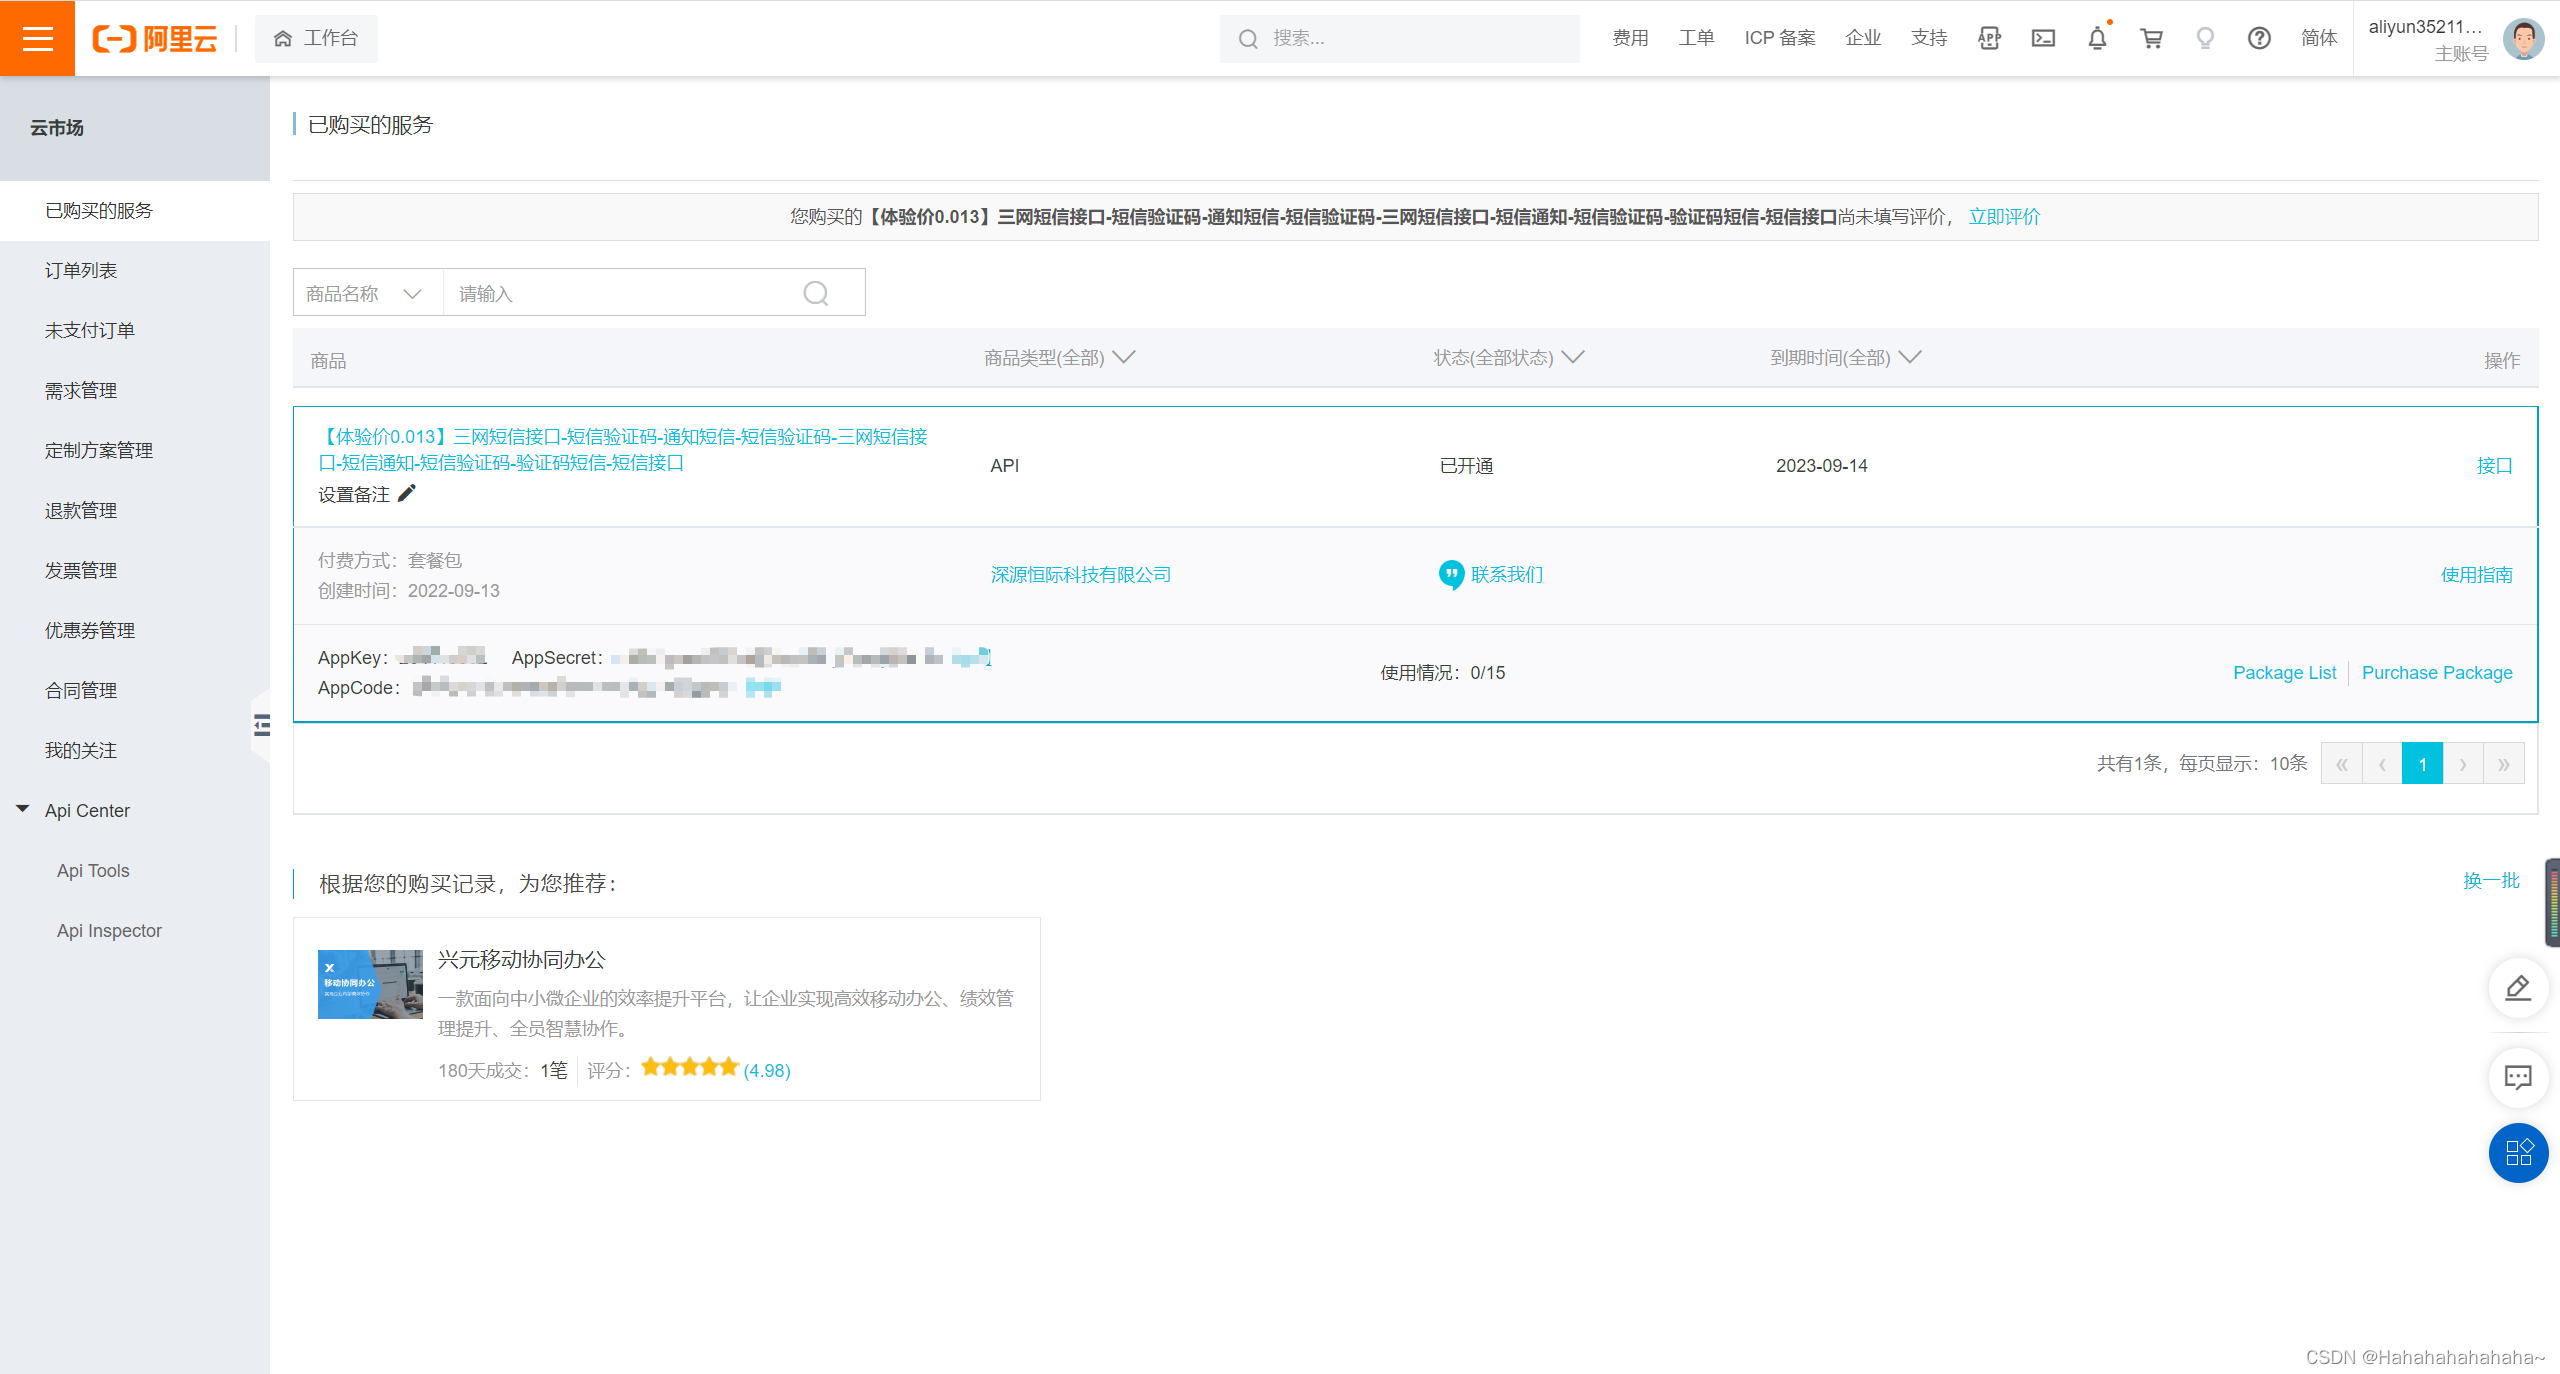
2.进行短信整合
可以在商品详情页看到以下内容(注意:示例代码每一个厂商可能都不一样,要具体问题具体分析)
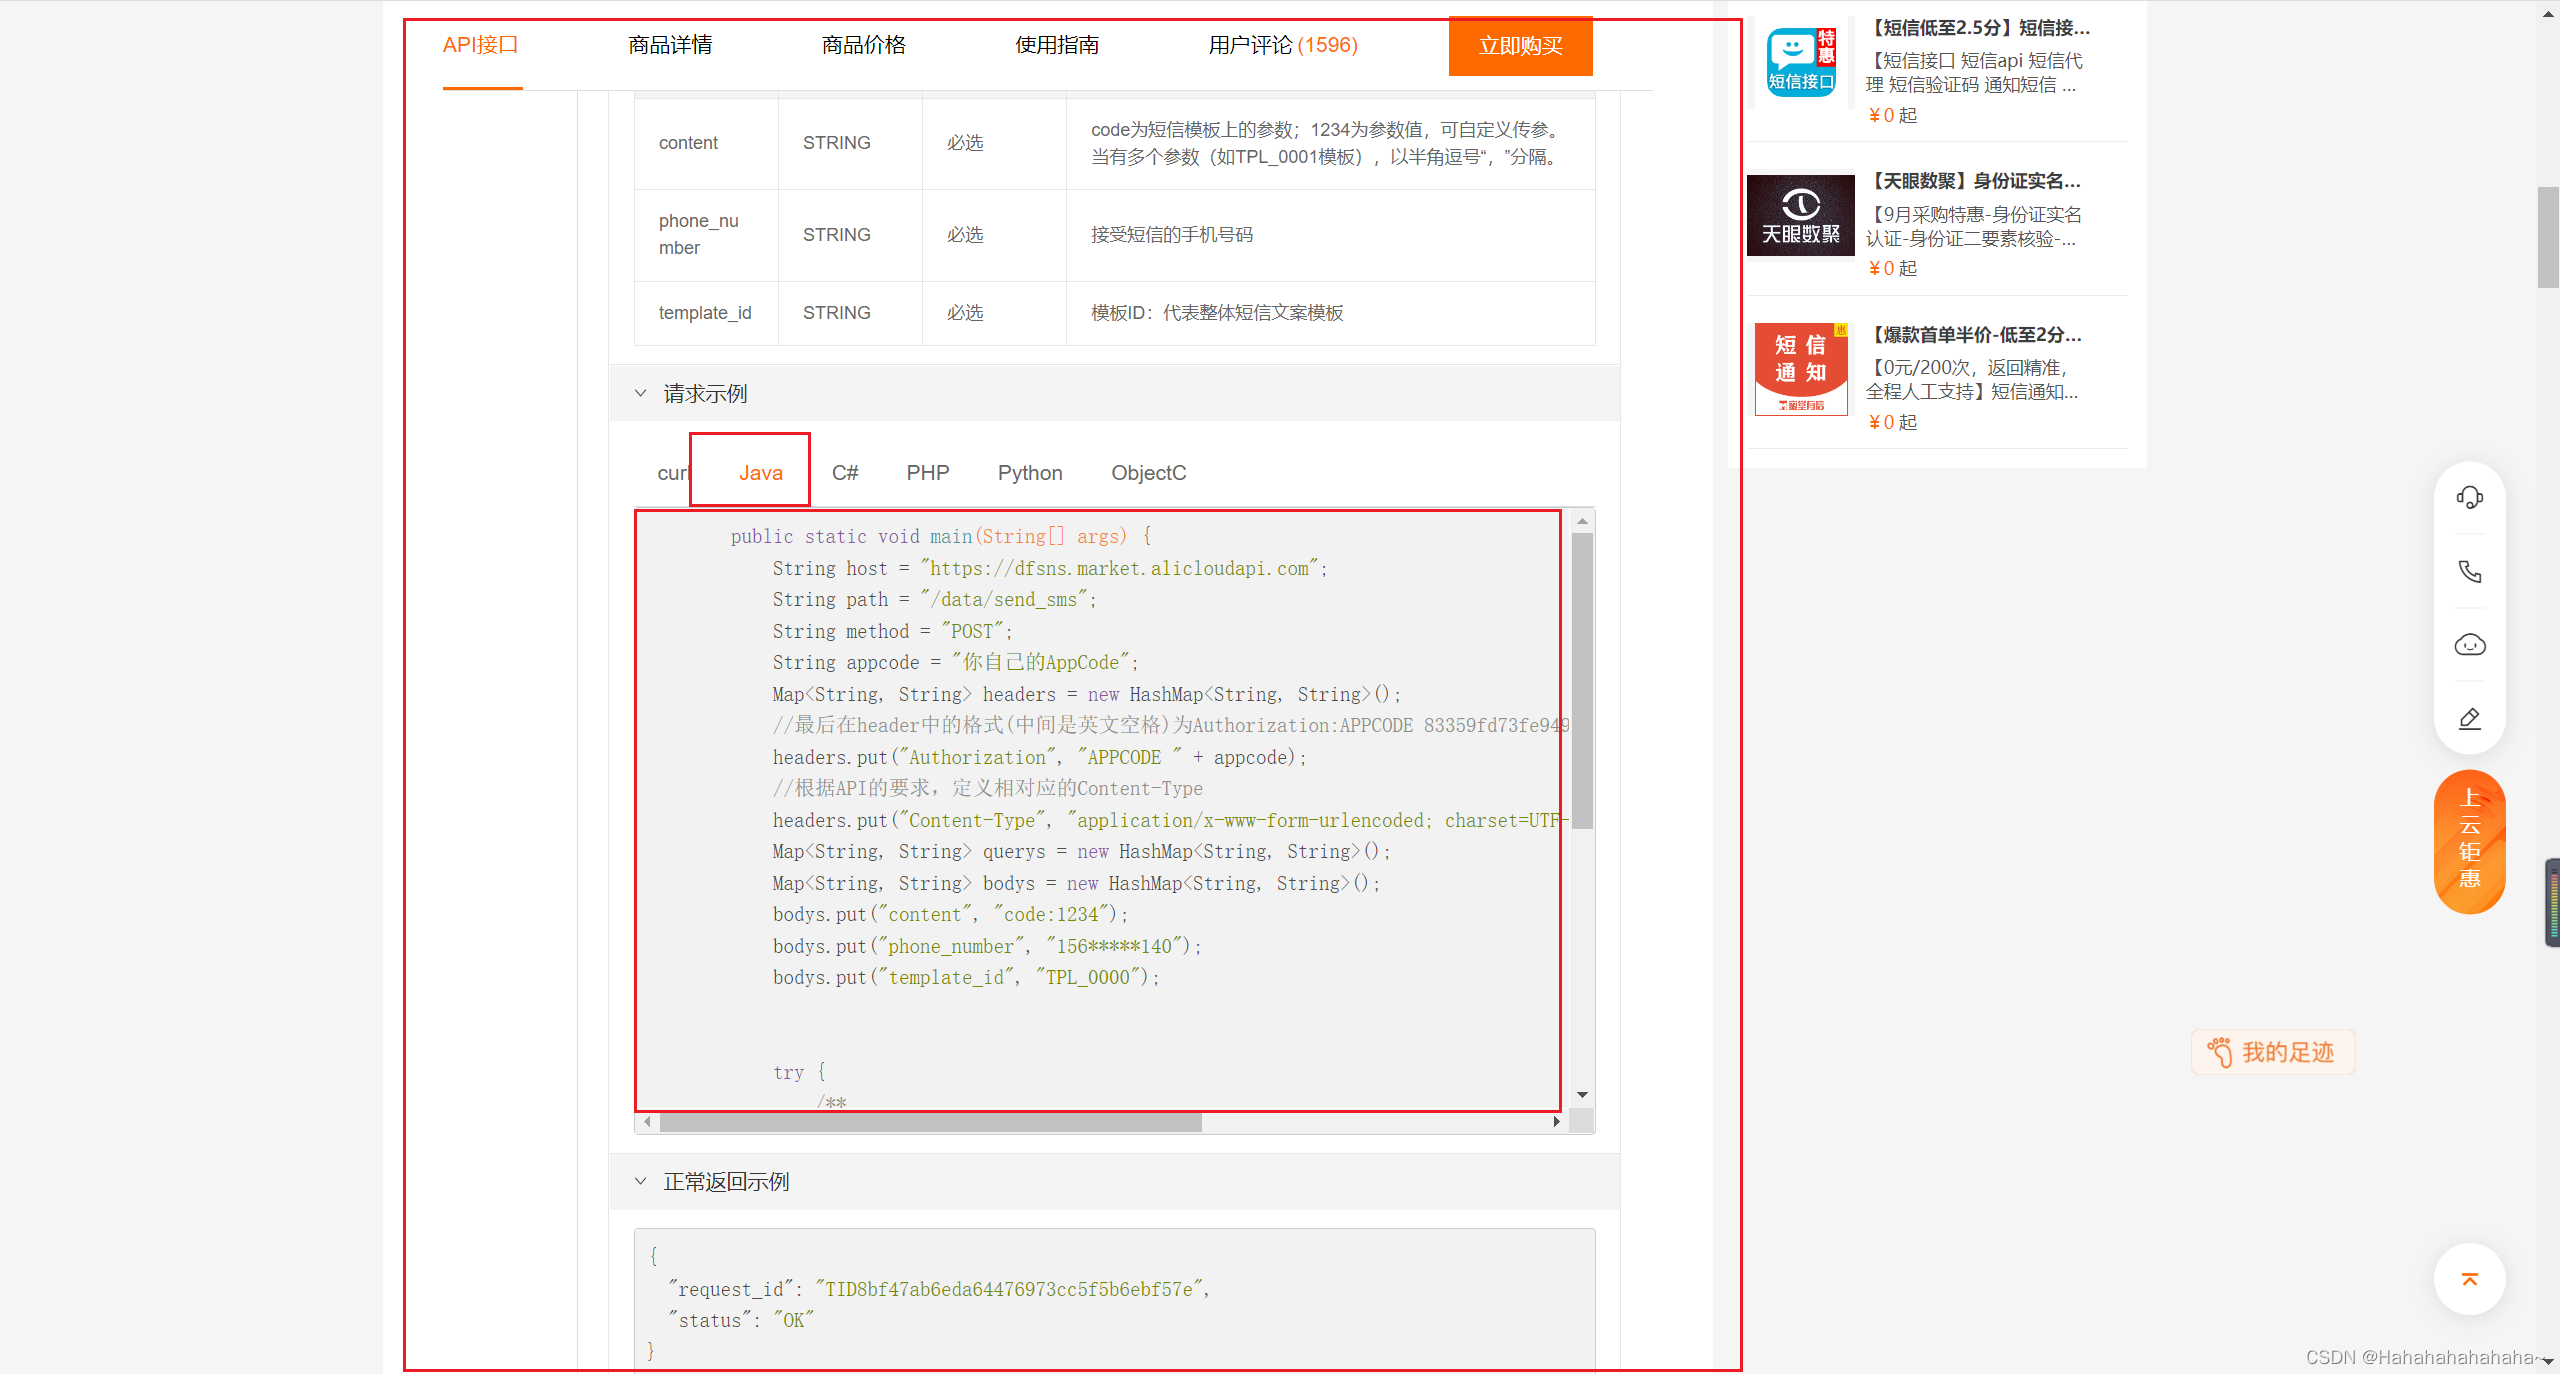
具体的代码示例为:
    public static void main(String[] args) {
	    String host = "https://dfsns.market.alicloudapi.com";
	    String path = "/data/send_sms";
	    String method = "POST";
	    String appcode = "你自己的AppCode";
	    Map<String, String> headers = new HashMap<String, String>();
	    //最后在header中的格式(中间是英文空格)为Authorization:APPCODE 83359fd73fe94948385f570e3c139105
	    headers.put("Authorization", "APPCODE " + appcode);
	    //根据API的要求,定义相对应的Content-Type
	    headers.put("Content-Type", "application/x-www-form-urlencoded; charset=UTF-8");
	    Map<String, String> querys = new HashMap<String, String>();
	    Map<String, String> bodys = new HashMap<String, String>();
	    bodys.put("content", "code:1234");
	    bodys.put("phone_number", "156*****140");
	    bodys.put("template_id", "TPL_0000");


	    try {
	    	/**
	    	* 重要提示如下:
	    	* HttpUtils请从
	    	* https://github.com/aliyun/api-gateway-demo-sign-java/blob/master/src/main/java/com/aliyun/api/gateway/demo/util/HttpUtils.java
	    	* 下载
	    	*
	    	* 相应的依赖请参照
	    	* https://github.com/aliyun/api-gateway-demo-sign-java/blob/master/pom.xml
	    	*/
	    	HttpResponse response = HttpUtils.doPost(host, path, method, headers, querys, bodys);
	    	System.out.println(response.toString());
	    	//获取response的body
	    	//System.out.println(EntityUtils.toString(response.getEntity()));
	    } catch (Exception e) {
	    	e.printStackTrace();
	    }
	}
在这里,我为了方便后续配置进行了一定的修改(这一步不做也可以,我只是为了方便后面修改):
import com.atguigu.gulimall.thirdparty.util.HttpUtils;
import lombok.Data;
import org.apache.http.HttpResponse;
import org.springframework.boot.context.properties.ConfigurationProperties;
import org.springframework.stereotype.Component;

import java.util.HashMap;
import java.util.Map;

@ConfigurationProperties(prefix = "spring.alicloud.sms")
@Data
@Component
public class SmsComponent {

    private String host;
    private String path;
    private String template_id;
    private String expire_at;
    private String appcode;

    public void sendSmsCode(String phone,String code){
        String method = "POST";
        Map<String, String> headers = new HashMap<String, String>();
        //最后在header中的格式(中间是英文空格)为Authorization:APPCODE
        headers.put("Authorization", "APPCODE " + appcode);
        //根据API的要求,定义相对应的Content-Type
        headers.put("Content-Type", "application/x-www-form-urlencoded; charset=UTF-8");
        Map<String, String> querys = new HashMap<>();
        Map<String, String> bodys = new HashMap<>();
        bodys.put("content", "code:"+code+",expire_at:"+expire_at);
        bodys.put("phone_number", phone);
        bodys.put("template_id", template_id);


        try {
            /**
             * 重要提示如下:
             * HttpUtils请从
             * https://github.com/aliyun/api-gateway-demo-sign-java/blob/master/src/main/java/com/aliyun/api/gateway/demo/util/HttpUtils.java
             * 下载
             *
             * 相应的依赖请参照
             * https://github.com/aliyun/api-gateway-demo-sign-java/blob/master/pom.xml
             */
            HttpResponse response = HttpUtils.doPost(host, path, method, headers, querys, bodys);
            System.out.println(response.toString());
            //获取response的body
            //System.out.println(EntityUtils.toString(response.getEntity()));
        } catch (Exception e) {
            e.printStackTrace();
        }
    }

}
进入pom.xml集成
        <dependency>
            <groupId>org.springframework.boot</groupId>
            <artifactId>spring-boot-configuration-processor</artifactId>
            <optional>true</optional>
        </dependency>
再在yml中配置相关内容,以后都可以直接在这里修改:
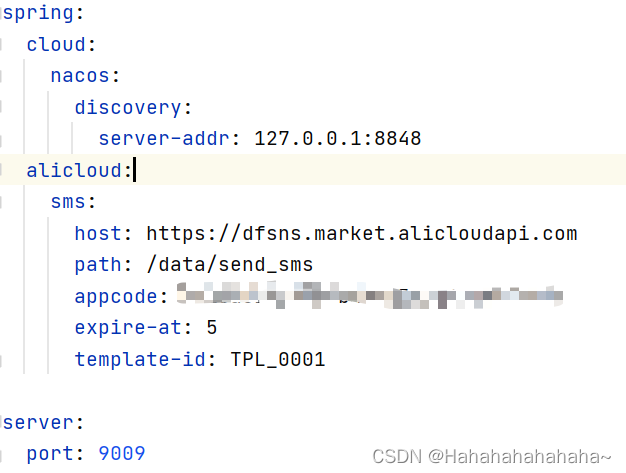
进入测试页进行测试:
@RunWith(SpringRunner.class)
@SpringBootTest
public class ThirdPartyApplicationTest {
@Autowired
SmsComponent smsComponent;
@Test
public void testSendCode(){
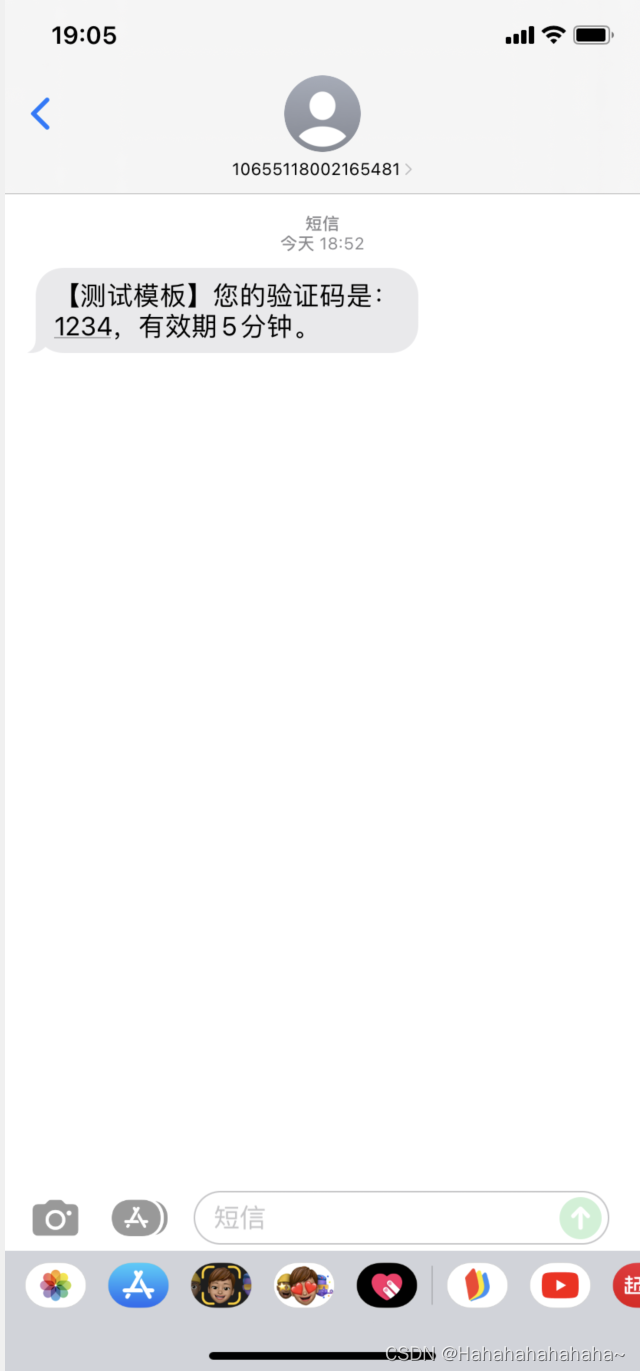
smsComponent.sendSmsCode("你的手机号","1234");
}
}得到测试短信:
3.集成到自创第三方模块
先引入pom
        <dependency>
            <groupId>org.springframework.cloud</groupId>
            <artifactId>spring-cloud-starter-openfeign</artifactId>
        </dependency>
写接口
@RestController
@RequestMapping("/sms")
public class SmsSendController {

    @Autowired
    SmsComponent smsComponent;

    //提供给别人以供使用
    @GetMapping("/sendcode")
    public R sendCode(@RequestParam("phone") String phone,@RequestParam("code") String code){
        smsComponent.sendSmsCode(phone,code);
        return R.ok();
    }

}
在需要用的模块写feign接口(别忘记在启动类写feign注解):
@FeignClient("gulimall-third-party")
public interface ThirdPartFeignService {
    @GetMapping("/sms/sendcode")
    public R sendCode(@RequestParam("phone") String phone, @RequestParam("code") String code);
}
调用接口:
    @Autowired
    StringRedisTemplate redisTemplate;

    @Autowired
    private ThirdPartFeignService thirdPartFeignService;

    @ResponseBody
    @GetMapping("/sms/sendcode")
    public R sendCode(@RequestParam("phone") String phone){
        //TODO 1.接口防刷

        //解决接口60秒内重发的问题
        String redisCode = redisTemplate.opsForValue().get(AuthServerConstant.SMS_CODE_CACHE_PREFIX+phone);

        if(!StringUtils.isEmpty(redisCode)){
            //60秒内不能再发
            long l = Long.parseLong(redisCode.split("_")[1]);
            System.out.println(l);
            if(System.currentTimeMillis()-l<60000){
                System.out.println("还没过60秒");
                return R.error(BizCodeEnum.SMS_CODE_EXCEPTION.getCode(), BizCodeEnum.SMS_CODE_EXCEPTION.getMessage());
            }
        }

        //2.验证码的再次校验。存key-phone,value-code
        String code = UUID.randomUUID().toString().substring(0,4)+"_"+System.currentTimeMillis();
        //5分钟失效
        //public static final String SMS_CODE_CACHE_PREFIX = "sms:code:";
        //redis缓存验证码,防止同一个手机号60秒内重复刷验证码
        redisTemplate.opsForValue().set(AuthServerConstant.SMS_CODE_CACHE_PREFIX+phone,code,5, TimeUnit.MINUTES);
        thirdPartFeignService.sendCode(phone,code.split("_")[0]);
        return R.ok();
    }
校验验证码片段
        //前端得到的返回的code
        String code = vo.getCode();
        //得到前面存到redis中的code
        String s = redisTemplate.opsForValue().get(AuthServerConstant.SMS_CODE_CACHE_PREFIX+vo.getPhone());
        if(!StringUtils.isEmpty(s)){
            if(code.equals(s.split("_")[0])){
                //删除验证码
              redisTemplate.delete(AuthServerConstant.SMS_CODE_CACHE_PREFIX+vo.getPhone());
                //验证码通过,继续进行操作
            }else {
                //验证码错误,继续进行操作
            }
        }else {
            //验证码失效,继续进行操作
        }


 1641
1641


 被折叠的 条评论
为什么被折叠?
被折叠的 条评论
为什么被折叠?
 到【灌水乐园】发言


