vue+elementui+axios

1.elementui简介

        1.1

        Element,一套为开发者、设计师和产品经理准备的基于 Vue 2.0 的桌面端组件库

        Element - The world's most popular Vue UI framework

        1.2入门使用

        (1)引入对应的js及css

   <!--引入vue的js-->
    <script type="text/javascript" src="js/vue.js"></script>
    <!--引入elementui的js前必须引入vue的js-->
    <script type="text/javascript" src="js/index.js"></script>
    <!--引入elemengtui的css样式-->
    <link type="text/css" rel="stylesheet" href="css/index.css"/>

        (2)在body标签中创建div标签

<div id="aaa">
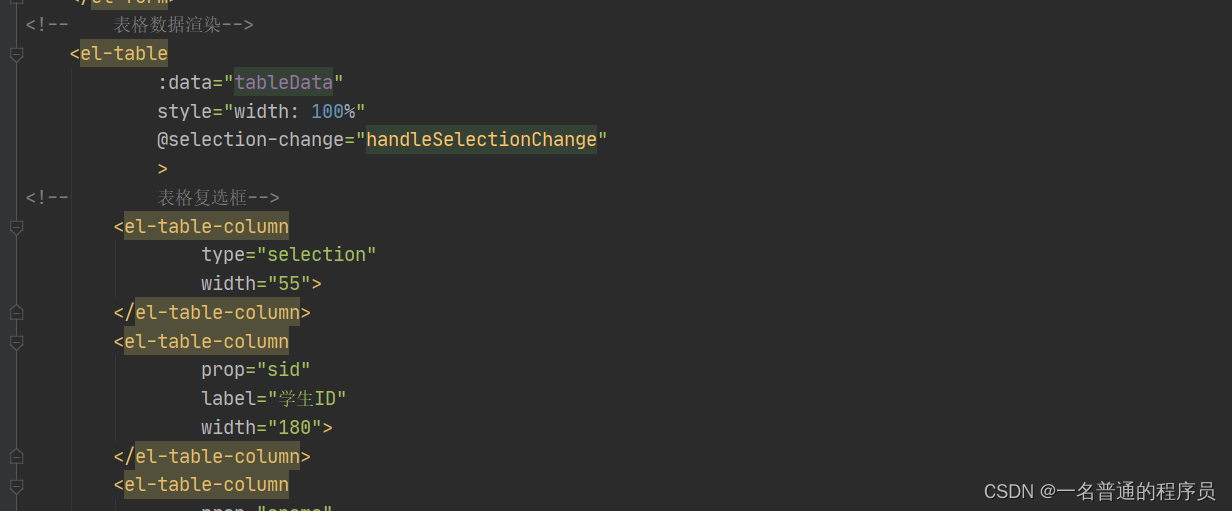
        <!--:data 引入vue中的变量tableData 必须为数组类型-->
        <el-table
                :data="tableData"
                border
                style="width: 100%">
            <!--el-table-column:表格的列  prop:必须和tableData中的属性名对于 -->
            <el-table-column
                    prop="date"
                    label="出生日期"
                    >
            </el-table-column>
            <el-table-column
                    prop="name"
                    label="姓名"
                    >
            </el-table-column>
            <el-table-column
                    prop="address"
                    label="地址">
            </el-table-column>
        </el-table>
    </div>

        (3)创建vue对象  并添加数据

let app=new Vue({
            el:"#app",
            data:{
                tableData: [{
                    date: '2016-05-02',
                    name: '王小虎',
                    address: '上海市普陀区金沙江路 1518 弄'
                }, {
                    date: '2016-05-04',
                    name: '王小虎',
                    address: '上海市普陀区金沙江路 1517 弄'
                }, {
                    date: '2016-05-01',
                    name: '王小虎',
                    address: '上海市普陀区金沙江路 1519 弄'
                }, {
                    date: '2016-05-03',
                    name: '王小虎',
                    address: '上海市普陀区金沙江路 1516 弄'
                }]
            }
      })

 2.elementui+axios

        2.1 axios跨域请求使用

        上一步中添加的数据为自己编写的是数据,在实际开发过程中,数据需要通过查询数据库来获取,这时就需要和后端建立连接。

        跨域请求时需要在后端代码进行配置

@Configuration // 一定不要忽略此注解
public class CorsConfig implements WebMvcConfigurer {
 @Override
 public void addCorsMappings(CorsRegistry registry) {
     registry.addMapping("/**") // 所有接口
             .allowCredentials(true) // 是否发送 Cookie---
             .allowedOrigins("*") //支持哪些域跨域
//                .allowedOriginPatterns("*") // 支持域
             .allowedMethods(new String[]{"GET", "POST", "PUT", "DELETE"}) // 支持方法
             .allowedHeaders("*")
             .exposedHeaders("*");
 }
}

        2.2  如何实现数据传输

        (1)引入axios

<!--引入axios的js-->
    <script type="text/ja vascript" src="js/axios.min.js"></script>

        (2)从数据库中获取数据并进行渲染


  • 1
    点赞
  • 1
    收藏
    觉得还不错? 一键收藏
  • 0
    评论
Vue+elementui分片上传可以使用如下步骤: 1. 前端将大文件分为若干个片段,并将每个片段上传到后端。 2. 后端将每个片段存储在服务器上,并返回每个片段的文件名和存储路径。 3. 前端将每个片段的文件名和存储路径组成一个数组,发送给后端。 4. 后端将数组中的每个片段按照顺序合并成一个完整的文件。 5. 前端可以在上传过程中显示上传进度,并支持暂停、恢复和取消上传。可以使用Vue+elementui+axios实现大文件分片上传。 以下是示例代码: ``` <template> <div> <el-upload ref="upload" :show-file-list="false" :on-change="handleChange" :before-upload="handleBeforeUpload" :on-progress="handleProgress" :on-success="handleSuccess" :on-error="handleError"> <el-button size="small" type="primary">点击上传</el-button> </el-upload> <el-progress :percentage="percent"></el-progress> <el-button-group> <el-button size="small" @click="handleStart">开始上传</el-button> <el-button size="small" @click="handlePause">暂停上传</el-button> <el-button size="small" @click="handleResume">恢复上传</el-button> <el-button size="small" @click="handleCancel">取消上传</el-button> </el-button-group> </div> </template> <script> import { ElUpload, ElButton, ElProgress, ElButtonGroup } from 'element-ui' import axios from 'axios' export default { components: { ElUpload, ElButton, ElProgress, ElButtonGroup }, data() { return { file: null, fileChunks: [], uploading: false, uploadedChunks: [], percent: 0, uploadUrl: 'https://www.example.com/upload', token: 'your_token', fileId: 'your_file_id', chunkSize: 1024 * 1024, // 每个片段的大小 maxRetries: 5, // 最大重试次数 } }, methods: { handleChange(file) { this.file = file this.fileChunks = this.getChunks(file) this.uploadedChunks = [] this.percent = 0 }, handleBeforeUpload(file) { // 阻止自动上传 return false }, handleStart() { if (!this.uploading) { this.uploading = true this.uploadChunks(this.fileChunks, 0) } }, handlePause() { this.uploading = false }, handleResume() { this.uploading = true this.uploadChunks(this.fileChunks, this.uploadedChunks.length) }, handleCancel() { this.file = null this.fileChunks = [] this.uploading = false this.uploadedChunks = [] this.percent = 0 }, handleProgress(event, file) { if (file === this.file) { this.percent = event.percent } }, handleSuccess(response, file) { if (file === this.file) { this.uploading = false console.log('上传成功') } }, handleError(error, file) { if (file === this.file) { this.uploading = false console.log('上传失败') } }, getChunks(file) { const fileSize = file.size const chunks = [] let start = 0 let end = this.chunkSize while (start < fileSize) { chunks.push({ file: file.slice(start, end), index: Math.ceil(start / this.chunkSize), retries: 0, uploaded: false, uploading: false, error: false, }) start = end end += this.chunkSize } return chunks }, async uploadChunks(chunks, start) { if (!this.uploading) { return } const maxIndex = chunks.length - 1 for (let i = start; i <= maxIndex; i++) { const chunk = chunks[i] if (chunk.uploaded || chunk.uploading) { continue } chunk.uploading = true const formData = new FormData() formData.append('chunkIndex', chunk.index) formData.append('chunkFile', chunk.file) formData.append('chunkSize', this.chunkSize) formData.append('fileId', this.fileId) formData.append('token', this.token) try { const response = await axios.post(this.uploadUrl, formData, { headers: { 'Content-Type': 'multipart/form-data', }, }) chunk.uploaded = true chunk.uploading = false this.uploadedChunks.push(chunk) console.log(`上传成功:${chunk.index}`) } catch (error) { chunk.uploading = false if (chunk.retries < this.maxRetries) { chunk.retries++ console.log(`上传失败,正在重试:${chunk.index}`) i-- } else { chunk.error = true console.log(`上传失败:${chunk.index}`) } } if (this.uploadedChunks.length === chunks.length) { this.mergeChunks(chunks) break } } }, async mergeChunks(chunks) { const formData = new FormData() formData.append('fileId', this.fileId) formData.append('token', this.token) try { const response = await axios.post(this.uploadUrl + '/merge', formData) console.log('合并成功') } catch (error) { console.log('合并失败') } }, }, } </script> ``` 以上代码中,`el-upload`组件用于选择文件和显示上传进度,`ElProgress`组件用于显示上传进度条,`ElButtonGroup`组件用于控制上传操作。`handleChange`方法用于获取文件,并将文件分成若干个片段。`handleBeforeUpload`方法用于阻止自动上传。`handleStart`方法用于开始上传。`handlePause`方法用于暂停上传。`handleResume`方法用于恢复上传。`handleCancel`方法用于取消上传。`handleProgress`方法用于更新上传进度。`handleSuccess`方法用于上传成功后的处理。`handleError`方法用于上传失败后的处理。`getChunks`方法用于将文件分成若干个片段。`uploadChunks`方法用于上传每个片段。`mergeChunks`方法用于将所有片段合并成一个完整的文件。 注意,在上传每个片段时,需要使用`FormData`来上传文件。在上传成功后,需要将上传成功的片段保存在`uploadedChunks`数组中,并在所有片段都上传成功后,调用`mergeChunks`方法将所有片段合并成一个完整的文件。在上传过程中,可以使用`percent`属性来显示上传进度。在上传时,可以支持暂停、恢复和取消上传操作。

“相关推荐”对你有帮助么?

  • 非常没帮助
  • 没帮助
  • 一般
  • 有帮助
  • 非常有帮助
提交
评论
添加红包

请填写红包祝福语或标题

红包个数最小为10个

红包金额最低5元

当前余额3.43前往充值 >
需支付:10.00
成就一亿技术人!
领取后你会自动成为博主和红包主的粉丝 规则
hope_wisdom
发出的红包
实付
使用余额支付
点击重新获取
扫码支付
钱包余额 0

抵扣说明:

1.余额是钱包充值的虚拟货币,按照1:1的比例进行支付金额的抵扣。
2.余额无法直接购买下载,可以购买VIP、付费专栏及课程。

余额充值