


Android新装应用apk运行动画 ViewFlipper(翻转视图)
其实这么个意思,就是每次我们下载一个新的应用,他都有左右滑动看这个应用的介绍,或者宣传之类的,刚开始感觉好牛逼。
今天学了这个http://blog.csdn.net/coder_pig/article/details/48734807
感觉不在那么高大上了。。
http://7xjqvu.com1.z0.glb.clouddn.com/15-9-25/9413188.jpg 、
好的,我们开始学习吧
自动滑动过程截图

不多说了,老规矩,贴代码
每个页面的布局都是一个简单的ImageView
page_help_one.xml
<?xml version="1.0" encoding="utf-8"?>
<LinearLayout xmlns:android="http://schemas.android.com/apk/res/android"
    android:layout_width="match_parent"
    android:layout_height="match_parent"
    android:orientation="vertical">

    <ImageView
        android:layout_width="match_parent"
        android:layout_height="match_parent"
        android:src="@mipmap/ic_help_view_1"/>

</LinearLayout>
page_help_two.xml
<?xml version="1.0" encoding="utf-8"?>
<LinearLayout xmlns:android="http://schemas.android.com/apk/res/android"
    android:layout_width="match_parent"
    android:layout_height="match_parent"
    android:orientation="vertical">

    <ImageView
        android:layout_width="match_parent"
        android:layout_height="match_parent"
        android:src="@mipmap/ic_help_view_2"/>

</LinearLayout>
page_help_three.xml
<?xml version="1.0" encoding="utf-8"?>
<LinearLayout xmlns:android="http://schemas.android.com/apk/res/android"
    android:layout_width="match_parent"
    android:layout_height="match_parent"
    android:orientation="vertical">

    <ImageView
        android:layout_width="match_parent"
        android:layout_height="match_parent"
        android:src="@mipmap/ic_help_view_3"/>

</LinearLayout>
page_help_four.xml
<?xml version="1.0" encoding="utf-8"?>
<LinearLayout xmlns:android="http://schemas.android.com/apk/res/android"
    android:layout_width="match_parent"
    android:layout_height="match_parent"
    android:orientation="vertical">

    <ImageView
        android:layout_width="match_parent"
        android:layout_height="match_parent"
        android:src="@mipmap/ic_help_view_4"/>

</LinearLayout>
两个进入以及 离开的动画:
right_in.xml
<?xml version="1.0" encoding="utf-8"?>
<set xmlns:android="http://schemas.android.com/apk/res/android">

    <translate
        android:duration="2000"
        android:fromXDelta="100%p"
        android:toXDelta="0" />

</set>
right_out.xml
<?xml version="1.0" encoding="utf-8"?>
<set xmlns:android="http://schemas.android.com/apk/res/android" >

    <translate
        android:duration="2000"
        android:fromXDelta="0"
        android:toXDelta="-100%p" />

</set>
图片就不用了吧。。。
布局文件:activity_main.xml
<?xml version="1.0" encoding="utf-8"?>
<RelativeLayout xmlns:android="http://schemas.android.com/apk/res/android"
    xmlns:tools="http://schemas.android.com/tools"
    android:layout_width="match_parent"
    android:layout_height="match_parent"
    tools:context=".MainActivity">


    <ViewFlipper
        android:id="@+id/vflp_help"
        android:layout_width="match_parent"
        android:layout_height="match_parent"
        android:inAnimation="@anim/right_in"
        android:outAnimation="@anim/right_out"
        android:flipInterval="3000">

        <include layout="@layout/page_help_one" />

        <include layout="@layout/page_help_two" />

        <include layout="@layout/page_help_three" />

        <include layout="@layout/page_help_four" />

    </ViewFlipper>

</RelativeLayout>
展示视图控制文件:MainActivity
package com.yang.viewflipperstaticdemo;

import android.os.Bundle;
import android.support.v7.app.AppCompatActivity;
import android.widget.ViewFlipper;

public class MainActivity extends AppCompatActivity {

    private ViewFlipper vflp_help;
    @Override
    protected void onCreate(Bundle savedInstanceState) {
        super.onCreate(savedInstanceState);
        setContentView(R.layout.activity_main);
        vflp_help = (ViewFlipper) findViewById(R.id.vflp_help);
        vflp_help.startFlipping();
    }
}
AndroidManifest.xml
<?xml version="1.0" encoding="utf-8"?>
<manifest xmlns:android="http://schemas.android.com/apk/res/android"
    package="com.yang.viewflipperstaticdemo">

    <application
        android:allowBackup="true"
        android:icon="@mipmap/ic_launcher"
        android:label="@string/app_name"
        android:supportsRtl="true"
        android:theme="@style/AppTheme">
        <activity
            android:name=".MainActivity"
            android:label="@string/app_name"
            android:theme="@style/AppTheme.NoActionBar">
            <intent-filter>
                <action android:name="android.intent.action.MAIN" />

                <category android:name="android.intent.category.LAUNCHER" />
            </intent-filter>
        </activity>
    </application>

</manifest>
看他自己在动,十分不爽是吧
我们需要的是可操作。。
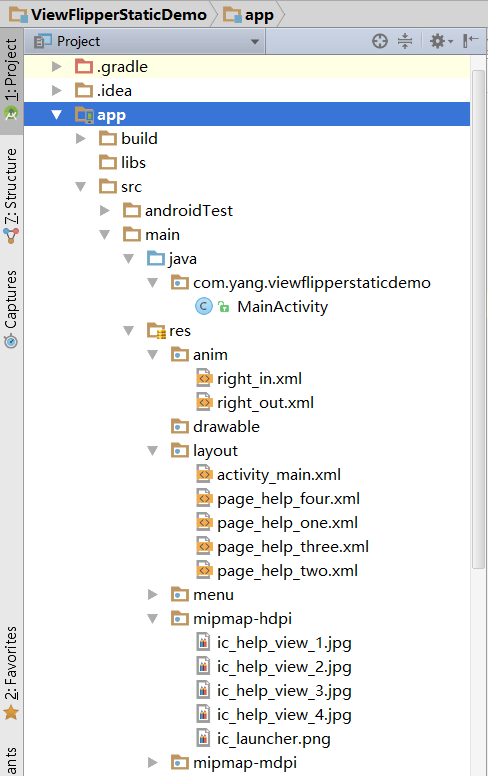
这是代码目录
别及大神教我们了。。
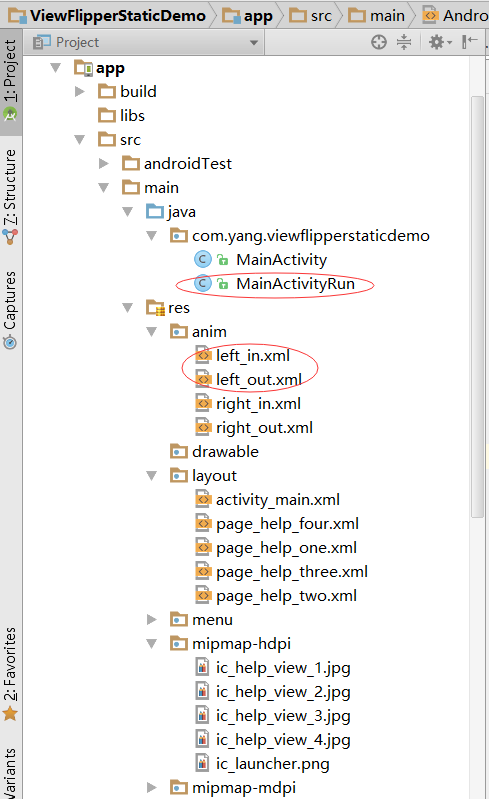
再增加两个进入以及 离开的动画:
left_in.xml
<?xml version="1.0" encoding="utf-8"?>
<set xmlns:android="http://schemas.android.com/apk/res/android" >

    <translate
        android:duration="500"
        android:fromXDelta="-100%p"
        android:toXDelta="0" />

</set>
left_out.xml
<?xml version="1.0" encoding="utf-8"?>
<set xmlns:android="http://schemas.android.com/apk/res/android">

    <translate
        android:duration="500"
        android:fromXDelta="0"
        android:toXDelta="100%p" />

</set>
新增了:MainActivityRun
package com.yang.viewflipperstaticdemo;

import android.content.Context;
import android.os.Bundle;
import android.support.v7.app.AppCompatActivity;
import android.view.GestureDetector;
import android.view.MotionEvent;
import android.widget.ImageView;
import android.widget.ViewFlipper;

public class MainActivityRun extends AppCompatActivity {

    private Context mContext;
    private ViewFlipper vflp_help;
    private int[] resId = {R.mipmap.ic_help_view_1,R.mipmap.ic_help_view_2,
            R.mipmap.ic_help_view_3,R.mipmap.ic_help_view_4};

    private final static int MIN_MOVE = 200;   //最小距离
    private MyGestureListener mgListener;
    private GestureDetector mDetector;

    @Override
    protected void onCreate(Bundle savedInstanceState) {
        super.onCreate(savedInstanceState);
        setContentView(R.layout.activity_main);
        mContext = MainActivityRun.this;
        //实例化SimpleOnGestureListener与GestureDetector对象
        mgListener = new MyGestureListener();
        mDetector = new GestureDetector(this, mgListener);
        vflp_help = (ViewFlipper) findViewById(R.id.vflp_help);
        //动态导入添加子View
        for(int i = 0;i < resId.length;i++){
            vflp_help.addView(getImageView(resId[i]));
        }

    }

    //重写onTouchEvent触发MyGestureListener里的方法
    @Override
    public boolean onTouchEvent(MotionEvent event) {
        return mDetector.onTouchEvent(event);
    }


    //自定义一个GestureListener,这个是View类下的,别写错哦!!!
    private class MyGestureListener extends GestureDetector.SimpleOnGestureListener {
        @Override
        public boolean onFling(MotionEvent e1, MotionEvent e2, float v, float v1) {
            if(e1.getX() - e2.getX() > MIN_MOVE){
                vflp_help.setInAnimation(mContext,R.anim.right_in);
                vflp_help.setOutAnimation(mContext, R.anim.right_out);
                vflp_help.showNext();
            }else if(e2.getX() - e1.getX() > MIN_MOVE){
                vflp_help.setInAnimation(mContext,R.anim.left_in);
                vflp_help.setOutAnimation(mContext, R.anim.left_out);
                vflp_help.showPrevious();
            }
            return true;
        }
    }

    private ImageView getImageView(int resId){
        ImageView img = new ImageView(this);
        img.setBackgroundResource(resId);
        return img;
    }
}
怎么么让他运行呢。。。别忘了改AndroidManifest.xml,区别自己看去吧
<?xml version="1.0" encoding="utf-8"?>
<manifest xmlns:android="http://schemas.android.com/apk/res/android"
    package="com.yang.viewflipperstaticdemo">

    <application
        android:allowBackup="true"
        android:icon="@mipmap/ic_launcher"
        android:label="@string/app_name"
        android:supportsRtl="true"
        android:theme="@style/AppTheme">
        <activity
            android:name=".MainActivityRun"
            android:label="@string/app_name"
            android:theme="@style/AppTheme.NoActionBar">
            <intent-filter>
                <action android:name="android.intent.action.MAIN" />

                <category android:name="android.intent.category.LAUNCHER" />
            </intent-filter>
        </activity>
    </application>

</manifest>
代码下载
本文中的代码已经在文中全部出现过了,为什么还需要一个下载币呢,是因为我的下载币不够用了额,下载其他大神的代码,需要,所以请赞助一下吧。当然你不想赞助的话,你可以在文章中一个一个的copy,绝对的一模一样,绝对的开源,赞助一个下载币吧
http://download.csdn.net/detail/xyzz609/9581965


 1090
1090

 被折叠的 条评论
为什么被折叠?
被折叠的 条评论
为什么被折叠?
 到【灌水乐园】发言


