


前言
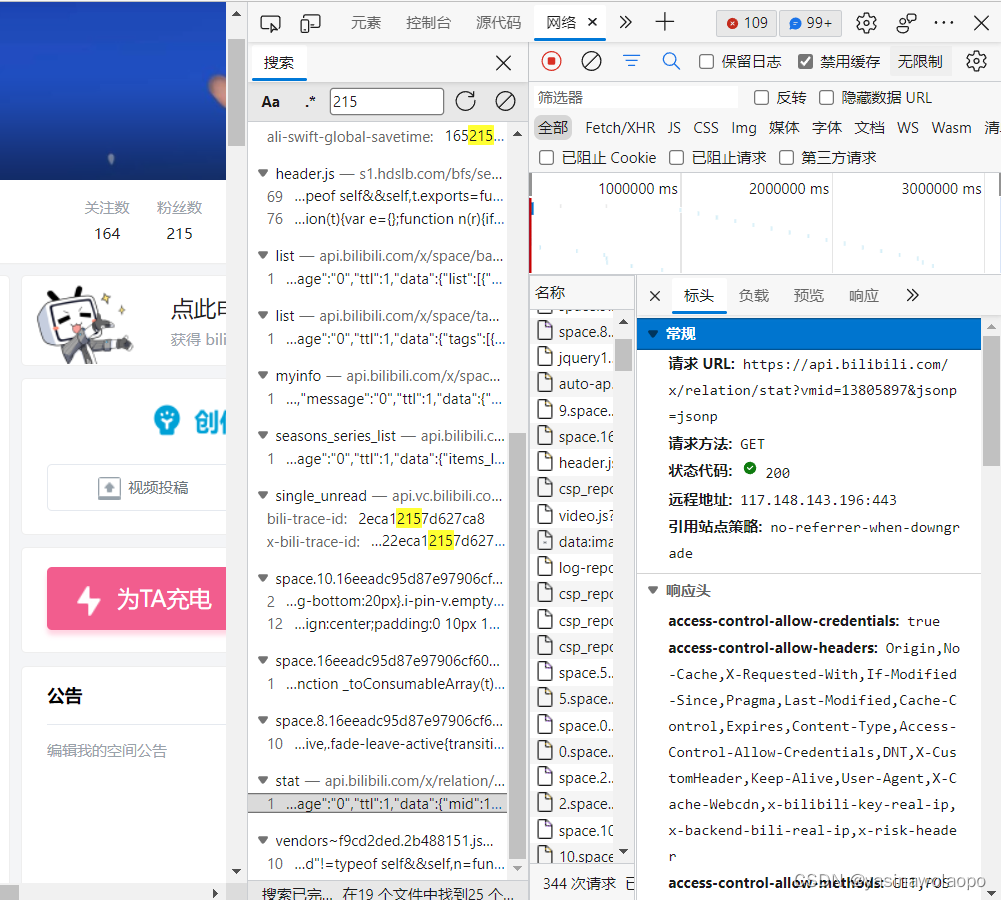
找到我们想要的api
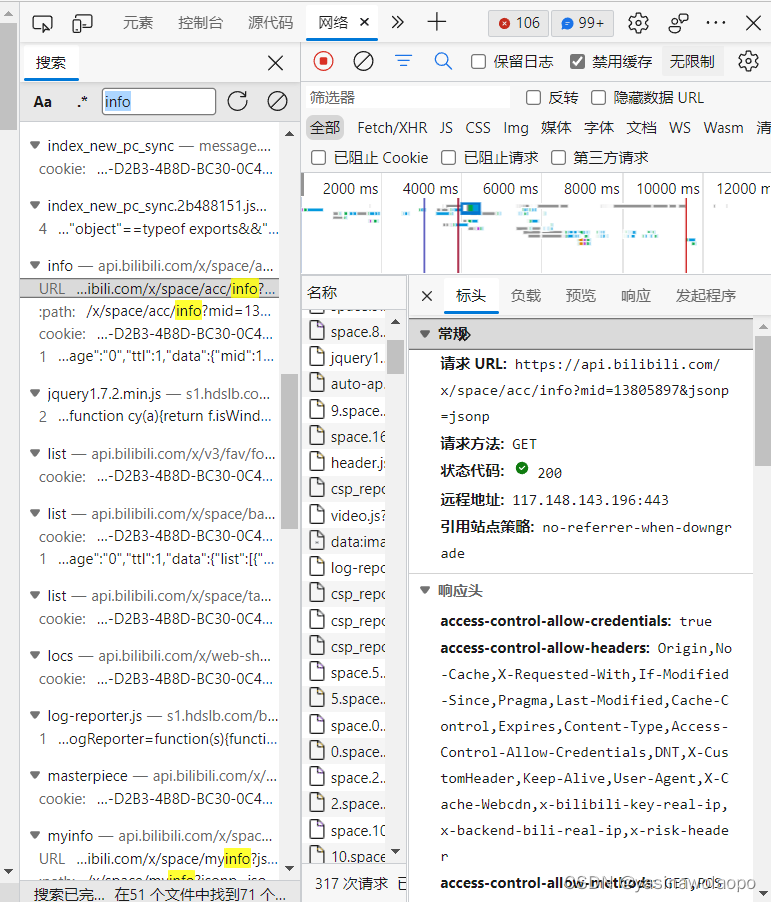
或者是
可以查看我的
然后我们使用nodejs后端来请求(你也可以使用前端,我为什么要用后端,是因为自己太菜了,详情请看前言链接)
npm install https
要想node后端解决跨域问题的话,得安装cors
npm install cors
nodejs服务端开发
npm install express
const express = require('express');
const app = express();

const cors = require('cors');
//app.use(cors())//允许所有跨域请求
/*app.use(cors({
	origin:["http://localhost:3000","http://localhost:8080"],//限制指定域名(可以是字符串可以是数组)
}))*/

const https = require('https');
let uid = 自己b站或者是你想要获取人的B站uid
https.get(`https://api.bilibili.com/x/relation/stat?vmid=${uid}&jsonp=jsonp`,(res)=>{
    let data = ''
    res.on('data',(chunk)=>{
        data += chunk
    })
    res.on('end',()=>{
        console.log(JSON.parse(data))
        //因为会复杂就不使用模块化了


        app.get('/getUser',(req,res)=>{
            console.log('/getUser  响应了')
            res.send(JSON.parse(data))
        })
    })
}).on('error',(err)=>{
    console.log("Erorr:",err.message)
})

app.get('/hello',(req,res)=>{
	res.send('hello') //测试
})


app.listen(5000,()=>{
    console.log('5000端口已经监视')
})
node 文件名.js
解决跨域问题
vue-cli跨域问题需要配置vue.config.js
module.exports = {
	devServer:{
		"/api":{
			target: 'https://localhost:5000'
			changeOrigin:true,
			pathRewrite:{
				"^/api":"" //里面写的话,就是里面的uri代替/api
			}
		}
	}
}
我使用的是vite + vue3 + typeScript所以配置的是vit.config.ts:
import { defineConfig } from 'vite'
import vue from '@vitejs/plugin-vue'

// https://vitejs.dev/config/
export default defineConfig({
  plugins: [vue()],
  server:{
    proxy:{
      "/api":{
        target: "https://api.bilibili.com/x",
        changeOrigin:true,
        // /api/relation/stat?vmid=13805897&jsonp=jsonp ===  https://api.bilibili.com/x/relation/stat?vmid=13805897&jsonp=jsonp
        rewrite: (path)=> path.replace(/^\/api/,"")
      },
      "/myInter":{
        target: "http://localhost:5000",
        changeOrigin:true,
        // /myInter/getUser ===  http://localhost:5000/getUser
        rewrite: (path)=> path.replace(/^\/myInter/,"")//  /^\/myInter/:正则表达式
      }
    }
  }
})
你的vue文件(通过axios来进行前后端传输的)
npm install axios
<script setup lang="ts">
import { ref,reactive } from "vue";
import axios from "axios";

function axiosFun1(){
  axios.get(`/myInter/getUser`).then(res=>{
    console.log(res)
  }).catch(err=>{
    console.log("Error:",err)
  })
}
</script>

<template>
  <button @click="axiosFun1">点击获取自己的服务器数据</button>
</template>

<style>

</style>
你可以稍加修改: 获取数据
import { ref,reactive } from "vue";
import axios from "axios";

interface info{
	mid:number,//uid用户
	following: number,//uid用户的关注人数
	whisper:number,
	black:number,
	follower:number //uid用户的粉丝数
}

let myInfo = reactive<info>({
	mid:0 as number,//uid用户
	following:0 as number,//uid用户的关注人数
	whisper:0 as number,
	black:0 as number,
	follower:0 as number //uid用户的粉丝数
})

function axiosFun1(){
  axios.get(`/myInter/getUser`).then(res=>{
    console.log(res)
    myInfo.mid = res.data.mid //看你的mid数据是否在响应的data里
    myInfo.following= res.data.following//看你的following数据是否在响应的data里
    myInfo.whisper= res.data.whisper//看你的whisper数据是否在响应的data里
    myInfo.black= res.data.black//看你的black数据是否在响应的data里
    myInfo.follower= res.data.follower//看你的follower数据是否在响应的data里
  }).catch(err=>{
    console.log("Error:",err)
  })
}
前端获取数据
<template>
  <button @click="axiosFun1">点击获取自己的服务器数据</button>
  <p>你的uid:{{myInfo.mid}}</p>
  <p>你的关注人数:{{myInfo.following}}</p>
  <p>{{myInfo.whisper}}</p>
  <p>{{myInfo.black}}</p>
  <p>你的粉丝数:{{myInfo.follower}}</p>
</template>
注意: 我这里把数据请求都在方法里,所以点击按钮才执行方法里的代码(获取到数据,当然你可以使用vue3/vue2的生命周期钩子来实现)


 1150
1150


 被折叠的 条评论
为什么被折叠?
被折叠的 条评论
为什么被折叠?
 到【灌水乐园】发言


