前言
设计的一个主页操控必须用到类似的层叠菜单,网上搜了很多都是不用UI设计器的方法,感觉都是出自于QT本身的例子和<QT5开发和实例>这本书,
本文希望用UI设计器来做。
1 QStackedWidget Class 基础:
qthelp://org.qt-project.qtwidgets.562/qtwidgets/qstackedwidget.html#removeWidget
1 方法一:不用UI设计器,手动写:
这个方法好似好,但是,如果页面比较复杂了,那就比较悲催了。
转于:“http://blog.csdn.net/liang19890820/article/details/51614346#t3”
版权声明:进步始于交流,收获源于分享!纯正开源之美,有趣、好玩、靠谱。。。作者:一去丶二三里 博客地址:http://blog.csdn.net/liang19890820
简述
QStackedWidget继承自QFrame。
QStackedWidget类提供了多页面切换的布局,一次只能看到一个界面。
QStackedWidget可用于创建类似于QTabWidget提供的用户界面。
使用
一个QStackedWidget可以用一些子页面进行填充。
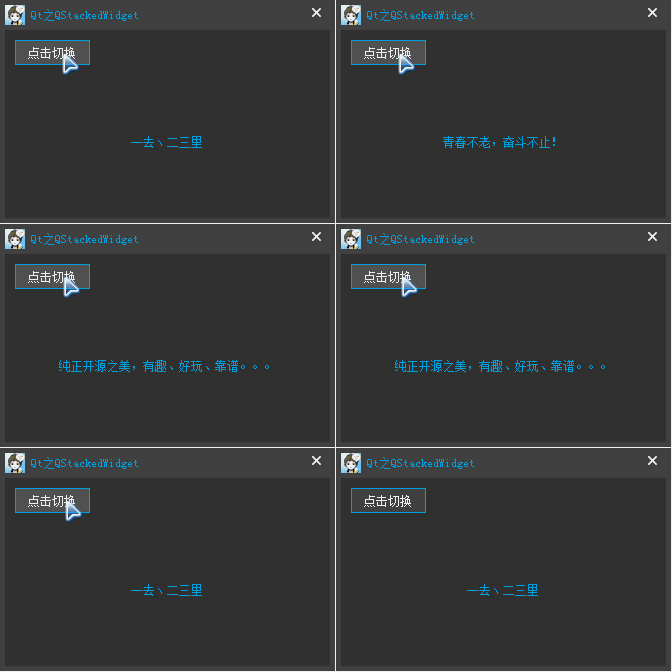
效果
源码
- 1
- 2
- 3
- 4
- 5
- 6
- 7
- 8
- 9
- 10
- 11
- 12
- 13
- 14
- 15
- 16
- 17
- 18
- 19
- 20
- 21
- 22
- 23
- 24
- 25
- 26
- 27
- 28
- 29
- 30
- 31
- 32
- 33
- 34
- 35
- 36
- 37
- 38
- 39
- 40
- 41
- 1
- 2
- 3
- 4
- 5
- 6
- 7
- 8
- 9
- 10
- 11
- 12
- 13
- 14
- 15
- 16
- 17
- 18
- 19
- 20
- 21
- 22
- 23
- 24
- 25
- 26
- 27
- 28
- 29
- 30
- 31
- 32
- 33
- 34
- 35
- 36
- 37
- 38
- 39
- 40
- 41
接口
-
int addWidget(QWidget * widget)
添加页面,并返回页面对应的索引
-
int count() const
获取页面数量
-
int currentIndex() const
获取当前页面的索引
-
QWidget * currentWidget() const
获取当前页面
-
int indexOf(QWidget * widget) const
获取QWidget页面所对应的索引
-
int insertWidget(int index, QWidget * widget)
在索引index位置添加页面
-
void removeWidget(QWidget * widget)
移除QWidget页面,并没有被删除,只是从布局中移动,从而被隐藏。
-
QWidget * widget(int index) const
获取索引index所对应的页面
信号
-
void currentChanged(int index)
当前页面发生变化时候发射,index为新的索引值
-
void widgetRemoved(int index)
页面被移除时候发射,index为页面对应的索引值
共有槽函数
-
void setCurrentIndex(int index)
设置索引index所在的页面为当前页面
-
void setCurrentWidget(QWidget * widget)
设置QWidget页面为当前页面
总结
一般情况,常用的两种方式:
-
根据currentWidget()来判断当前页面,然后通过setCurrentWidget()来设置需要显示的页面。
-
根据currentIndex()来判断当前页面索引,然后通过setCurrentIndex()来设置需要显示的页面。
方法2:通过UI设计器来做
2.1 首先生成一个带Frame主窗口的项目:
2.2 在这个Frame里面拖一个StackWiget


 3531
3531

 被折叠的 条评论
为什么被折叠?


