


由于公司项目需要,将原H5网页,转为uniapp开发的微信小程序,本人第一次接触uniapp,有些写的不好的地方请多多谅解。
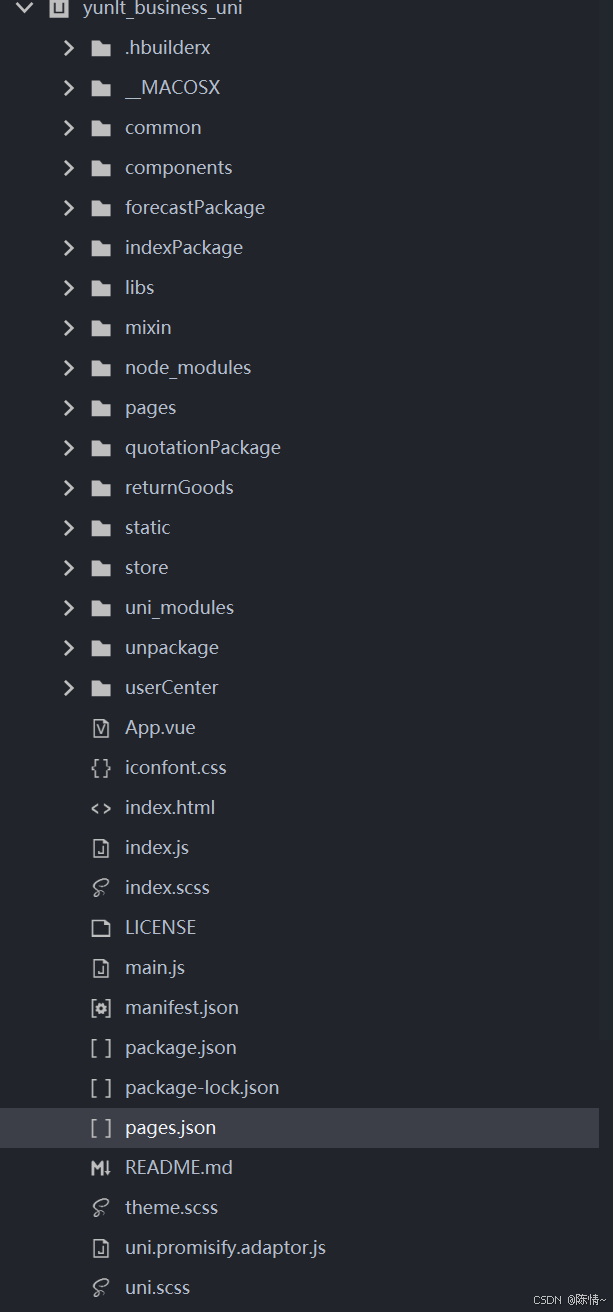
这是我修改完后,项目的一个目录方便大家参考。
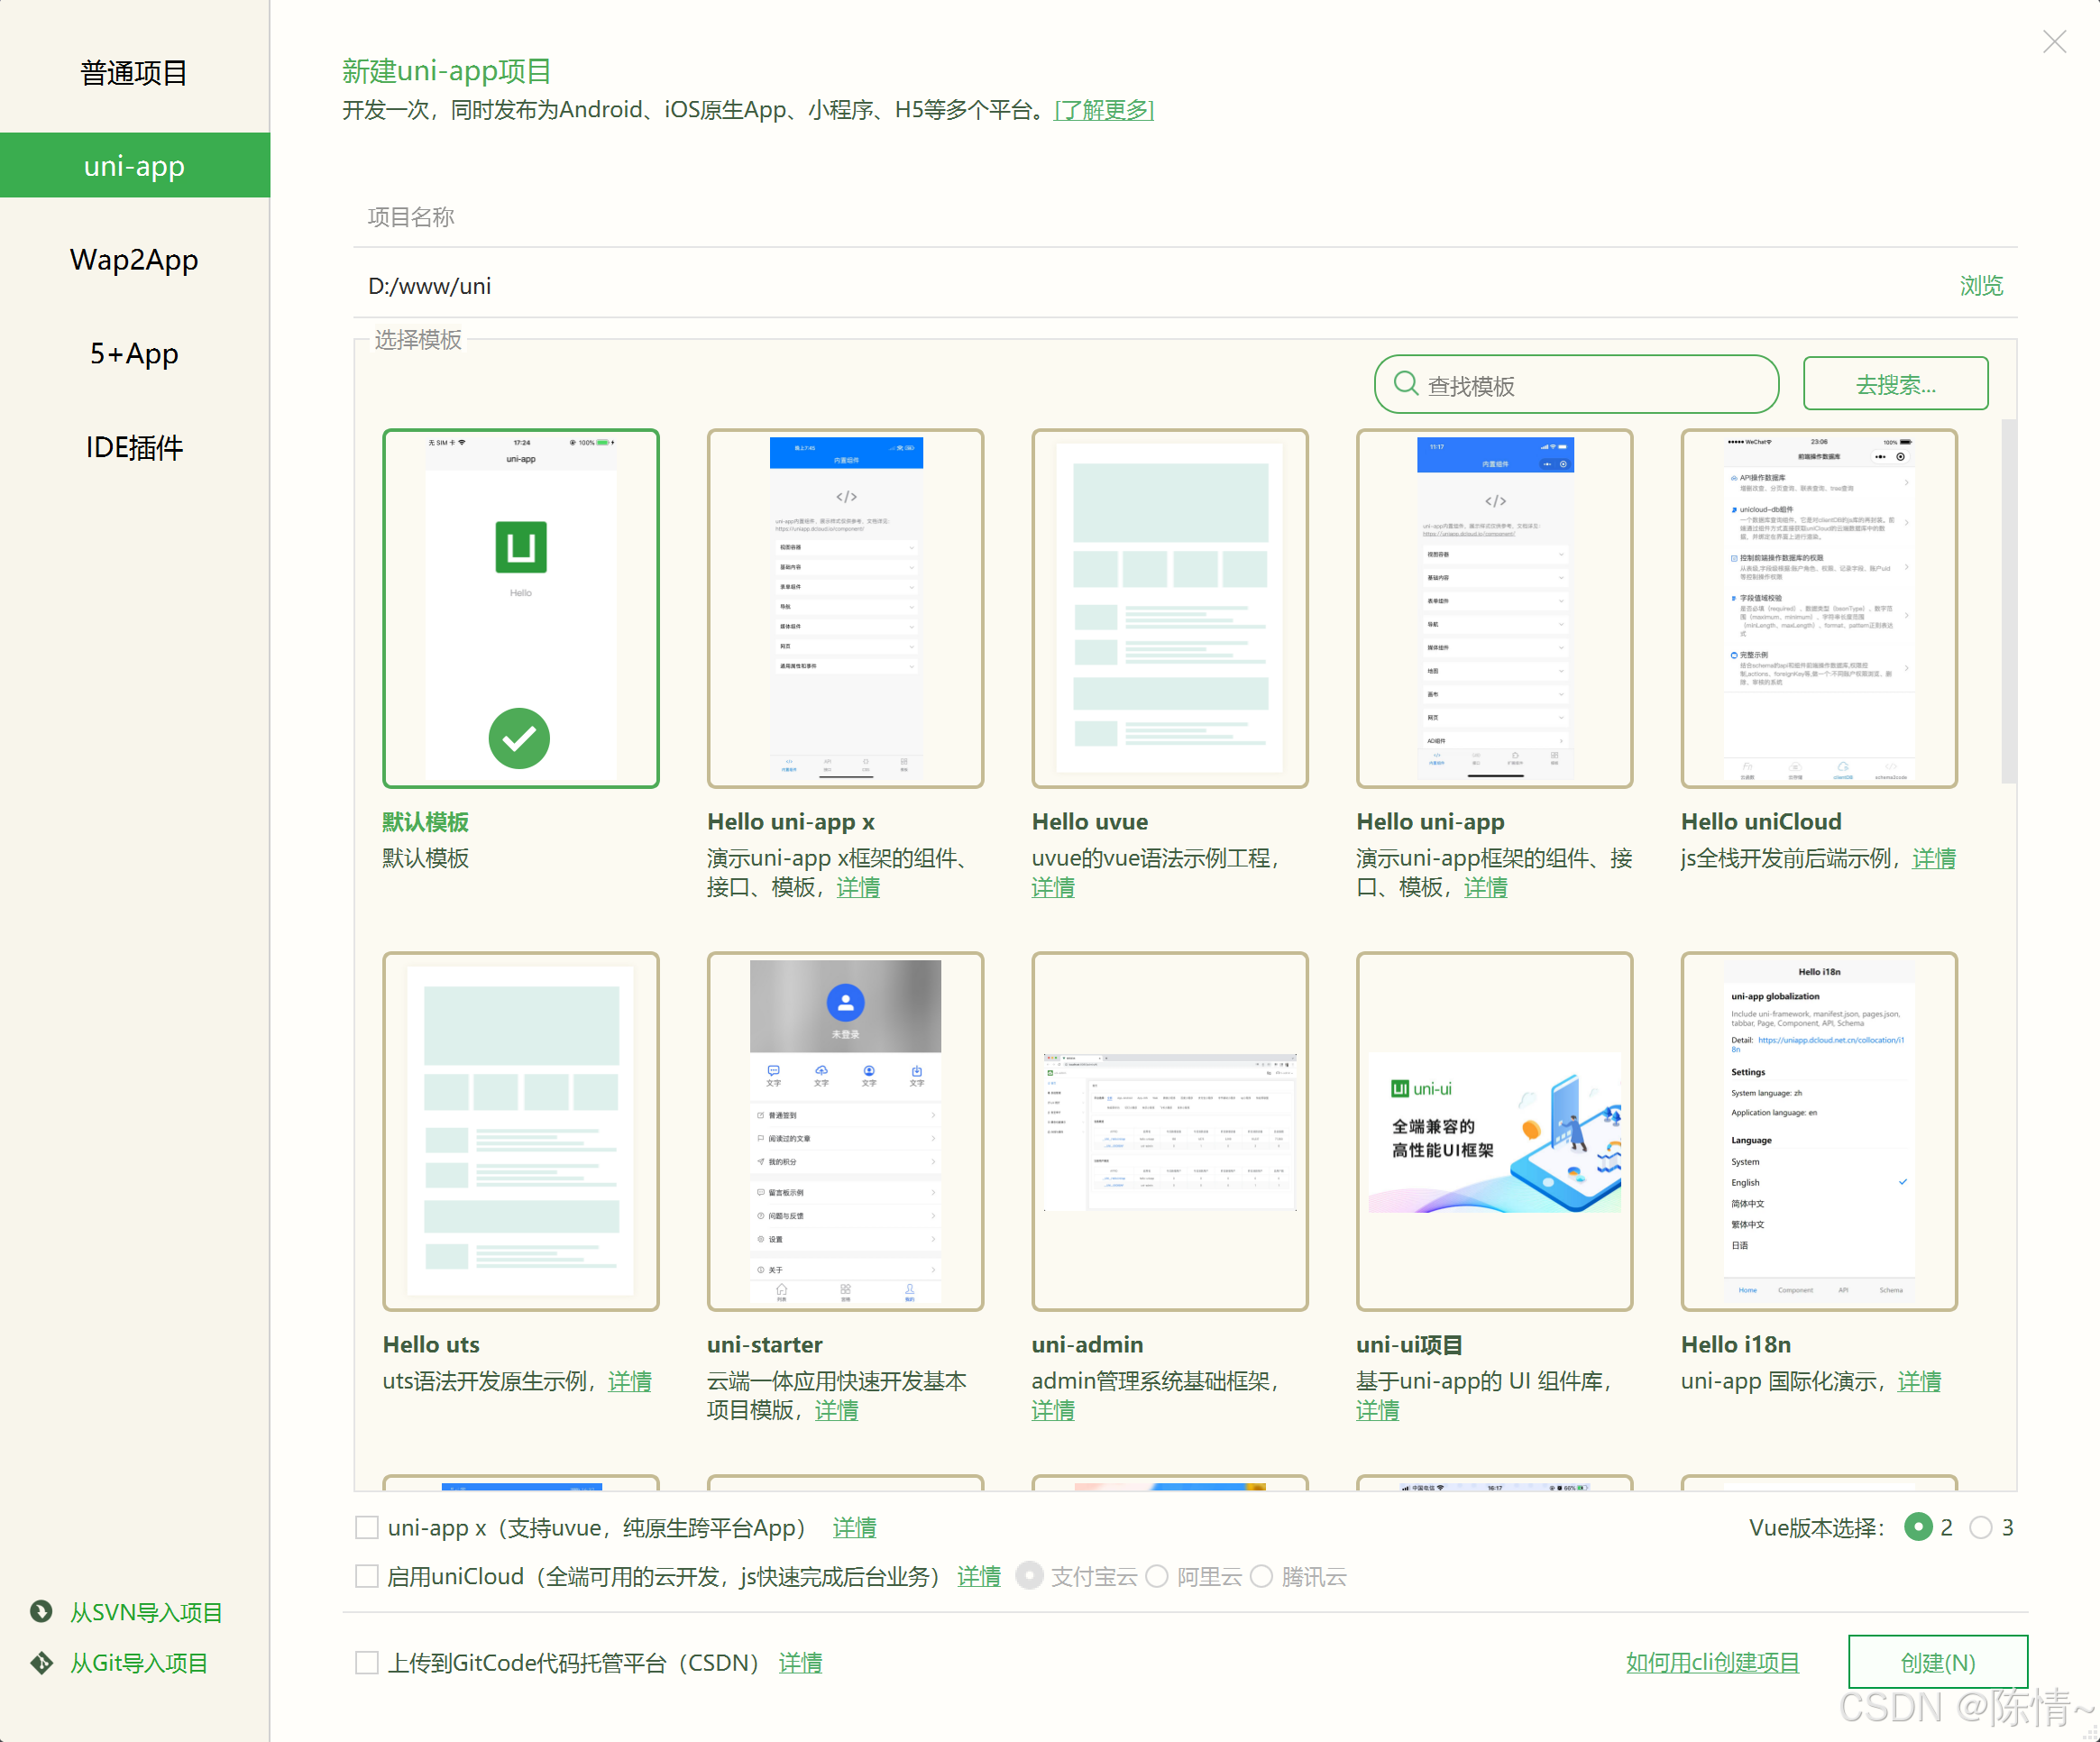
1.首先,我换了开发工具,原先用的是vscode,开发uniapp项目改用了hbuilderx。输入项目名称,选择默认模板,vue版本选择看你自己的vue版本使用即可。
2.当我们创建完项目后,看你vue代码直接复制进去,还是一点一点边改边复制过去咯。首先需要改的是路由配置。不愿意改的同学可以去插件市场下载vue-router-uni,不过我没有使用过哈哈。
这是原先vue2项目的路由配置
import App from '@/App';

export const IndexRoute = '/index';

// 是否开启登录验证
const isLogin = true;

// 基础路由
const baseRoute = [
  {
    path: '/login',
    name: 'Login',
    meta: { title: '登录页', path: '/login' },
    component: () => import('@/pages/login/login'),
  },
  {
    path: '/index',
    name: 'Index',
    meta: { title: '首页', path: '/index', isTabbar: true, PagePass: isLogin },
    component: () => import('@/pages/index/index'),
  },
  {
    path: '/forecast',
    name: 'Forecast',
    meta: { title: '商品预报', path: '/forecast', isTabbar: true, PagePass: isLogin },
    component: () => import('@/pages/forecast/forecast'),
  },
  {
    path: '/returnList',
    name: 'ReturnList',
    meta: { title: '退货申请', path: '/returnList', isTabbar: true, PagePass: isLogin },
    component: () => import('@/pages/return/returnList'),
  },
  {
    path: '/my',
    name: 'My',
    meta: { title: '个人中心', path: '/my', wxEnv: true, isTabbar: true, PagePass: isLogin },
    component: () => import('@/pages/my/my'),
  },
  {
    path: '/userSetting',
    name: 'UserSetting',
    meta: { title: '个人设置', path: '/userSetting', wxEnv: true, isTabbar: false, PagePass: isLogin },
    component: () => import('@/pages/settings/userSetting'),
  },
  {
    path: '/changePass',
    name: 'ChangePass',
    meta: { title: '个人设置', path: '/changePass', wxEnv: true, isTabbar: false, PagePass: isLogin },
    component: () => import('@/pages/settings/changePass'),
  },
];
这是在pages.json修改后的路由配置,这里我使用了subpackages分包,因为微信开发者工具上传代码时,主包不能太大了,首次加载也不会太卡。不熟悉分包的同学可以去pages.json 页面路由 | uni-app官网瞅瞅。
{
"pages": [ //pages数组中第一项表示应用启动页,参考:https://uniapp.dcloud.io/collocation/pages
{
"path": "pages/login/login",
"style": {
"navigationBarTitleText": "登录"
}
},
{
"path": "pages/tabBar/index/index",
"style": {
"navigationBarTitleText": "首页"
}
},
{
"path": "pages/tabBar/forecast/forecast",
"style": {
"navigationBarTitleText": "商品预报"
}
},
{
"path": "pages/tabBar/quotation/offer",
"style": {
"navigationBarTitleText": "业务下单"
}
},
{
"path": "pages/tabBar/return/returnList",
"style": {
"navigationBarTitleText": "退货申请"
}
},
{
"path": "pages/tabBar/my/my",
"style": {
"navigationBarTitleText": "个人中心"
}
}
],
"subpackages": [
{
"root": "returnGoods",
"pages": [{
"path": "return/returnDetail",
"style": {
"navigationBarTitleText": "退货详情"
}
},
{
"path": "return/returnWell",
"style": {
"navigationBarTitleText": "提交成功"
}
},
{
"path": "return/reOrder",
"style": {
"navigationBarTitleText": "订单列表"
}
},
{
"path": "return/reInfo",
"style": {
"navigationBarTitleText": "退货信息"
}
}
]
}
],
"easycom": {
"^u-(.*)": "uview-ui/components/u-$1/u-$1.vue"
},
"globalStyle": {
"navigationBarTextStyle": "black",
"navigationBarTitleText": "uni-app",
"navigationBarBackgroundColor": "#F8F8F8",
"backgroundColor": "#F8F8F8"
},
"uniIdRouter": {},
"tabBar": {
"color": "#7A7E83",
"selectedColor": "#007AFF",
"borderStyle": "black",
"backgroundColor": "#F8F8F8",
"list": [{
"pagePath": "pages/tabBar/index/index",
"iconPath": "static/tabbar/icon-kb.png",
"selectedIconPath": "static/tabbar/icon-kb-ac.png",
"text": "首页"
},
{
"pagePath": "pages/tabBar/forecast/forecast",
"iconPath": "static/tabbar/icon-fo.png",
"selectedIconPath": "static/tabbar/icon-fo-ac.png",
"text": "商品预报"
},
{
"pagePath": "pages/tabBar/quotation/offer",
"iconPath": "static/tabbar/icon-order.png",
"selectedIconPath": "static/tabbar/icon-order-ac.png",
"text": "业务下单"
},
{
"pagePath": "pages/tabBar/return/returnList",
"iconPath": "static/tabbar/icon-return.png",
"selectedIconPath": "static/tabbar/icon-return-ac.png",
"text": "退货申请"
},
{
"pagePath": "pages/tabBar/my/my",
"iconPath": "static/tabbar/icon-my.png",
"selectedIconPath": "static/tabbar/icon-my-ac.png",
"text": "我的"
}
]
}
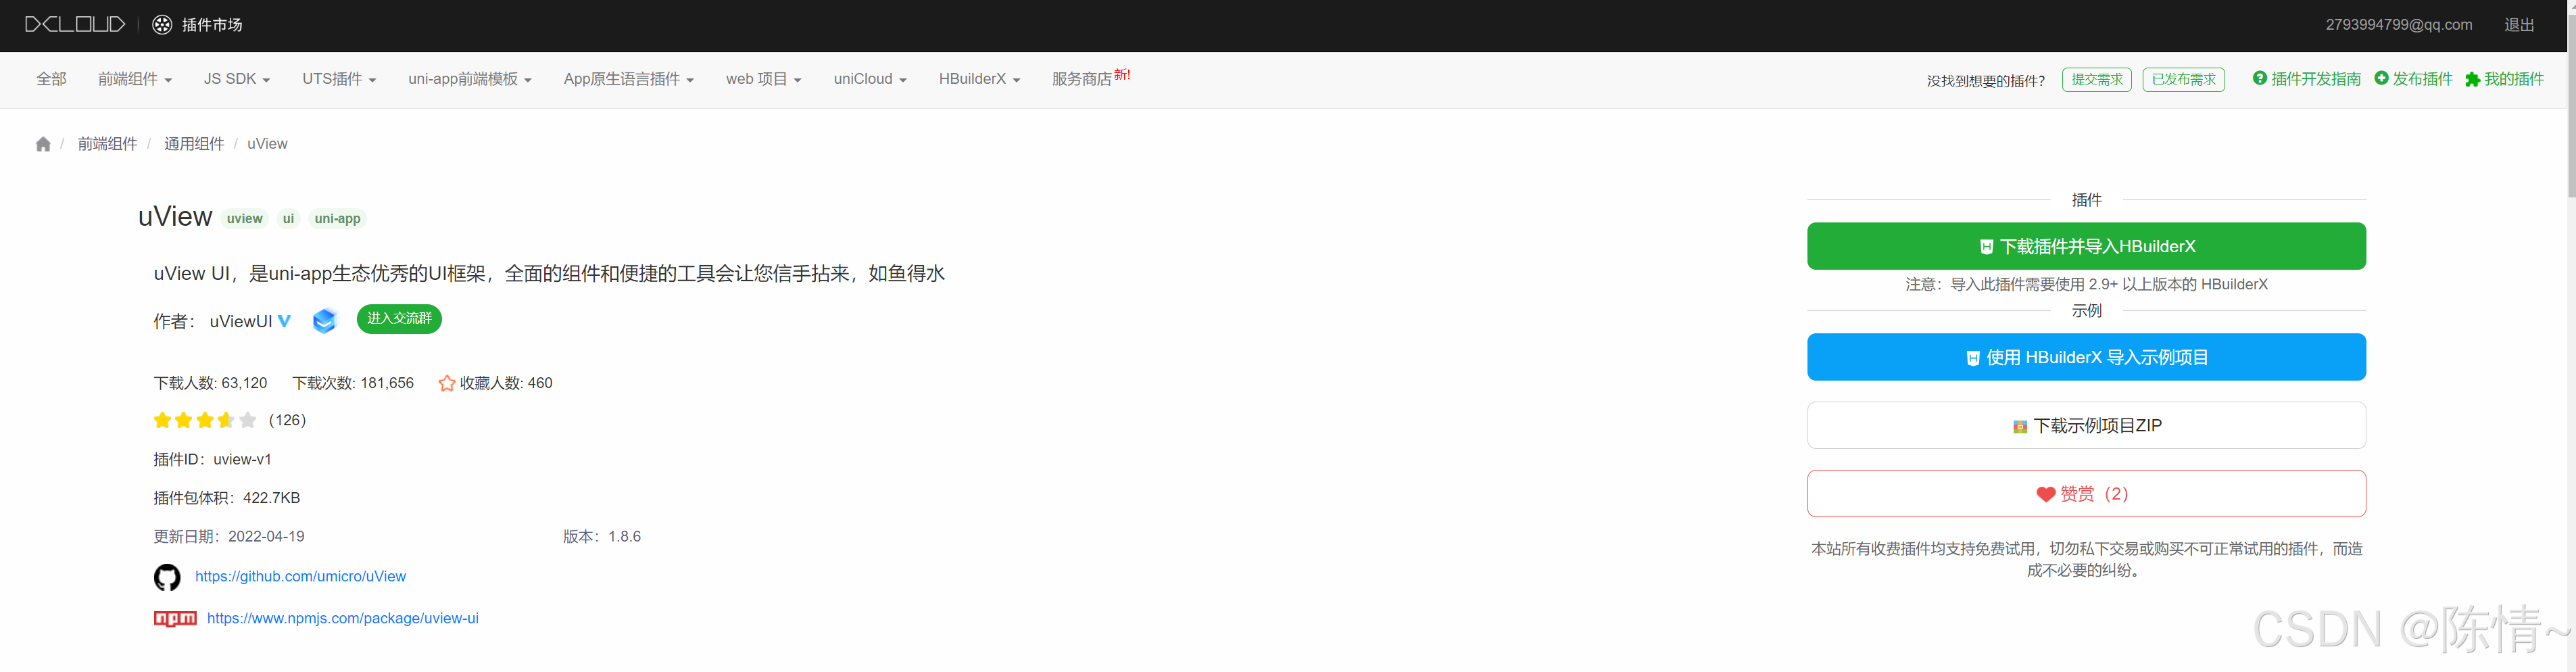
}3.UI框架修改
原先vue项目我使用的是vant ui。但是我在uniapp项目中引入vant-weapp后,运行一直报错
Cannot read property 'userAgent' of undefined。好像是因为微信小程序不支持document, window对象的原因。所以我最后还是换了ui 框架,比较推荐使用 uViewUI。如果使用了图表插件,我是改为使用 uCharts 秋云 ucharts echarts 高性能跨全端图表组件 - DCloud 插件市场,因为使用echarts出现了一些样式问题,和有点模糊。
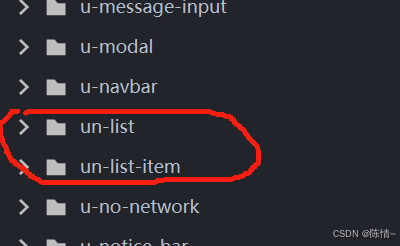
直接下载导入指定项目就行咯
自己写的的组件也是可以直接放进components文件夹中,直接使用的
这是使用vant ui的代码
<div class="search">
        <van-search v-model="searchKey" placeholder="根据商品名称、规格等进行搜索" class="search_input" />
        <span @click="searchFor">查询</span>
 </div>
 <van-tabs @change="changeTabs" class="menu_tabs arrival_date" style="width: 100%">
      <van-tab title="全部品牌" name=""></van-tab>
      <van-tab v-for="(item, index) in listDatax" :name="item.brand_id" :key="index"
        :title="item.brand_name">
      </van-tab>
 </van-tabs>
这是使用 uViewUI的代码,其实都是差不多的,熟悉之后改起来还是比较快的。
<div class="search">
				<u-search v-model="searchKey" :show-action="false" :clearabled="false" placeholder="根据商品名称、规格等进行搜索"
					class="search_input" />
				<span @click="searchFor">查询</span>
</div>

<u-tabs @change="changeTabs" class="arrival_date" :current="activeName" style="width: 100%" :list="listDatax"
			name="brand_name">
</u-tabs>
4.HTML代码的修改
html代码修改工作量是最少的,现在不需要把span, div,这些标签改为view,会自动帮你转换的。代码从原项目直接复制过来用就完事了。
5.css 代码修改
我比较推荐使用scss,原项目中css单位我用的rem和px,现在rem需要转为rpx。px可以不转

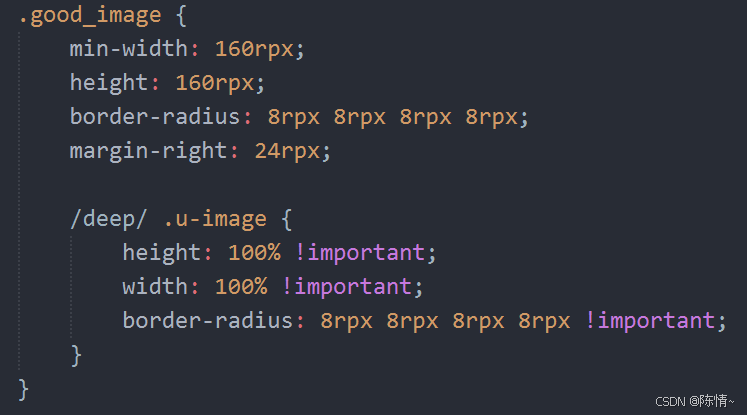
对 uViewUI组件样式修改需要样式穿透
6.js的修改
js 基本也没有什么需要修改的,能用uni-app的js API,尽量使用就行了。
vue项目中的mixin,store都是一样正常使用的
在main.js中引用,挂载。
import App from './App'
import store from './store'

// #ifndef VUE3
import Vue from 'vue'
import './uni.promisify.adaptor'
import uView from 'uview-ui';
import Mixins from './mixin/mixin.js'

Vue.mixin(Mixins)
Vue.prototype.$store = store
Vue.use(uView);
Vue.config.productionTip = false
App.mpType = 'app'
const app = new Vue({
	store,
	...App
})
app.$mount()
// #endif

// #ifdef VUE3
import {
	createSSRApp
} from 'vue'
export function createApp() {
	const app = createSSRApp(App)
	app.use(store)
	return {
		app
	}
}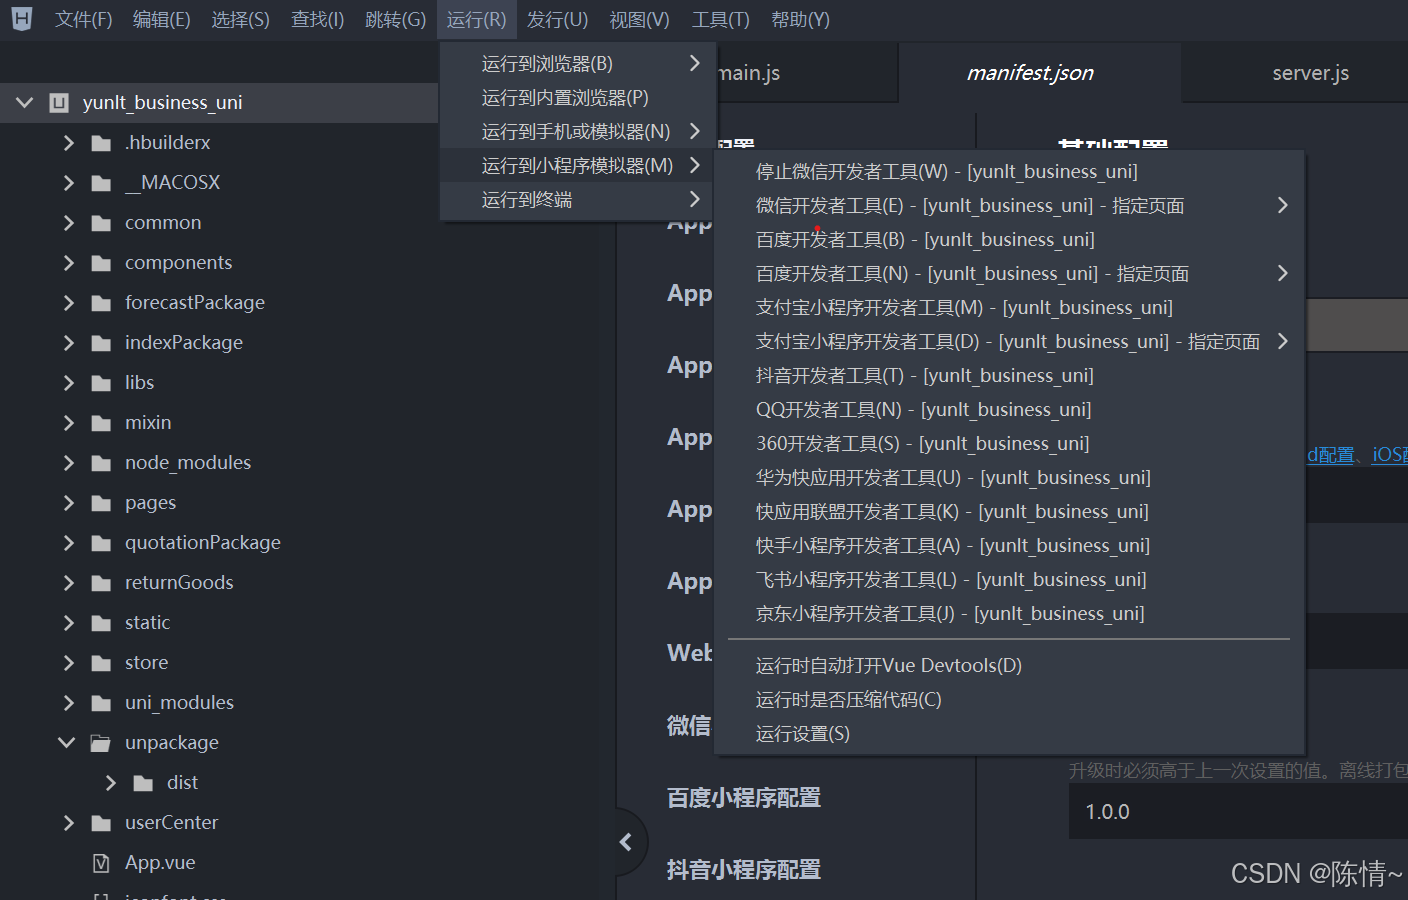
// #endif7.当你代码修改完毕后,就可以在 manifest.json配置 appid,然后在运行到微信开发者工具就行了
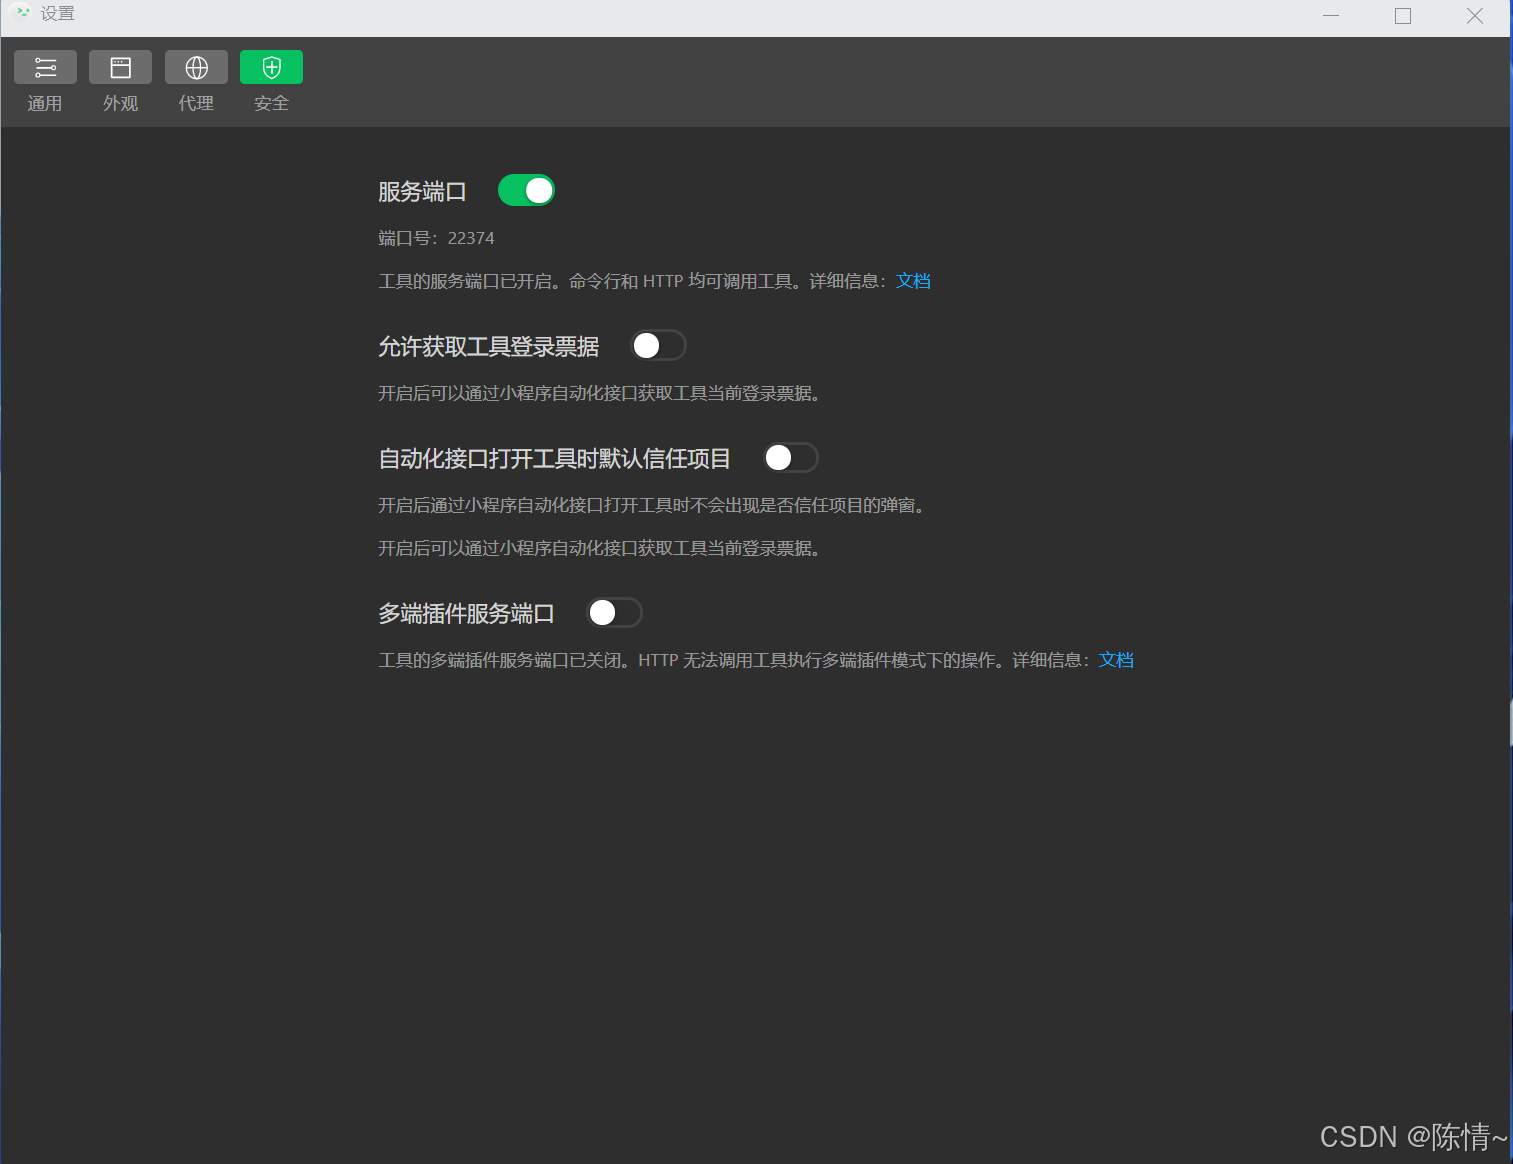
微信开发者工具中需要先开启服务端口
8.运行没问题,就可以上传代码咯。如果上传不了,就需要优化主包了,看看是不是图片太大了,记住一定要使用分包配置哦!!!
因为第一次写uniapp,有许多写的不好的地方,请大家多多指教😊。


 2027
2027

 被折叠的 条评论
为什么被折叠?
被折叠的 条评论
为什么被折叠?
 到【灌水乐园】发言


