


轮播图是指在一个模块或者窗口,通过鼠标点击或手指滑动后,可以看到多张图片。这些图片统称为轮播图,这个模块叫做轮播模块。轮播图常见于电商类、资讯类应用、功能首页、功能模块主页面,还有网易云音乐App的发现模块主页。
轮播图在很多场景都应用到了,我们开发过程中大多都是使用别人封装好的轮播图组件进行使用,那么如何自己实现一个轮播图效果呢,请往下看。
原理揭秘
使用一个div作为图片和其他交互元素的容器,也叫做轮播层,在轮播层中放入图片层和交互层容器,图片层专门用来存放要轮播的图片标签,交互层容器用来指定一些显示和操作元素,并且交互层要设置绝对定位,轮播层要设置overflow: hidden属性,影响溢出了图片内容,保证轮播窗口内只有一张图片显示。
接下来看一下结构图解:

具体思路就是:
- 先搭建好页面基本结构
- 设置对应标签元素的css属性,特别是有动态变化的标签要设置动画过渡效果(使用transition属性)
- 编写js代码,实现轮播逻辑
实现代码:
<!DOCTYPE html>
<html lang="en">
<head>
  <meta charset="UTF-8">
  <title>轮播图</title>
  <style>
    .container {
      width: 1000px;
      height: 600px;
      position: absolute;
      overflow: hidden;
      top: 50%;
      left: 50%;
      transform: translate(-50%, -50%);
    }

    .notable {
      height: 100%;
      display: flex;
      flex-direction: row;
      position: relative;
      transition: all 1s;
      left: -100%;
    }

    .select {
      position: absolute;
      padding: 0;
      bottom: 2%;
      left: 50%;
      transform: translateX(-50%);
      width: 150px;
      height: 30px;
      background-color: rgba(255, 255, 255, 0.2);
      border-radius: 10px;
      display: flex;
      flex-direction: row;
      justify-content: space-evenly;
      align-items: center;
      transition: all 0.5s;
    }

    .select:hover {
      background-color: rgba(255, 255, 255, 0.3);
    }

    .select li {
      list-style-type: none;
      width: 20px;
      height: 20px;
      background-color: rgba(255, 255, 255, 0.8);
      border-radius: 50%;
      cursor: pointer;
    }

    .select .current-select {
      background-color: rgba(255, 165, 0, 0.8);
    }
    .container:hover .arrow{
      opacity: 1;
    }
    .arrow {
      position: absolute;
      top: 50%;
      transform: translateY(-50%);
      width: 80px;
      height: 80px;
      background-color: rgba(0, 0, 0, 0.3);
      opacity: 0;
      transition: all 0.5s;

    }
    .arrow:hover{
      cursor: pointer;
      background-color:  rgba(0, 0, 0, 0.5);
    }
    .arrow img{
      width: 35px;
      height: 35px;
      position: absolute;
      top: 50%;
      left: 50%;
      transform: translate(-50%,-50%);
    }

    .left-arrow {
      left: -20px;
      border-radius: 0 50% 50% 0;
    }


    .right-arrow {
      right: -20px;
      border-radius: 50% 0 0 50%;
    }


    img {
      width: 1000px;
      height: 600px;
    }
  </style>
</head>
<body>
<div class="container">
  <div class="notable">
    <img src="./images/4.jpeg"/>
    <img src="./images/1.jpeg"/>
    <img src="./images/2.jpeg"/>
    <img src="./images/3.jpeg"/>
    <img src="./images/4.jpeg"/>
    <img src="./images/1.jpeg"/>
  </div>
  <ul class="select">
    <li class="current-select"></li><li></li><li></li><li></li>
  </ul>
  <div class="left-arrow arrow"><img src="./images/向左箭头.svg"/></div>
  <div class="right-arrow arrow"><img src="./images/向右箭头.svg"/></div>
</div>
</body>
<script>
  (function () {
    let notable = {
      // 跑马灯的dom对象
      domObj: document.querySelector('.notable'),
      //代表是否到左边界
      isLeftBorder: true,
      //代表是否到右边界
      isRightBorder: false,
      //当前展示图片位置
      currentIndex: 0,
      //基础偏移量
      baseOffset: 1000,
      timer: null,
      // 控制图片切换,参数offIdx为要偏移的坐标量,默认向左偏移一个坐标量
      move: function (offIdx = 1) {
        if (this.currentIndex === 3 && offIdx>0)
          return this.toBegin()
        else if(this.currentIndex === 0 && offIdx<0)
          return this.toEnd()
        this.currentIndex += offIdx
        this.domObj.style.left = -this.baseOffset * this.currentIndex - 1000 + 'px'
        //更新偏移后的下标
        select.switchCurrent()
      },
      // 开始自动播放
      start: function () {
        this.timer = setInterval(() => {
          this.move()
        }, 2500)
      },
      // 停止播放
      stop: function () {
        clearInterval(this.timer)
      },
      // 去到第一张图
      toBegin: function () {
        this.domObj.style.transition = 'none'
        this.domObj.style.left = 0 + 'px'
        setTimeout(() => {
          this.domObj.style.transition = 'all 1s'
          this.domObj.style.left = -1000 + 'px'
        })
        this.currentIndex = 0
        //更新偏移后的下标
        select.switchCurrent()
      },
      // 去到最后一张图
      toEnd: function () {
        this.domObj.style.transition = 'none'
        this.domObj.style.left = -5000 + 'px'
        setTimeout(() => {
          this.domObj.style.transition = 'all 1s'
          this.domObj.style.left = -4000 + 'px'
        })
        this.currentIndex = 3
        //更新偏移后的下标
        select.switchCurrent()
      }
    }

    let select = {
      domObj: document.querySelector('.select'),
      // 切换当前图片高亮位置
      switchCurrent: function () {
        let domArr = document.querySelectorAll('.select li')
        domArr.forEach(li => li.className = '')
        domArr[notable.currentIndex].className = 'current-select'
      }

    };
    // 添加点击选择显示轮播图片事件,采用事件委托实现
    select.domObj.addEventListener('click', e => {
      let currentDom = e.target
      if ('LI' !== currentDom.tagName)
        return
      let i = 0;
      // 找到当前点击位置对应的下标
      while ((currentDom = currentDom.previousSibling) != null) i++
      //偏移的坐标量
      let offsetIdx = i-1- notable.currentIndex
      notable.move(offsetIdx)
    })
    //启动自动轮播
    notable.start()
    //添加鼠标移入事件,鼠标移入时停止自动轮播
    document.querySelector('.container').addEventListener('mouseenter', () => {
      notable.stop.call(notable)
    })
    //添加鼠标移出事件,鼠标移入时开启自动轮播
    document.querySelector('.container').addEventListener('mouseleave', () => {
      notable.start()
    })
    //添加点击播放下一张图片事件
    document.querySelector('.right-arrow').addEventListener('click', () => {
      notable.move()
    })
    //添加点击播放上一张图片事件
    document.querySelector('.left-arrow').addEventListener('click', () => {
      notable.move(-1)
    })


  })()
</script>
</html>
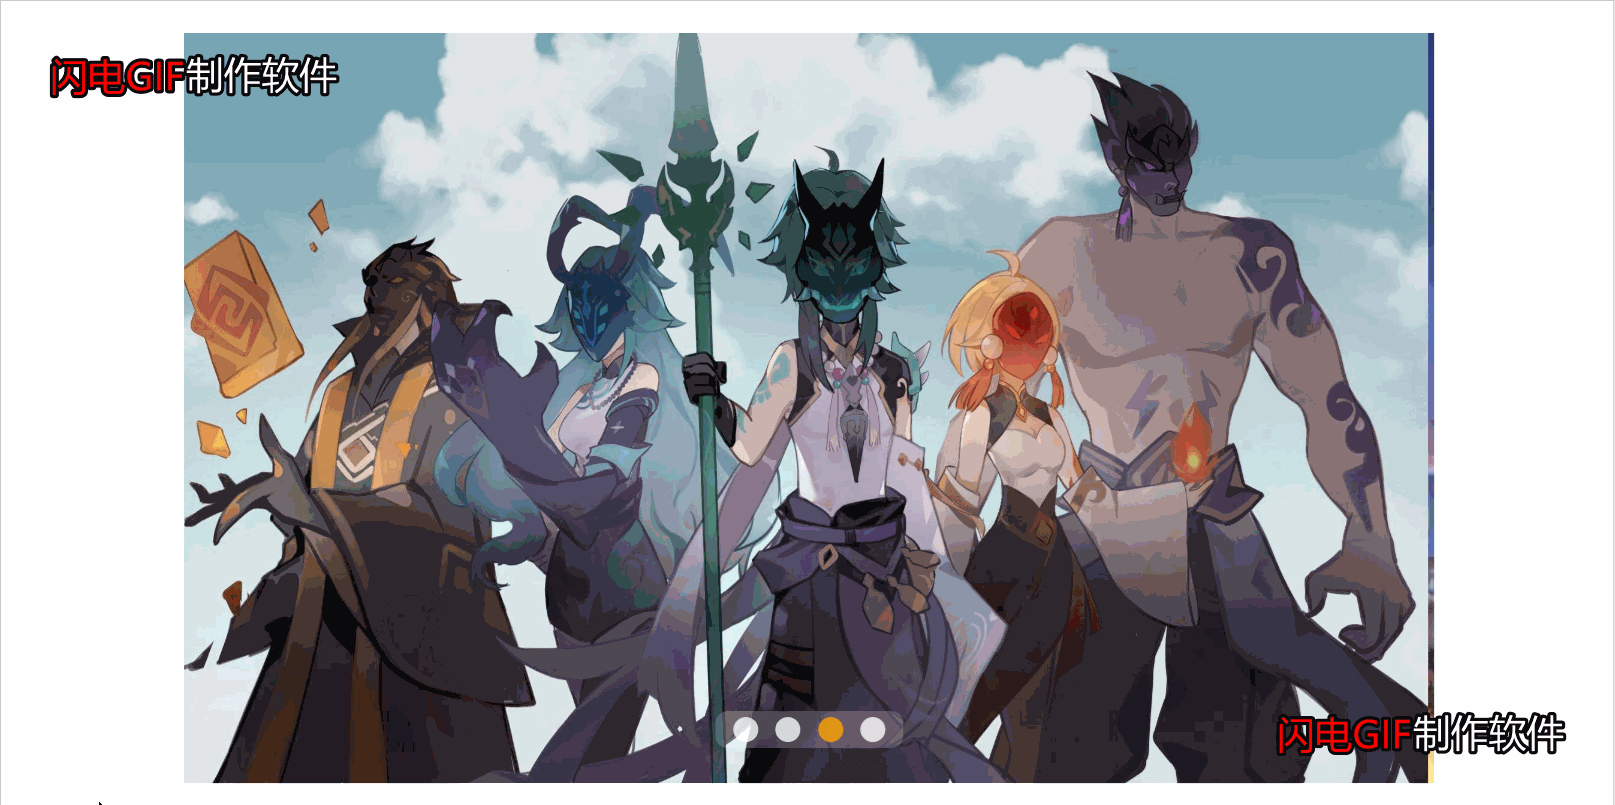
效果演示
自动轮播
手动轮播

改进
可以对一些点击事件进行节流操作,以及鼠标移入和移除时进行防抖,能进一步提升体验度和性能。


 9586
9586


 被折叠的 条评论
为什么被折叠?
被折叠的 条评论
为什么被折叠?
 到【灌水乐园】发言


