


目录
资源清单
| 操作系统 | 域名 | IP |
| OpenEuler | www.aaa.com | 192.168.16.142 |
| OpenEuler | www.bbb.com | 192.168.16.143 |
一、编译安装Nginx(两台)
1.更改主机名
hostnamectl set-hostname  aaa
hostnamectl set-hostname  bbb
2.安装支持软件
dnf install -y gcc make pcre-devel zlib-devel openssl-devel perl-ExtUtils-MakeMaker git wget tar3.创建运行用户、组和日志记录
useradd -M -s /sbin/nologin nginx
mkdir -p /var/log/nginx
chown -R nginx:nginx /var/log/nginx
4.编译及安装Nginx
tar zxf nginx-1.26.3.tar.gz
cd nginx-1.26.3
./configure --prefix=/usr/local/nginx --pid-path=/var/run/nginx.pid --user=nginx --group=nginx  --with-http_ssl_module --with-http_v2_module --with-http_realip_module --with-http_stub_status_module --with-http_gzip_static_module --with-pcre --with-stream
make && make install
5.为主程序nginx创建软链接文件
ln -s /usr/local/nginx/sbin/nginx /usr/local/sbin/
nginx -v
6.添加Nginx系统服务
vi /lib/systemd/system/nginx.service

[Unit]
Description=The NGINX HTTP and reverse proxy server
After=network.target

[Service]
Type=forking
#PIDFile=/usr/local/nginx/logs/nginx.pid
ExecStartPre=/usr/local/sbin/nginx -t
ExecStart=/usr/local/sbin/nginx
ExecReload=/usr/local/sbin/nginx -s reload
ExecStop=/bin/kill -s QUIT $MAINPID
TimeoutStopSec=5
KillMode=process
PrivateTmp=true
User=root
Group=root

[Install]
WantedBy=multi-user.target

#重载服务
systemctl daemon-reload
#启动服务
systemctl start nginx
#设置开机自启
systemctl enable nginx
#检查端口
ss -nlpt | grep 80
二、防盗链
1.修改Windows的C:\Windows\System32\dirvers\etc\hosts文件,设置域名和映射关系
192.168.16.142    www.aaa.com
192.168.16.143    www.bbb.com
2.修改host文件(两台都修改)
vi /etc/hosts
192.168.16.142    www.aaa.com
192.168.16.143    www.bbb.com
3.修改主配置文件(两台都修改)
#www.aaa.com上修改
vi /usr/local/nginx/conf/nginx.conf

    server {
        listen       80;
        server_name  www.aaa.com;

#检查配置并重启
nginx -t
systemctl restart nginx

#www.bbb.com上修改
vi /usr/local/nginx/conf/nginx.conf

      server {
        listen       80;
        server_name  www.bbb.com;

#检查配置并重启
nginx -t
systemctl restart nginx
4.把图片 logo.jpg放到源主机的工作目录下(www.aaa.com上)
ls /usr/local/nginx/html
index.html  kgc.png
5.编辑源网站首页文件(www.aaa.com上)
vi /usr/local/nginx/html/index.html

<html>
<body>
         <h1>aaa It work!
           <img src="kgc.png"/>   //网页中显示图片的代码
         </h1>
</body>
</html>
6.测试访问原网站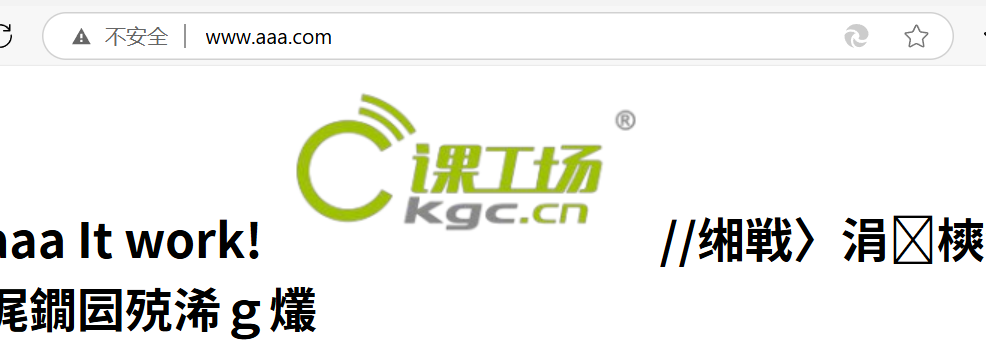
7.编辑盗链网站首页文件(www.bbb.com)
vi /usr/local/nginx/html/index.html

<html>
<body>
    <h1>bbb It work!
           <img src="http://www.aaa.com/kgc.png"/>   //网页中显示图片
         </h1>
</body>
</html>
8.测试访问盗链网站(盗链成功)
9.配置Nginx防盗链(www.aaa.com上)
vi /usr/local/nginx/conf/nginx.conf

#charset koi8-r;
#access_log  logs/host.access.log  main;
location ~*\.(gif|jpg|jpeg|png|bmp|swf|flv|mp4|webp|ico)$ {
root html;
        valid_referers aaa.com *.aaa.com;

        if ($invalid_referer) {
            return 403;
        }
}

nginx -t
systemctl restart nginx
10.测试访问盗链网站(盗链失败)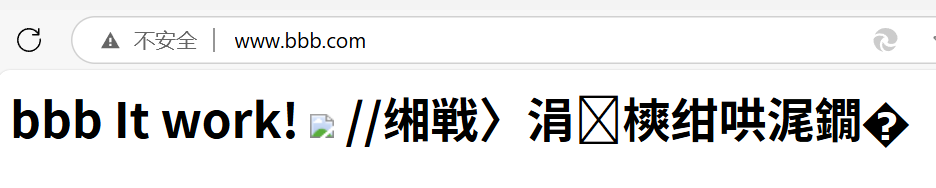
三、Nginx配置https
1.创建证书存储目录
mkdir -p /etc/nginx/ssl2.生成签名证书
openssl req -x509 -nodes -days 365 -newkey rsa:2048 -keyout /etc/nginx/ssl/nginx-selfsigned.key \
-out /etc/nginx/ssl/nginx-selfsigned.crt \
-subj "/C=CN/ST=Beijing/L=Beijing/O=MyOrg/CN=localhost"
3.Nginx启用https
- 编辑nginx配置文件
vi /usr/local/nginx/conf/nginx.conf server { listen 443 ssl; # 监听 HTTPS 端口 server_name localhost; # 域名或IP # 指定证书和私钥路径 ssl_certificate /etc/nginx/ssl/nginx-selfsigned.crt; ssl_certificate_key /etc/nginx/ssl/nginx-selfsigned.key; # SSL 协议和加密套件配置(可选,提升安全性) ssl_protocols TLSv1.2 TLSv1.3; ssl_ciphers ECDHE-ECDSA-AES128-GCM-SHA256:ECDHE-RSA-AES128-GCM-SHA256; ssl_prefer_server_ciphers on; # 其他配置(如根目录) location / { root /usr/local/nginx/html; index index.html; } } server { listen 80; server_name localhost; return 301 https://$host$request_uri; } nginx -t systemctl restart nginx - 浏览器验证


 1128
1128

 被折叠的 条评论
为什么被折叠?
被折叠的 条评论
为什么被折叠?
 到【灌水乐园】发言


