网上对于UiAutomator大都是简单demo的讲解,许多实用的技巧没有贴出来。今天介绍几个自己琢磨出来的技巧
1.android.widget.ListView控件的子元素遍历
对于一些列表控件,比如“设置”项里的每一行,都是ListView的子项,有时候需要遍历这些元素进行点击。举个例子,如下图:
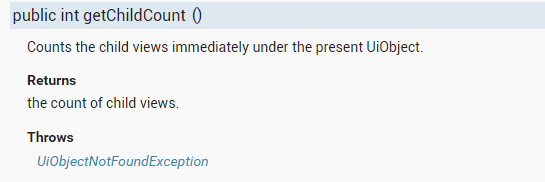
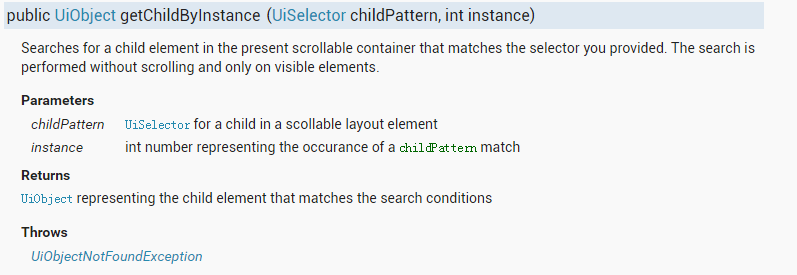
我想打开蓝牙,但是必须点击右边的switch按钮才行,怎样才能找到这个按钮呢?直接用控件类别肯定不行,因为有多个switch控件。那找“蓝牙”文本,可也不行,你找到的只是文本控件,点击只是点击在文本上,switch按钮并不会被点击。最好的办法就是能找到每一行的控件,然后看这一行有没有包含“蓝牙”文本的控件,如果有,则查找switch控件,进行点击即可。问题就回到了如何遍历这个ListView。仔细看官方文档里的函数,找到这两个:
UiScrollable functionItems = null;
functionItems = new UiScrollable(new UiSelector().className("android.widget.ListView"));
int nIndex = 0;
for(nIndex = 0; nIndex < functionItems.getChildCount(); nIndex++) {
    UiObject apps = null;
    try {
        apps = functionItems.getChildByInstance(new UiSelector().className("android.widget.LinearLayout"), nIndex);
    } catch(UiObjectNotFoundException e) {}
    if(apps == null || !apps.exist()) {
        continue;
    }
    try {
        lanya= apps.getChild(new UiSelector().text("蓝牙"));
    } catch(UiObjectNotFoundException e) {}
    if(lanya == null || !lanya.exist()) {
        continue;
    }
    UiObject checkBox = null;
    try {
        checkBox = apps.getChild(new UiSelector().className("android.widget.CheckBox"));
    } catch(UiObjectNotFoundException e) {}
    if(checkBox != null && checkBox.exists() && checkBox.isChecked()) {
        checkBox.click();
    }
    UiObject switchCheck = null;
    try {
        switchCheck = apps.getChild(new UiSelector().className("android.widget.Switch"));
    } catch(UiObjectNotFoundException e) {}
    if(switchCheck != null && switchCheck.exists() && switchCheck.isChecked()) {
        switchCheck.click();
    }
}
这里需要注意的是,一定要手动捕获异常。test函数是抛出异常的,但是,如果在找控件的过程中没有找到,会直接抛出异常,中断程序。对于遍历,找不到很正常,我们不希望程序中断。因此我们要再用try捕获异常,而且每次都要判断是否是null,不判断的话,一旦为null,程序立即退出。


 本文详细介绍了在UiAutomator中如何通过遍历ListView来寻找并操作特定子元素,以实现自动化操作,如点击需要的switch按钮。通过实例演示了如何使用UiObject类的方法来获取、筛选并执行特定操作。


 4200
4200

 被折叠的 条评论
为什么被折叠?


