点击关注公众号,Java干货及时送达
前言
在日常工作和学习中,有很多地方都需要发送HTTP请求,本文以Java为例,总结发送HTTP请求的多种方式
HTTP请求实现过程:
GET
创建远程连接
设置连接方式(get、post、put…)
设置连接超时时间
设置响应读取时间
发起请求
获取请求数据
关闭连接
POST
创建远程连接
设置连接方式(get、post、put。。。)
设置连接超时时间
设置响应读取时间
当向远程服务器传送数据/写数据时,需要设置为
true(setDoOutput)当前向远程服务读取数据时,设置为true,该参数可有可无(
setDoInput)设置传入参数的格式:(
setRequestProperty)设置鉴权信息:
Authorization:(setRequestProperty)设置参数
发起请求
获取请求数据
关闭连接
一、使用 HttpURLConnection 类
HttpURLConnection 是 Java 标准库中用来发送 HTTP 请求和接收 HTTP 响应的类。
它预先定义了一些方法,如 setRequestMethod()、setRequestProperty() 和 getResponseCode(),方便开发者自由地控制请求和响应。
推荐一个开源免费的 Spring Boot 实战项目:
https://github.com/javastacks/spring-boot-best-practice
示例代码:
import java.net.*;
import java.io.*;

public class HttpURLConnectionExample {

    private static HttpURLConnection con;

    public static void main(String[] args) throws Exception {

        URL url = new URL("https://www.example.com");
        con = (HttpURLConnection) url.openConnection();
        con.setRequestMethod("GET");

        BufferedReader in = new BufferedReader(new InputStreamReader(con.getInputStream()));
        String inputLine;
        StringBuffer content = new StringBuffer();
        while ((inputLine = in.readLine()) != null) {
            content.append(inputLine);
        }
        in.close();
        con.disconnect();

        System.out.println(content.toString());
    }
}
二、使用 HttpClient 库
HttpClient 是一个 HTTP 客户端库,提供了向 HTTP 服务器发送请求和处理响应的方法。
它支持多种请求协议,如 GET、POST 等,并允许开发者自由地设置请求头、请求参数、连接池等。HttpClient 还提供了基于线程池的异步请求处理方式。
示例代码:
import org.apache.http.HttpEntity;
import org.apache.http.client.methods.CloseableHttpResponse;
import org.apache.http.client.methods.HttpGet;
import org.apache.http.impl.client.CloseableHttpClient;
import org.apache.http.impl.client.HttpClients;
import org.apache.http.util.EntityUtils;

public class HttpClientExample {

    public static void main(String[] args) throws Exception {
        CloseableHttpClient httpclient = HttpClients.createDefault();
        HttpGet httpget = new HttpGet("https://www.example.com");
        CloseableHttpResponse response = httpclient.execute(httpget);

        try {
            HttpEntity entity = response.getEntity();
            String result = EntityUtils.toString(entity);
            EntityUtils.consume(entity);

            System.out.println(result);
        } finally {
            response.close();
        }
    }
}
三、使用 Okhttp 库
Okhttp 是由 Square 公司开发的一款轻量级网络请求库,支持普通的 HTTP/1.1 和 SPDY,可与 Retrofit 等网络请求框架搭配使用。插播一条:如果你近期准备面试跳槽,建议在Java面试库小程序在线刷题,涵盖 2000+ 道 Java 面试题,几乎覆盖了所有主流技术面试题。
示例代码:
import okhttp3.OkHttpClient;
import okhttp3.Request;
import okhttp3.Response;
import java.io.IOException;

public class OkhttpExample {

    private static final OkHttpClient client = new OkHttpClient();

    public static void main(String[] args) throws IOException {
        Request request = new Request.builder()
         .url("https://www.example.com")
         .build();
        try (Response response = client.newCall(request).execute()) {
            String result = response.body().string();
            System.out.println(result);
        }
    }
}
四、使用 Spring 的 RestTemplate
RestTemplate 是 Spring 库中用于访问 REST API 的类,它基于 HttpMessageConverter 接口,可以将 Java 对象转换为请求参数或响应内容。
RestTemplate 还支持各种 HTTP 请求方法、请求头部定制、文件上传和下载等操作。
示例代码:
public class HttpTemplate {

    public static String httpGet(String url) {
        RestTemplate restTemplate = new RestTemplate();
        String result = restTemplate.exchange(url, HttpMethod.GET, null, String.class).getBody();
        return result;
    }

    public static String httpPost(String url, String name) {
        RestTemplate restTemplate = new RestTemplate();
        return restTemplate.postForEntity(url, name, String.class).getBody();
    }

    public static void main(String str[]) {
        System.out.println(HttpTemplate.httpGet("https://www.example.com"));
        System.out.println(HttpTemplate.httpPost("https://www.example.com", "ming"));
    }
}
注:上述示例代码,我们并没有考虑网络请求可能失败的情况。在实际应用中,需要对异常进行捕获和处理。
总结
以上就是今天要讲的内容,本文仅仅简单介绍了 Java 中常见的几种发送 HTTP 请求的方式,可以根据实际需要选择合适的方式。
版权声明:本文为CSDN博主「.猫的树」的原创文章,遵循CC 4.0 BY-SA版权协议,转载请附上原文出处链接及本声明。原文链接:https://blog.csdn.net/qq_34383510/article/details/130627924
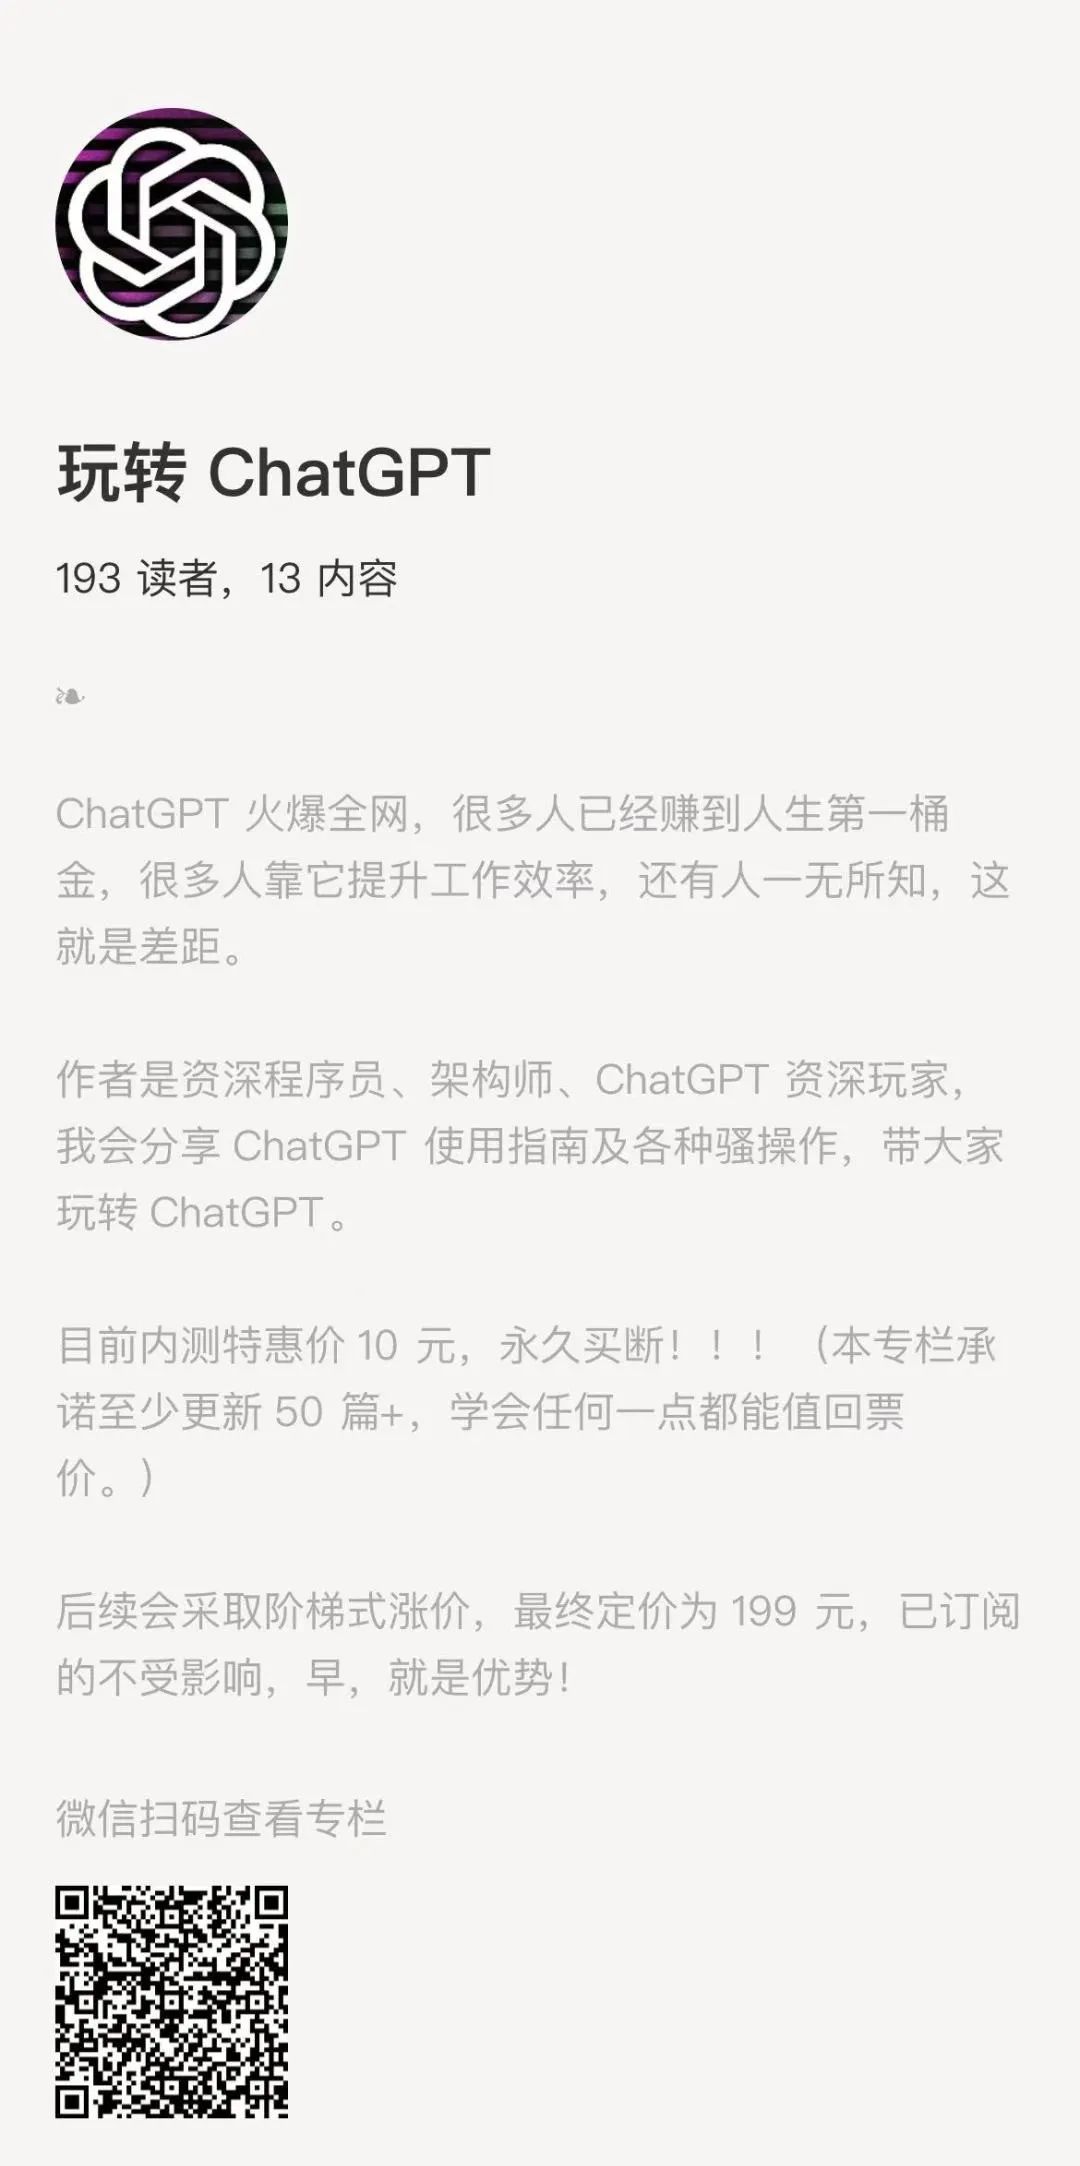
最后,推荐下 R哥的『玩转 ChatGPT』专栏,简单在朋友圈宣传了下,不到一天,已经快 200 个订阅啦。
目前内测价 10 块,永久买断学习,没错,10 块,10 块,10 块!!前期不赚钱,冲个销量~
看到的扫码上车,后续肯定没有这个价了!!


本专栏承诺最少更新 50+ 篇,目前已更新 13 篇,学会任何一个技巧都能让你值回票价,懂的自然懂。
 点击阅读原文链接快速订阅


 3638
3638

 被折叠的 条评论
为什么被折叠?


