


Spring Boot 前传:
一、Spring Boot 初识:https://blog.csdn.net/young_1004/article/details/80532304
二、再谈Spring Boot:https://blog.csdn.net/young_1004/article/details/82195015
三、Spring Boot Controller使用:https://blog.csdn.net/young_1004/article/details/80562246
Spring Boot:
一、Spring Boot入门:https://blog.csdn.net/young_1004/article/details/103231194
二、Spring Boot配置:https://blog.csdn.net/young_1004/article/details/80549816
三、Spring Boot与日志
四、Spring Boot与web开发
五、Spring Boot与Docker
六、Spring Boot与数据访问
七、Spring Boot启动配置原理
八、Spring Boot自定义starters
九、Spring Boot与缓存
十、Spring Boot与消息
十一、Spring Boot与检索
十二、Spring Boot与任务
十三、Spring Boot与安全
十四、Spring Boot与分布式
十五、Spring Boot与开发热部署
十六、Spring Boot与监控管理
1、简介
Spring Boot来简化Spring应用开发,约定大于配置,去繁从简,just run就能创建一个独立的产品级别的应用
背景:
J2EE笨重的开发,繁多的配置、低下的开发效率、复杂的部署流程,第三方技术集成难度大
解决:
“Spring全家桶”时代
Spring Boot -> J2EE一站式解决方案
Spring Cloud -> 分布式整体解决方案
优点:
-快速创建独立运行的Spring项目以及主流框架集成
-使用嵌入式的Servlet容器,应用无需打成WAR包
-starters自动依赖与版本控制
-大量的自动配置,简化开发,也可修改默认值
-无需配置XML,无代码生成,开箱即用
-准生产环境的运行时应用监控
-与云计算的天然集成
缺点:
-入门容易精通难
2、微服务:
一种架构风格,一个应用应该是一组小型服务,可以通过http的方式进行互通;
3、hello world
1.创建一个maven工程
2.导入SpringBoot相关依赖
<?xml version="1.0" encoding="UTF-8"?>
<project xmlns="http://maven.apache.org/POM/4.0.0"
         xmlns:xsi="http://www.w3.org/2001/XMLSchema-instance"
         xsi:schemaLocation="http://maven.apache.org/POM/4.0.0 http://maven.apache.org/xsd/maven-4.0.0.xsd">
    <modelVersion>4.0.0</modelVersion>


    <groupId>com.ma</groupId>
    <artifactId>springboot01</artifactId>
    <version>1.0-SNAPSHOT</version>
    <parent>
        <groupId>org.springframework.boot</groupId>
        <artifactId>spring-boot-starter-parent</artifactId>
        <version>1.5.9.RELEASE</version>
    </parent>
    <dependencies>
        <dependency>
            <groupId>org.springframework.boot</groupId>
            <artifactId>spring-boot-starter-web</artifactId>
        </dependency>
    </dependencies>
</project>
3.编写一个主程序:启动Spring Boot项目
package com.ma;

import org.springframework.boot.SpringApplication;
import org.springframework.boot.autoconfigure.SpringBootApplication;


/**
* @SpringBootApplication
* 来标注是一个Spring Boot应用的主程序类
*/
@SpringBootApplication
public class HelloWorldMainApplication {
    public static void main(String[] args) {
        //Spring应用启动起来
        SpringApplication.run(HelloWorldMainApplication.class,args);
    }
}
4.编写相关业务逻辑
package com.ma.controller;


import org.springframework.stereotype.Controller;
import org.springframework.web.bind.annotation.RequestMapping;
import org.springframework.web.bind.annotation.ResponseBody;


@Controller
public class HelloController {


    @ResponseBody
    @RequestMapping("/hello")
    public String hello(){
        return "Hello World!";
    }
}
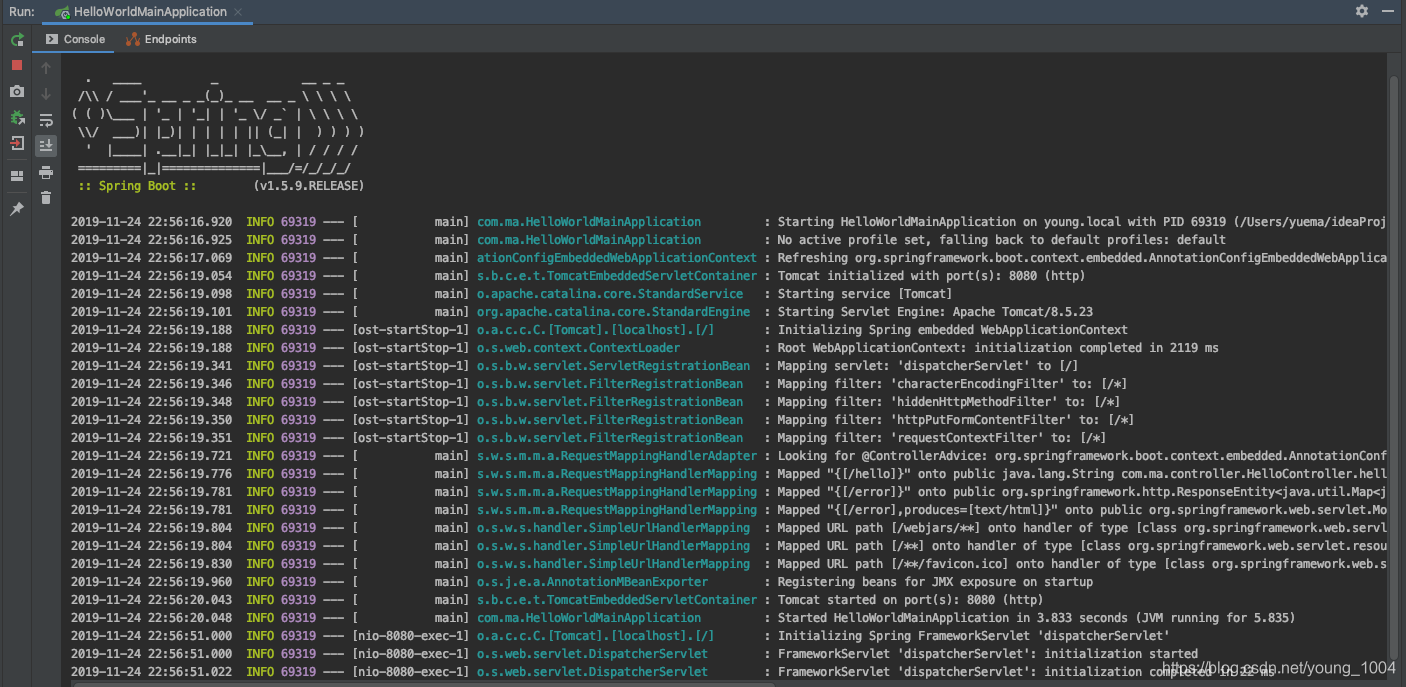
启动:
访问hello:

5.简化部署:
<!-- 这个插件,可以将应用打包成一个可执行的jar包-->
<build>
    <plugins>
        <plugin>
            <groupId>org.springframework.boot</groupId>
            <artifactId>spring-boot-maven-plugin</artifactId>
        </plugin>
    </plugins>
</build>
4、Hello World探究
1.pom文件
<parent>
    <groupId>org.springframework.boot</groupId>
    <artifactId>spring-boot-starter-parent</artifactId>
    <version>1.5.9.RELEASE</version>
</parent>
<!—它的父项目—>
<parent>
   <groupId>org.springframework.boot</groupId>
   <artifactId>spring-boot-dependencies</artifactId>
   <version>1.5.9.RELEASE</version>
   <relativePath>../../spring-boot-dependencies</relativePath>
</parent>
<!—它是真正管理Spring Boot应用里面的所有依赖版本—>
<!—Spring Boot的版本仲裁中心-->
以后我们导入依赖不需要写版本(没有在dependencies中管理的要写)
<dependency>
    <groupId>org.springframework.boot</groupId>
    <artifactId>spring-boot-starter-web</artifactId>
</dependency>
Spring-boot-starter:spring-boot场景启动器,帮我们导入了web模块正常运行所依赖的组件
Spring Boot将所有功能场景都抽取出来,做成一个个starter(启动器),只需要在项目中引入这些starter
2.主程序类:
@SpringBootApplication:Spring Boot应用标注在某个类上,说明该类是Spring Boot的主配置类,Spring Boot就应该运行该类的main方法启动Spring Booti 项目
@Target({ElementType.TYPE})
@Retention(RetentionPolicy.RUNTIME)
@Documented
@Inherited
@SpringBootConfiguration
@EnableAutoConfiguration
@ComponentScan(
    excludeFilters = {@Filter(
    type = FilterType.CUSTOM,
    classes = {TypeExcludeFilter.class}
), @Filter(
    type = FilterType.CUSTOM,
    classes = {AutoConfigurationExcludeFilter.class}
)}
)
@SpringBootConfiguration:标注在某个类上,表示是Spring Boot的配置类
@Target({ElementType.TYPE})
@Retention(RetentionPolicy.RUNTIME)
@Documented
@Configuration
@Configuration:配置类上标记

@EnableAutoConfiguration:开启自动配置
@AutoConfigurationPackage:自动配置包
5、使用Spring Initializr快速创建Spring Boot项目
1.选择创建工程.

2.选择Spring Initializr,点击next.

3.填写包名相关,点击next.

4.选择模块,点击下一步.

5.选择项目路径,点击finish.
主程序已经生成好了,我们只需要实现自己的逻辑
*resource文件夹的目录结构

*static:保存所有的静态资源;js,css,images
*templates:保存所有的模板页面(Spring Boot默认jar包使用嵌入式的Tomcat,默认不支持 jsp 页面)可以使用模板引擎(freemarker、thymeleaf)
*application.properties:SpringBoot默认配置文件


 2313
2313

 被折叠的 条评论
为什么被折叠?
被折叠的 条评论
为什么被折叠?
 到【灌水乐园】发言


