


spring boot admin 介绍
Spring Boot Admin 是一个管理和监控你的 Spring Boot 应用程序的应用程序。 这些应用程序通过 Spring Boot Admin Client(通过 HTTP)注册或者使用 Spring Cloud(例如 Eureka)发现。
关于ui界面:Spring Boot Admin ui页面早期是使用的AngularJs应用;目前使用的是vue应用。
使用方面:Spring Boot Admin 主要是用于监控springboot 项目的状态、log日志等功能。同时还可以和微服务结合应用,该篇文章只说单体的spring boot如何集成,废话不多说下面是集成例子 。
spring boot admin 集成
spring boot admin 有客户端和服务端之分,客户端连接服务端之后才可以在服务端监控客户端的状态。
服务端的创建
服务端的创建相对来说比较简单,我这里使用mvn构建的工程,首先创建一个spring boot 项目引入如下依赖
(这个项目使用了security权限控制,简单的应用就不挨个排除了)
 <dependency>
            <groupId>org.springframework.boot</groupId>
            <artifactId>spring-boot-starter-web</artifactId>
        </dependency>
        <!--    这个是springboot 权限控制的依赖   -->
        <dependency>
            <groupId>org.springframework.boot</groupId>
            <artifactId>spring-boot-starter-security</artifactId>
        </dependency>

        <dependency>
            <groupId>de.codecentric</groupId>
            <artifactId>spring-boot-admin-starter-server</artifactId>
        </dependency>
配置文件如下
server:
  port: 8185
spring:
  security:
    user:
      name: admin
      password:123456
spring security权限配置如下
package com.weichai.timing.admin;

import de.codecentric.boot.admin.server.config.AdminServerProperties;
import io.netty.handler.codec.http.HttpMethod;
import org.springframework.context.annotation.Configuration;
import org.springframework.security.config.annotation.web.builders.HttpSecurity;
import org.springframework.security.config.annotation.web.configuration.WebSecurityConfigurerAdapter;
import org.springframework.security.web.authentication.SavedRequestAwareAuthenticationSuccessHandler;
import org.springframework.security.web.csrf.CookieCsrfTokenRepository;
import org.springframework.security.web.util.matcher.AntPathRequestMatcher;

import java.util.UUID;

/**
 * @ClassName SecuritySecureConfig
 * @Description TODO
 * @Author youzi
 * @Date 2020/3/12 4:32 下午
 * @Version 1.0
 **/
@Configuration(proxyBeanMethods = false)
public class SecuritySecureConfig extends WebSecurityConfigurerAdapter {
    private final AdminServerProperties adminServer;

    public SecuritySecureConfig(AdminServerProperties adminServer) {
        this.adminServer = adminServer;
    }

    @Override
    protected void configure(HttpSecurity http) throws Exception {
        // @formatter:off
        SavedRequestAwareAuthenticationSuccessHandler successHandler = new SavedRequestAwareAuthenticationSuccessHandler();
        successHandler.setTargetUrlParameter("redirectTo");
        successHandler.setDefaultTargetUrl(this.adminServer.path("/"));

        http.authorizeRequests()
                .antMatchers(this.adminServer.path("/assets/**")).permitAll()
                .antMatchers(this.adminServer.path("/login")).permitAll()
                .anyRequest().authenticated()
                .and()
                .formLogin().loginPage(this.adminServer.path("/login")).successHandler(successHandler).and()
                .logout().logoutUrl(this.adminServer.path("/logout")).and()
                .httpBasic().and()
                .csrf()
                .csrfTokenRepository(CookieCsrfTokenRepository.withHttpOnlyFalse())
                .ignoringRequestMatchers(
                        new AntPathRequestMatcher(this.adminServer.path("/instances"), HttpMethod.POST.toString()),
                        new AntPathRequestMatcher(this.adminServer.path("/instances/*"), HttpMethod.DELETE.toString()),
                        new AntPathRequestMatcher(this.adminServer.path("/actuator/**"))
                )
                .and()
                .rememberMe().key(UUID.randomUUID().toString()).tokenValiditySeconds(1209600);
    }

}
最后需要注意的地方:
首先需要开启cros跨域请求的设置,这个设置需要打开,在文章最后会进行问题统一的说明。
cors跨域请求配置如下
package com.weichai.timing.admin;

import org.springframework.context.annotation.Bean;
import org.springframework.context.annotation.Configuration;
import org.springframework.web.servlet.config.annotation.CorsRegistry;
import org.springframework.web.servlet.config.annotation.WebMvcConfigurer;
import org.springframework.web.servlet.config.annotation.WebMvcConfigurerAdapter;

/**
 * @ClassName CorsConfiguration
 * @Description 跨域请求处理(允许跨域)
 * @Author youzi
 * @Date 2020/3/12 1:40 下午
 * @Version 1.0
 **/
@Configuration
public class CorsConfiguration {
    @Bean
    public WebMvcConfigurer corsConfigurer() {
        return new WebMvcConfigurerAdapter() {
            @Override
            public void addCorsMappings(CorsRegistry registry) {
                registry.addMapping("/**")
                        .allowedHeaders("*")
                        .allowedMethods("*")
                        .allowedOrigins("*");
            }
        };
    }
}
到这里服务端的配置就完成了,运行项目,然后访问localhost:8185此时会出现如下界面
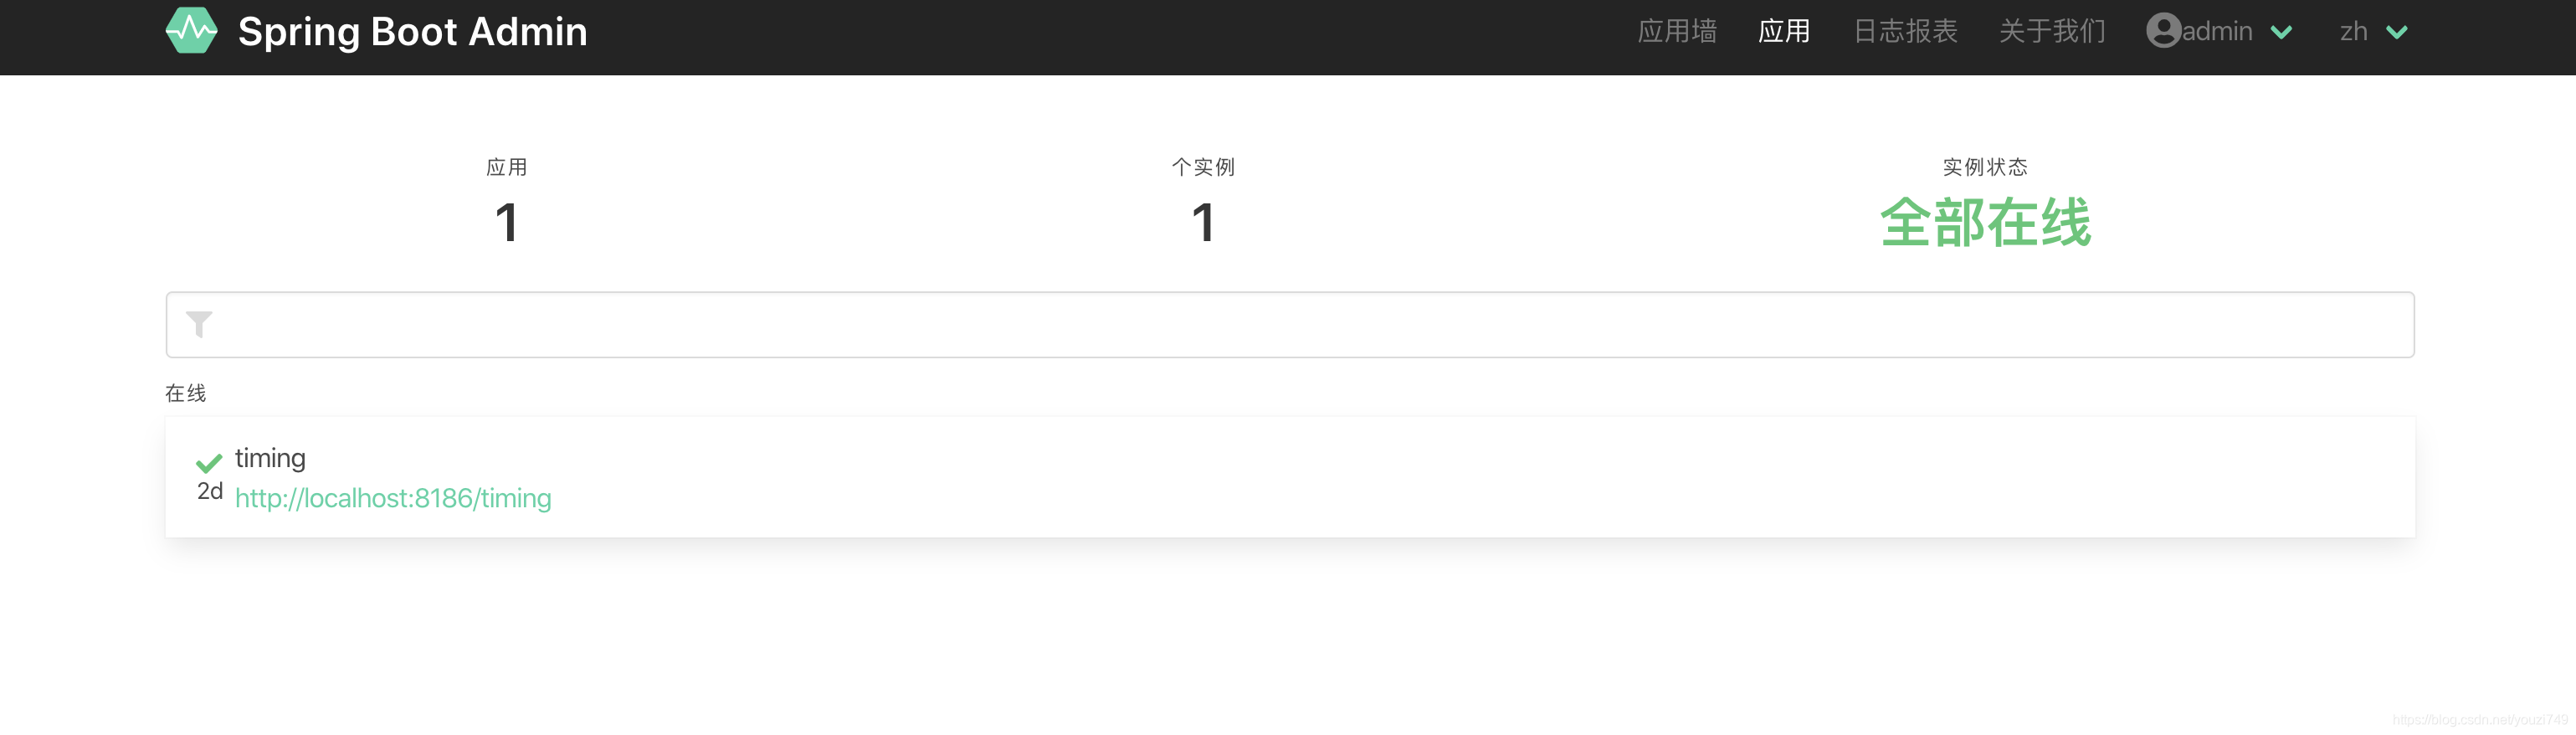
登录之后如下(我这个已经部署了一个服务端因此显示1正常的话如果没有服务端则显示为0)
客户端创建
pom文件引入配置如下(客户端我这里也集成了spring security)
  <!--        spring boot 监控-->
        <dependency>
            <groupId>de.codecentric</groupId>
            <artifactId>spring-boot-admin-starter-client</artifactId>
            <version>2.2.1</version>
        </dependency>
        <dependency>
            <groupId>org.springframework.boot</groupId>
            <artifactId>spring-boot-starter-web</artifactId>
        </dependency>
          <dependency>
            <groupId>org.springframework.boot</groupId>
            <artifactId>spring-boot-starter-security</artifactId>
        </dependency>
yml配置文件链接服务端如下
spring:
  # 设置服务名
  application:
    name: timing
  jmx:
    enabled: true
  # 设置spring-boot-admin服务端地址
  boot:
    admin:
      client:
        # 服务端url
        url: http://127.0.0.1:8185
           # 服务端用户名密码
        username: admin
        password: 123456
....n多配置....
# 设置spring-boot-admin服务端地址
#  打开客户端 Actuator 的监控
management:
  endpoints:
    web:
      exposure:
        # 开放所有端点
        include: "*"
  # 关闭redis 健康监视
  health:
    redis:
      enabled: false
	security:
	    user:
	      name: admin
	      password: 123456
	      ip-white: localhost,127.0.0.1
spring-security文件如下:
package com.weichai.timing.config;

import lombok.extern.slf4j.Slf4j;
import org.springframework.beans.factory.annotation.Autowired;
import org.springframework.beans.factory.annotation.Value;
import org.springframework.context.annotation.Configuration;
import org.springframework.security.config.annotation.authentication.builders.AuthenticationManagerBuilder;
import org.springframework.security.config.annotation.web.builders.HttpSecurity;
import org.springframework.security.config.annotation.web.configuration.EnableWebSecurity;
import org.springframework.security.config.annotation.web.configuration.WebSecurityConfigurerAdapter;
import org.springframework.security.crypto.bcrypt.BCryptPasswordEncoder;

import java.util.Arrays;
import java.util.List;
import java.util.stream.Collectors;

/**
 * @ClassName WebSecurityConfig
 * @Description TODO
 * @Author youzi
 * @Date 2020/3/9 7:31 下午
 * @Version 1.0
 **/
@Configuration
// 注解开启Spring Security的功能
@EnableWebSecurity
@Slf4j
public class WebSecurityConfig extends WebSecurityConfigurerAdapter {
    @Value("${spring.security.user.name}")
    private String userName;
    @Value("${spring.security.user.password}")
    private String passWord;

    @Value("${spring.security.user.ip-white}")
    private String ipWhite;

    @Override
    protected void configure(HttpSecurity http) throws Exception {
        http.authorizeRequests()
                //设置所有人都可以访问的页面
                .antMatchers("/druid/**").permitAll()
                //设置ip白名单
                .antMatchers("/actuator/**").access(createHasIpRangeExpression())
                //设置需要登录的页面
                .antMatchers("/**").hasRole("ADMIN")
                //设置所有页面需要登录
                .anyRequest().authenticated()
                .and()
                .formLogin()
//                .loginPage("/login")
                .permitAll()
                .and()
                .logout()
                .permitAll()
                .and()
                .csrf().disable();
//                .ignoringAntMatchers("/druid/*")
//                .ignoringAntMatchers("/logout");
    }

    @Autowired
    public void configureGlobal(AuthenticationManagerBuilder auth) throws Exception {
        auth.inMemoryAuthentication()
                //设置加密方式
                .passwordEncoder(new BCryptPasswordEncoder())
                .withUser(userName)
                //加密
                .password(new BCryptPasswordEncoder()
                        .encode(passWord)).roles("ADMIN");
    }


    private String createHasIpRangeExpression(){
        List<String> validIps = Arrays.asList(ipWhite.split("\\s*,\\s*"));
        String hasIpRangeAccessExpresion = validIps.stream()
                .collect(Collectors.joining("') or hasIpAddress('", "hasIpAddress('","')"));
        return hasIpRangeAccessExpresion;
    }
}
此时运行服务端就会发现,springbootadmin中有了服务端的监控,截图在上面已经发过。
注意
接下来会说我再使用过程当中发现的问题:
-
使用过程当中建议服务端开启cros服务端也开启吧(这个我没有实测,也有别的解决方案,需自行测试)
-
服务端spring security登录设置问题
描述: 当服务端设置登录,服务端掉客户端获取信息的时候,需要权限会导致服务一直注册失败。
解决方案:-
方案1:
根据资料网上大多数的都是在yml如下配置client: # 服务端url url: http://127.0.0.1:8185 # 服务端用户名密码 username: admin password: 123456 # 客户端设置(引入安全框架之后如果不放行默认拦截所有) instance: prefer-ip: true service-url: http://localhost:8080 name: timing metadata: # 客户端账号密码告诉服务端 user.name: ${spring.security.user.name} user.password: ${spring.security.user.password}根据描述说的是这样就可以服务端调用客户端的时候就可以通过账号密码登录,但是实测一直登录不上
备注: 如果客户端只用spring-security设置账号密码然后使用这种方式是可以登录注册上,但问题就是java中配置了一些别的东西,我初步怀疑是WebSecurityConfig某些配置影响了,如有大佬知道可以告诉我。- 方案2:
通过设置ip白名单来暴露所需接口
- 方案2:
-
我这里采用的是方案2的配置,我在安全框架里面放行了,localhost和127.0.0.1两个ip,但是实际生产环境这么搞也是存在安全问题的,暂时未深入的研究,个人觉得登录的方式应该也可以实现
写在最后
开源框架也是别研究边学习,也是引用了别人写的一些东西,如果有不妥得地方可以直接指出,有问题直接留言就好了


 1165
1165


 被折叠的 条评论
为什么被折叠?
被折叠的 条评论
为什么被折叠?
 到【灌水乐园】发言


