


2.17、Swagger
2.17.1、简介
现在的编程从后端时代向逐渐编程后端分离的时代,前后端通过API接口进行交互,前后端相对独立,于是Swagger就产生了,它是一个简单但功能强大的API表达工具,号称最流行的API框架。使用Swagger生成API,我们可以得到交互式文档,自动生成代码的SDK以及API的发现特性等。
Vue+Springboot 是现今主流的前后端分离的方案。
2.17.2、常用注解
Swagger提供的注解是用在Controller、实例类上对接口的和实体类的属性进行说明,这些说明可以显示在Swagger 的操作页面上,帮助我们理解使用。
-
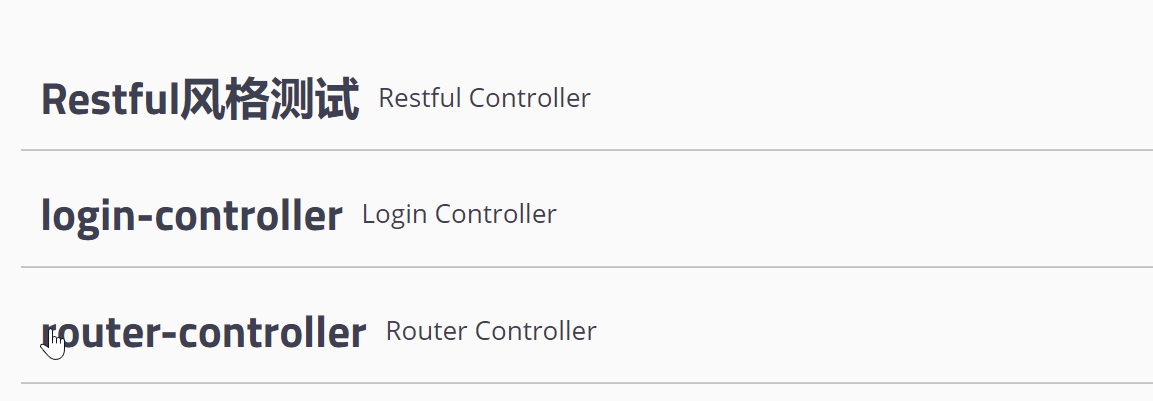
@Api(tags=“Restful风格测试”):用在controller类上,标记一个controller类为swagger的文档资源
属性:tags=“说明该类的作用,可以在UI界面上看到的注解” value=“该参数没什么意义,在UI界面上也看到,所以不需要配置”
-
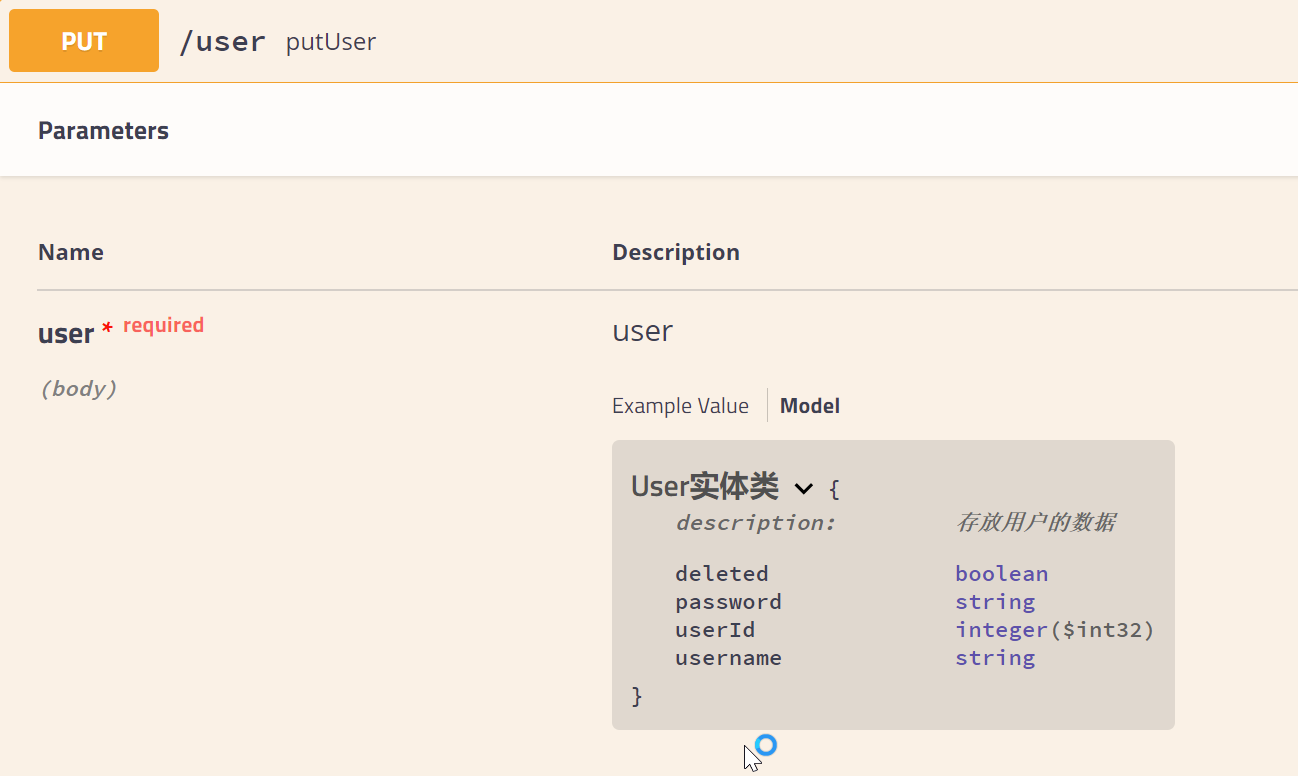
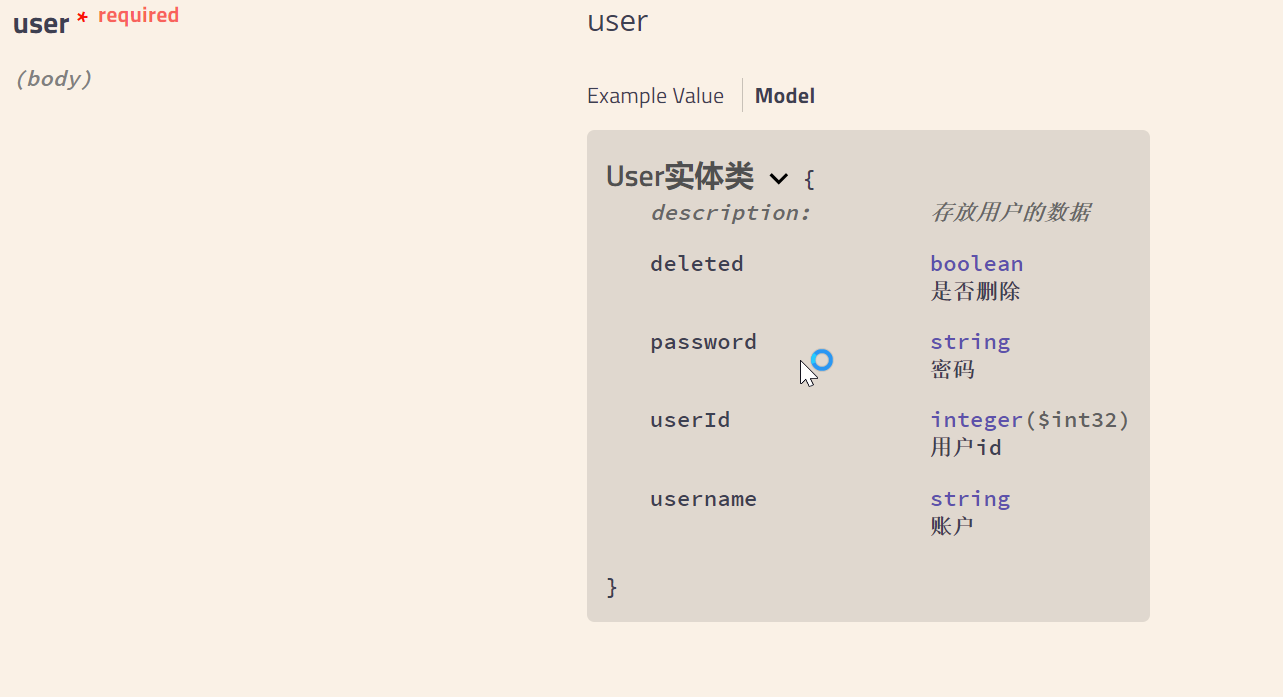
@ApiModel(value = “User实体类”,description =“存放用户的数据” ):用在实体类上,对类进行说明
-
@ApiModelProperty(value=“描述信息”):用在属性上,描述属性的作用
-
@ApiParam(value=“描述”,required = true):用在controller方法的参数前,描述该参数的作用,required 为true是表示该参数必须传递
-
@ApiOperation(value = "):用在controller方法上,描述该方法的作用
value=“说明方法的用途、作用” notes=“方法的备注说明”
-
@ApiResponses:用在controller的方法上,描述接口相应的相关信息
@ApiResponses({
        @ApiResponse(code = 0,message = "相应成功",response = User.class),
        @ApiResponse(code = 状态码,message = "结果",response = 操作的对象)
})
-
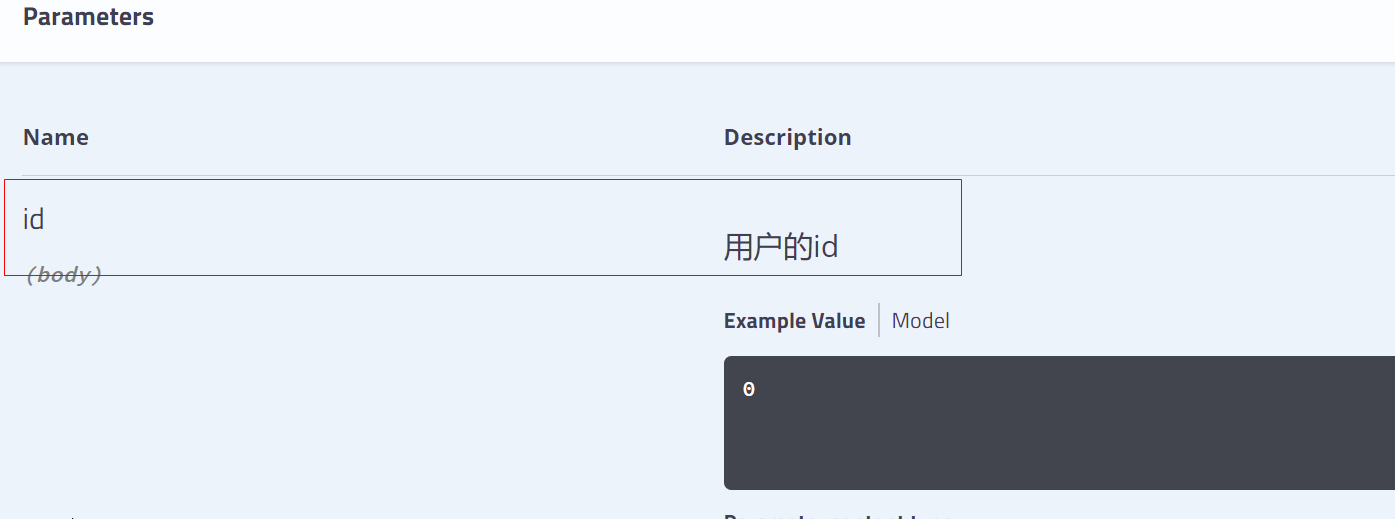
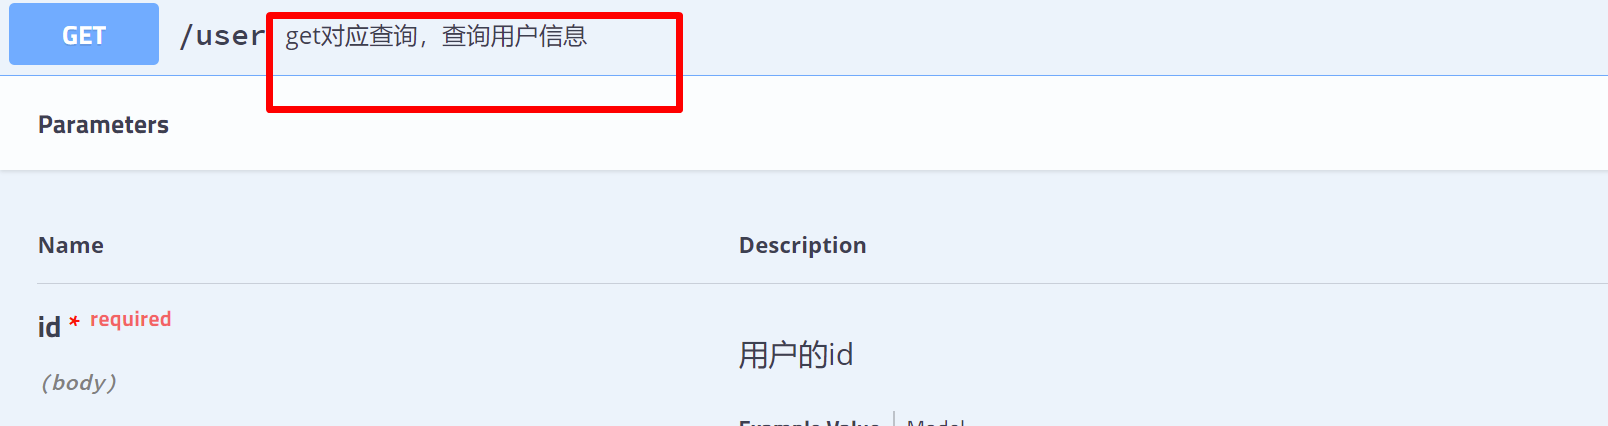
@ApiImplicitParams:用在方法,用于描述方法内的参数的信息,可以设置默认值
@ApiImplicitParams({
        @ApiImplicitParam(name = "id",value = "用户的id",dataType = "int" ,
                paramType = "用于查询",required = true,defaultValue = "1"),
    	@ApiImplicitParam(name = "参数名",value = "作用",dataType = "数据类型"
                paramType = "用于什么操作",required = 是否必须传递,defaultValue = "默认值"),
})
2.17.3、Swagger2集成
-
导入pom依赖 springfox-swagger2、springfox-swagger-ui
<!--Swagger的依赖--> <dependency> <groupId>io.springfox</groupId> <artifactId>springfox-swagger2</artifactId> <version>2.9.2</version> </dependency> <dependency> <groupId>io.springfox</groupId> <artifactId>springfox-swagger-ui</artifactId> <version>2.9.2</version> </dependency> -
在配置文件中添加:(SpringBoot2.6及其以上版本启动swagger2.9.2会保错,所有需要添加一下配置)
spring: mvc: pathmatch: matching-strategy: ANT_PATH_MATCHER -
配置swagger的config 配置类
@Configuration @EnableSwagger2 //swagger2注解 public class Swagger2Config { //配置swagger @Bean public Docket docket(Environment environment){ //获取当前的环境配置 Profiles profiles = Profiles.of("dev"); //通过环境变量判断是否符合需要的环境 boolean b = environment.acceptsProfiles(profiles); log.info("当前的环境:{}",b); return new Docket(DocumentationType.SWAGGER_2) .apiInfo(apiInfo()) //配置信息 .select() //扫描接口的方式:basePackage(根据包),any(扫描全部),none(都不扫描), // withClassAnnotation(扫描类上的注解),withMethodAnnotation(方法上的注解) .apis(RequestHandlerSelectors.basePackage("com.yu.springbootdemo.controller")) //对指定的路径进行监视:PathSelectors.any()所有的,none()都不监视,ant(final String antPattern):匹配Ant样式的路径模式 .paths(PathSelectors.any()) .build() //添加select内的配置,select的结束 .enable(b) //是否开启swagger,根据开发环境判断是否开启 .groupName("A") //配置一个分组,多人开发,有多个docket,通过分组查找个人的 ; } //配置swagger基础信息,apiInfo //(title,description,version,termsOfServiceUrl,contact,license,licenseUrl) public ApiInfo apiInfo(){ //作者信息 Contact contact = new Contact("","",""); return new ApiInfoBuilder() .title("标题:测试swagger") //title标题 .description("测试文档") //description描述 .version("1.0") //version版本 .termsOfServiceUrl("aaaa") //服务路径 .contact(contact) //contact 作者信息 .license("Apache 2.0") //许可证 .licenseUrl("http://www.apache.org/licenses/LICENSE-2.0") //许可证路径 .build(); } } -
如果配置了shiro、SpringSecurity等权限框架,需要在安全框架内部对swagger的一些默认路径放行
//swagger2放行 filterMap.put("/swagger-ui.html", "anon"); filterMap.put("/swagger-resources", "anon"); filterMap.put("/swagger-resources/configuration/security", "anon"); filterMap.put("/swagger-resources/configuration/ui", "anon"); filterMap.put("/v2/api-docs", "anon"); filterMap.put("/webjars/springfox-swagger-ui/**", "anon");.antMatchers("/swagger-ui.html").permitAll() .antMatchers("/swagger-resources/**").permitAll() .antMatchers("/webjars/**").permitAll() .antMatchers("/v2/api-docs").permitAll() -
如果配置了WebMvcConfigurer,也需要对swagger路径进行放行
@Configuration public class WebMvcConfigure implements WebMvcConfigurer { @Override public void addResourceHandlers(ResourceHandlerRegistry registry) { registry.addResourceHandler("/static/**").addResourceLocations(ResourceUtils.CLASSPATH_URL_PREFIX + "/static/"); registry.addResourceHandler("swagger-ui.html").addResourceLocations("classpath:/META-INF/resources/"); registry.addResourceHandler("/webjars/**").addResourceLocations("classpath:/META-INF/resources/webjars/"); } } -
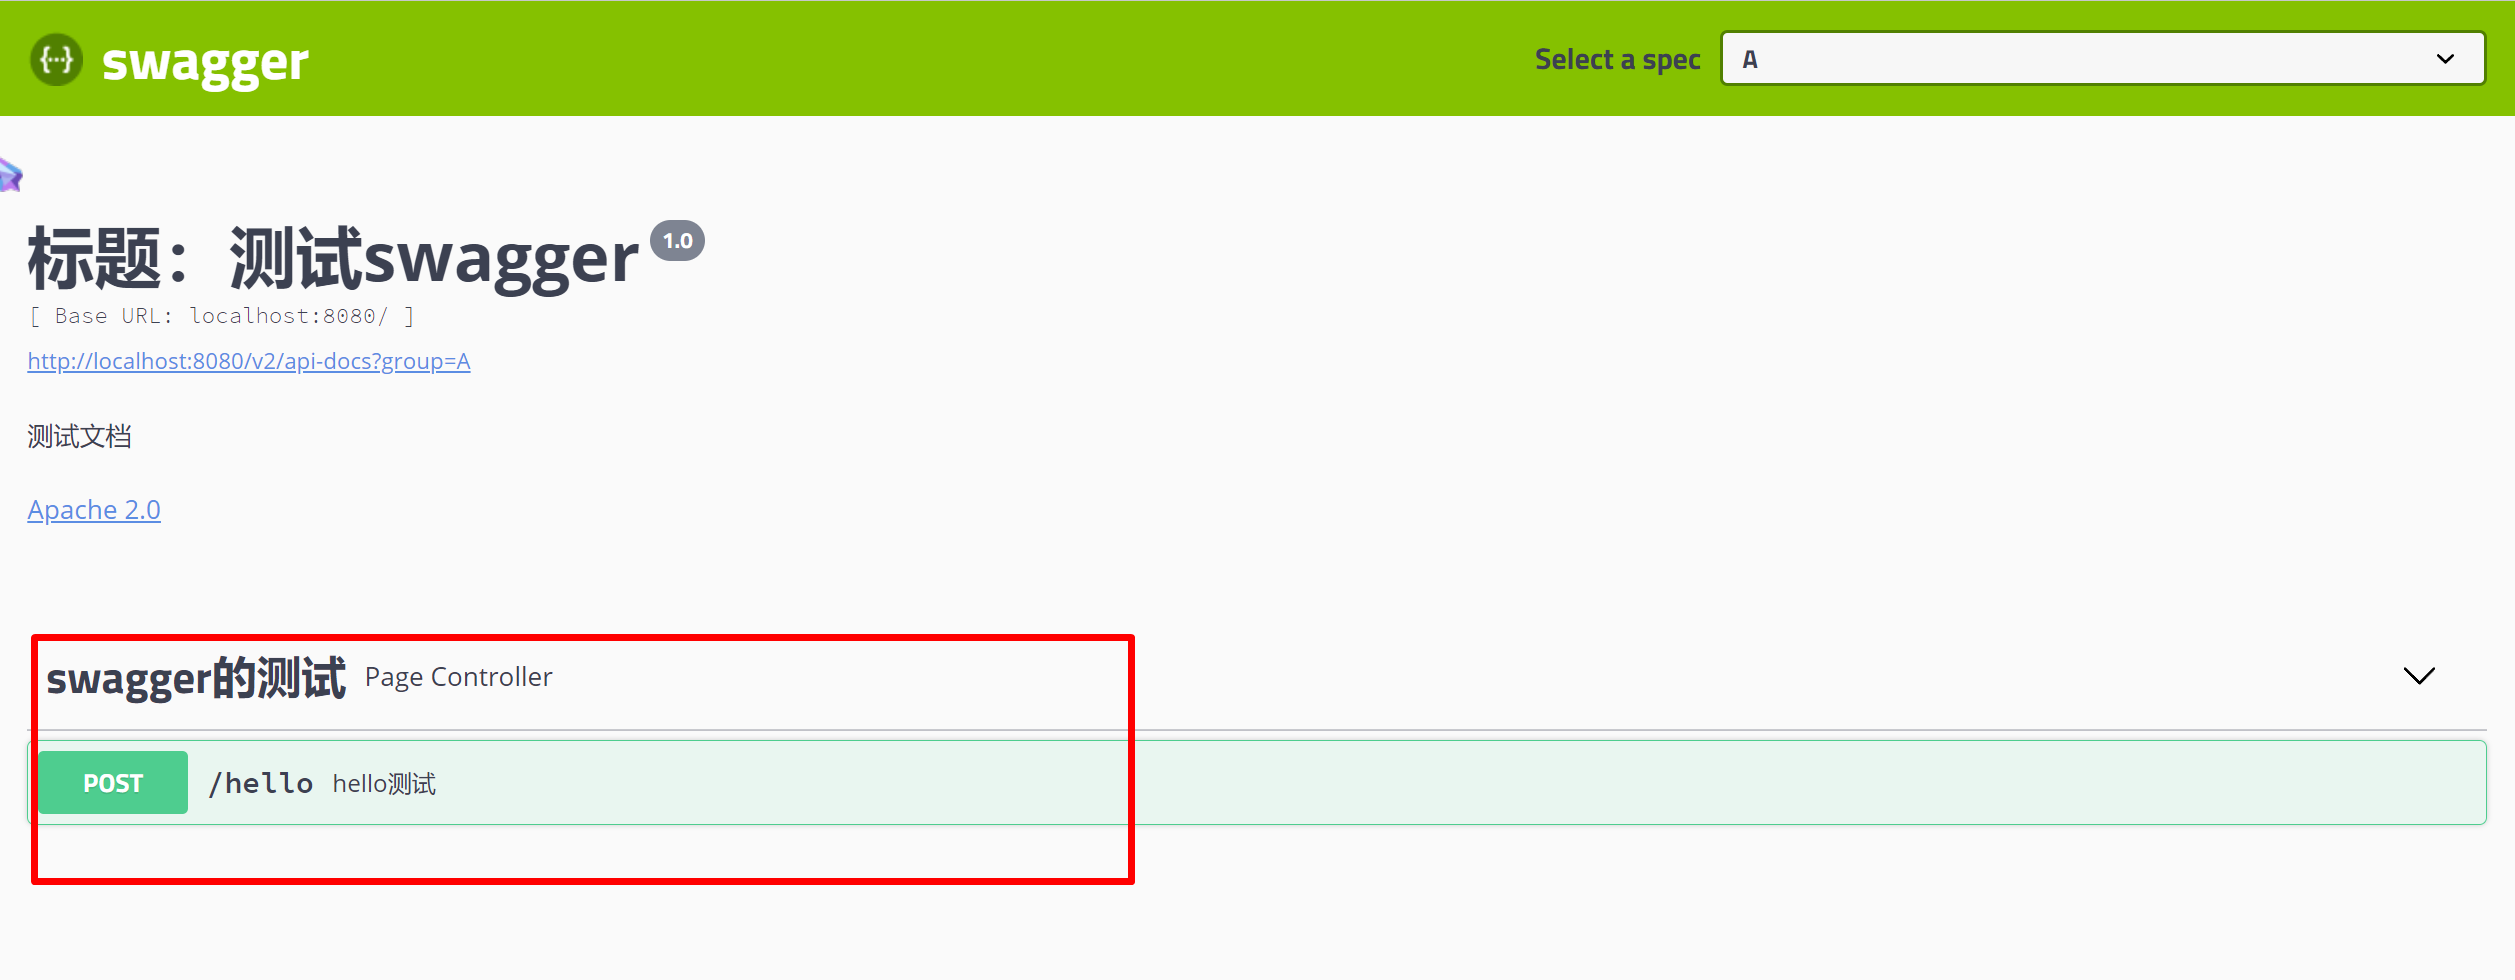
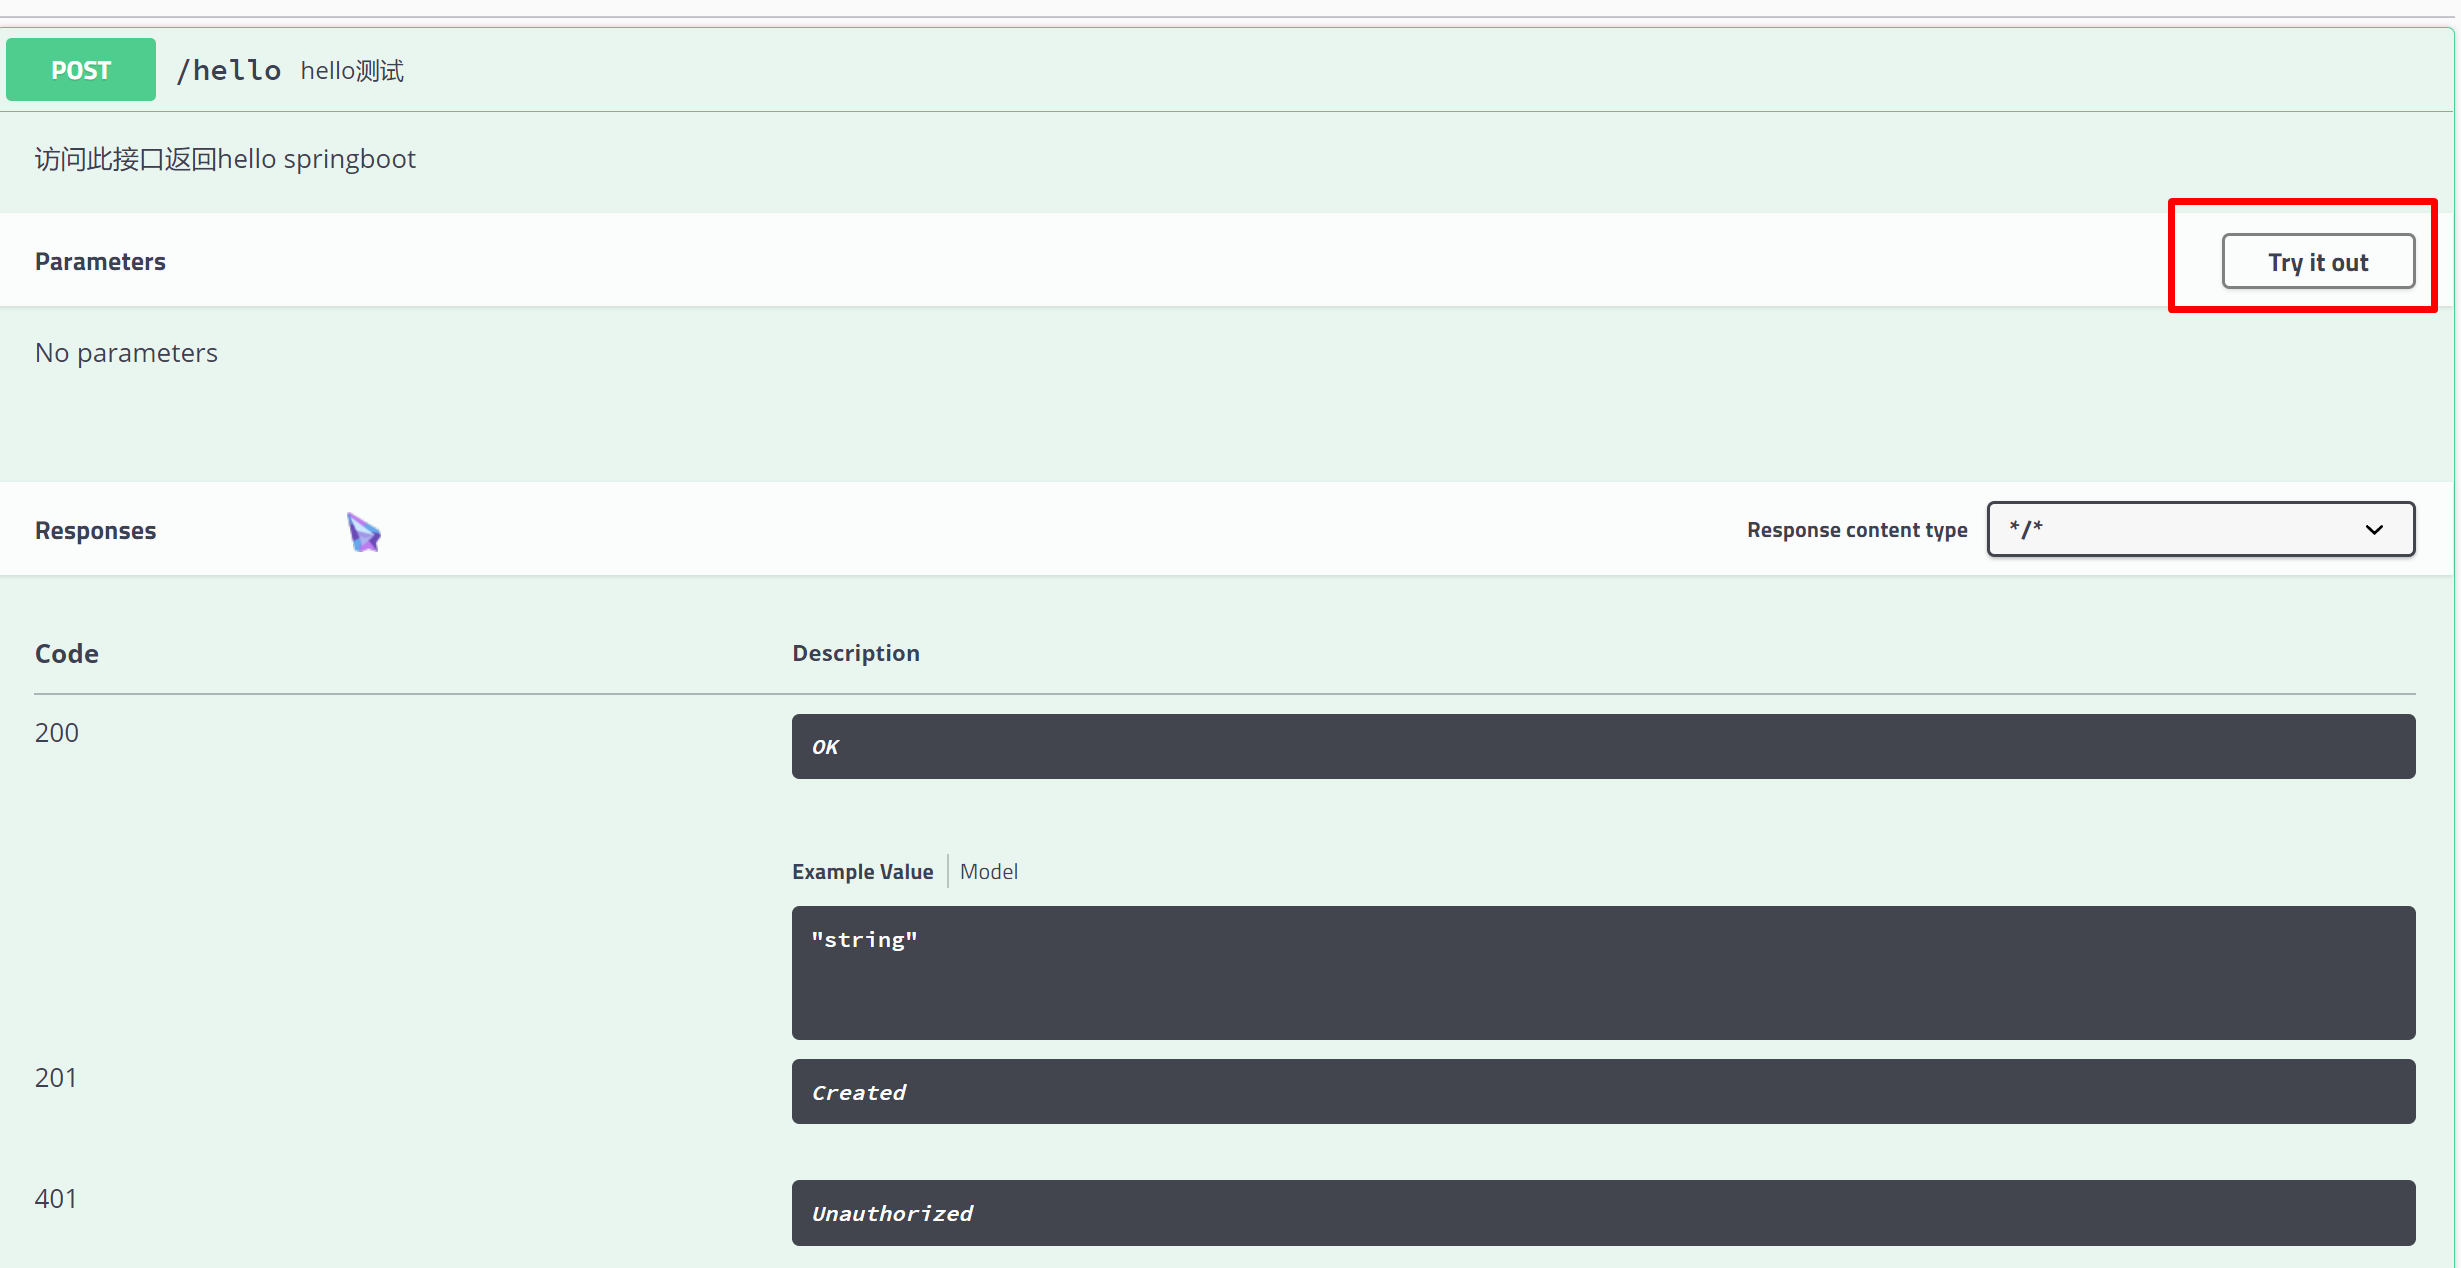
编写Controller 进行测试
@Api(tags = "swagger测试") @Controller public class PageController { @ApiOperation(value = "hello测试", notes = "访问此接口返回hello springboot ") @PostMapping("/hello") @ResponseBody public String hello(){ return "hello springboot"; } } -
访问 http://localhost:8080/swagger-ui.html

2.17.4、Swagger3集成
Swagger3在 2 的基础上做了很大的升级,但使用的方式差别不大,只是其中有些配置不同
| 区别 | swagger2 | swagger3 |
|---|---|---|
| 依赖 | springfox-swagger2、springfox-swagger-ui | springfox-boot-starter |
| 启动注解 | @EnableSwagger2 | @EnableOpenApi |
| Document类型 | DocumentationType.SWAGGER_2 | DocumentationType.OAS_30 |
| 网址 | http://ip:port/{context-path}/swagger-ui.html | http://ip:port/{context-path}/swagger-ui/index.html |
-
导入pom依赖 ()
<!--Swagger3的依赖--> <dependency> <groupId>io.springfox</groupId> <artifactId>springfox-boot-starter</artifactId> <version>3.0.0</version> </dependency> -
在配置文件中添加:防止版本问题启动失败
spring: mvc: pathmatch: matching-strategy: ANT_PATH_MATCHER -
配置swagger的config 配置类
@Configuration @EnableOpenApi //swagger3注解 public class Swagger2Config { //配置swagger @Bean public Docket docket(Environment environment){ //获取当前的环境配置 Profiles profiles = Profiles.of("dev"); //通过环境变量判断是否符合需要的环境 boolean b = environment.acceptsProfiles(profiles); log.info("当前的环境:{}",b); //DocumentationType.SWAGGER_2 改为 DocumentationType.OAS_30 return new Docket(DocumentationType.SWAGGER_2) .apiInfo(apiInfo()) //配置信息 .select() //扫描接口的方式:basePackage(根据包),any(扫描全部),none(都不扫描), // withClassAnnotation(扫描类上的注解),withMethodAnnotation(方法上的注解) .apis(RequestHandlerSelectors.basePackage("com.yu.springbootdemo.controller")) //对指定的路径进行监视:PathSelectors.any()所有的,none()都不监视,ant(final String antPattern):匹配Ant样式的路径模式 .paths(PathSelectors.any()) .build() //添加select内的配置,select的结束 .enable(b) //是否开启swagger,根据开发环境判断是否开启 .groupName("A") //配置一个分组,多人开发,有多个docket,通过分组查找个人的 ; } //配置swagger基础信息,apiInfo //(title,description,version,termsOfServiceUrl,contact,license,licenseUrl) public ApiInfo apiInfo(){ //作者信息 Contact contact = new Contact("","",""); return new ApiInfoBuilder() .title("标题:测试swagger3") //title标题 .description("测试文档") //description描述 .version("1.0") //version版本 .termsOfServiceUrl("aaaa") //服务路径 .contact(contact) //contact 作者信息 .license("Apache 2.0") //许可证 .licenseUrl("http://www.apache.org/licenses/LICENSE-2.0") //许可证路径 .build(); } } -
如果配置了shiro、SpringSecurity等权限框架,需要在安全框架内部对swagger3 的一些默认路径放行
//swagger2放行 filterMap.put("/swagger-ui/index.html", "anon"); filterMap.put("/swagger-resources", "anon"); filterMap.put("/swagger-resources/configuration/security", "anon"); filterMap.put("/swagger-resources/configuration/ui", "anon"); filterMap.put("/v2/api-docs", "anon"); filterMap.put("/webjars/springfox-swagger-ui/**", "anon");.antMatchers("/swagger-ui/index.html").permitAll() .antMatchers("/swagger-resources/**").permitAll() .antMatchers("/webjars/**").permitAll() .antMatchers("/v2/api-docs").permitAll() -
如果配置了WebMvcConfigurer,也需要对swagger3 路径进行放行
@Configuration public class WebMvcConfigure implements WebMvcConfigurer { @Override public void addResourceHandlers(ResourceHandlerRegistry registry) { registry.addResourceHandler("/static/**").addResourceLocations(ResourceUtils.CLASSPATH_URL_PREFIX + "/static/"); registry.addResourceHandler("swagger-ui/index.html").addResourceLocations("classpath:/META-INF/resources/"); registry.addResourceHandler("/webjars/**").addResourceLocations("classpath:/META-INF/resources/webjars/"); } } -
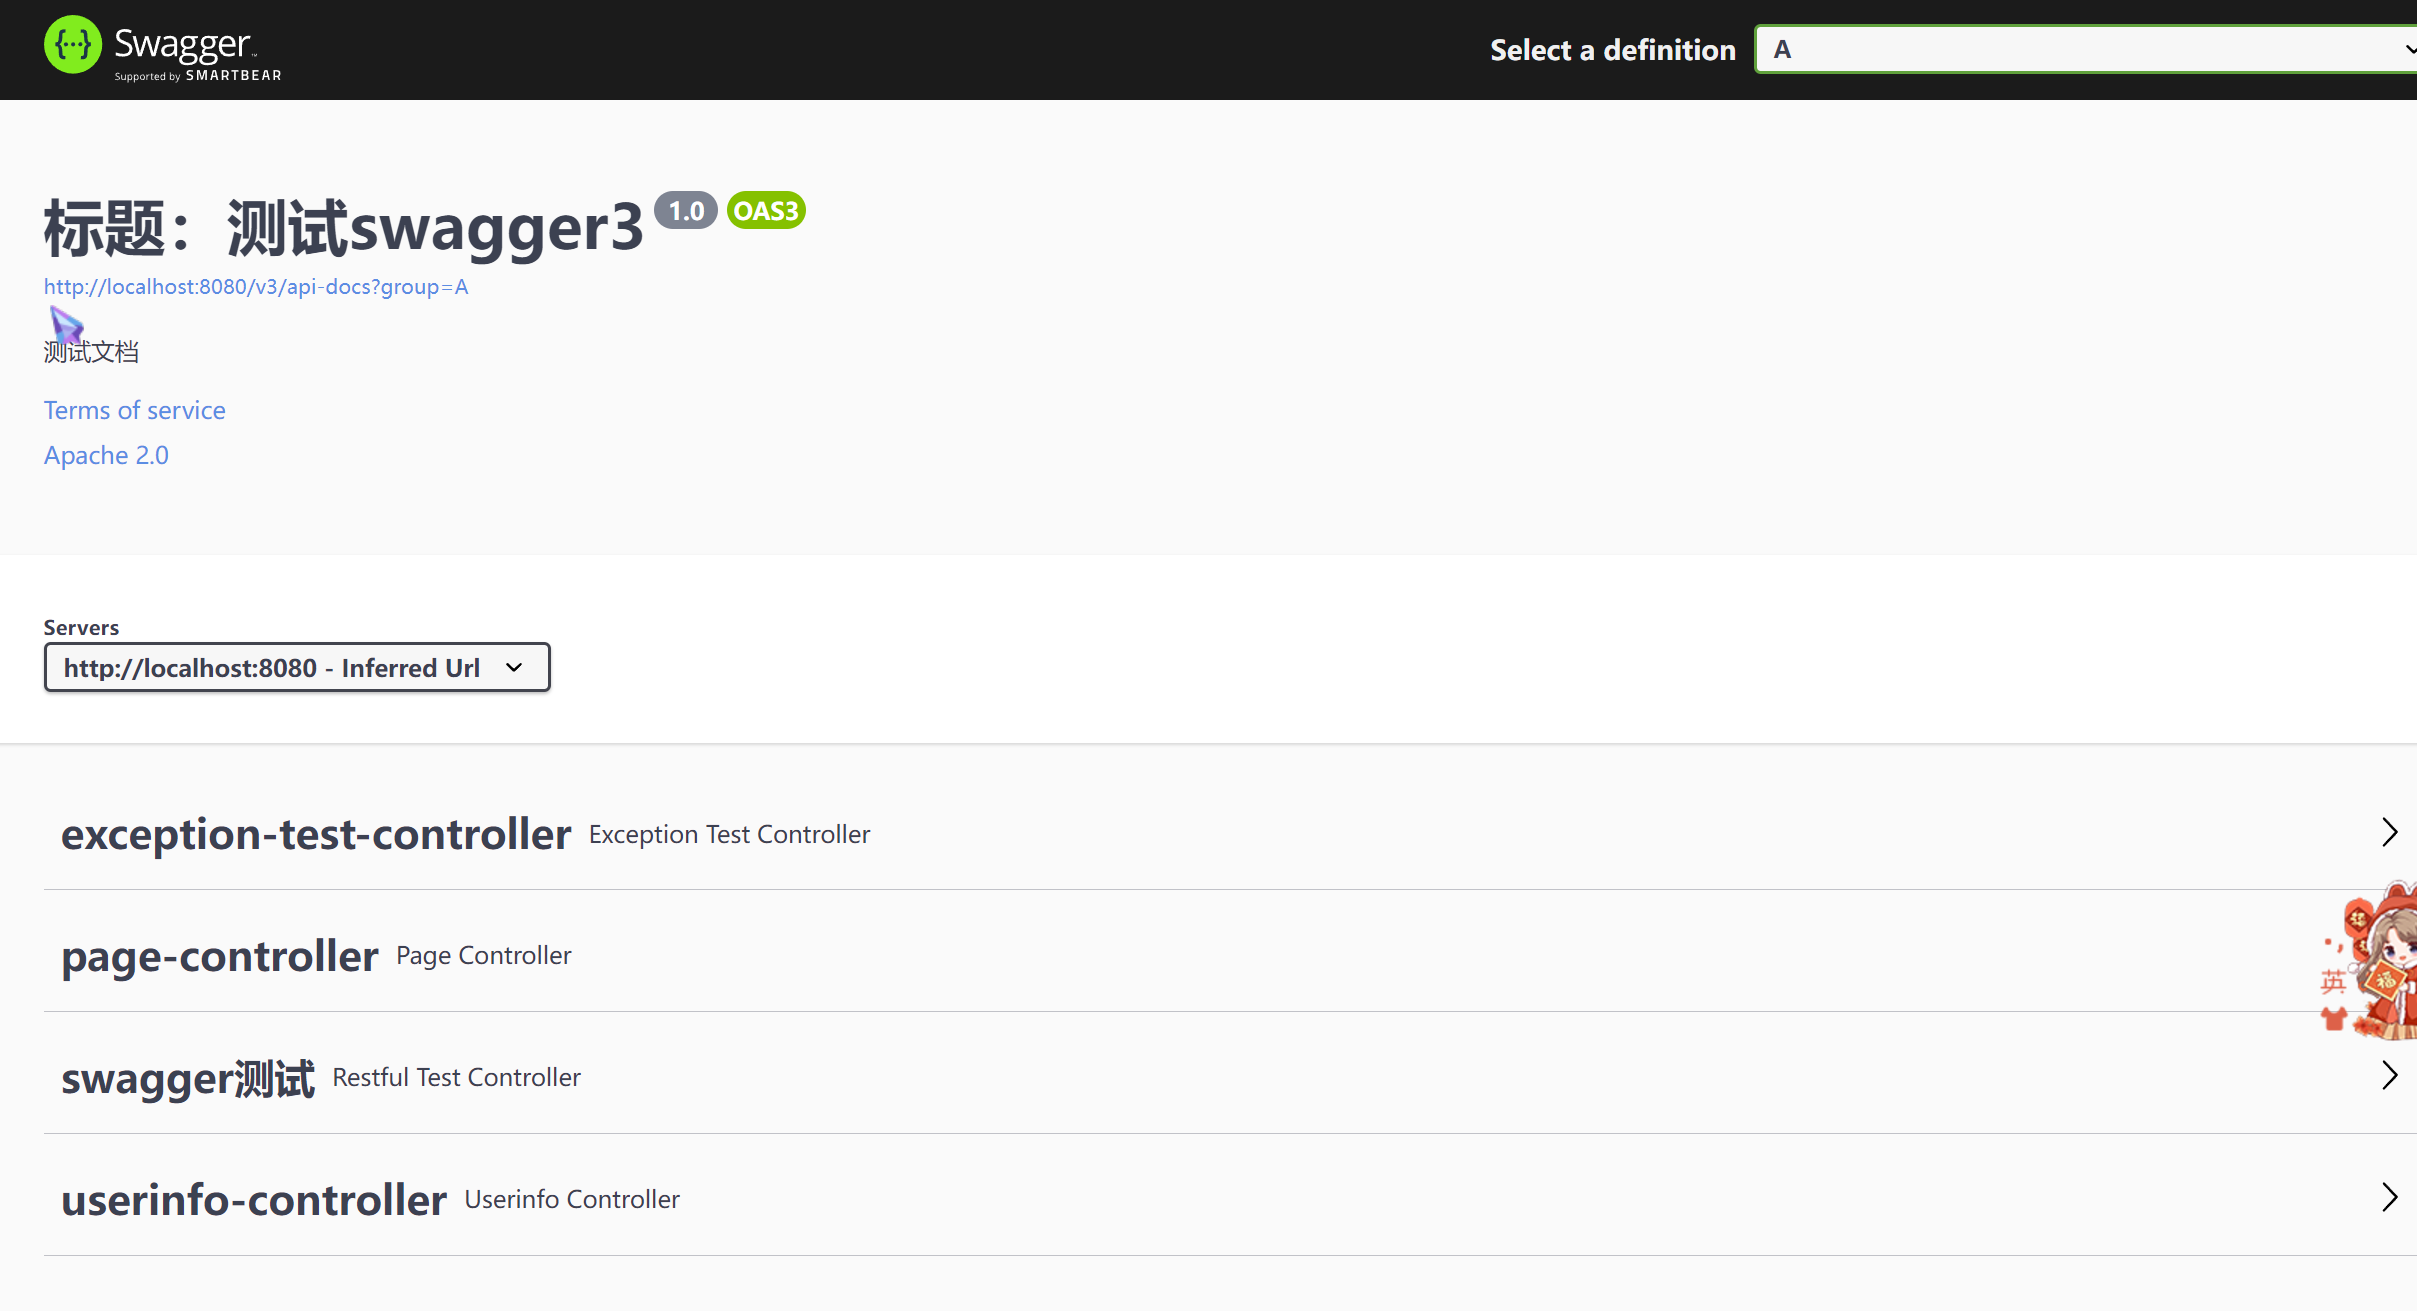
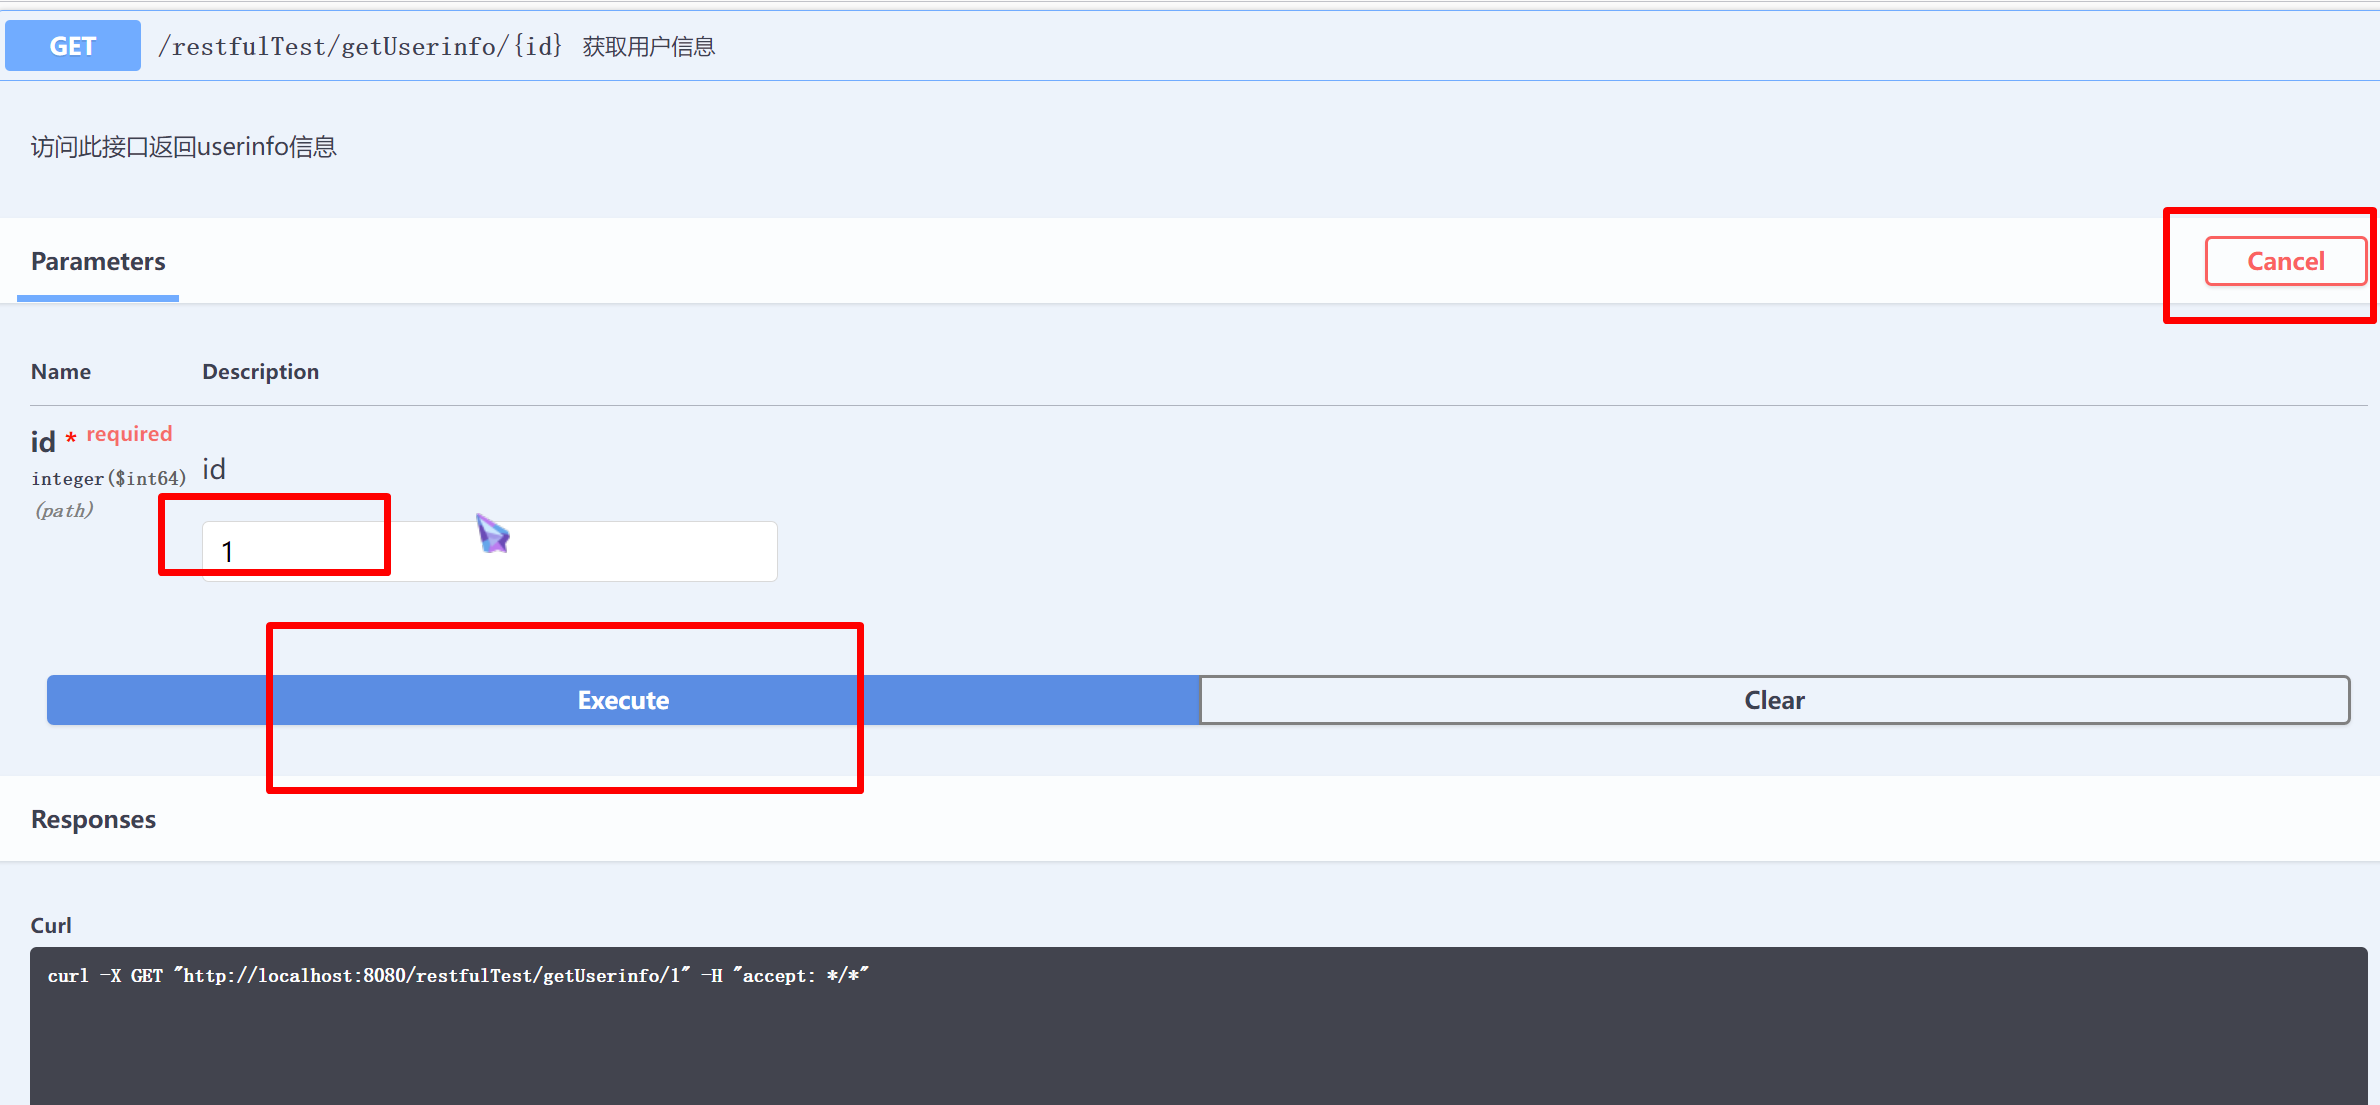
编写Controller 进行测试
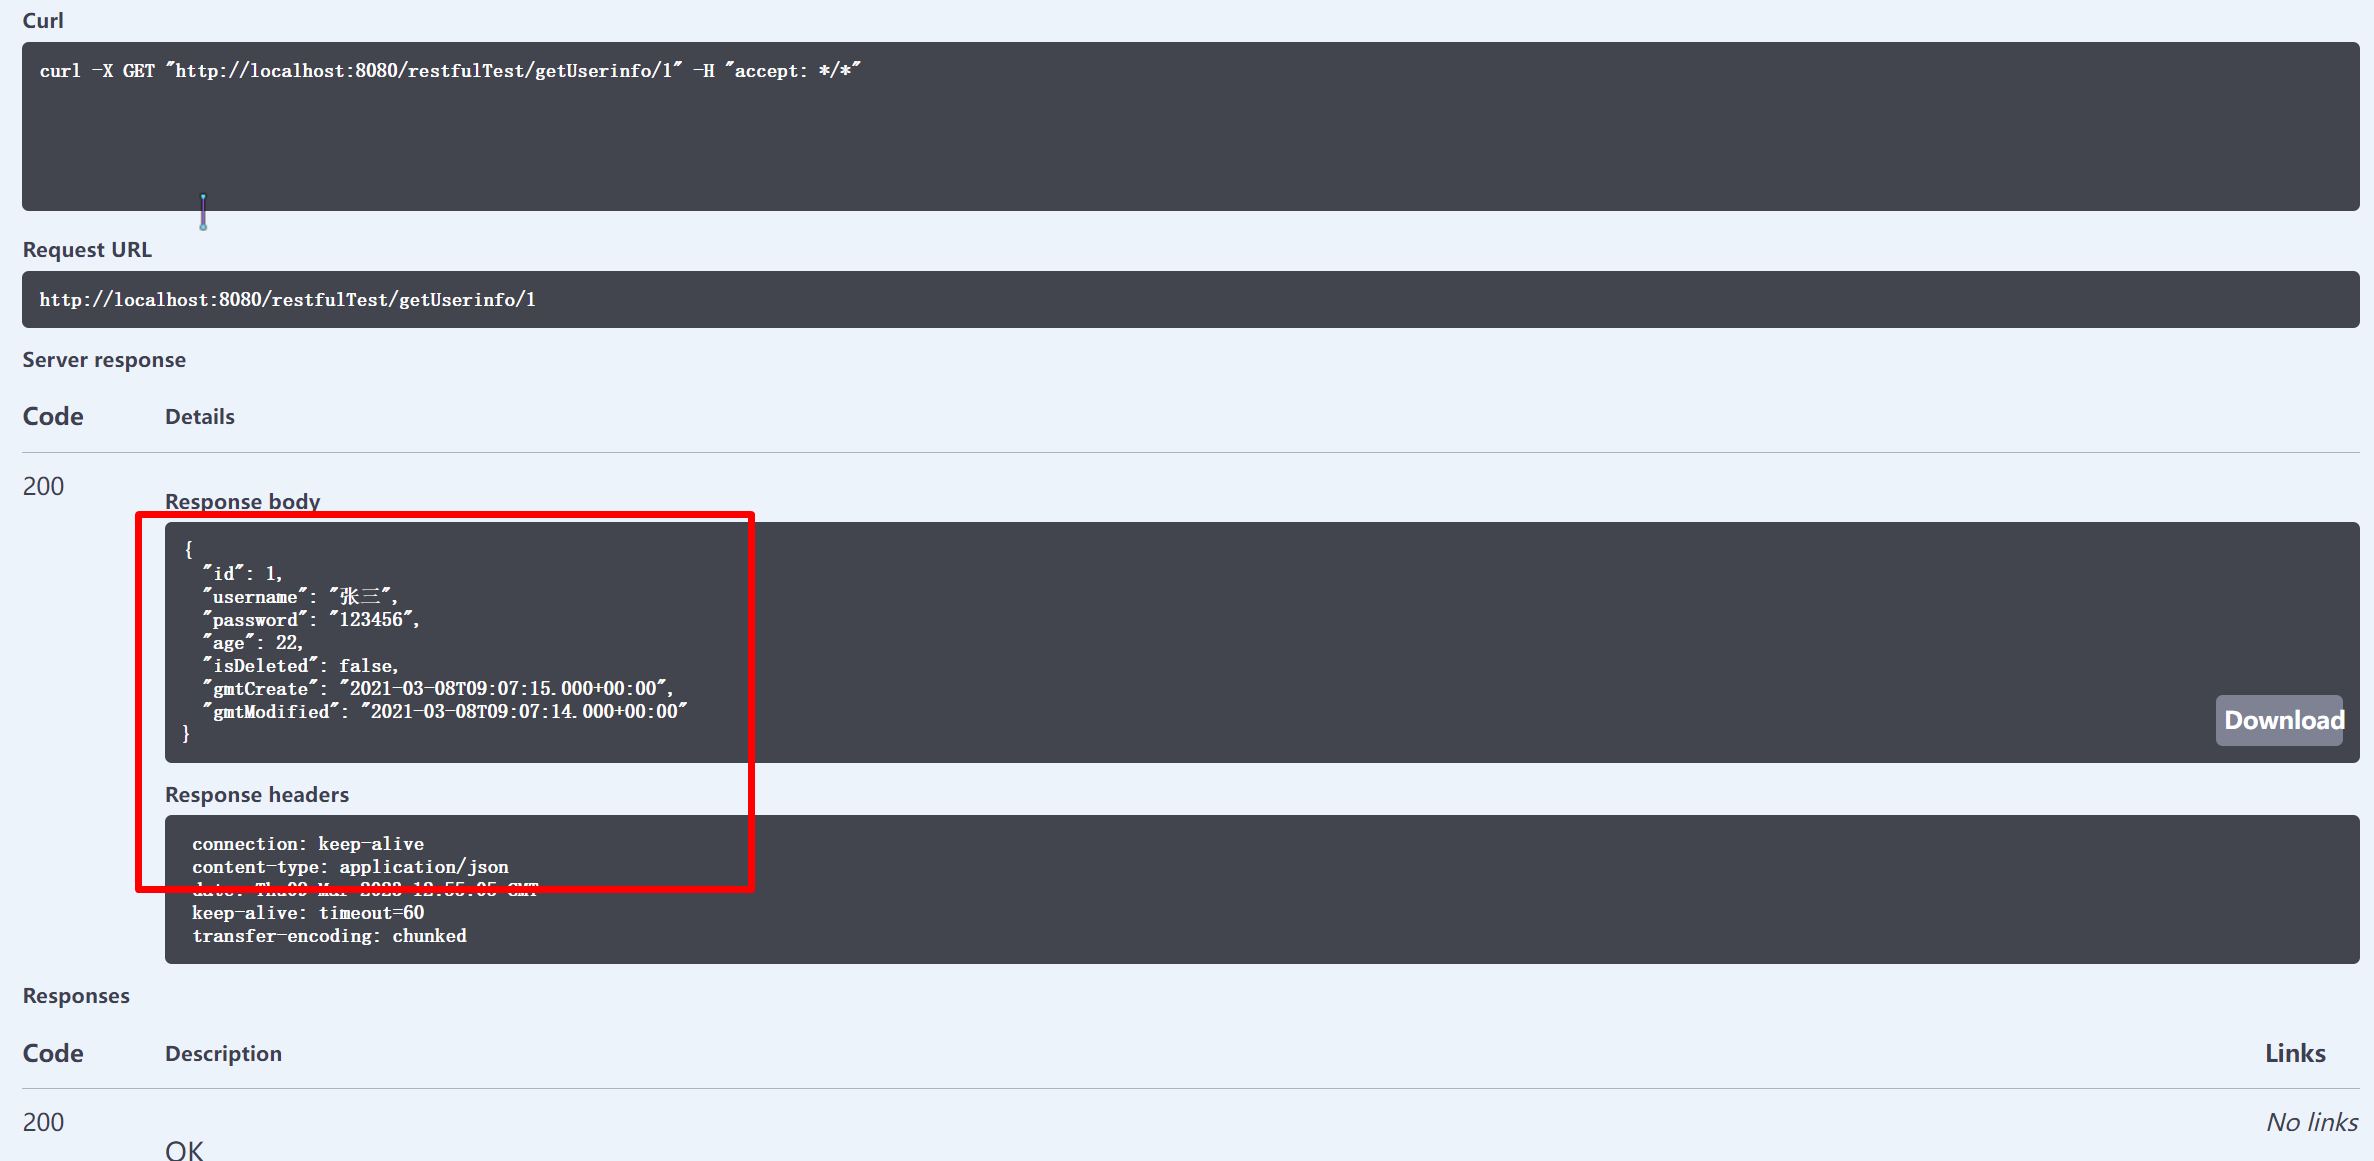
@Api(tags = "swagger3测试") @Controller @RequestMapping("/restfulTest") public class RestfulTestController { @Resource private UserinfoService userinfoService; @ApiOperation(value = "获取用户信息", notes = "访问此接口返回userinfo信息") @GetMapping("/getUserinfo/{id}") @ResponseBody public Userinfo getUserinfo(@PathVariable("id")long id){ return userinfoService.getById(id); } } -
访问 http://localhost:8080/swagger-ui/index.html


 4547
4547


 被折叠的 条评论
为什么被折叠?
被折叠的 条评论
为什么被折叠?
 到【灌水乐园】发言


