


前言
注册中心、配置中心的概念就不在这里解释了。发现服务原来一直用的是Eureka,因为这家伙闭源了,不爽。然后就发现了nacos,阿里巴巴的,好东西,一个搞定注册中心和配置中心。官网:https://nacos.io/en-us/。官网的手册比较入门可以,实用化还需要结合项目。接下来简单介绍下如何使用nacos搭建注册中心和服务中心。
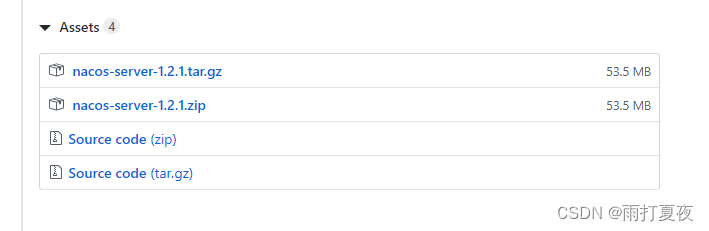
在进行下面操作前,自己去git上下载一个打包发布后的nacos服务,地址:https://github.com/alibaba/nacos/releases。Linux下载第一个,windows下载第二个。后面两个是源码。如何启动使用nacos,nacos官网说的很详细,不再赘述。
注册中心
服务提供者
从https://start.spring.io/下载一个原始的spring boot工程,别忘了添加Web依赖,如何下载就不在这里说了。添加依赖:
<dependency>
  <groupId>com.alibaba.cloud</groupId>
  <artifactId>spring-cloud-starter-alibaba-nacos-discovery</artifactId>
  <version>2.2.1.RELEASE</version>
</dependency>
配置文件application.properties添加配置:
server.port=8070
spring.application.name=service-provider
spring.cloud.nacos.discovery.server-addr=127.0.0.1:8848
启动类:
@SpringBootApplication
@EnableDiscoveryClient
public class MySpringbootApplication{
	public static void main(Stringl[] args){
		SpringApplication.run(MySpringbootApplication.class, args);
	}
}
添加一个测试用的Controller:
@RestController
public class ConfigController {
   @RequestMapping(value = "/hello",method = RequestMethod.GET)
   @ResponseBody
   public String get() {
   	return "hello world",
   }
}
至此,服务提供者完成。
服务消费者
同服务提供者操作,下载一个原始的spring boot工程,添加依赖,注意,因为要使用feign调用服务提供者,要添加相应依赖:
<dependency>
  <groupId>com.alibaba.cloud</groupId>
  <artifactId>spring-cloud-starter-alibaba-nacos-discovery</artifactId>
  <version>2.2.1.RELEASE</version>
</dependency>
  <dependency>
  <groupId>org.springframework.cloud</groupId>
  <artifactId>spring-cloud-starter-openfeign</artifactId>
  <version>2.2.2.RELEASE</version>
</dependency>
配置文件application.properties添加配置:
server.port=8080
spring.application.name=service-consumer
spring.cloud.nacos.discovery.server-addr=127.0.0.1:8848
启动类:
@SpringBootApplication
@EnableDiscoveryClient
@EnableFeignClients
public class GatewayApplication {
	public static void main(String[] args) {
		SpringApplication.run(GatewayApplication.class, args);
	}
}
添加feign的client:
@FeignClient("service-provider")
public interface ProviderClient {
	@RequestMapping(method=RequestMethod.GET,value="/hello")
	String helloWorld();
}
添加测试controller:
@RestController
@RequestMapping("consumer")
public class ConsumerController{

   @Autowired
   ProviderClient providerClient;

   @RequestMapping(value="/hello-consumer",method=RequestMethod.GET)
   public String hello(){
   	String result=providerClient.helloWorld();
   	return result;
   }
}
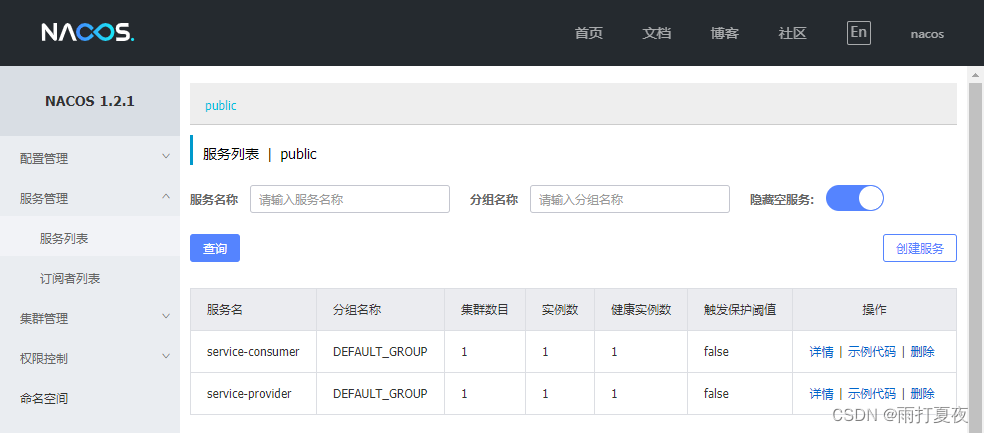
准备工作完成,启动nacos、服务提供者,服务消费者。全部启动成功后,就可以在nacos的控制台界面里看到两个已经注册进去的服务:
直接使用浏览器访问:http://127.0.0.1:8080/consumer/hello-consumer。
配置中心
直接在上面的服务提供者中使用nacos的配置中心。添加依赖:
<dependency>
  <groupId>com.alibaba.cloud</groupId>
  <artifactId>spring-cloud-starter-alibaba-nacos-config</artifactId>
  <version>2.2.1.RELEASE</version>
</dependency>
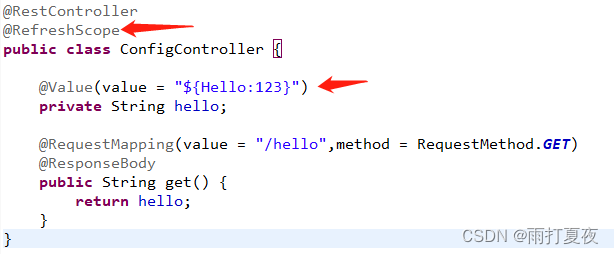
在Controller添加以下注解及代码,并修改接口:
配置文件application.properties添加配置:
spring.cloud.nacos.config.server-addr=127.0.0.1:8848
重启服务提供者。
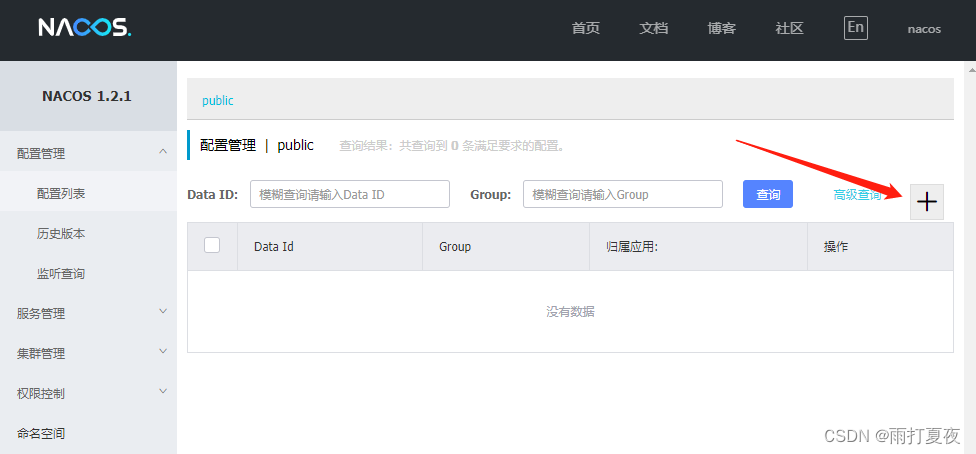
在nacos控制台界面的【配置列表】中添加配置:
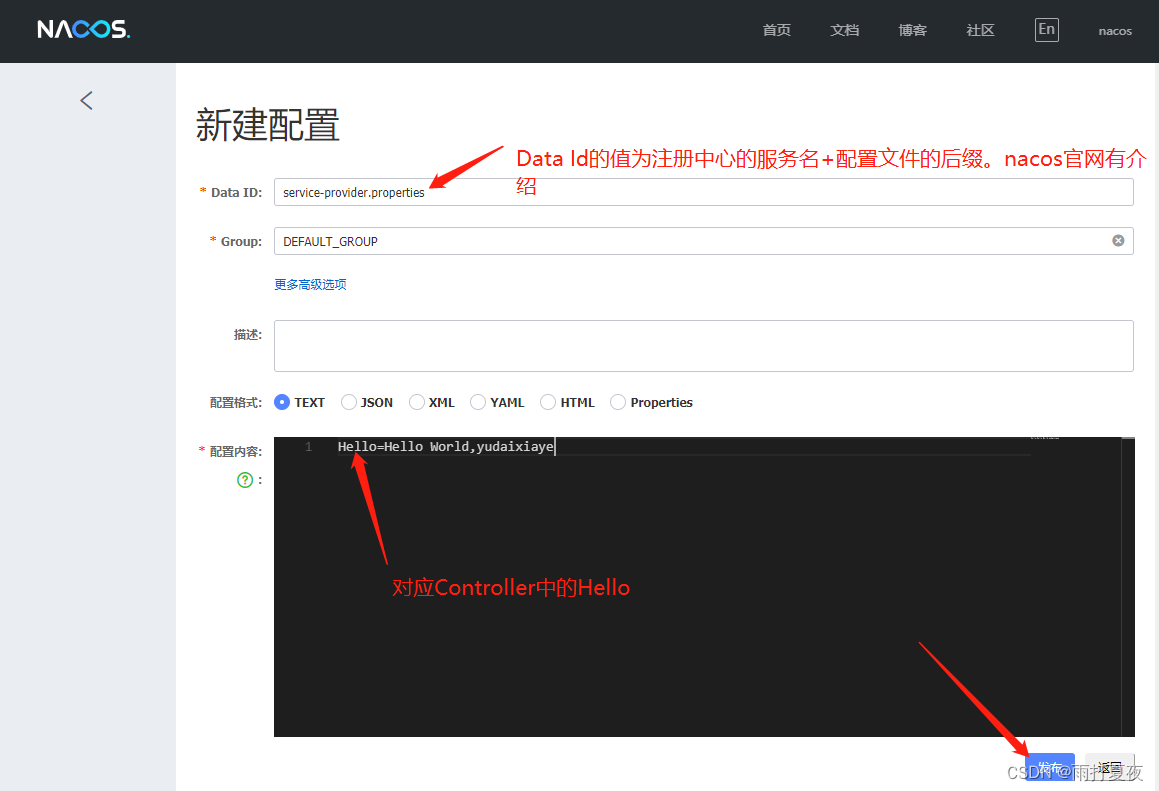
发布后,再访问http://127.0.0.1:8080/consumer/hello-consumer。


 171
171


 被折叠的 条评论
为什么被折叠?
被折叠的 条评论
为什么被折叠?
 到【灌水乐园】发言


