


创建项目时勾选CoreData,系统会自动在AppDelegate生成代码,并生成一个xcdatamodeld文件,没有勾选也没关系,新建一个勾选了CoreData的项目,将生成的代码复制过来并自己新建xcdatamodeld文件。
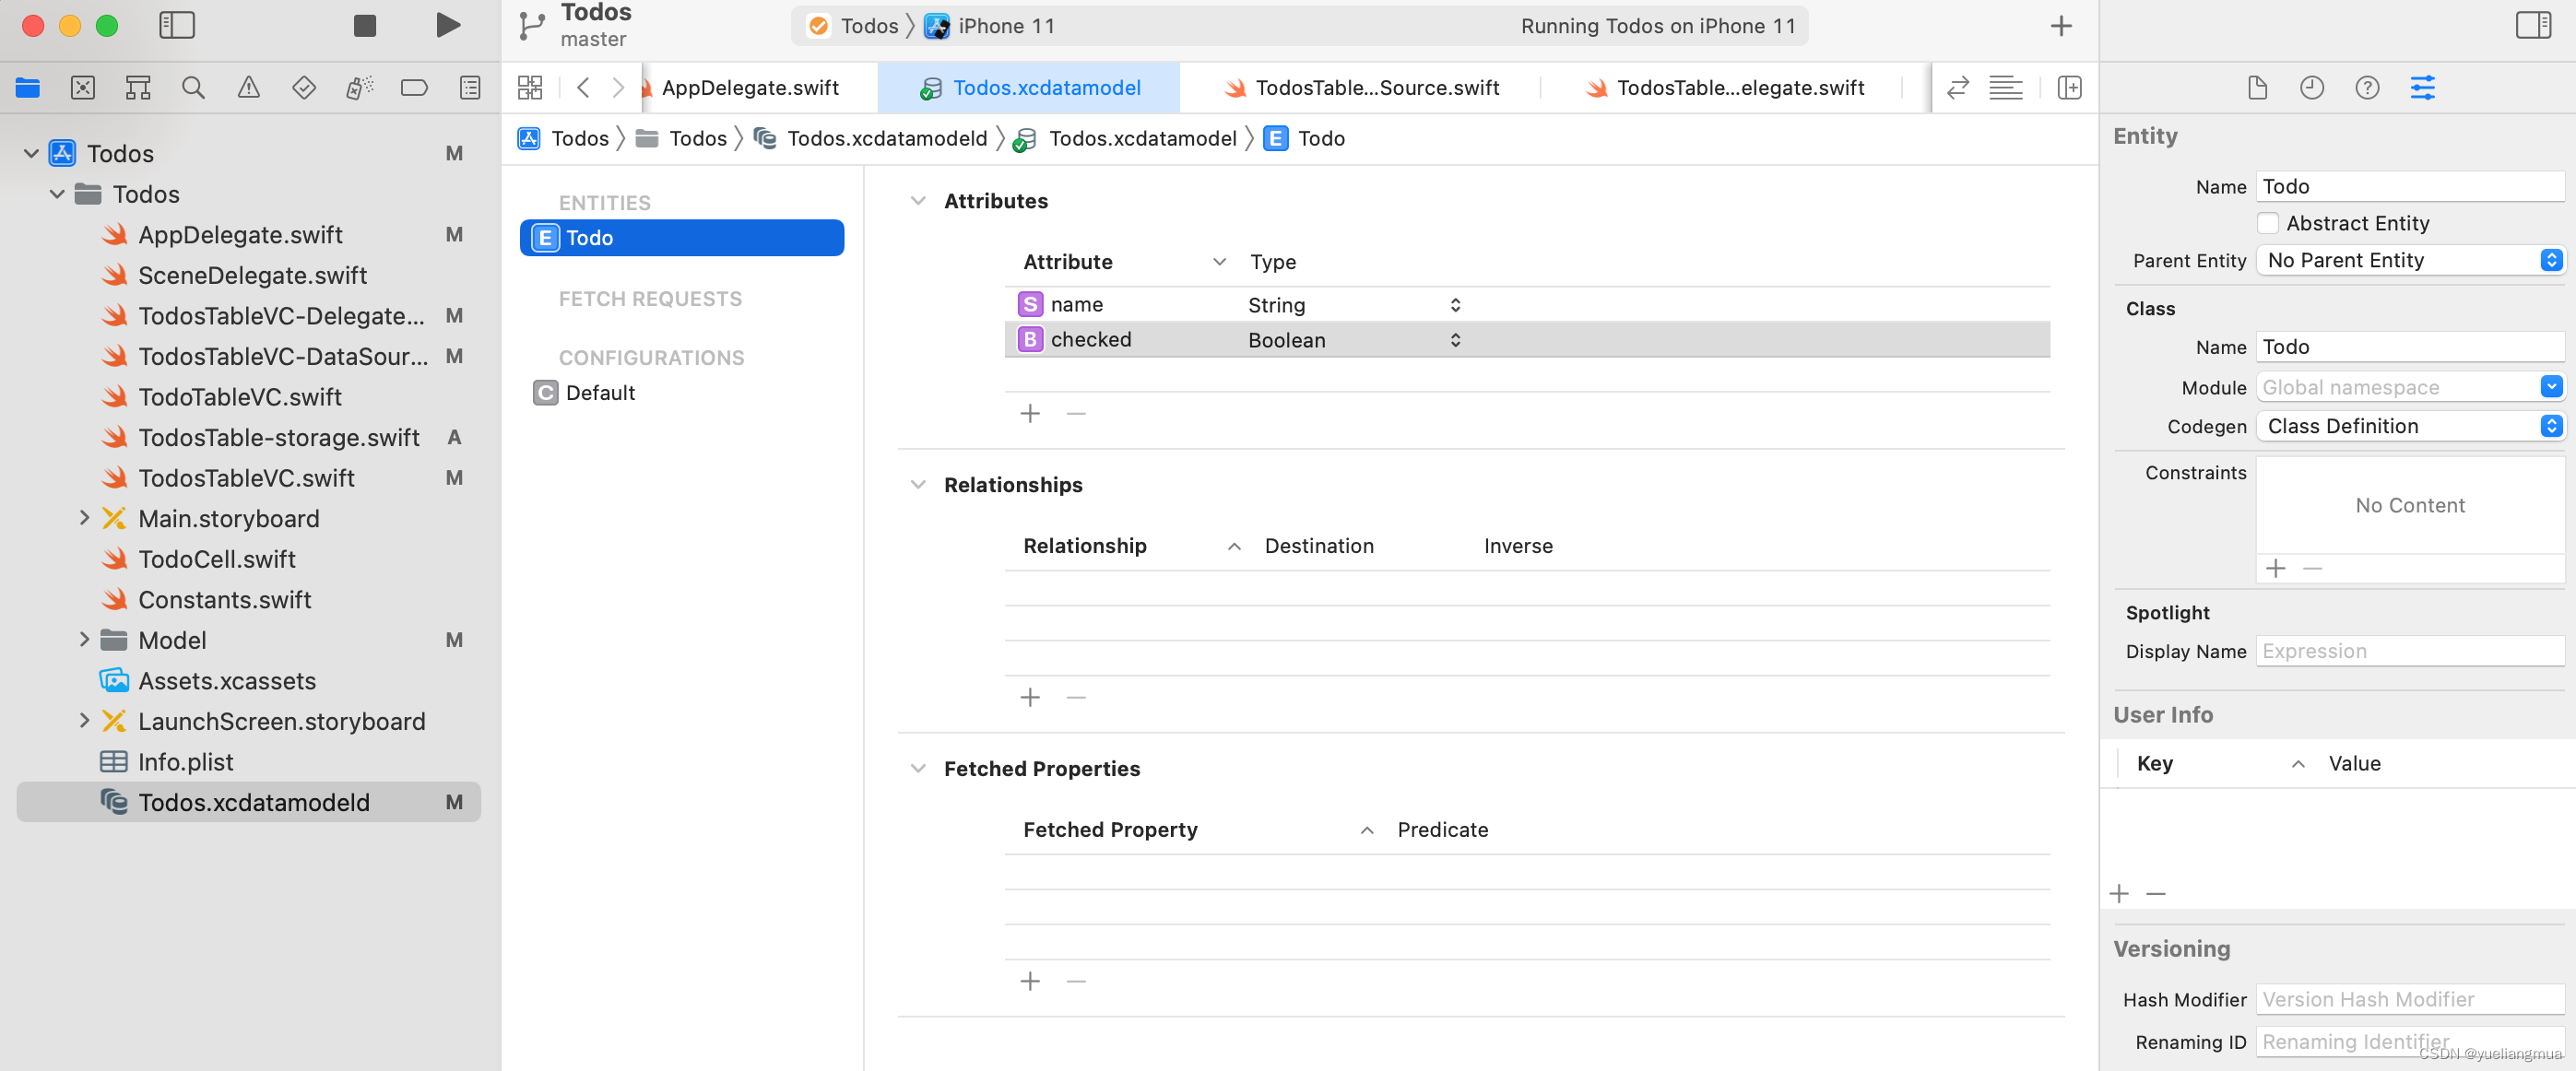
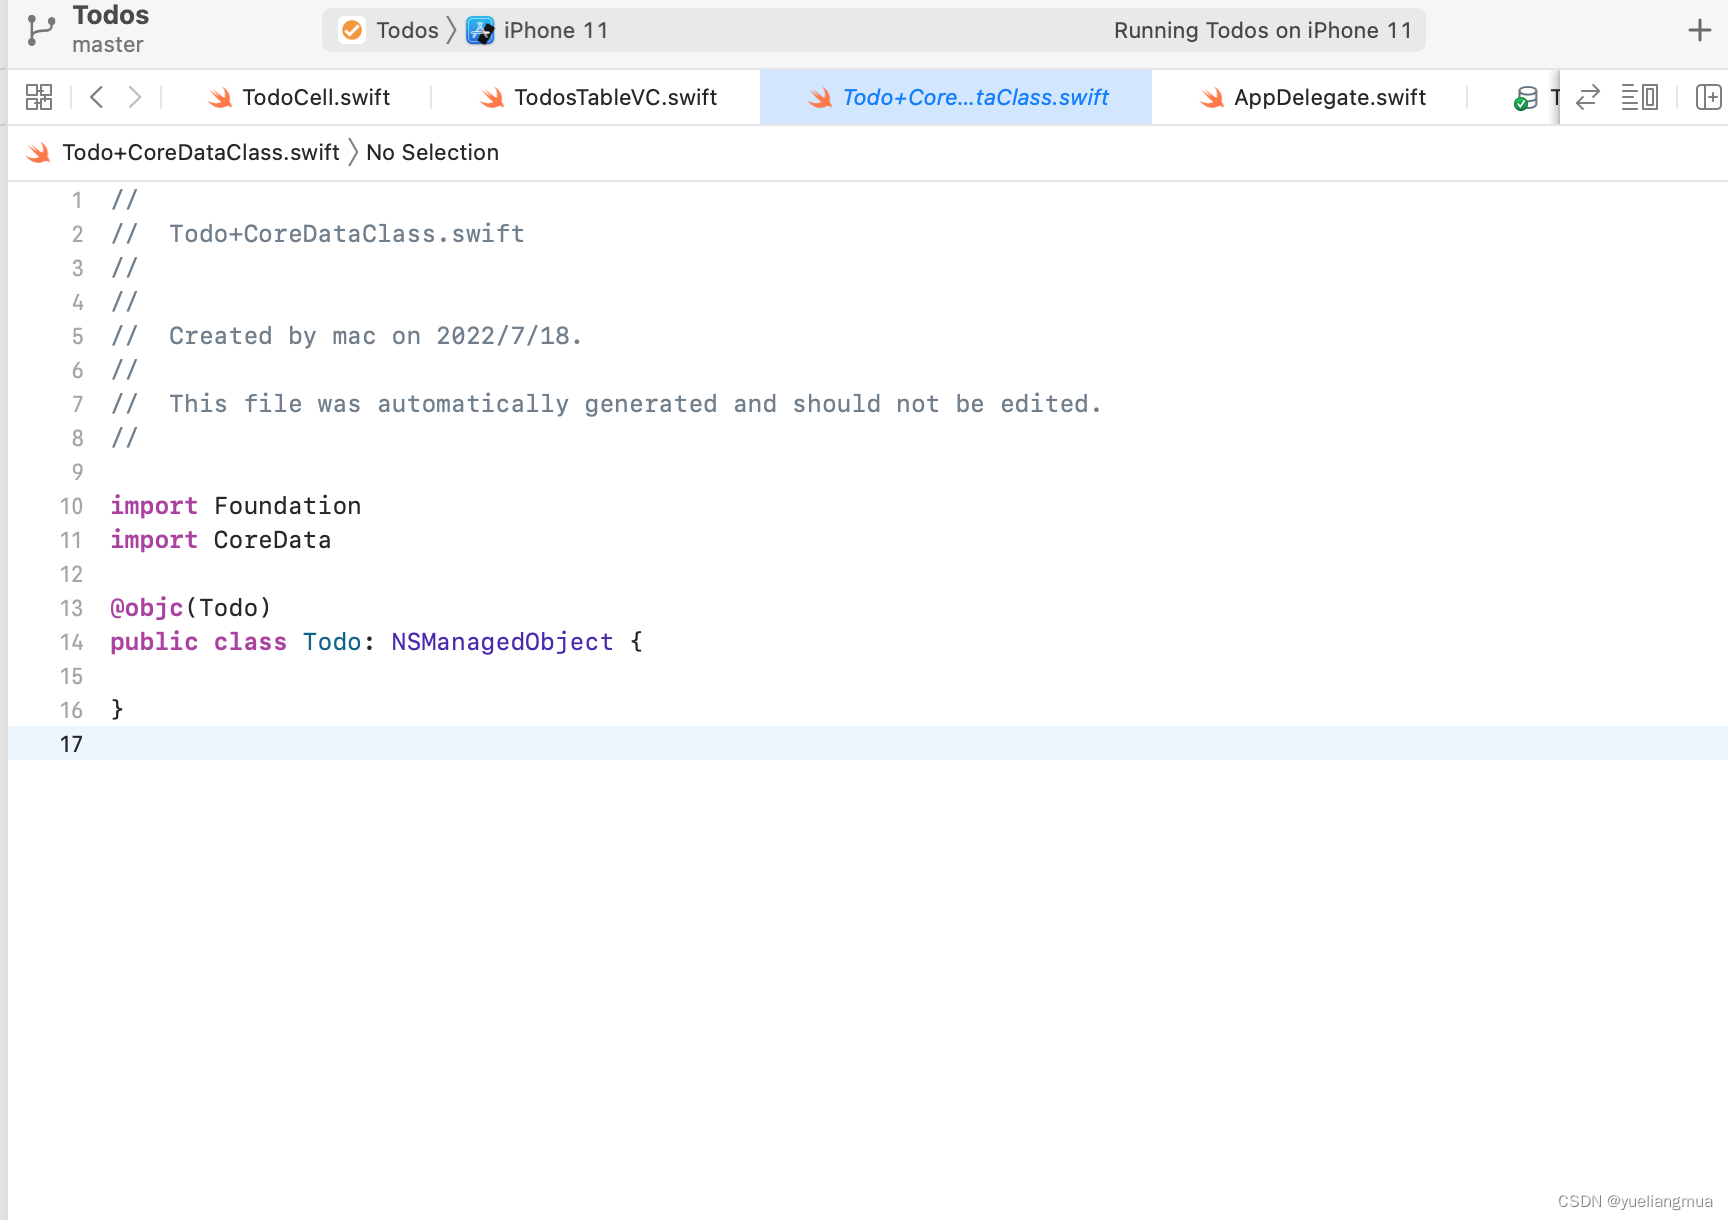
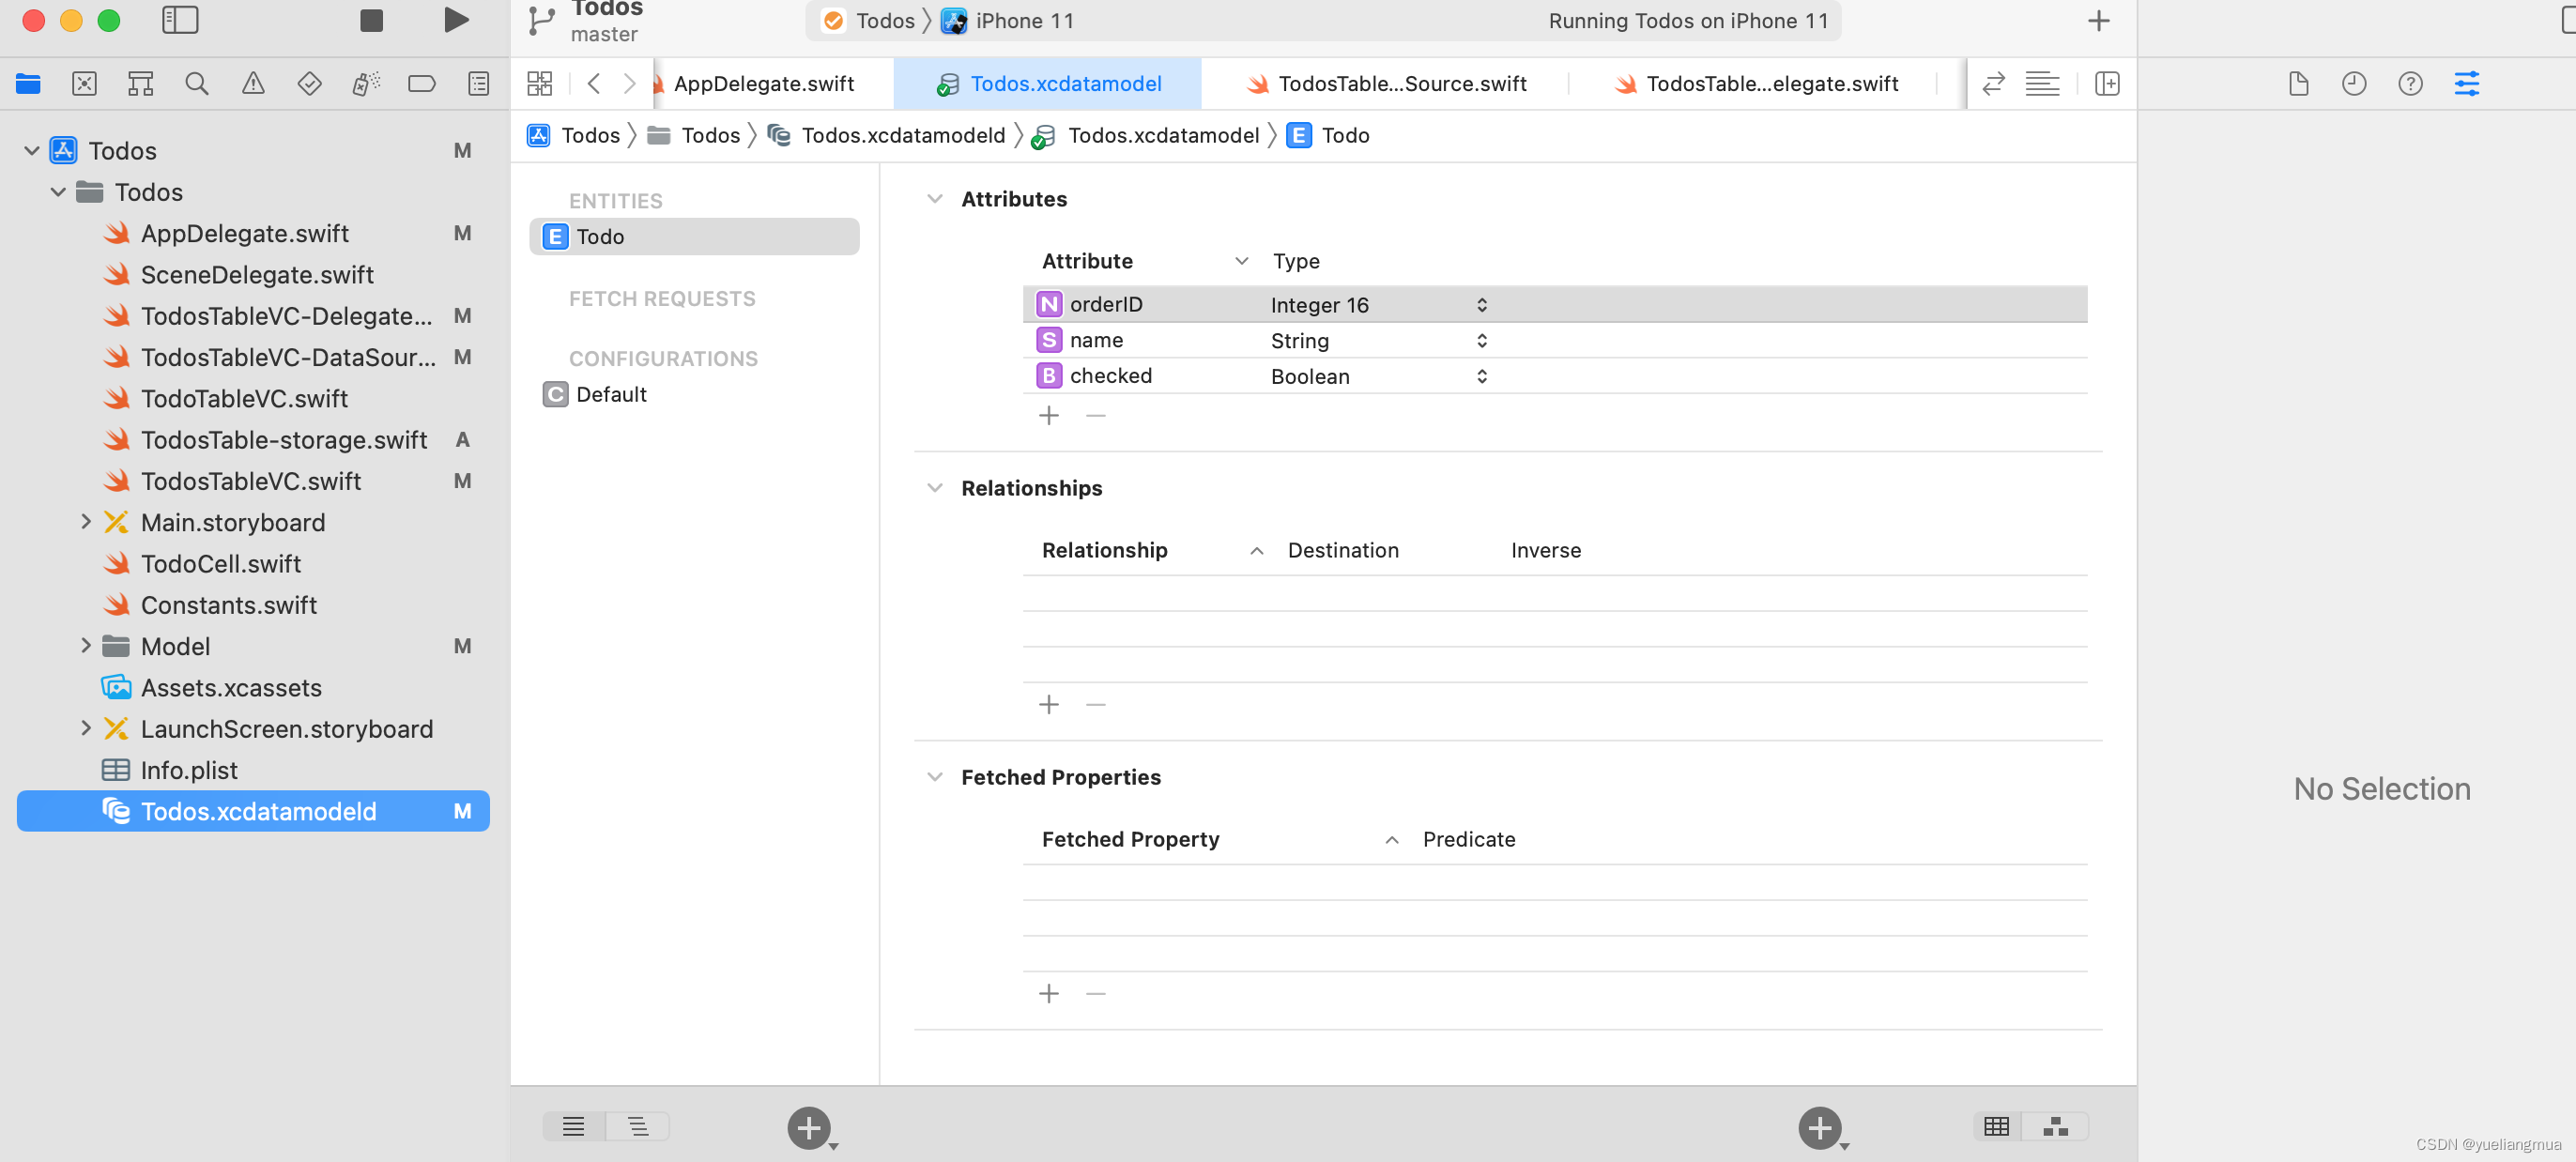
在xcdatamodeld文件中新建ENTITIES代替原来的Todo结构体,并添加两个Attribute元素并选择类型,可在右侧功能面板自行设置默认值,系统底层会生成一个class。
在AppDelegate中可以看到生成的持久化容器persistentContainer和SaveContext方法用于判断数据是否发生改变和储存数据。
再次通过沙盒地址打开Application Support文件可以看到sqlite数据库文件,打开Todos.sqlite文件(建议用DB Browser for SQLite应用打开)
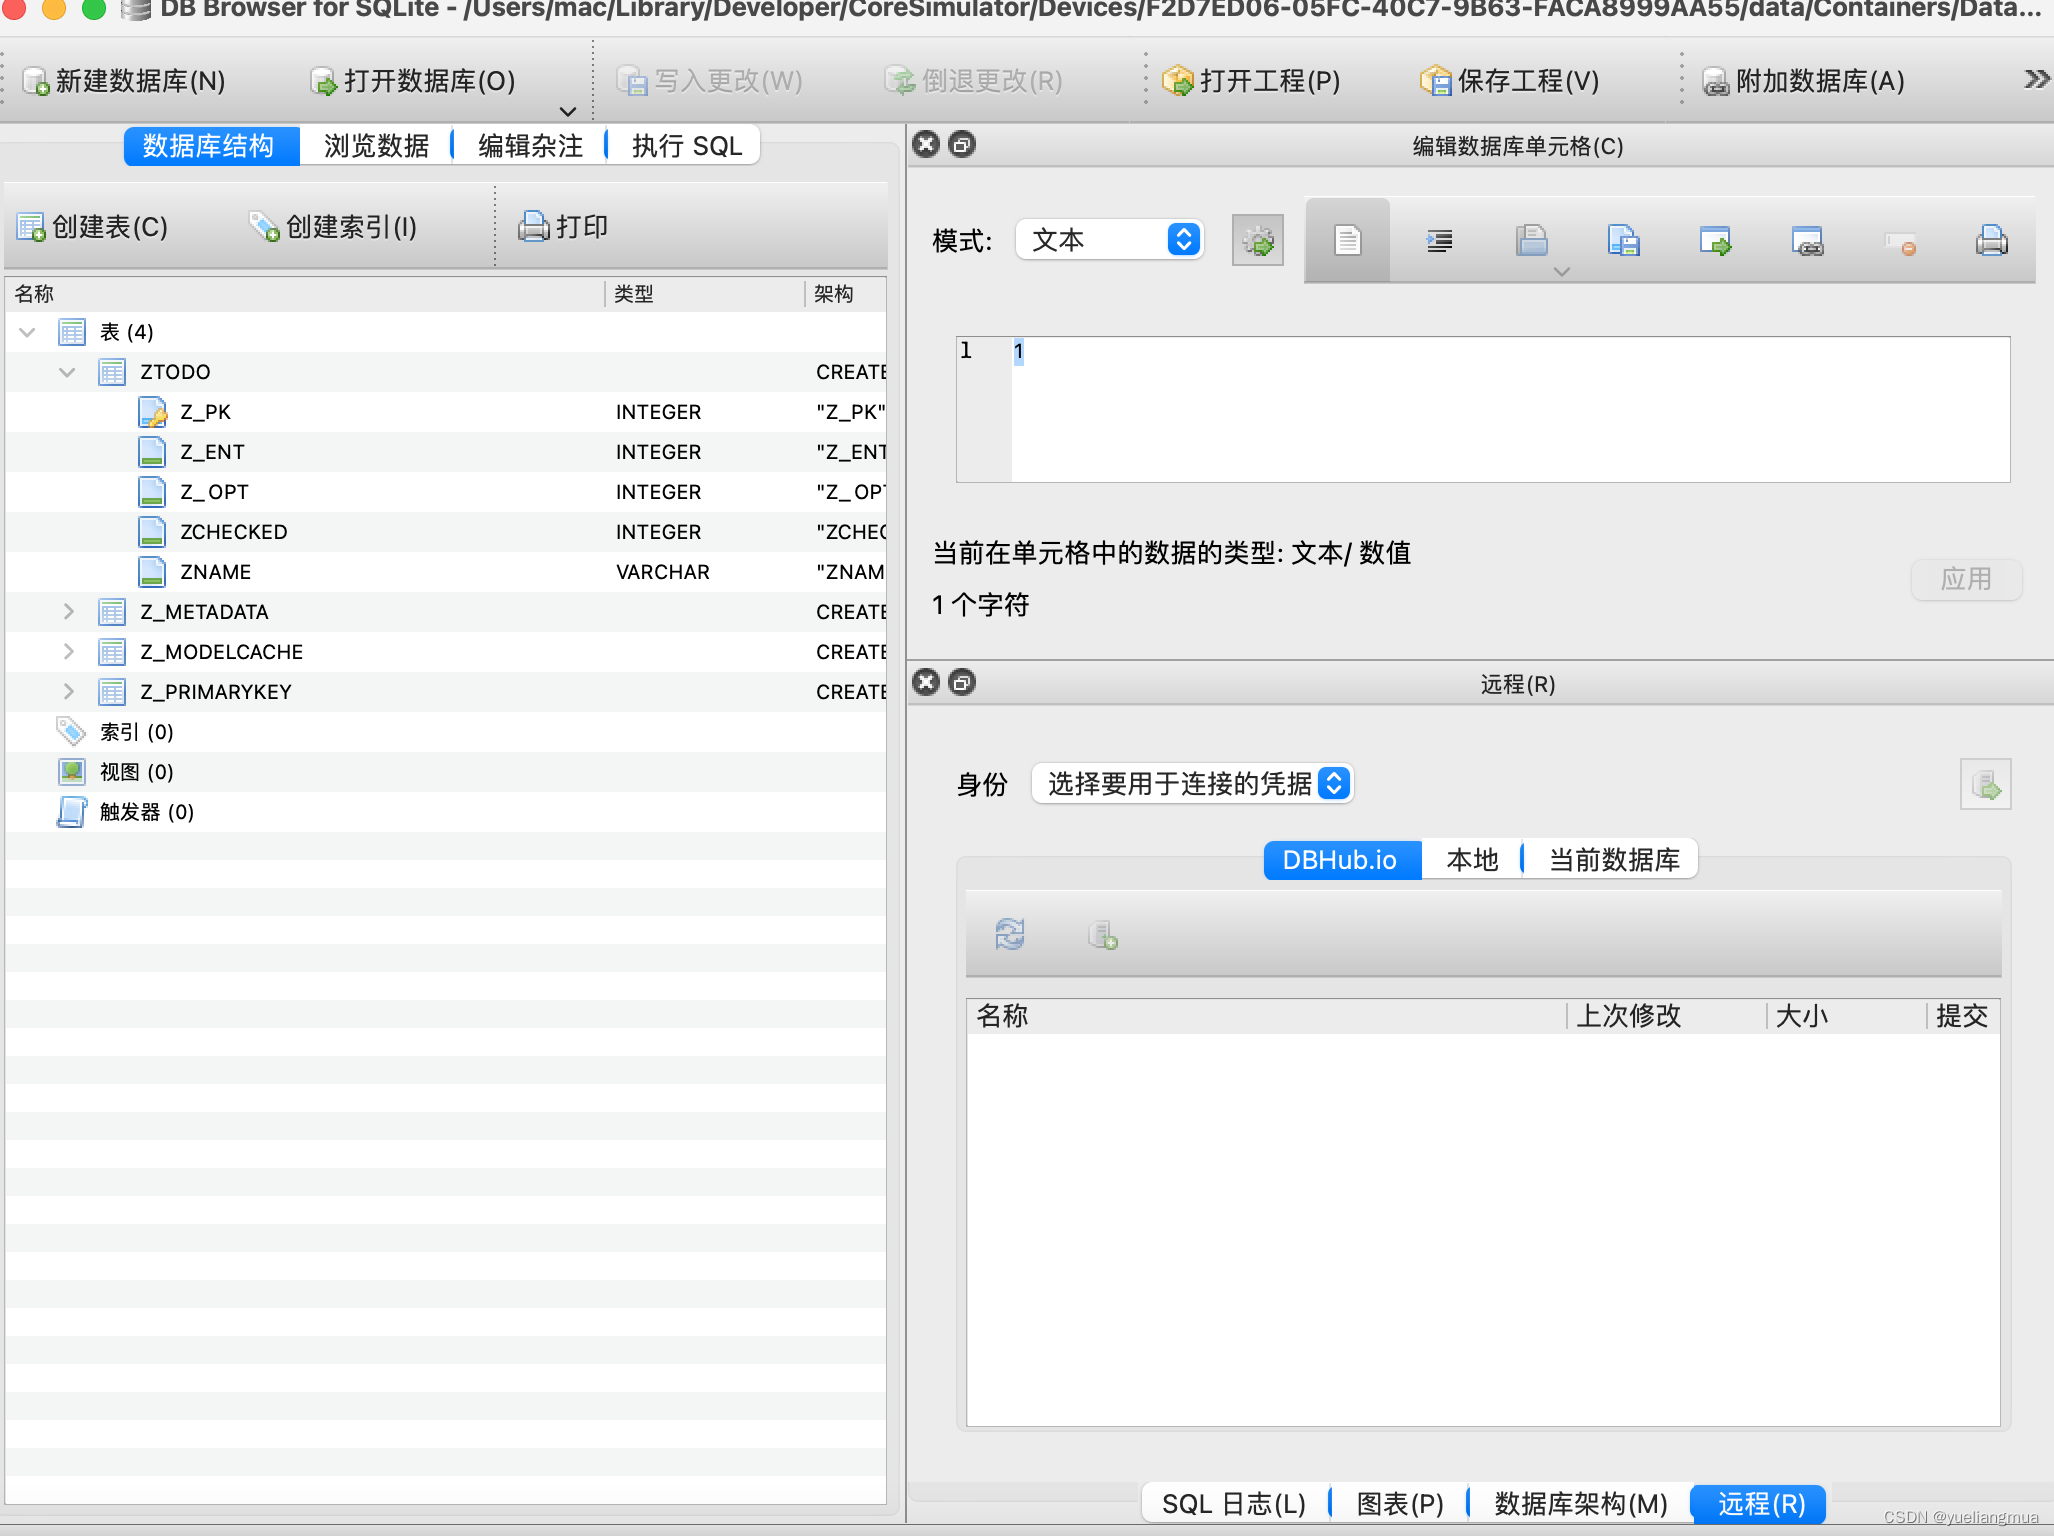
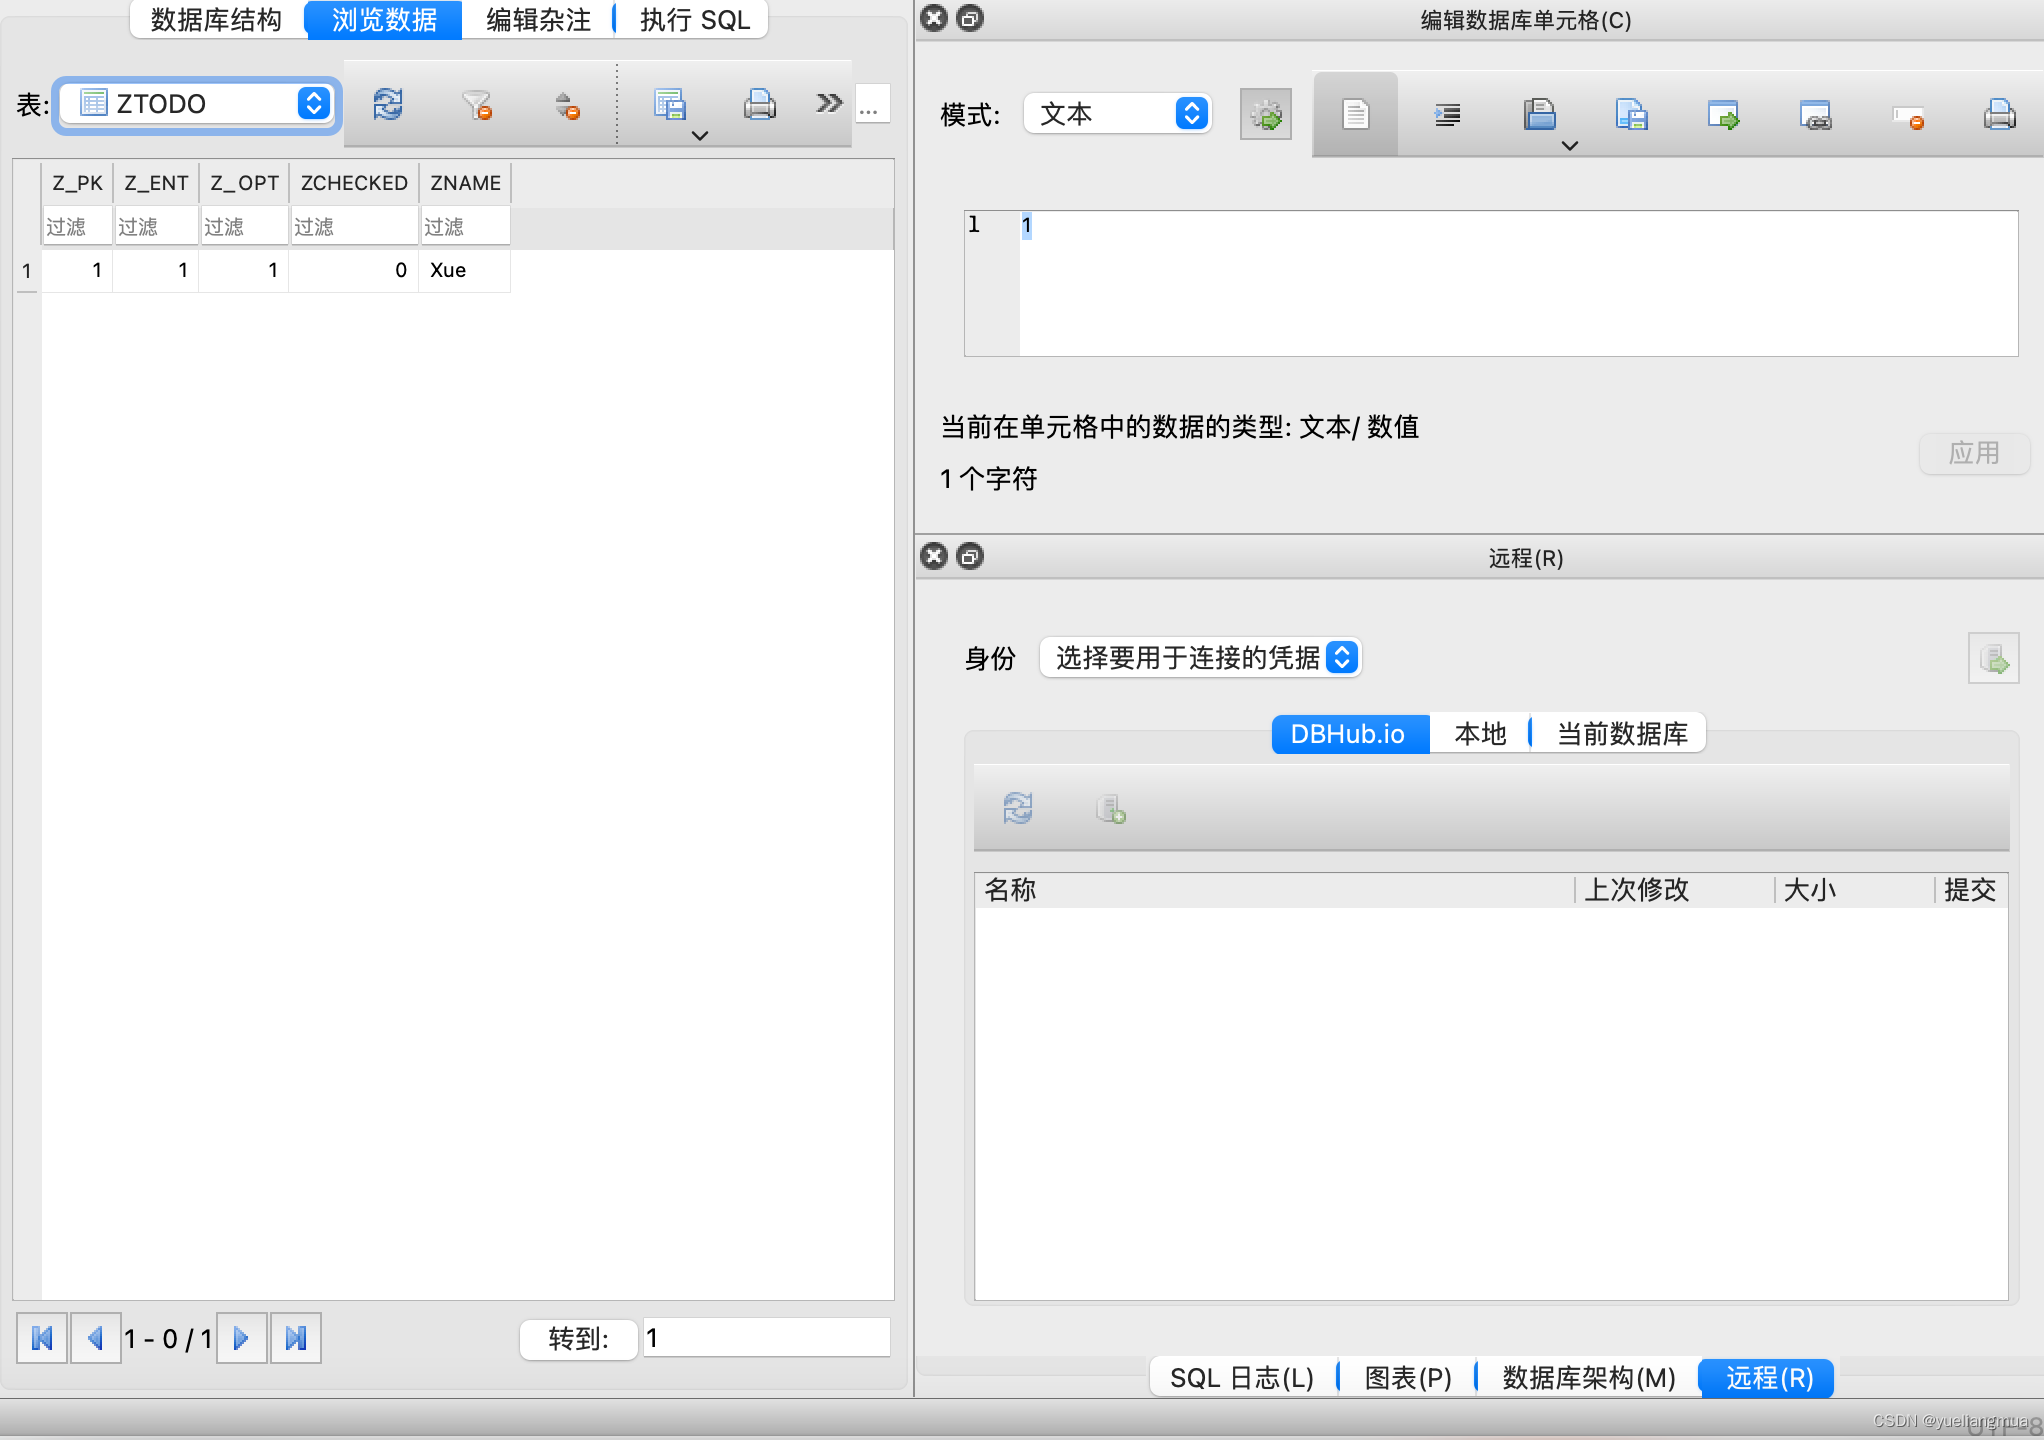
可以看到数据库结构和保存的数据
实例化空容器,添加待办事项并储存
let context = (UIApplication.shared.delegate as! AppDelegate).persistentContainer.viewContext//得到appDelegat对象获取容器内容
        let todo = Todo(context: context)//实例化空的容器
        todo.name = name
        todos.append(todo)

        (UIApplication.shared.delegate as! AppDelegate).saveContext()//判断数据是否改变并保存

        tableView.insertRows(at: [IndexPath(row: todos.count - 1, section: 0)], with: .automatic)
删除待办事项并储存
先删除本地数据,再删除内存数据,因为本地是通过内存去删除,例如数据[1,2,3]如果先删除内存第1个那么内存中会变为[2,3]而本地根据现在内存中的第1个
override func tableView(_ tableView: UITableView, commit editingStyle: UITableViewCell.EditingStyle, forRowAt indexPath: IndexPath) {
        if editingStyle == .delete {
            // Delete the row from the data source
            context.delete(todos[indexPath.row])//先删除本地,再删除内存,本地通过内存找到
            todos.remove(at: indexPath.row)
            appDelegate.saveContext()
//            tableView.deleteRows(at: [indexPath], with: .fade)
            //saveData()
            tableView.reloadData()
        } else if editingStyle == .insert {
            // Create a new instance of the appropriate class, insert it into the array, and add a new row to the table view
        }
    }
固定用法取出数据
if let todos = try? context.fetch(Todo.fetchRequest()){
            self.todos = todos
        }else{
            print("从SQLite里面取数据失败")
        }//固定用法取数据
因为context不止在新增待办事项中应用,所以可以提出来当作全局变量
修改删除待办事项中调用函数进行保存
appDelegate.saveContext()排序
存入数据库的属性经过排序后是无序的,所以需要在ENTITY追加一个表示序号的属性(数据库迁移)
todos[indexPath.row].orderID = Int16(indexPath.row)
        appDelegate.saveContext()
取数据时赋予排序规则
let request = Todo.fetchRequest()
        request.sortDescriptors = [NSSortDescriptor(key: kOrderID, ascending: true)]

        if let todos = try? context.fetch(Todo.fetchRequest()){
            self.todos = todos
        }else{
            print("从SQLite里面取数据失败")
        }//固定用法取数据


 3万+
3万+


 被折叠的 条评论
为什么被折叠?
被折叠的 条评论
为什么被折叠?
 到【灌水乐园】发言


