


 该博客介绍了如何使用Removebg工具进行图片背景自动替换。首先,它详细说明了Removebg的难度级别,并展示了不同级别的效果。接着,教程涵盖了Removebg的安装、注册和API-key获取过程。最后,提供了Python代码示例,演示了如何结合Removebg库实现在GUI应用中更换图片背景色,支持自定义背景颜色或选择预设颜色。
笔记目录
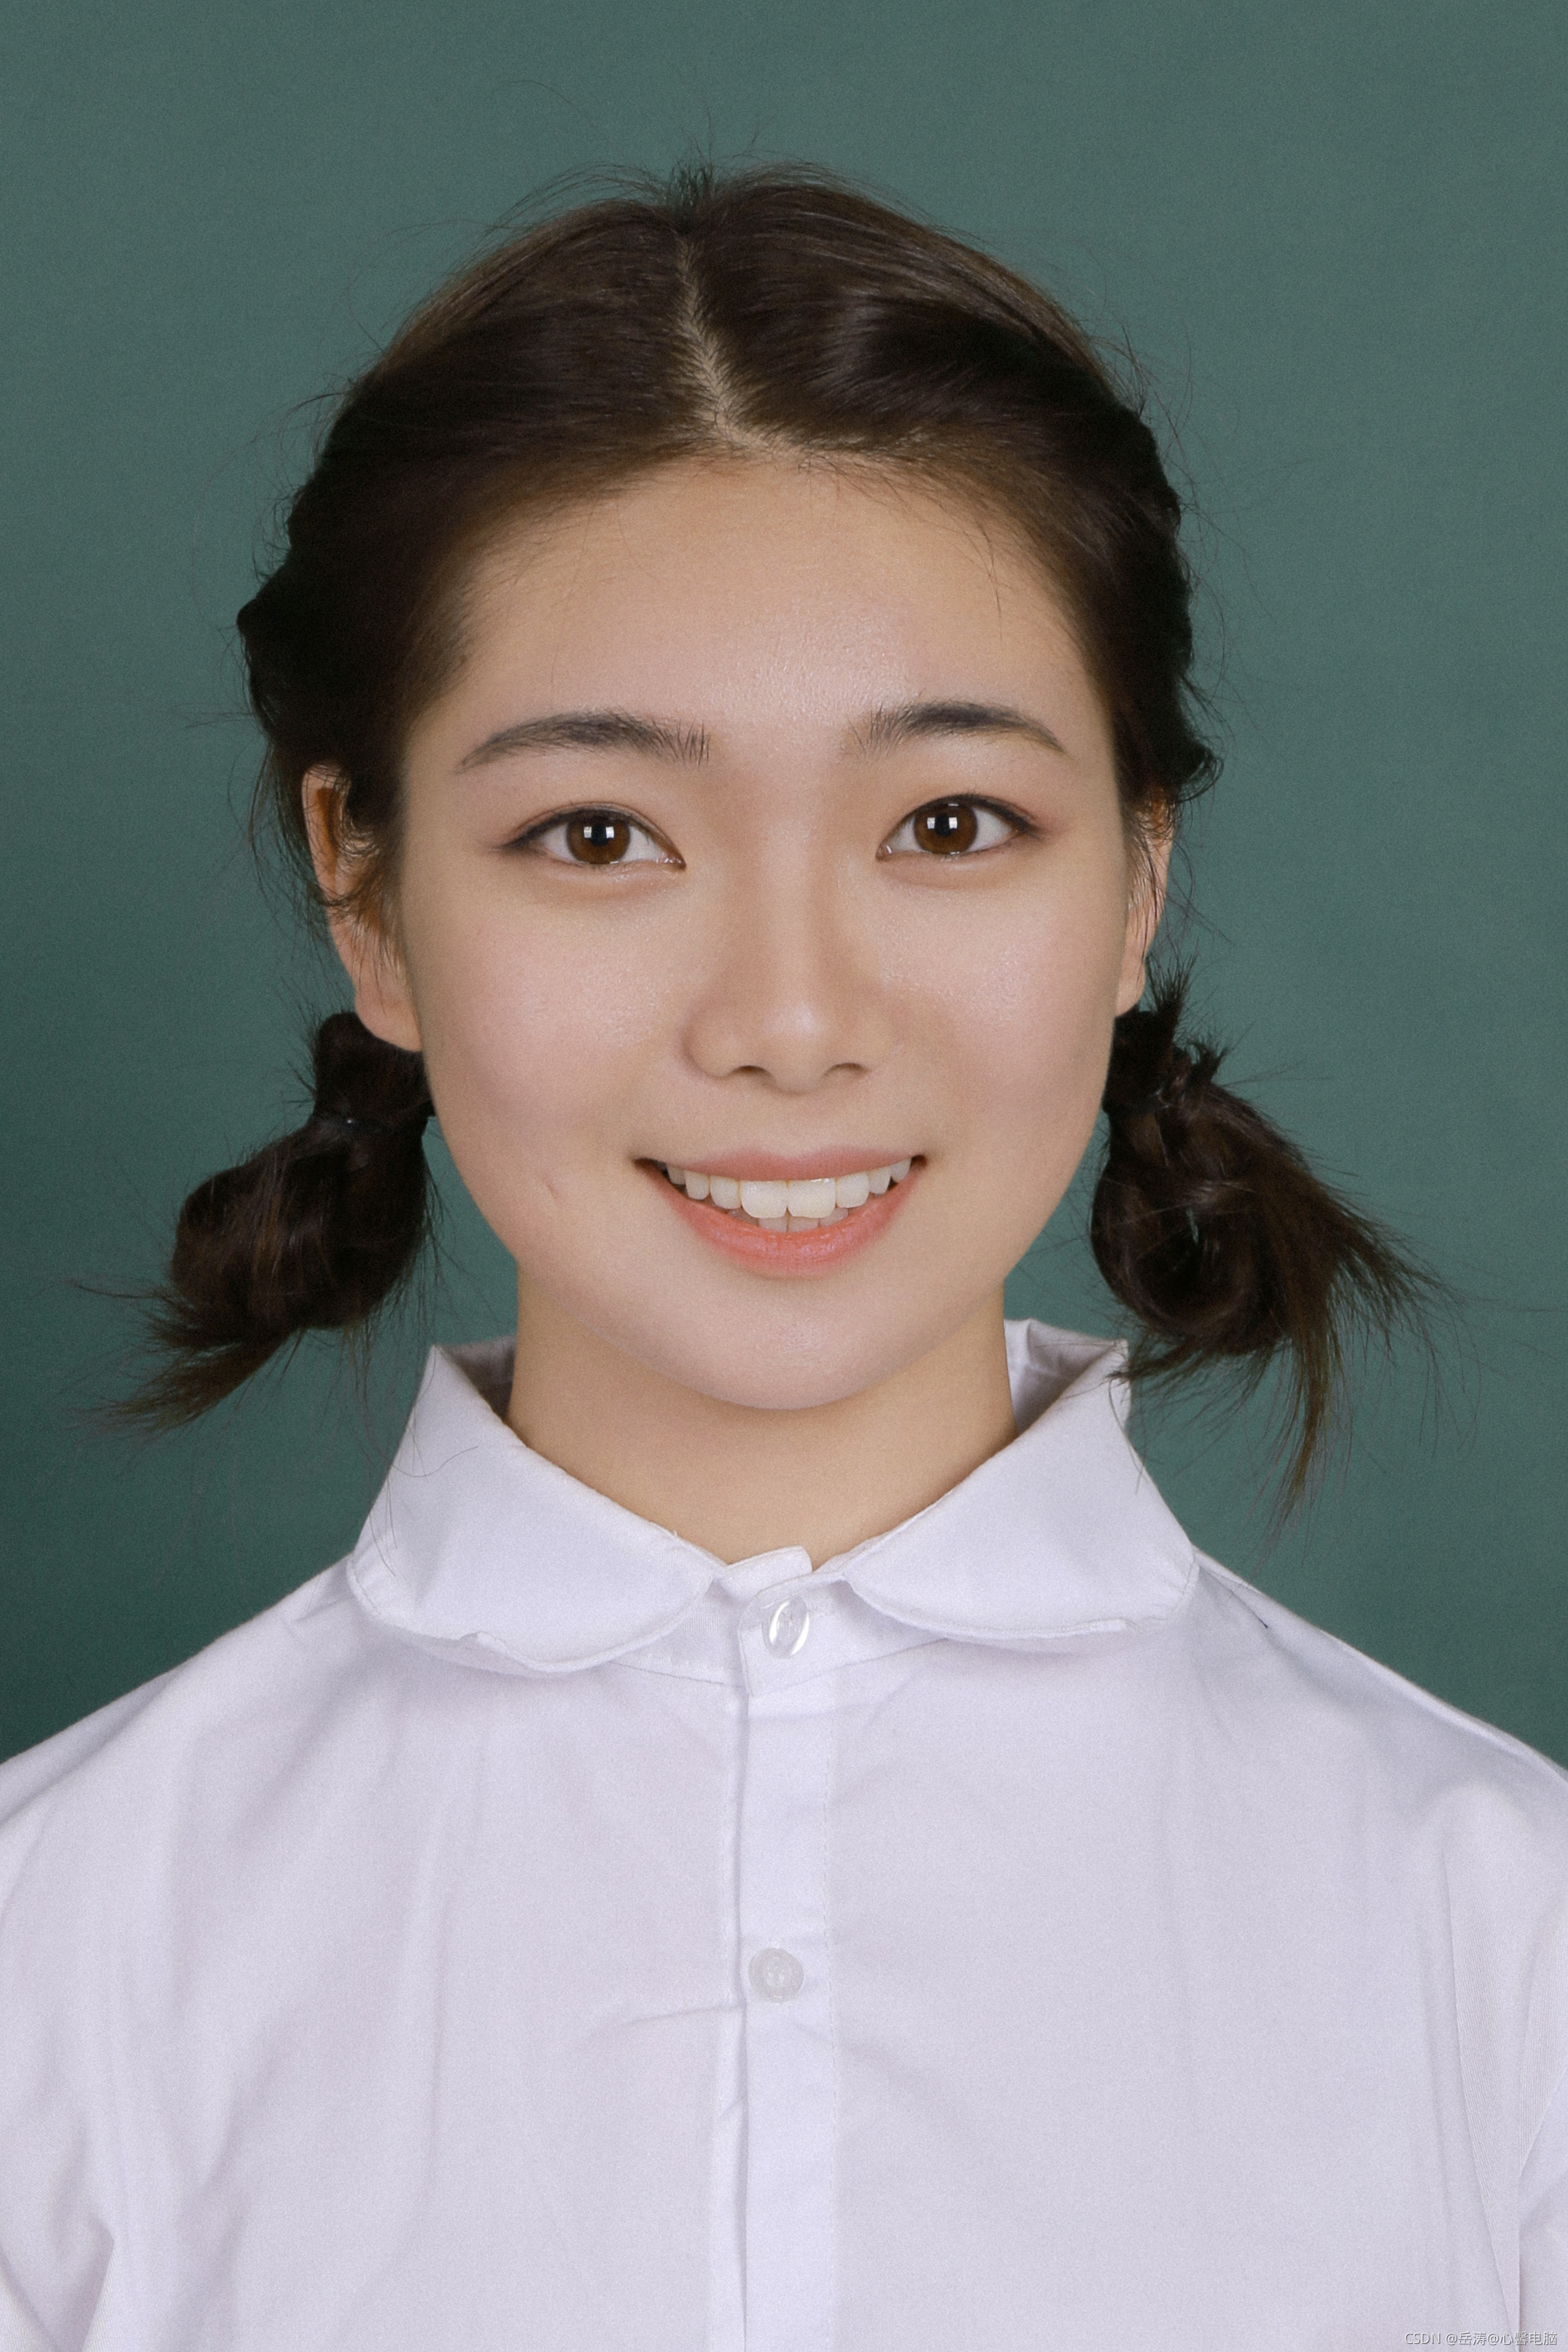
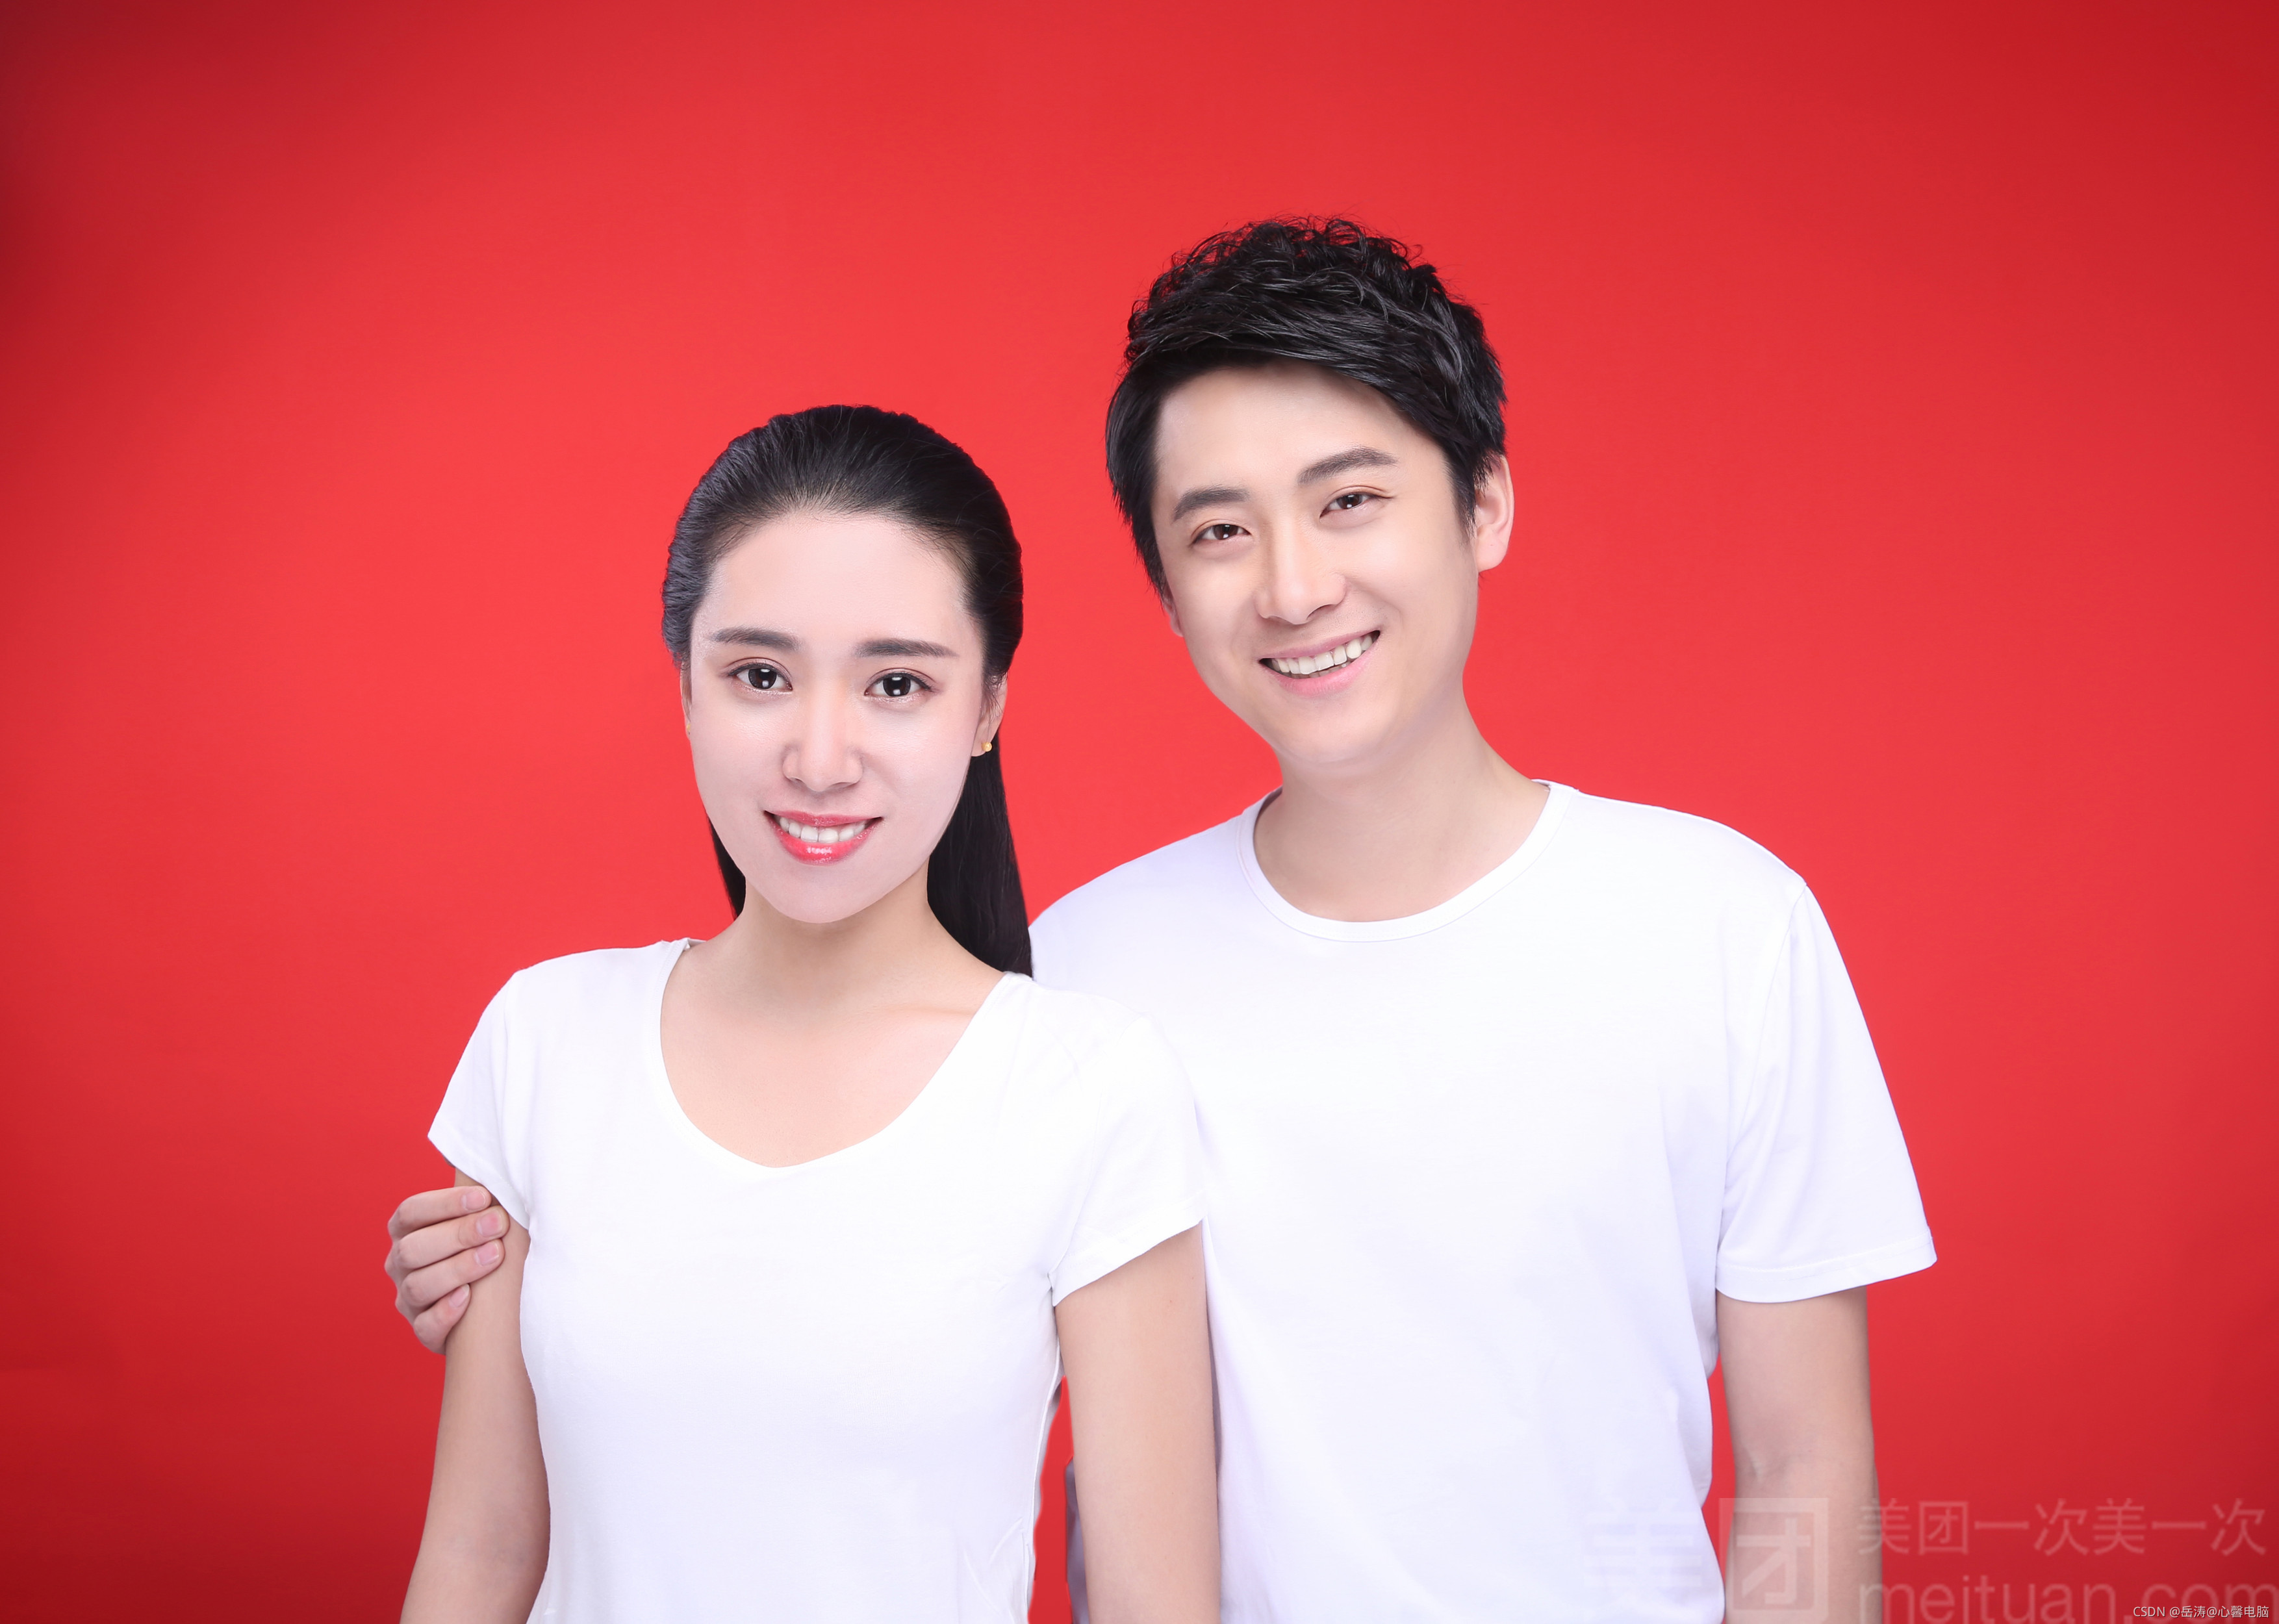
一、效果展示
1.1 难度级别 ★★★★★


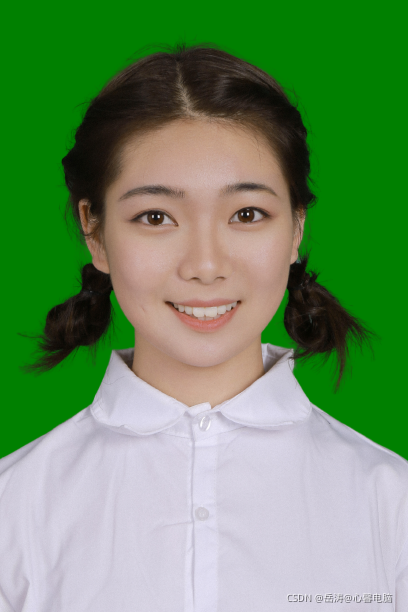
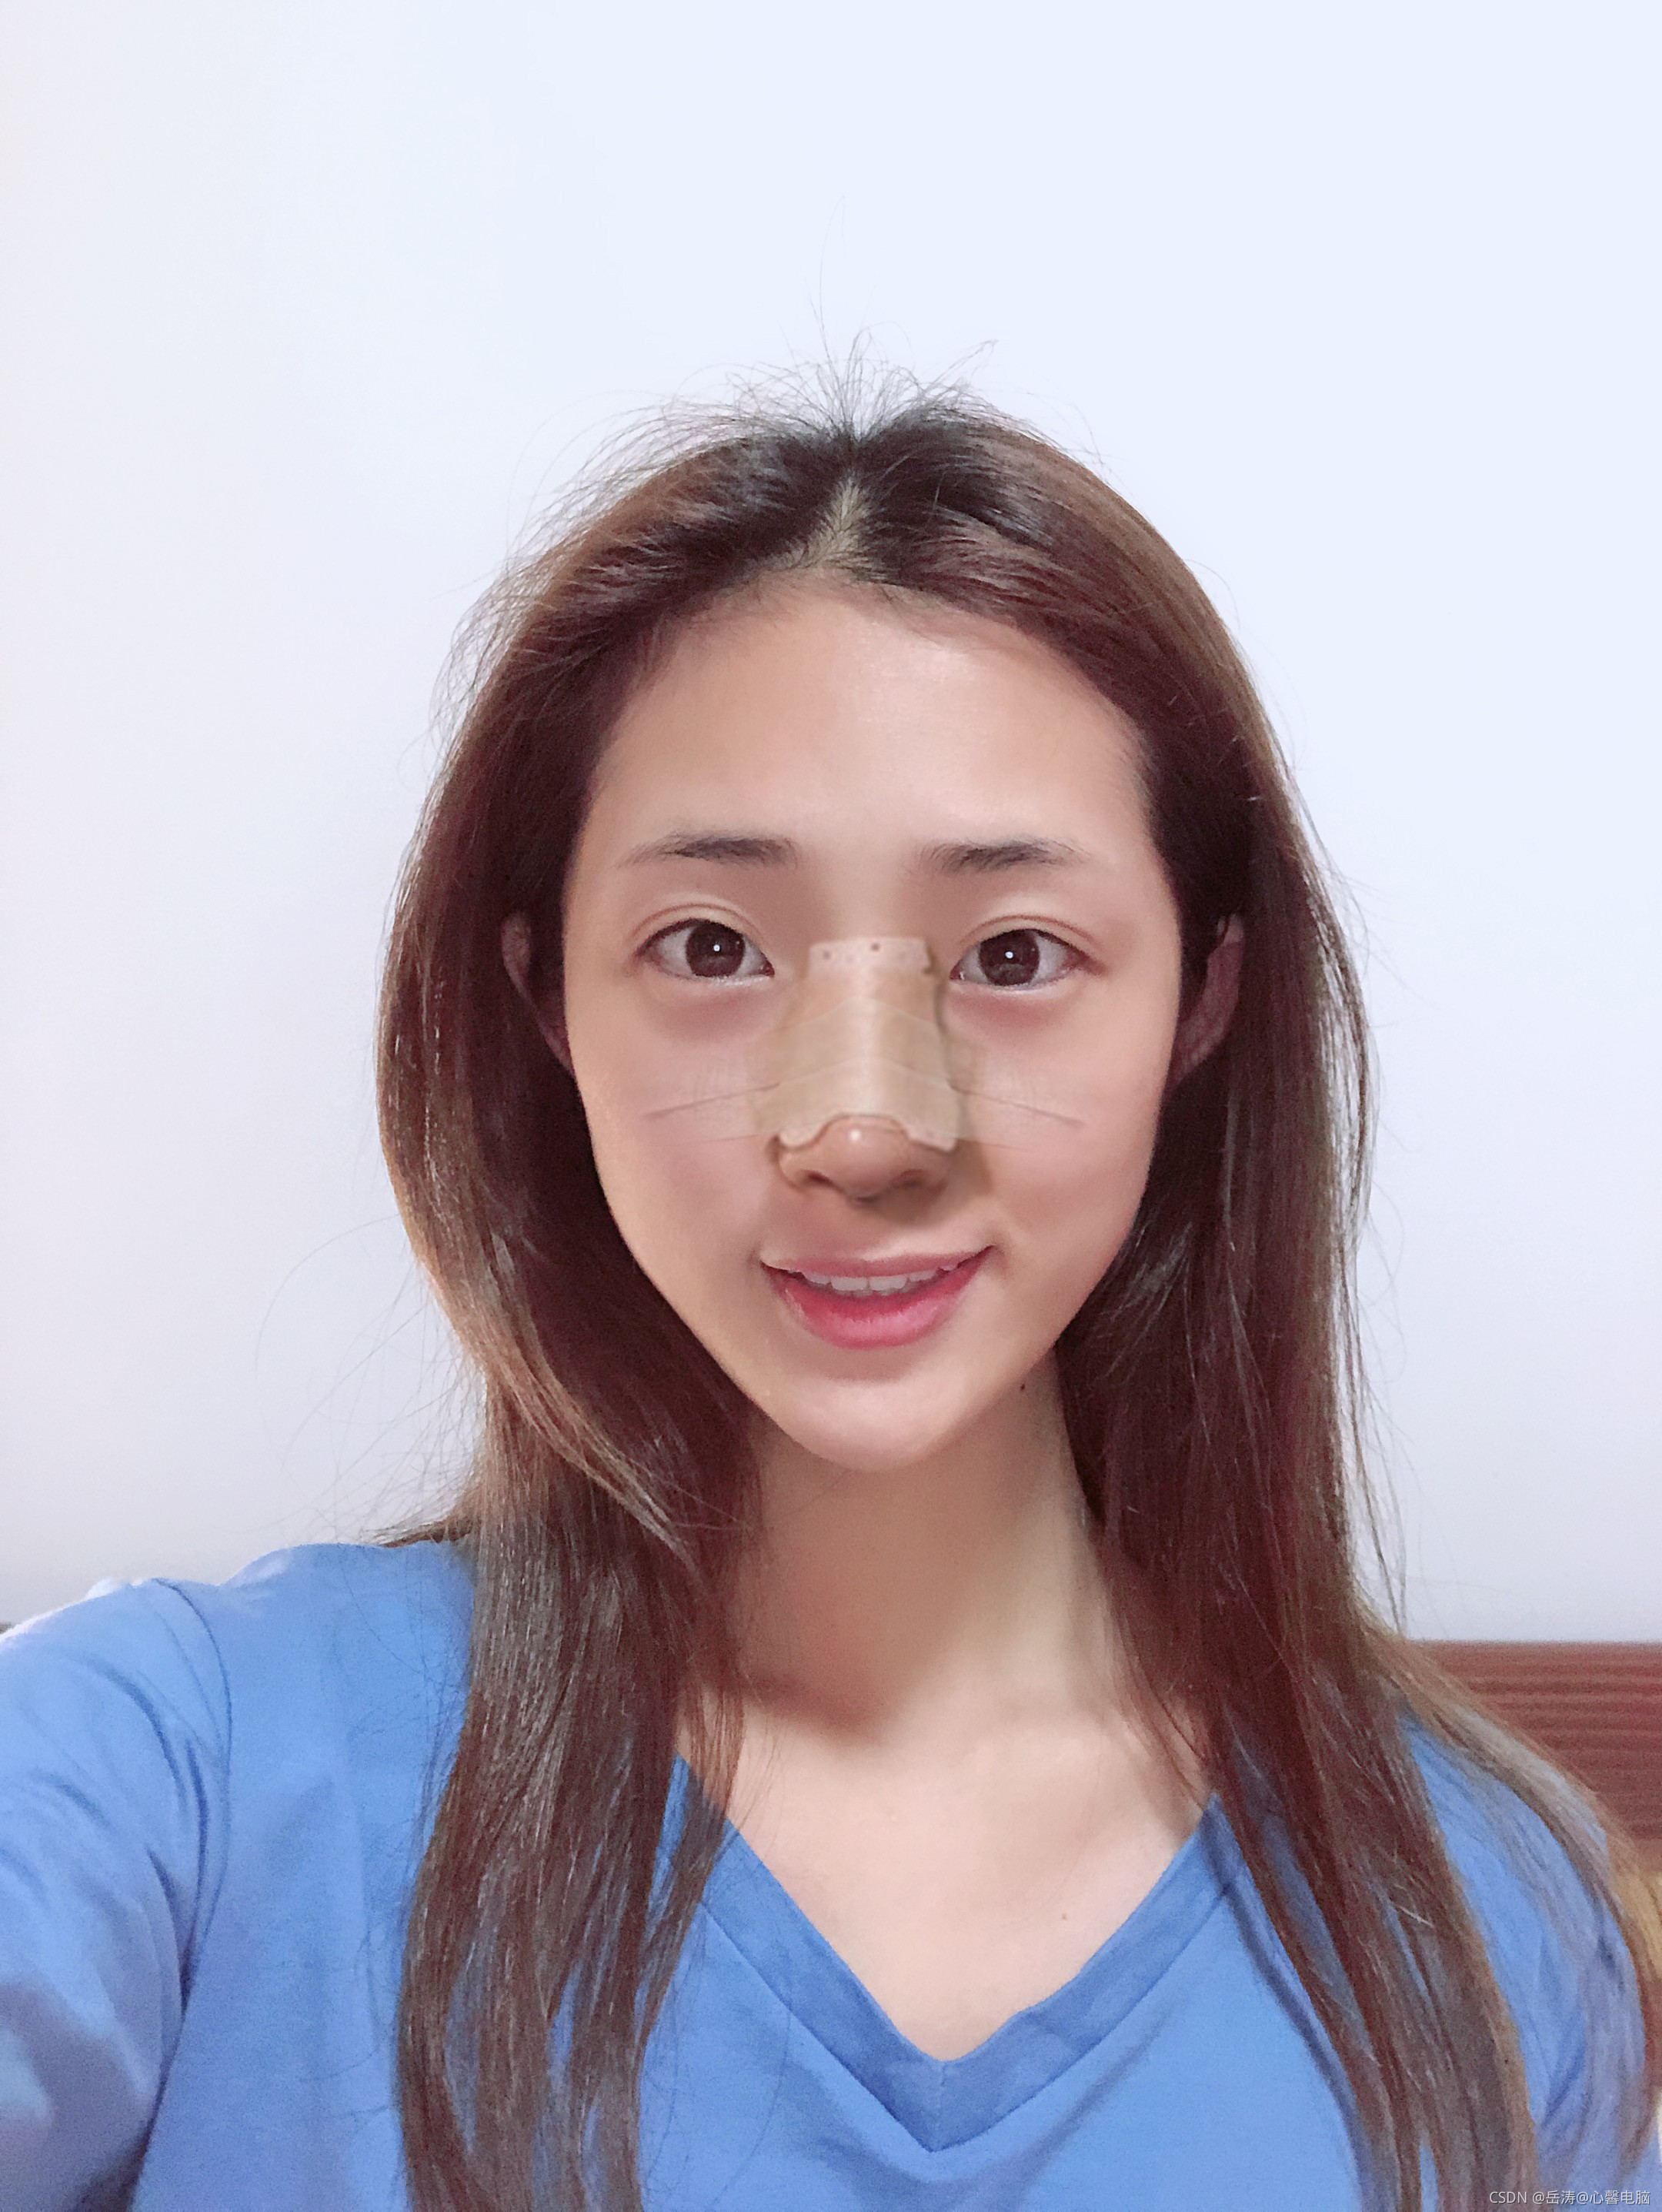
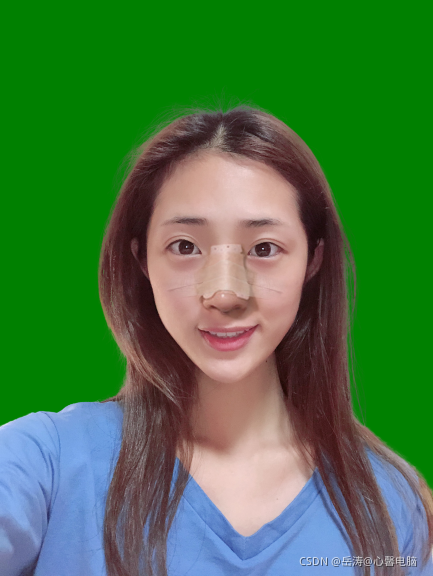
1.2 难度级别 ★★★★


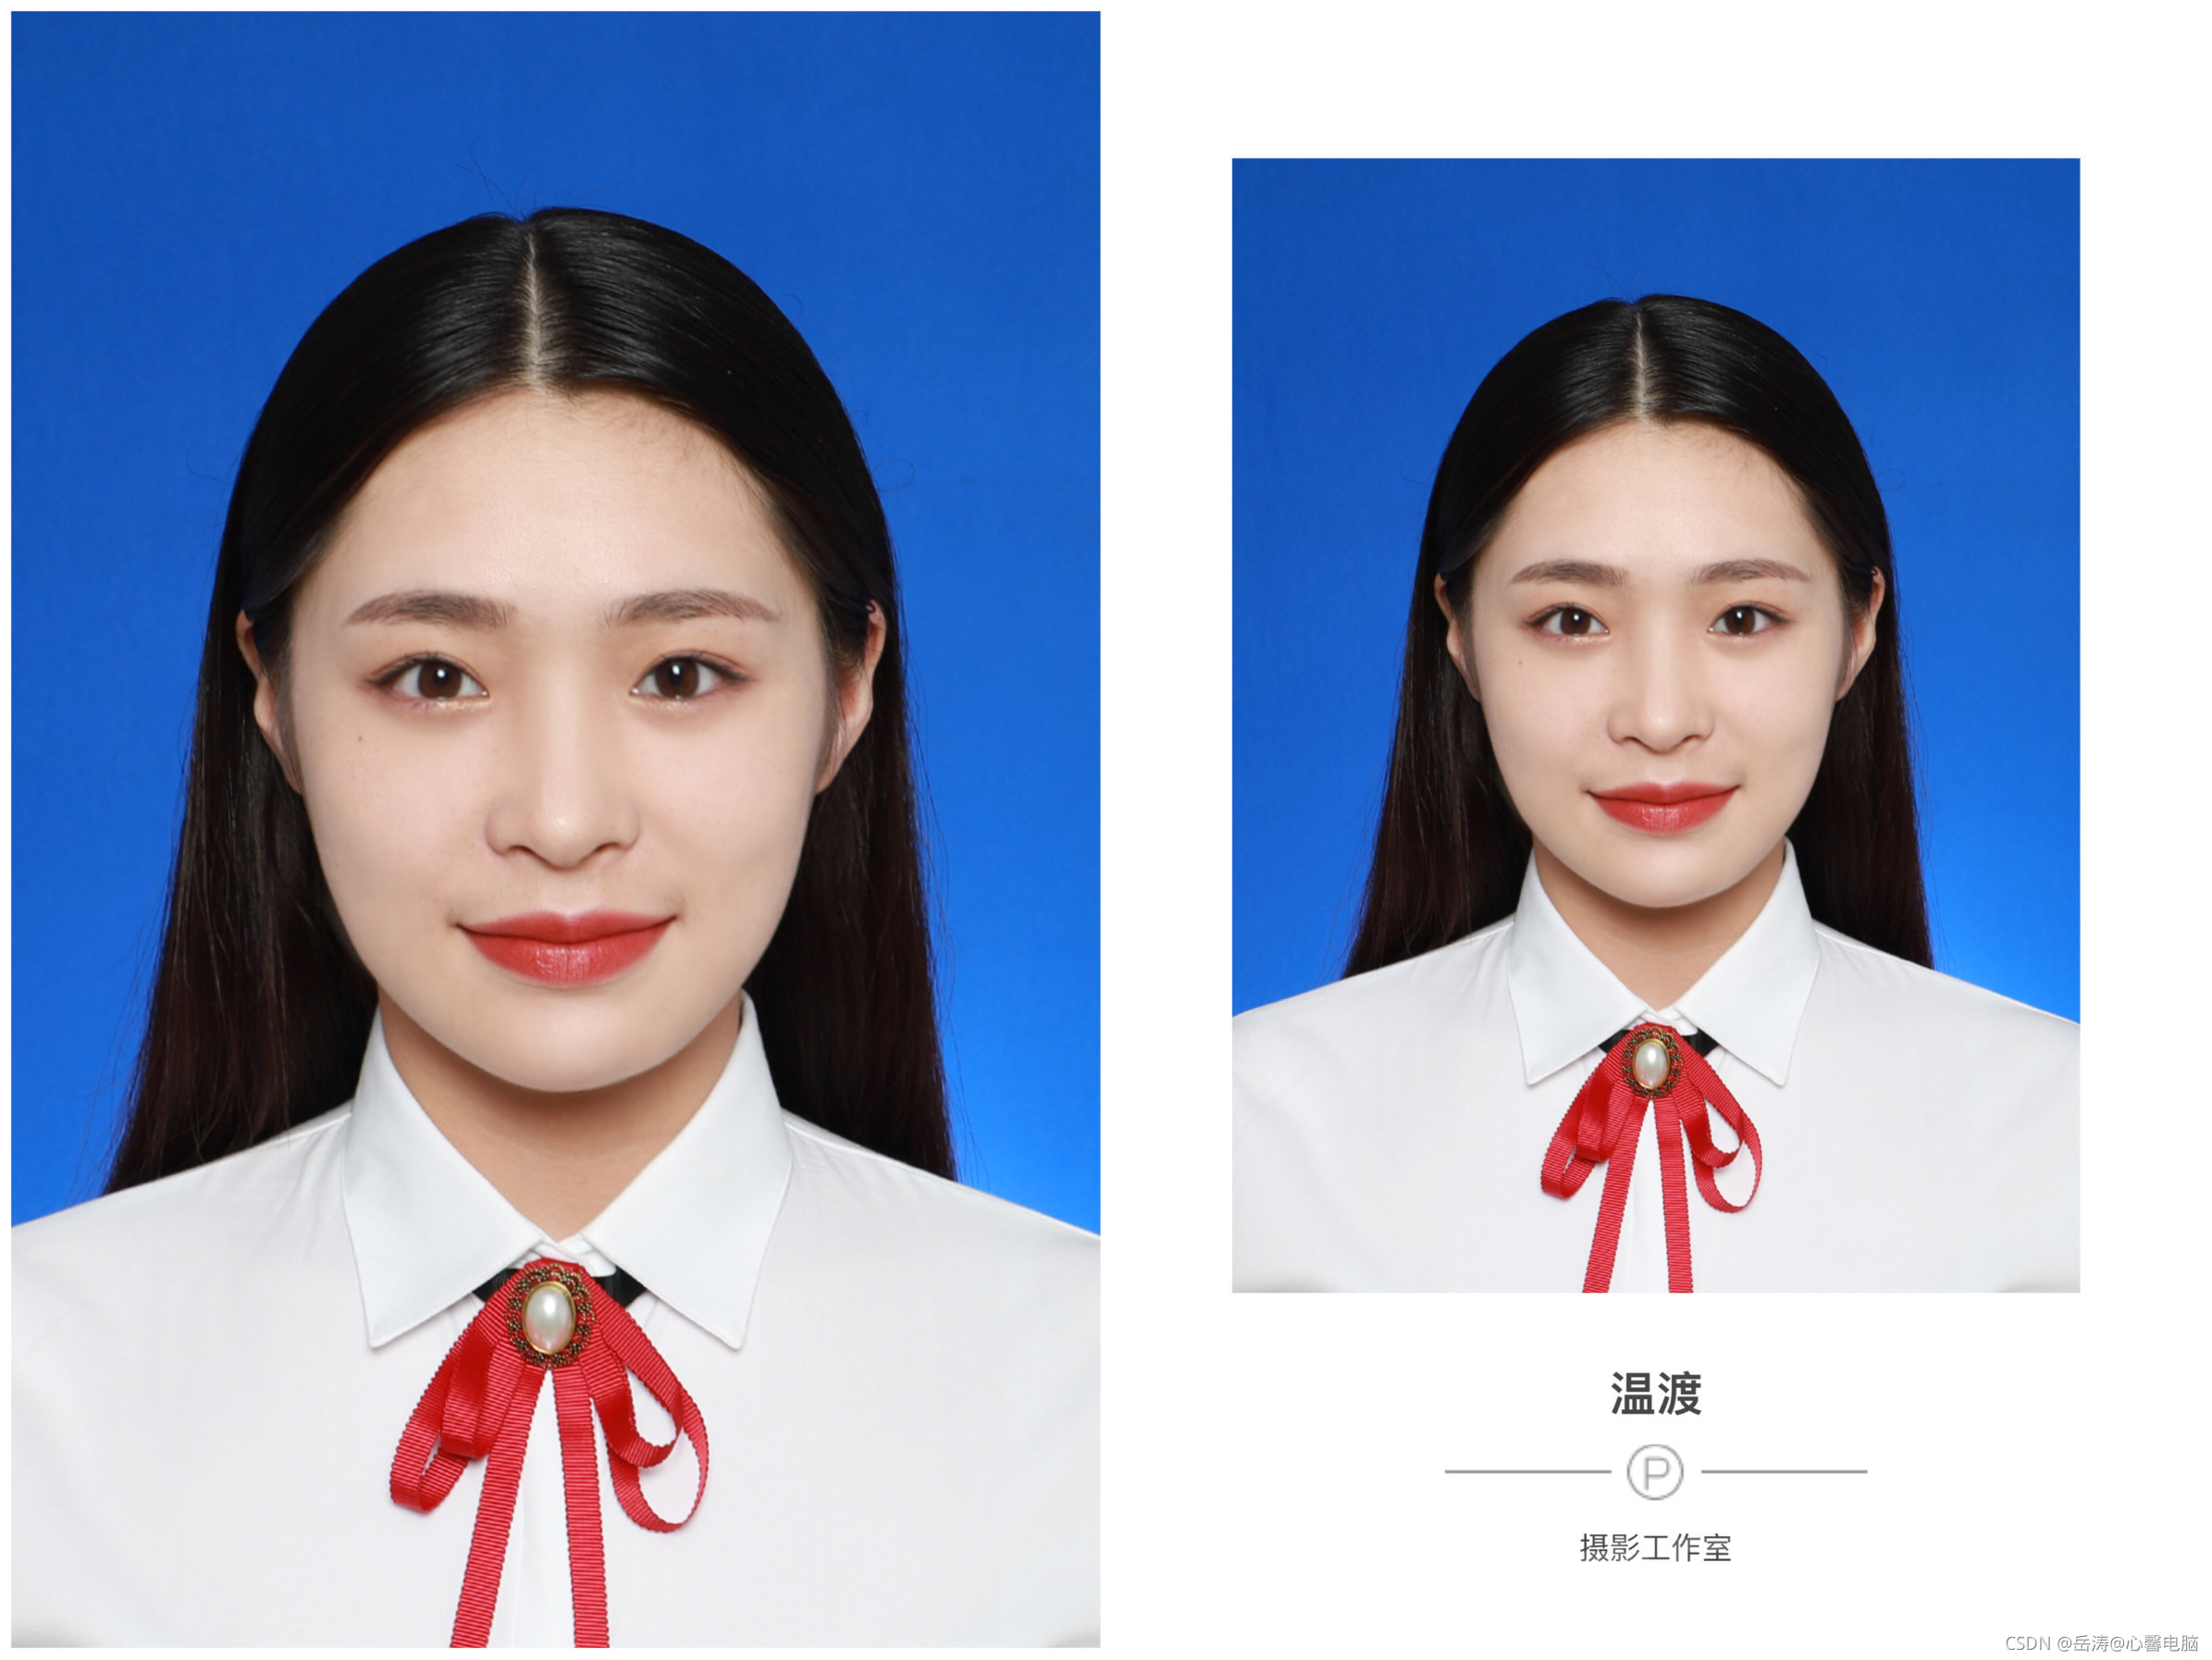
1.3 难度级别 ★★★


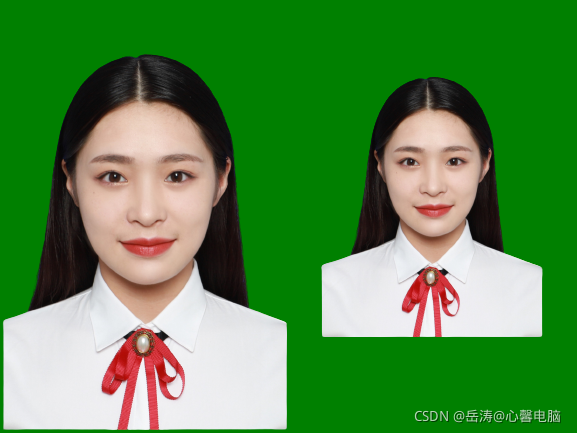
1.4 难度级别 ★★


1.5 难度级别 ★


二、Removebg安装注册
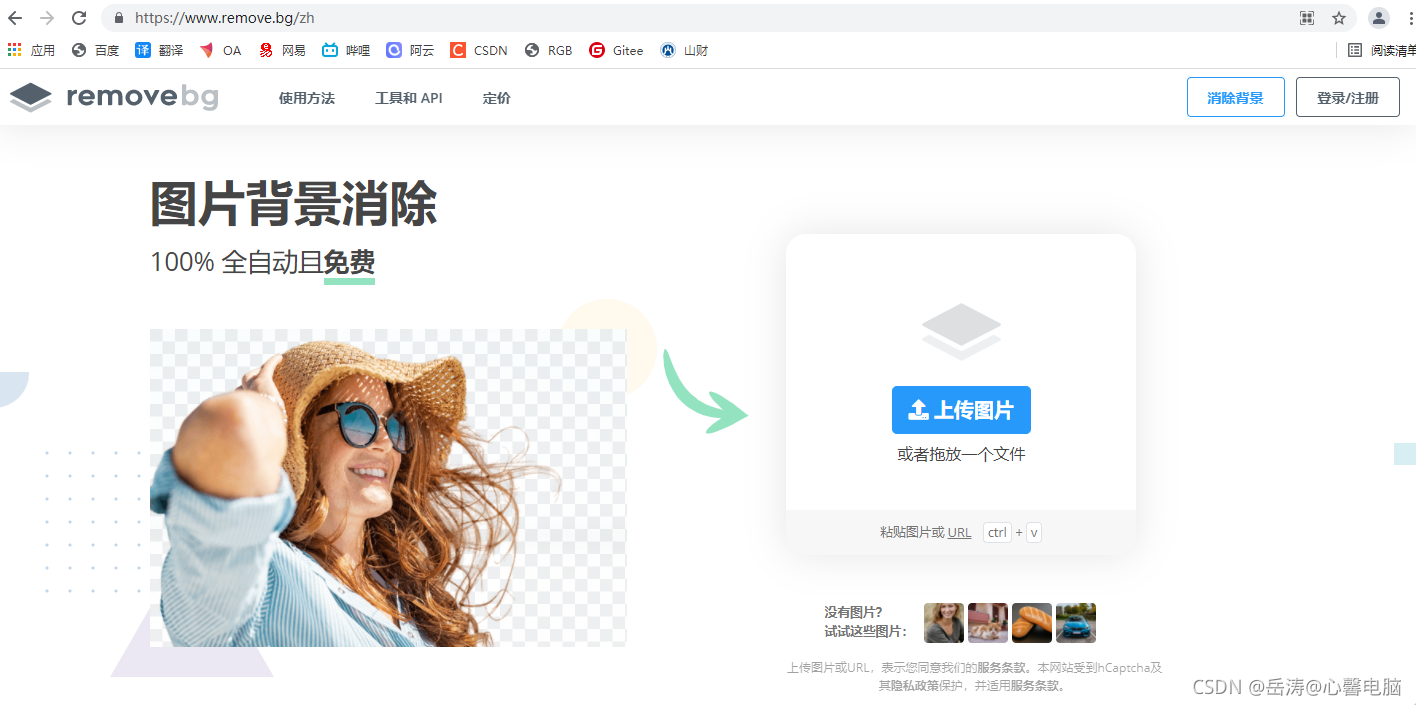
2.1 Removebg介绍
基于 Python、Ruby 和深度学习技术开发,通过强大的 AI 人工智能算法实现自动识别出前景主体与背景图,分分钟秒秒钟完成抠图。这样下去PS 设计师都快要下岗了。
官网:https://www.remove.bg/zh
2.2 Removebg安装
Python直接安装
pip install removebg
或者使用清华源安装
pip install removebg -i https://pypi.tuna.tsinghua.edu.cn/simple
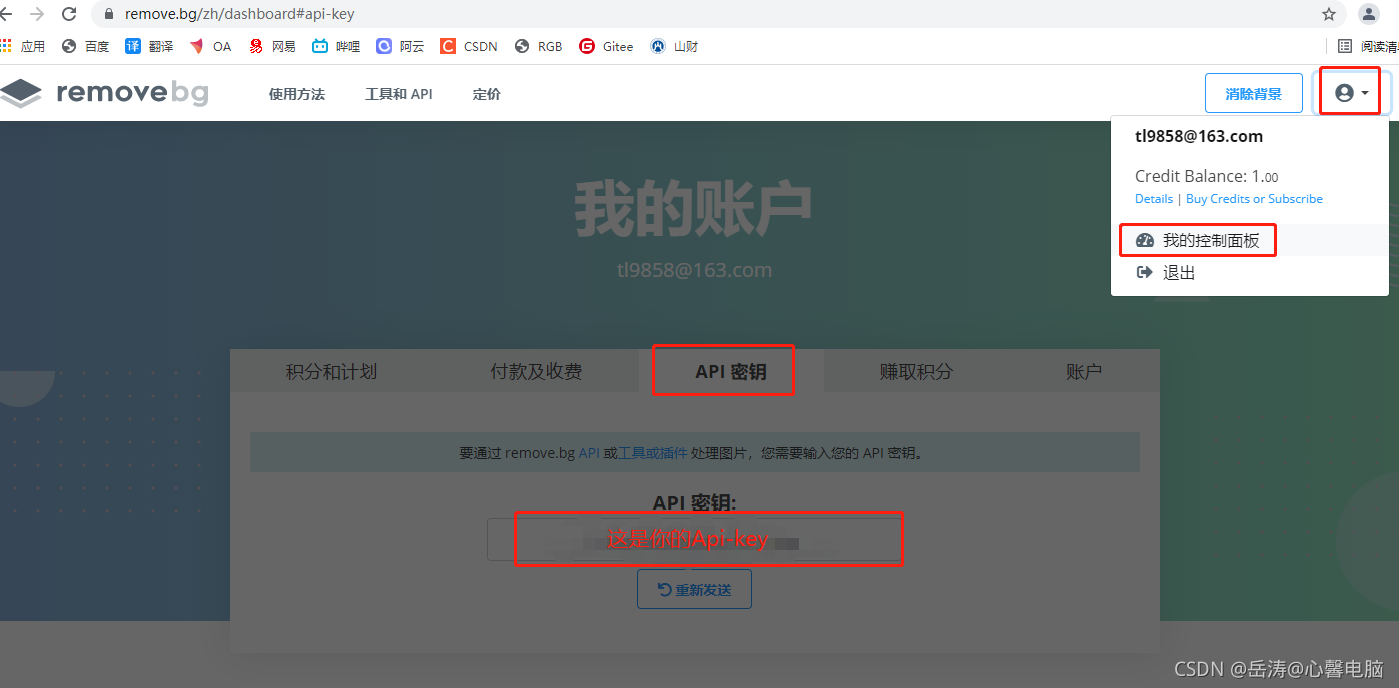
2.3 Removebg注册,获取Api-key
官网:https://www.remove.bg/r/i9gdsvWJWtgYAHorq974KVz9
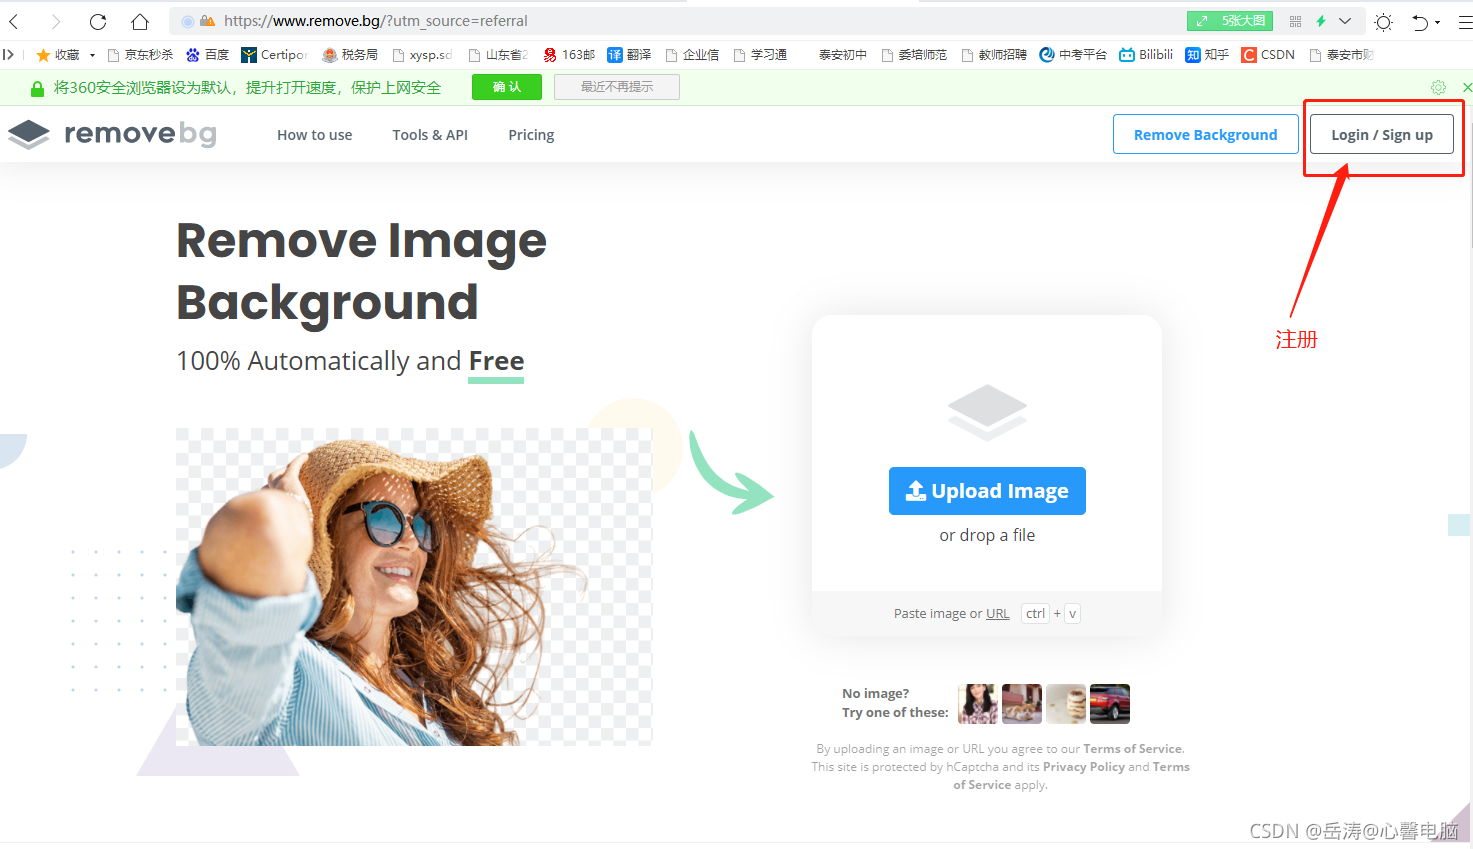
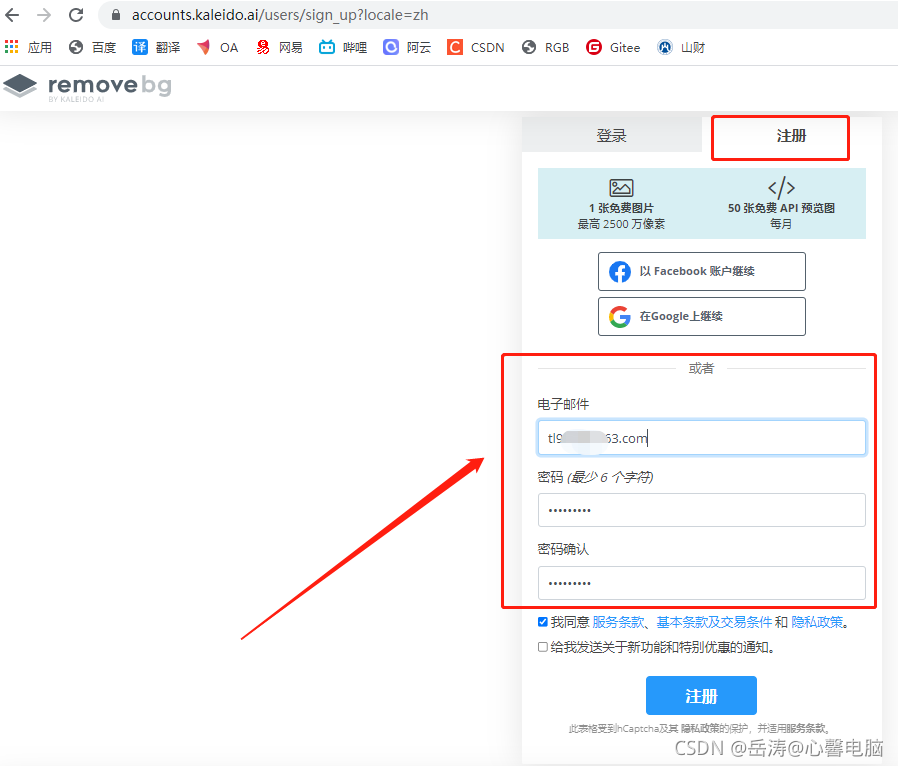
跳转到:https://accounts.kaleido.ai/users/sign_up

填写邮箱和密码
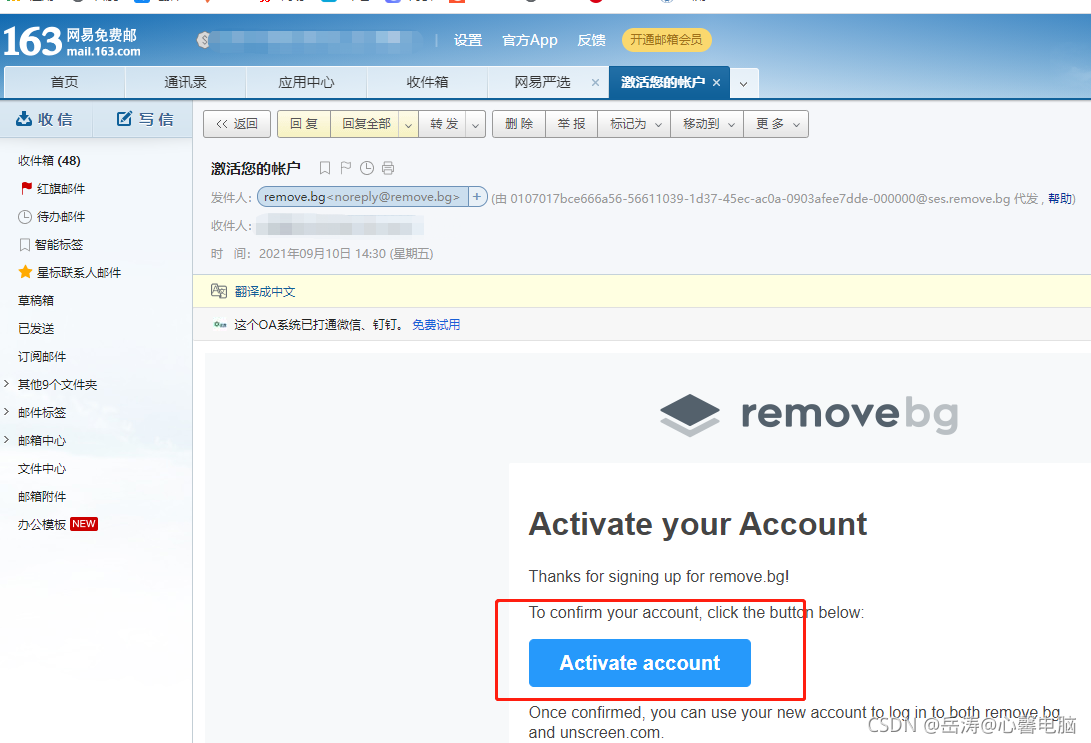
到邮箱激活
注册成功
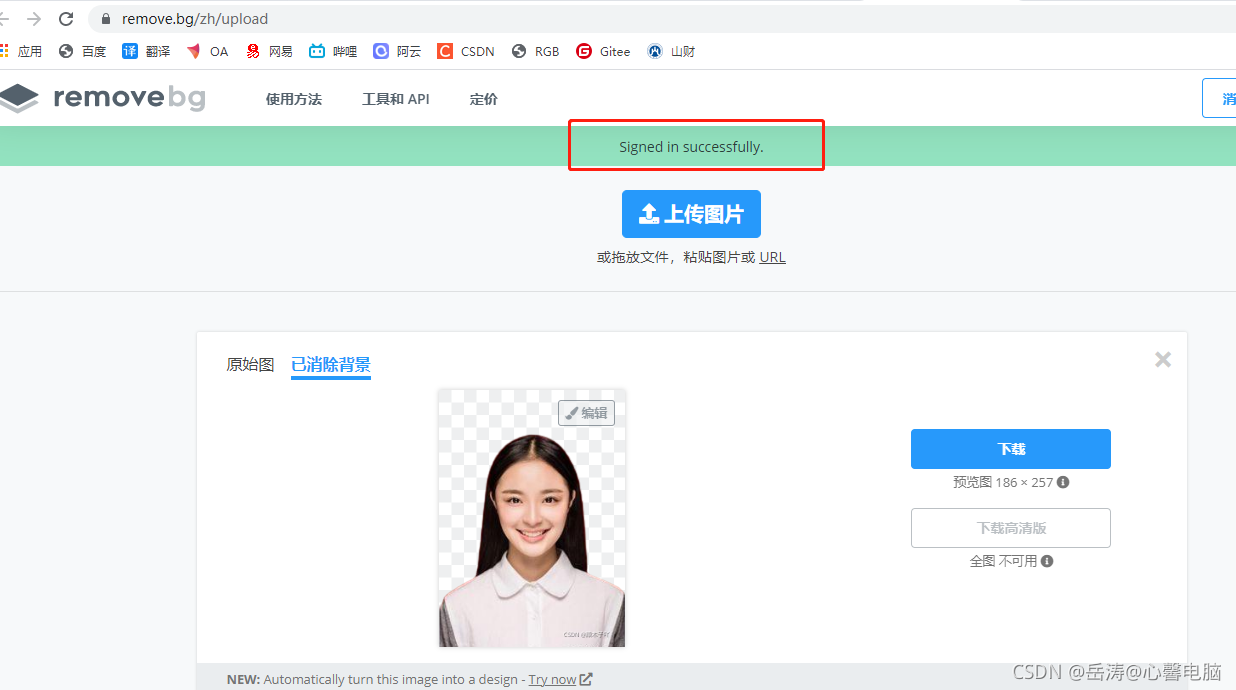
拿到Api-key
三、代码实现
from PIL import Image
from removebg import RemoveBg
from pathlib import Path
from tkinter import ttk
from ttkthemes import ThemedTk
import tkinter as tk
from tkinter import filedialog, colorchooser
import random


img_path = ''
bg_color = 'blue'


def replace_bg(bg_color, colorname):
    try:
        lst_api_keys = [

                        ]
        api_key = random.sample(lst_api_keys, 1)[0]
        if len(path1.get().split('\\')) == 1:
            result_v.set("是不是忘了选图了?亲!")
            return
        Path('error.log').touch()
        rmbg = RemoveBg(api_key, 'error.log')
        rmbg.remove_background_from_img_file(img_path)
        img_no_bg = Image.open(Path(str(img_path) + '_no_bg.png'))
        new_img = Image.new('RGB', img_no_bg.size, color=bg_color)
        new_img.paste(img_no_bg, (0, 0, *img_no_bg.size), img_no_bg)
        str_img_path = str(img_path).lower().replace('.jpg', '').replace('.png', '')
        save_path = Path(str_img_path + '_' + colorname + '.png')
        new_img.save(save_path)
        result_v.set(colorname +"  换好了!帅吧?")
    except Exception as e:
        with open('error.log', 'a') as f:
            f.write(str(e) + '\n')
        print(e)
        if '402' in str(e):
            result_v.set(f'哎呀!没换成啊,再试一次吧!')
        else:
            result_v.set(e)

def selectFilePath():
    global img_path
    img_path = Path(filedialog.askopenfilename(title='选择原图片'))
    path1.set(img_path)
    result_v.set("有图了,想换哪个背景?")


def ChooseColor():
    rgb_color, bg_color = colorchooser.askcolor(title='颜色选择器')
    result_v.set(" " * 30)
    return bg_color

window = ThemedTk(theme="adapta", fonts=True, themebg=True)
window.title('证件照生成器' + ' '*10 + '心馨电脑专用')
label_style = ttk.Style()
label_style.configure("one.TLabel", font=("微软雅黑", 16, 'bold'), foreground="yellow", background="ligthgray")

result_v = tk.StringVar(value='先选图片,再换背景。')
result_label = tk.Label(window,  textvariable=result_v, font=("微软雅黑", 16), fg="green", bg='LightGrey')

path1 = tk.StringVar()
entry1 = ttk.Entry(window, textvariable=path1, width=50)
entry1.insert(0, '格式要求png/jpg')
button1 = tk.Button(window, width=10, text="选择图片", bg='yellow', command=selectFilePath)

button5 = tk.Button(window, text="自选背景", bg='orange', width=12, command=lambda: replace_bg(ChooseColor(), '自选背景'))
button6 = tk.Button(window, text="红背景", bg='tomato', width=12, command=lambda: replace_bg('#dc323c', '红背景'))
button7 = tk.Button(window, text="蓝背景", bg='deepskyblue', width=12, command=lambda: replace_bg('#0080ff', '蓝背景'))
button8 = tk.Button(window, text="白背景", width=12, command=lambda: replace_bg('#ffffff', '白背景'))

button1.grid(row=1, column=0, padx=20)
result_label.grid(row=1, column=1, pady=5)
entry1.grid(columnspan=2, row=2, column=0, padx=10, pady=5)
button6.grid(row=7, column=0, padx=5, pady=5)
button7.grid(row=7, column=1, padx=5, pady=5)
button8.grid(row=9, column=0, padx=5, pady=5)
button5.grid(row=9, column=1, padx=5, pady=5)

window.mainloop()


 687
687

 被折叠的 条评论
为什么被折叠?
被折叠的 条评论
为什么被折叠?
 到【灌水乐园】发言


