


spring boot 2.0 搭建 websocket 实现消息推送
WebSocket协议是基于TCP的一种新的网络协议。它实现了浏览器与服务器全双工(full-duplex)通信——允许服务器主动发送信息给客户端。
初次接触 WebSocket 的人,都会问同样的问题:我们已经有了 HTTP 协议,为什么还需要另一个协议?它能带来什么好处?
答案很简单,因为 HTTP 协议有一个缺陷:通信只能由客户端发起,HTTP 协议做不到服务器主动向客户端推送信息。
举例来说,我们想要查询当前的排队情况,只能是页面轮询向服务器发出请求,服务器返回查询结果。轮询的效率低,非常浪费资源(因为必须不停连接,或者 HTTP 连接始终打开)。因此WebSocket 就是这样发明的。
话不多说:
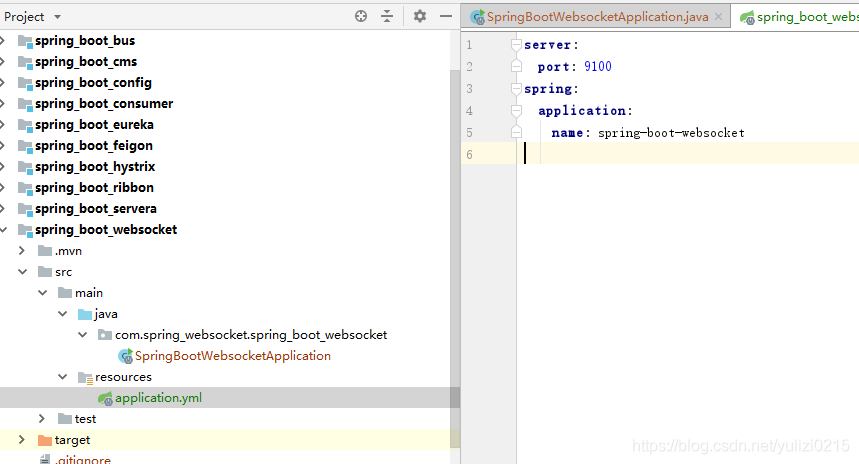
创建 spring_boot_socket
修改:
 <?xml version="1.0" encoding="UTF-8"?>
<project xmlns="http://maven.apache.org/POM/4.0.0" xmlns:xsi="http://www.w3.org/2001/XMLSchema-instance"
         xsi:schemaLocation="http://maven.apache.org/POM/4.0.0 https://maven.apache.org/xsd/maven-4.0.0.xsd">
    <modelVersion>4.0.0</modelVersion>
    <parent>
        <groupId>org.springframework.boot</groupId>
        <artifactId>spring-boot-starter-parent</artifactId>
        <version>2.2.6.RELEASE</version>
        <relativePath/> <!-- lookup parent from repository -->
    </parent>
    <groupId>com.spring_websocket</groupId>
    <artifactId>spring_boot_websocket</artifactId>
    <version>0.0.1-SNAPSHOT</version>
    <name>spring_boot_websocket</name>
    <description>Demo project for Spring Boot</description>

    <properties>
        <java.version>1.8</java.version>
    </properties>

    <dependencies>
        <dependency>
            <groupId>org.springframework.boot</groupId>
            <artifactId>spring-boot-starter</artifactId>
        </dependency>

        <dependency>
            <groupId>org.springframework.boot</groupId>
            <artifactId>spring-boot-starter-websocket</artifactId>
        </dependency>

        <!-- https://mvnrepository.com/artifact/com.alibaba/fastjson -->
        <dependency>
            <groupId>com.alibaba</groupId>
            <artifactId>fastjson</artifactId>
            <version>1.2.68</version>
        </dependency>


        <dependency>
            <groupId>log4j</groupId>
            <artifactId>log4j</artifactId>
            <version>1.2.17</version>
        </dependency>

        <dependency>
            <groupId>org.springframework.boot</groupId>
            <artifactId>spring-boot-starter-test</artifactId>
            <scope>test</scope>
            <exclusions>
                <exclusion>
                    <groupId>org.junit.vintage</groupId>
                    <artifactId>junit-vintage-engine</artifactId>
                </exclusion>
            </exclusions>
        </dependency>
        <dependency>
            <groupId>org.projectlombok</groupId>
            <artifactId>lombok</artifactId>
            <version>1.18.8</version>
            <scope>compile</scope>
        </dependency>
        <dependency>
            <groupId>commons-lang</groupId>
            <artifactId>commons-lang</artifactId>
            <version>2.6</version>
            <scope>compile</scope>
        </dependency>
    </dependencies>

    <build>
        <plugins>
            <plugin>
                <groupId>org.springframework.boot</groupId>
                <artifactId>spring-boot-maven-plugin</artifactId>
            </plugin>
        </plugins>
    </build>

</project>
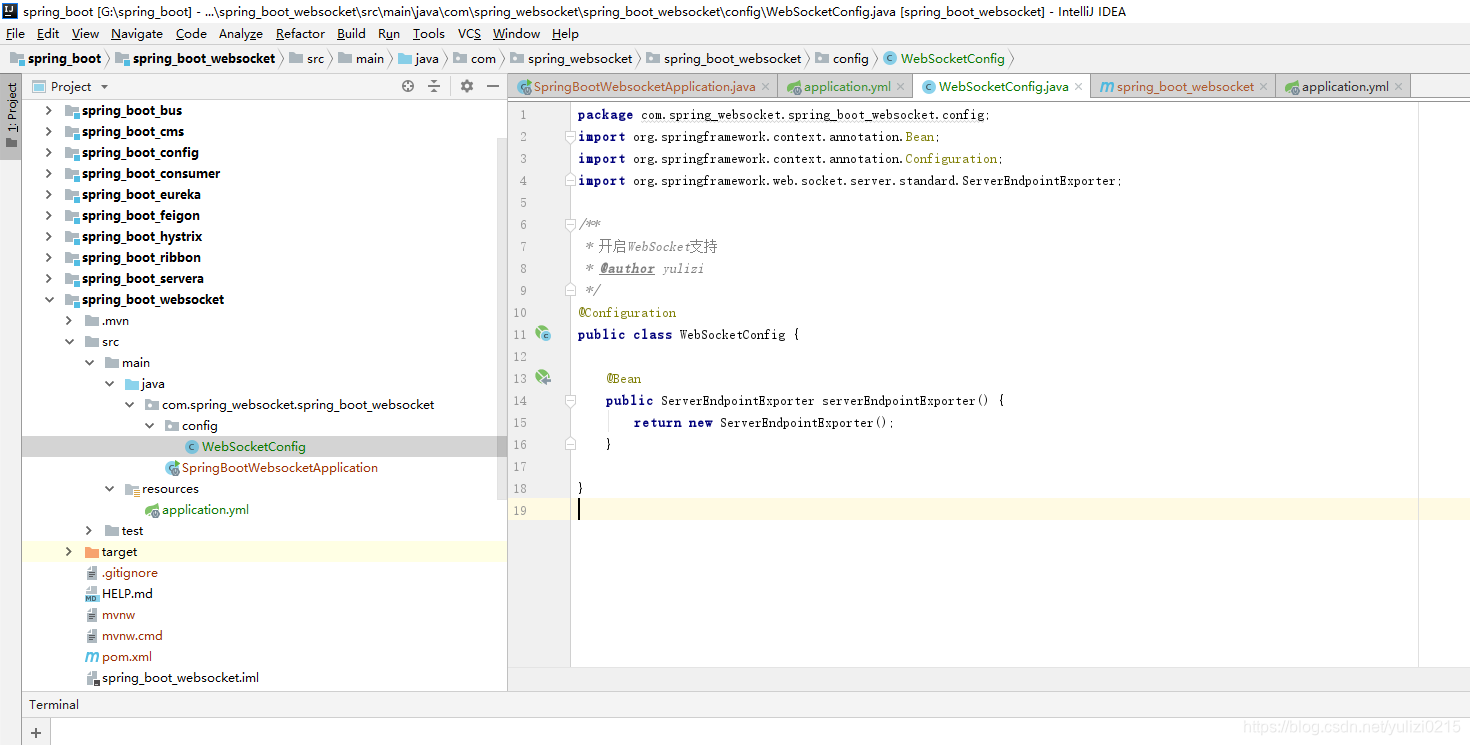
增加配置文件:
package com.spring_websocket.spring_boot_websocket.config;
import org.springframework.context.annotation.Bean;
import org.springframework.context.annotation.Configuration;
import org.springframework.web.socket.server.standard.ServerEndpointExporter;

/**
 * 开启WebSocket支持
 * @author yulizi
 */
@Configuration
public class WebSocketConfig {

    @Bean
    public ServerEndpointExporter serverEndpointExporter() {
        return new ServerEndpointExporter();
    }

}
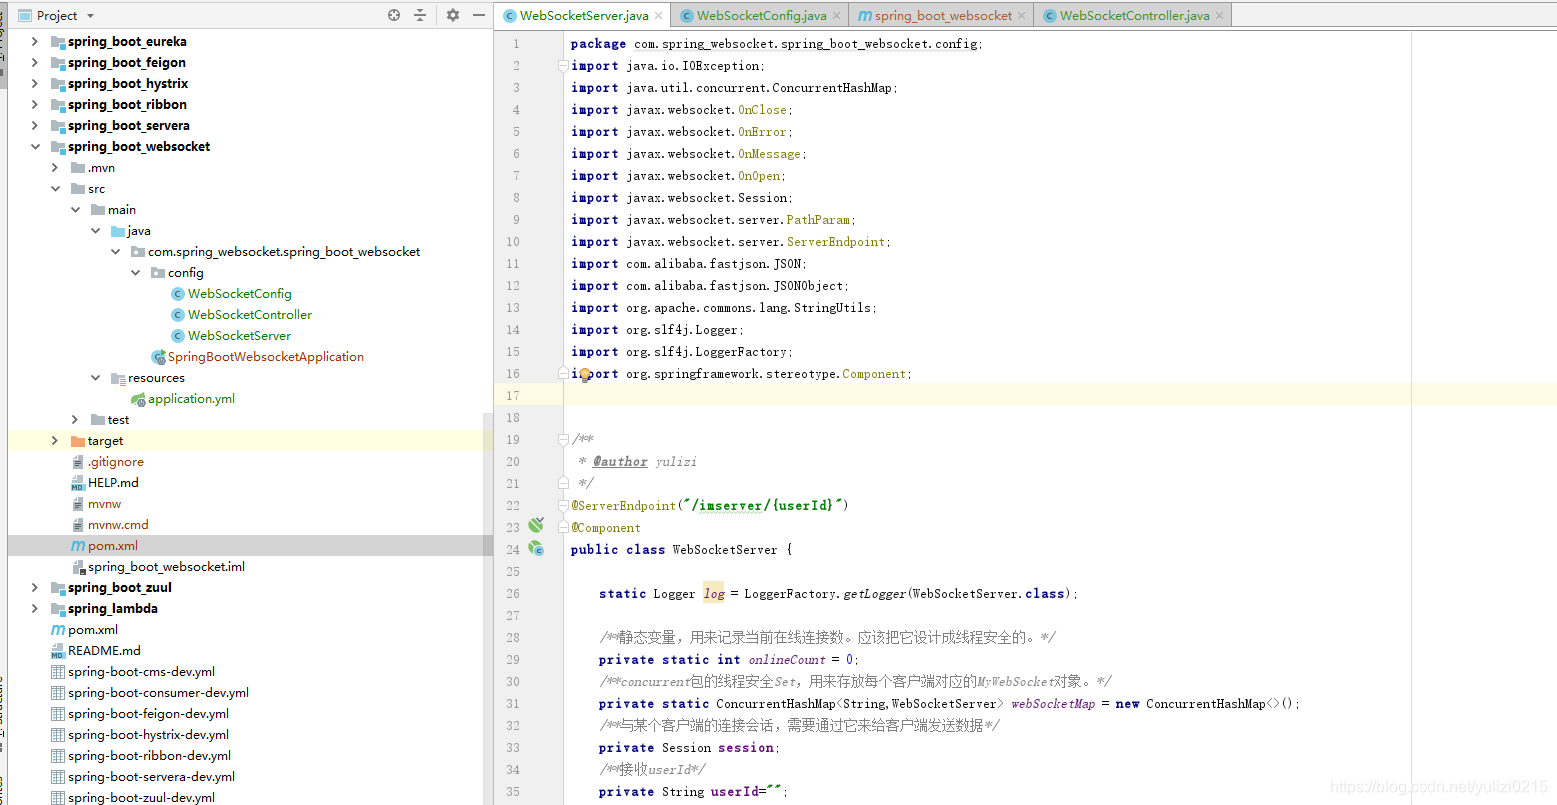
WebSocketServer
这就是重点了,核心都在这里。
因为WebSocket是类似客户端服务端的形式(采用ws协议),那么这里的WebSocketServer其实就相当于一个ws协议的Controller
直接
@ServerEndpoint("/imserver/{userId}") 、
@Component启用即可,然后在里面实现
@OnOpen开启连接,
@onClose关闭连接,
@onMessage接收消息等方法。
新建一个ConcurrentHashMap webSocketMap 用于接收当前userId的WebSocket,方便IM之间对userId进行推送消息。单机版实现到这里就可以。
集群版(多个ws节点)还需要借助mysql或者redis等进行处理,改造对应的sendMessage方法即可。
模拟手动触发后台的任务: WebSocketController 正常任务可以为后台业务调用.
package com.spring_websocket.spring_boot_websocket.config;

import org.springframework.http.ResponseEntity;
import org.springframework.web.bind.annotation.GetMapping;
import org.springframework.web.bind.annotation.PathVariable;
import org.springframework.web.bind.annotation.RequestMapping;
import org.springframework.web.bind.annotation.RestController;
import org.springframework.web.servlet.ModelAndView;
import java.io.IOException;

/**
 * WebSocketController
 * @author yulizi
 */
@RestController
public class WebSocketController {

    //这个是通过手动触发的,现实中应该通过程序触发 ,例如定时器.
    @RequestMapping("/push/{toUserId}")
    public ResponseEntity<String> pushToWeb(@PathVariable String toUserId) throws IOException {
        String message= toUserId+ "你应该去获取东西去了!" ;
        WebSocketServer.sendInfo(message,toUserId);
        return ResponseEntity.ok("MSG SEND SUCCESS");
    }
}
WebSocketServer 服务
package com.spring_websocket.spring_boot_websocket.config;
import java.io.IOException;
import java.util.concurrent.ConcurrentHashMap;
import javax.websocket.OnClose;
import javax.websocket.OnError;
import javax.websocket.OnMessage;
import javax.websocket.OnOpen;
import javax.websocket.Session;
import javax.websocket.server.PathParam;
import javax.websocket.server.ServerEndpoint;
import com.alibaba.fastjson.JSON;
import com.alibaba.fastjson.JSONObject;
import org.apache.commons.lang.StringUtils;
import org.slf4j.Logger;
import org.slf4j.LoggerFactory;
import org.springframework.stereotype.Component;


/**
 * @author yulizi
 */
@ServerEndpoint("/imserver/{userId}")
@Component
public class WebSocketServer {

    static Logger log = LoggerFactory.getLogger(WebSocketServer.class);

    /**静态变量,用来记录当前在线连接数。应该把它设计成线程安全的。*/
    private static int onlineCount = 0;
    /**concurrent包的线程安全Set,用来存放每个客户端对应的MyWebSocket对象。*/
    private static ConcurrentHashMap<String,WebSocketServer> webSocketMap = new ConcurrentHashMap<>();
    /**与某个客户端的连接会话,需要通过它来给客户端发送数据*/
    private Session session;
    /**接收userId*/
    private String userId="";

    /**
     * 连接建立成功调用的方法*/
    @OnOpen
    public void onOpen(Session session,@PathParam("userId") String userId) {

        log.info("用户连接:"+userId+",当前在线人数为:" + getOnlineCount());
        this.session = session;
        this.userId=userId;
        if(webSocketMap.containsKey(userId)){
            webSocketMap.remove(userId);
            webSocketMap.put(userId,this);
            //加入set中
        }else{
            webSocketMap.put(userId,this);
            //加入set中
            addOnlineCount();
            //在线数加1
        }
        try {
            sendMessage("连接成功");
        } catch (IOException e) {
            log.error("用户:"+userId+",网络异常!!!!!!");
        }
    }

    /**
     * 连接关闭调用的方法
     */
    @OnClose
    public void onClose() {
        log.info("用户退出:"+userId+",当前在线人数为:" + getOnlineCount());
        if(webSocketMap.containsKey(userId)){
            webSocketMap.remove(userId);
            //从set中删除
            subOnlineCount();
        }
    }

    /**
     * 收到客户端消息后调用的方法
     *
     * @param message 客户端发送过来的消息*/
    @OnMessage
    public void onMessage(String message, Session session) {
        //可以群发消息
        //消息保存到数据库、redis
        if(StringUtils.isNotBlank(message)){
            try {
                //解析发送的报文
                JSONObject jsonObject = JSON.parseObject(message);
                //追加发送人(防止串改)
                jsonObject.put("fromUserId",this.userId);
                String toUserId=jsonObject.getString("toUserId");
                //传送给对应toUserId用户的websocket
                if(StringUtils.isNotBlank(toUserId)&&webSocketMap.containsKey(toUserId)){
                    webSocketMap.get(toUserId).sendMessage(jsonObject.getString("contentText"));
                }else{
                    log.error("请求的userId:"+toUserId+"不在该服务器上");
                    //否则不在这个服务器上,发送到mysql或者redis
                }

            }catch (Exception e){
                e.printStackTrace();
            }
        }
    }
    /**
     *
     * @param session
     * @param error
     */
    @OnError
    public void onError(Session session, Throwable error) {
        log.error("用户错误:"+this.userId+",原因:"+error.getMessage());
        error.printStackTrace();
    }
    /**
     * 实现服务器主动推送
     */
    public void sendMessage(String message) throws IOException {
        this.session.getBasicRemote().sendText(message);
    }

    /**
     * 发送自定义消息
     * */
    public static void sendInfo(String message,@PathParam("userId") String userId) throws IOException {
        log.info("发送消息到:"+userId+",报文:"+message);
        if(StringUtils.isNotBlank(userId)&&webSocketMap.containsKey(userId)){
            webSocketMap.get(userId).sendMessage(message);
        }else{
            log.error("用户"+userId+",不在线!");
        }
    }

    public static synchronized int getOnlineCount() {
        return onlineCount;
    }

    public static synchronized void addOnlineCount() {
        WebSocketServer.onlineCount++;
    }

    public static synchronized void subOnlineCount() {
        WebSocketServer.onlineCount--;
    }
}
client.html 页面
<!DOCTYPE html>
<html>
<head>
    <meta charset="utf-8">
    <title>websocket通讯</title>
</head>
<script src="https://cdn.bootcss.com/jquery/3.3.1/jquery.js"></script>
<script>

    //打开pad直接上线.

    var socket;
    function openSocket() {
        if(typeof(WebSocket) == "undefined") {
            console.log("您的浏览器不支持WebSocket");
        }else{

		    $("#info").show();
			$("#login").hide();

            console.log("您的浏览器支持WebSocket");
            var socketUrl="http://localhost:9100/imserver/"+$("#userId").val();
            socketUrl=socketUrl.replace("https","ws").replace("http","ws");
            console.log(socketUrl);
            if(socket!=null){
                socket.close();
                socket=null;
            }
            socket = new WebSocket(socketUrl);
            socket.onopen = function() {
                console.log("websocket已打开");
                //socket.send("这是来自客户端的消息" + location.href + new Date());
            };
            socket.onmessage = function(msg) {
                console.log(msg.data);
				$("#contentText_zhangsan").val(msg.data) ;
            };
            socket.onclose = function() {
                console.log("websocket已关闭");
            };
            socket.onerror = function() {
                console.log("websocket发生了错误");
            }
        }
    }

    //确认知道消息
	function  enter_infomation() {
        if(typeof(WebSocket) == "undefined") {
            console.log("您的浏览器不支持WebSocket");
        }else {
		    $("#contentText_zhangsan").val();
            //console.log("您的浏览器支持WebSocket");
            //console.log('{"toUserId":"'+$("#userId").val()+'","contentText":"'+$("#contentText").val()+'"}');
            socket.send('{"toUserId":"'+$("#userId").val()+'","contentText":"1234567890"}');
        }
    }

</script>
<body>

<div  style="display:none" id="info" >
<p><div ><textarea id="contentText_zhangsan"> </textarea></div>
<p><div ><a onClick="enter_infomation()"> <div style="width:100px; border:2px solid #999999; text-align:center"> 确认 </div></a></div>
</div>

<div  style="display:block" id="login" >
<p>【输入账号】:<div><input id="userId" name="userId" type="text" value="zhangsan"></div>
<p><div><a onClick="openSocket()"> <div style="width:100px; border:2px solid #999999; text-align:center"> 登录</div></a></div>
</div>
</body>

</html>
最终项目的目录结构:
前端模拟地址: 我在tomcat 里面增加了一个文件夹: websocketclient 里面放了一个文件 client.html
先登录 输入 zhangsan 的帐号 ,这样就在 websocket 中注册帐号.
http://192.168.8.147:5199/websocketclient/client.html
我的后台地址默认启动.没有配置项目路径只配置了端口: 9100
后台模拟地址: 推送数据给前台得 zhangsan .
http://192.168.8.147:9100/push/zhangsan


 536
536


 被折叠的 条评论
为什么被折叠?
被折叠的 条评论
为什么被折叠?
 到【灌水乐园】发言


