


说明:
IntelliJ IDEA 版本为14.
JDK 版本为1.7
tomcat 版本为apache-tomcat-7.0.70注:在创建过程中注意相关软件版本位数的问题。32位,64位的软件混搭会导致访问不成功的问题!!!
首先要理解一个基本问题:对比eclipse ,在IntelliJ IDEA中“new Project”相当于eclipse中的工作空间(Workspace),而“new Module”相当于eclipse中的工程(Project)。以下均采用Intellij的说法,请自行对照转换理解。
1,创建Project:依次点击File–new Project;
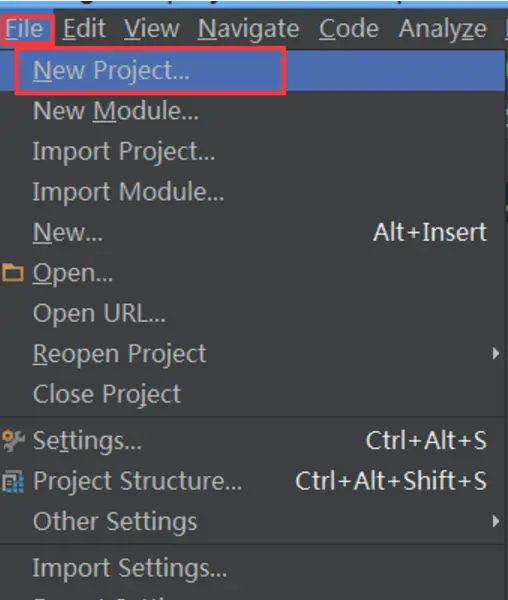
创建.png
2,选择Empty Project项目,点击Next;
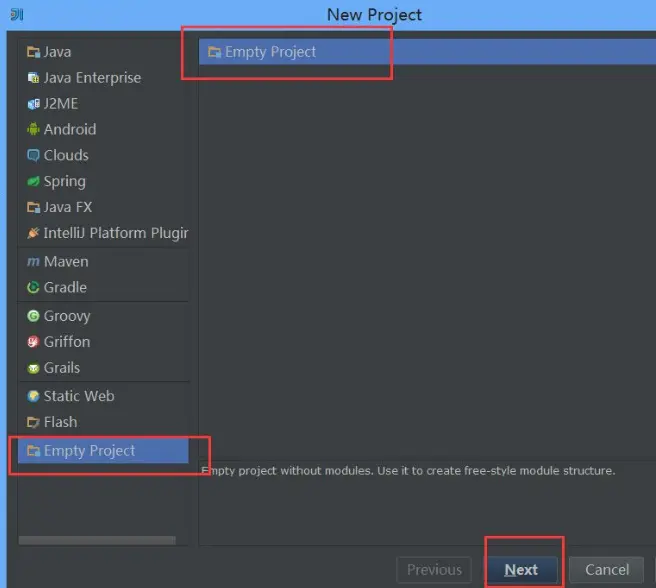
下一步
3,输入项目名称,选择项目路径;
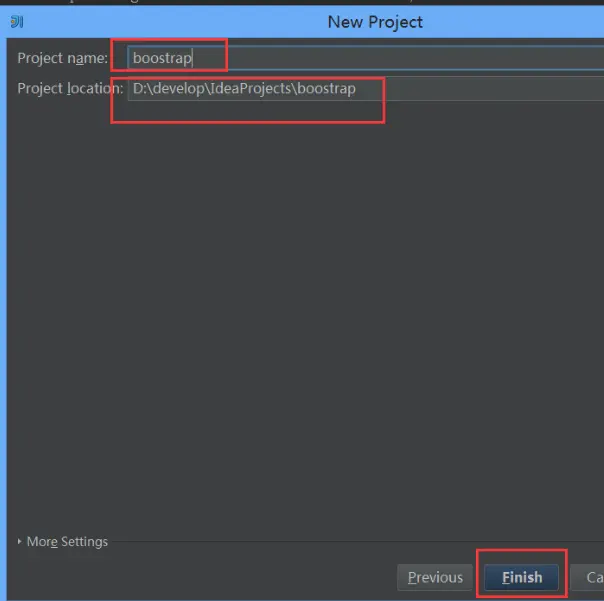
Paste_Image.png
4,创建Module:点击Finish,弹出下面窗口,Intellij默认选择Modules,点击加号,选择New Module;

Paste_Image.png
5,选择Java,配置Module SDK,选择Web Application,配置Versions,点击Next;
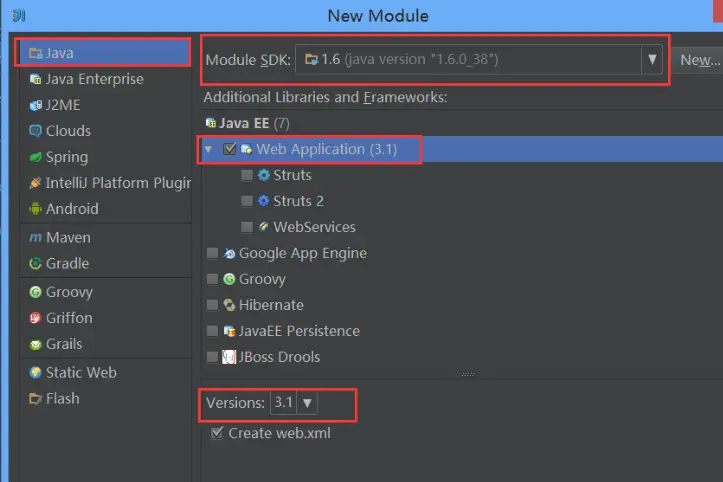
Paste_Image.png
6,输入Module Name,点击Finish。
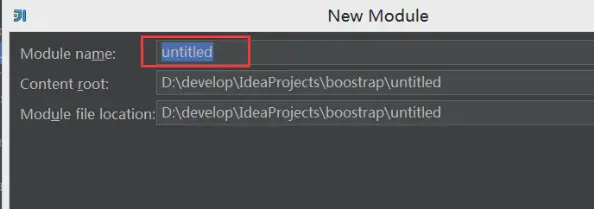
Paste_Image.png
7,选择Project,配置SDK;
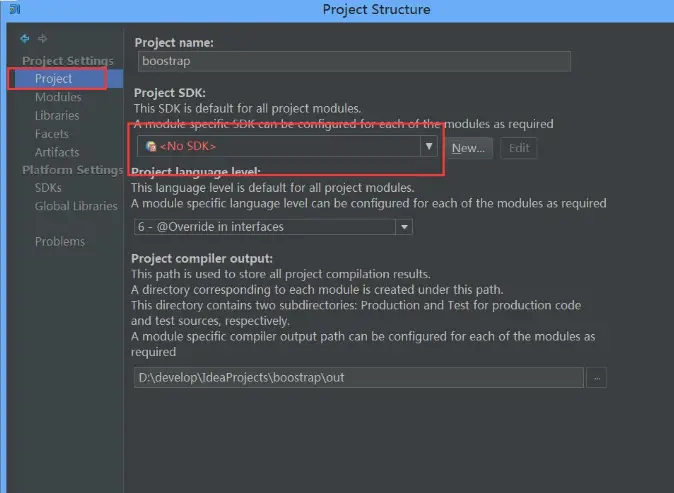
Paste_Image.png
8,选择Modules–(Modules名称)–Sources–web–WEB-INF;

Paste_Image.png
9,右击WEB-INF,依次new folder,创建classes目录和lib目录;
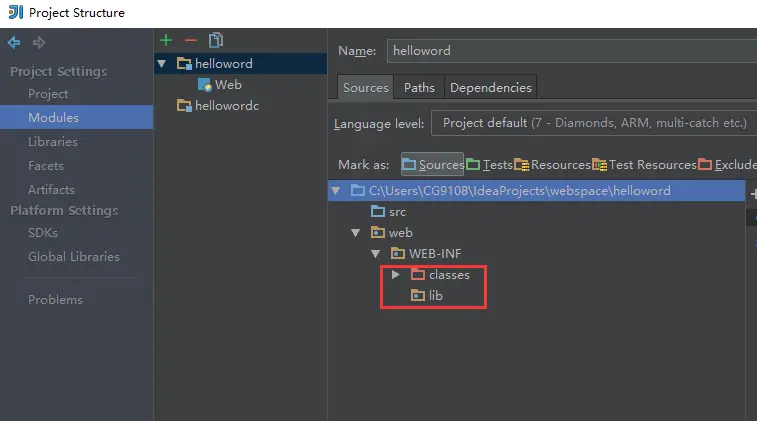
Paste_Image.png
10,选择Paths,选择Use Modules complie Output path,指定路径为上面创建的classes目录;
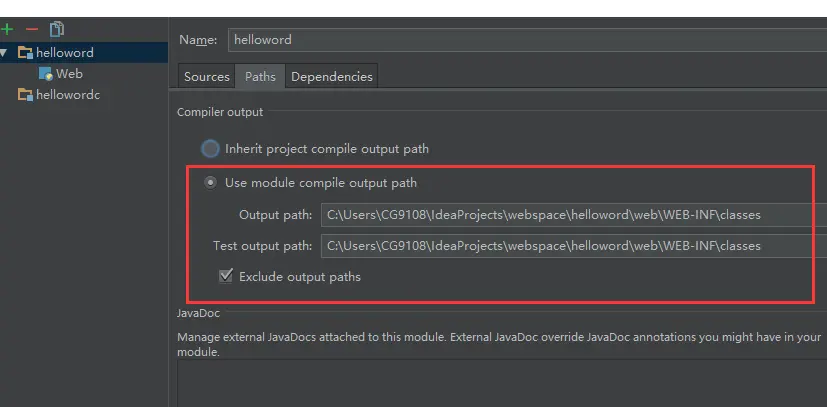
Paste_Image.png
11,选择Dependencies,点击右边的加号,选择第一个jars and ……,选择上面创建的lib目录,点击OK,弹出框选择jar Directory,点击OK,点击下面OK,完成项目配置;
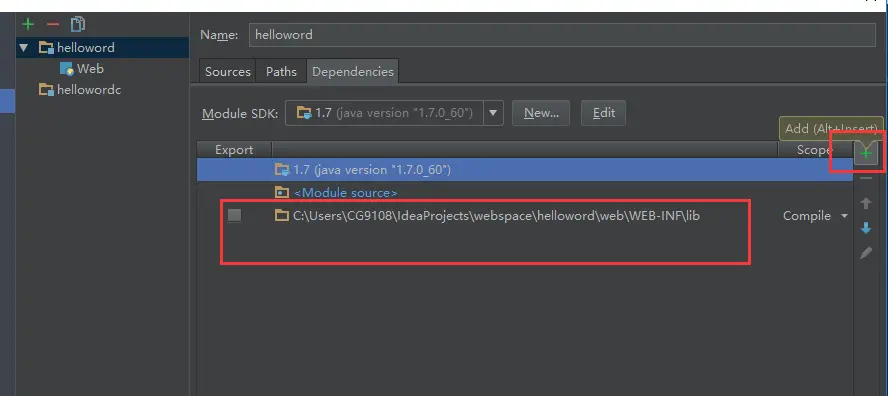
Paste_Image.png
12,配置项目:打开index.jsp,输入显示内容,比如“ 测试。。。”
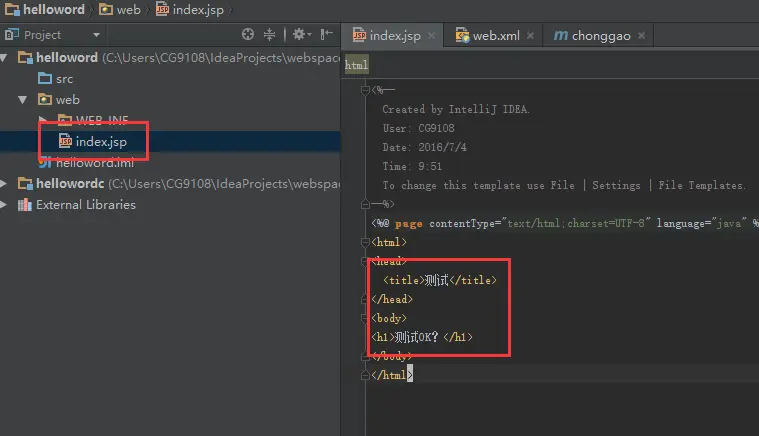
Paste_Image.png
13,配置项目服务器;
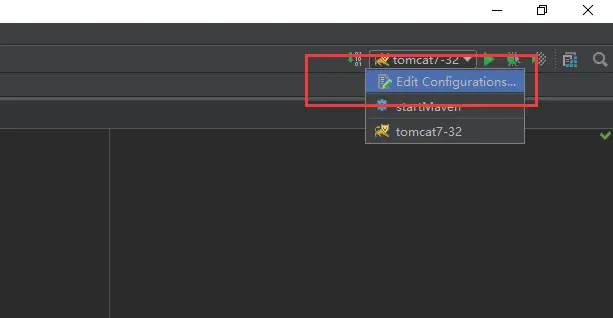
Paste_Image.png
14,点击加号,选择tomcat server,选local;
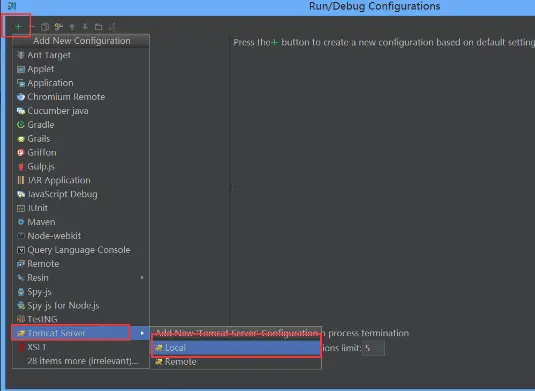
Paste_Image.png
15,配置name、server、端口号;

Paste_Image.png
16,选择Deployment,点击+号,选择上面配置的项目;

Paste_Image.png
17,设置Application context,点击OK,完成tomcat配置;
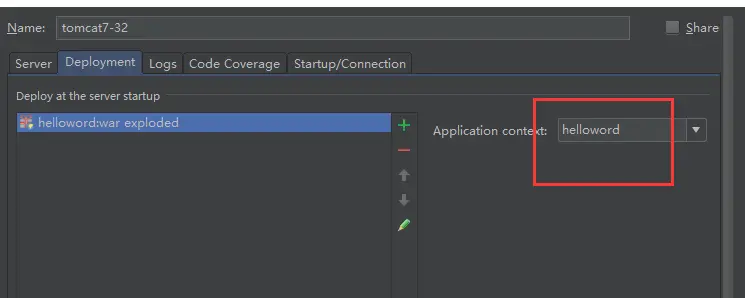
Paste_Image.png
18,启动项目
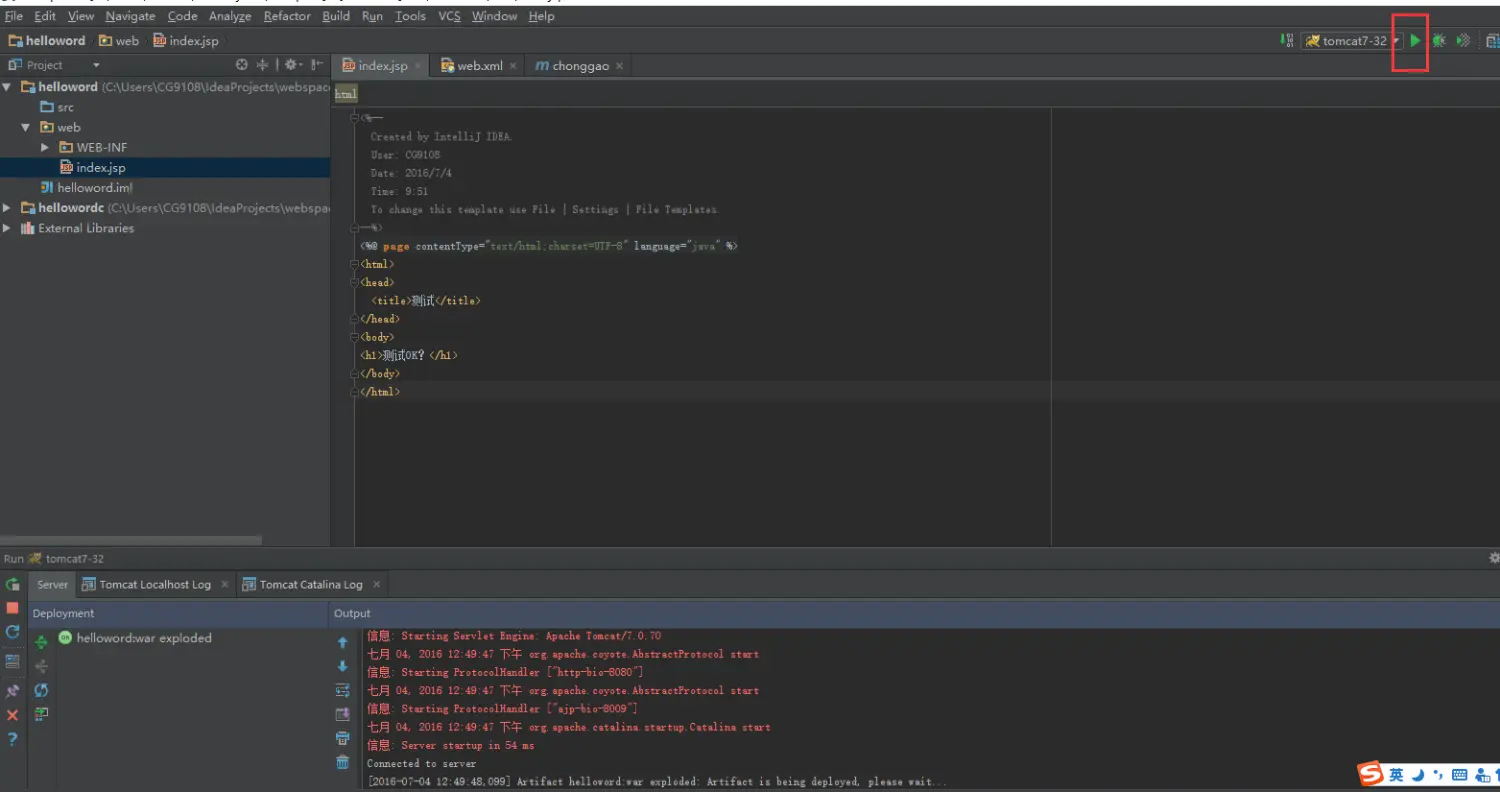
Paste_Image.png
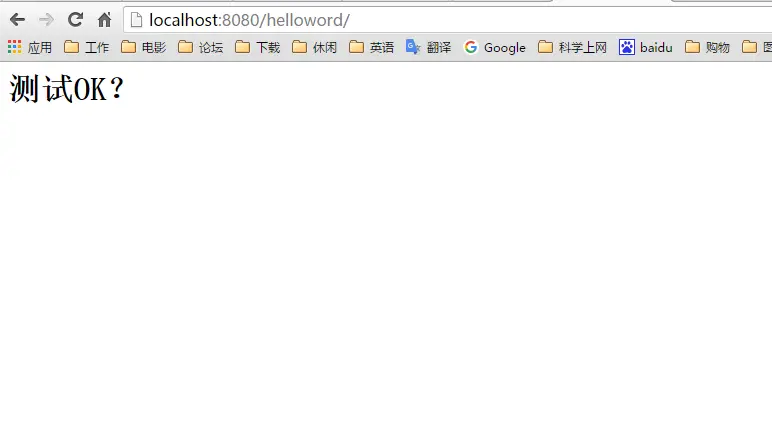
Paste_Image.png
自此完成IDEA的整个项目的创建、配置与启动。
原文地址:https://www.cnblogs.com/jxldjsn/p/8203859.html


 4316
4316

 被折叠的 条评论
为什么被折叠?
被折叠的 条评论
为什么被折叠?
 到【灌水乐园】发言


