vite+vue3创建项目

  • node版本>=12.0.0 
zhaoman@gytlvdeMacBook-Pro vscode % node -v
v16.2.0
  • 使用vite创建项目
zhaoman@gytlvdeMacBook-Pro vscode % npm init vite@latest
Need to install the following packages:
  create-vite@latest
Ok to proceed? (y) y
✔ Project name: … cloud-admin
✔ Select a framework: › Vue
✔ Select a variant: › TypeScript
Scaffolding project in /Users/zhaoman/apps/vscode/cloud-admin...

Done. Now run:

  cd cloud-admin
  npm install
  npm run dev
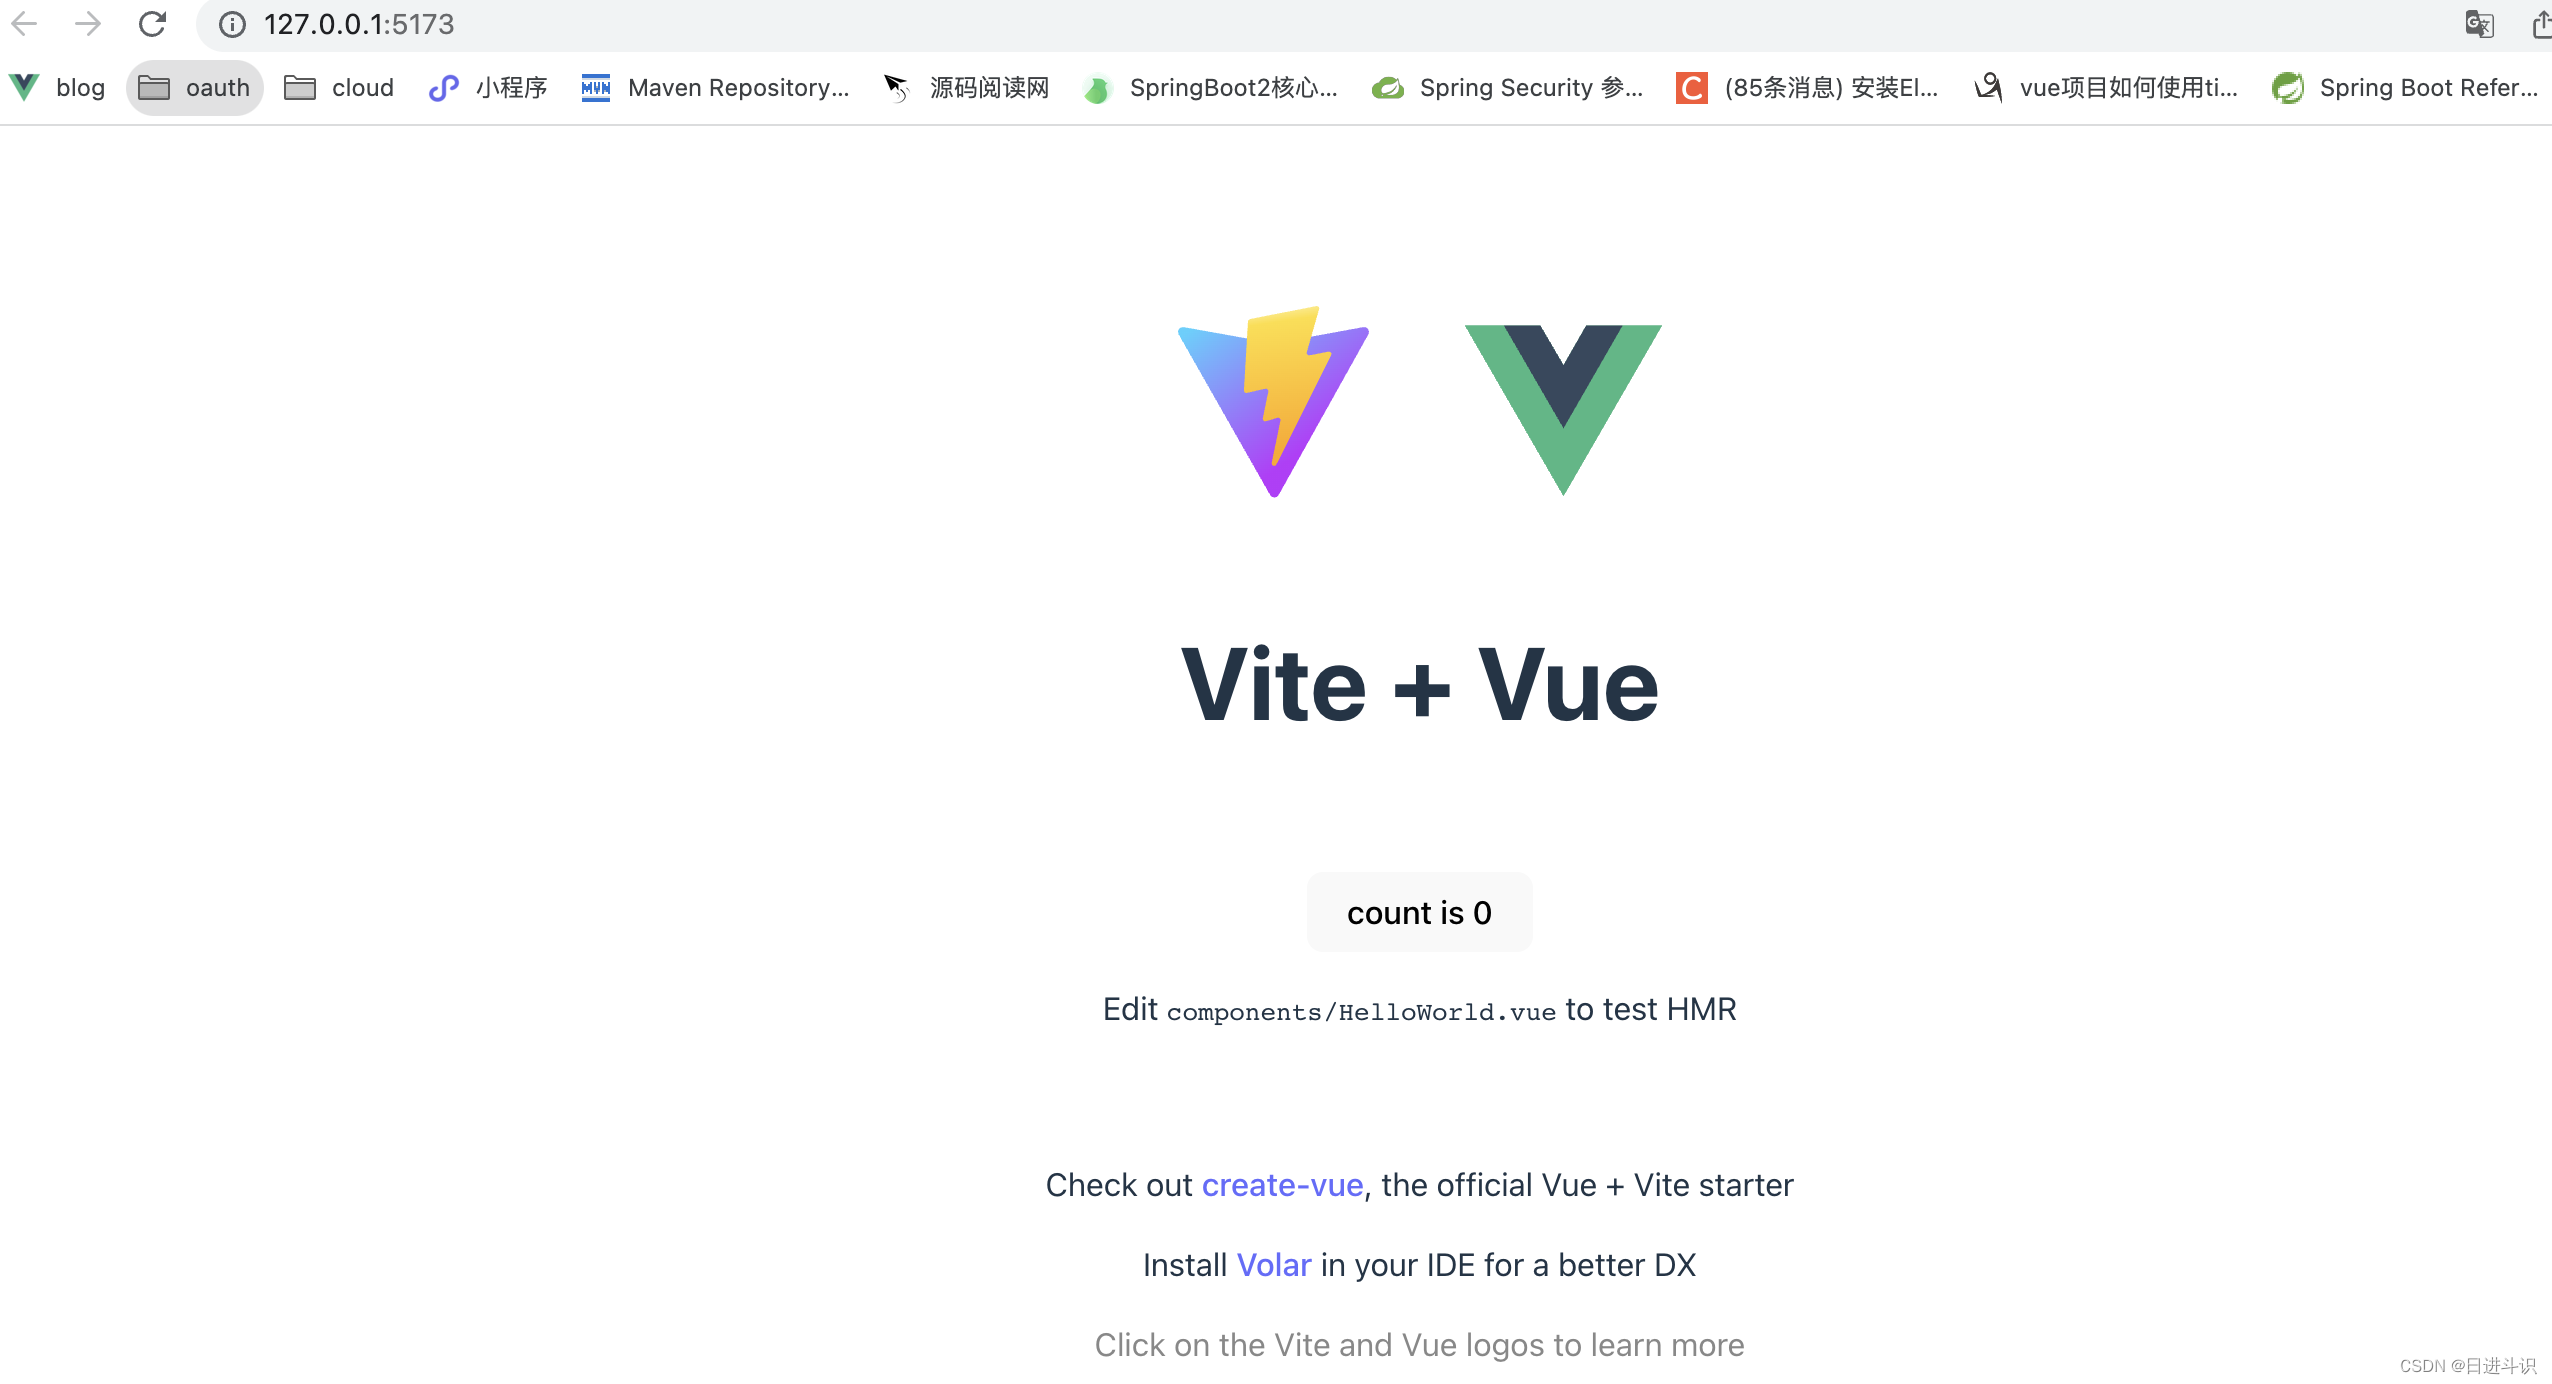
运行项目

  cd cloud-admin
  npm install
  npm run dev

  • vite.config.ts-配置服务
import { defineConfig } from 'vite'
import vue from '@vitejs/plugin-vue'

// https://vitejs.dev/config/
export default defineConfig({
  plugins: [vue()],
  server:{
    host:'0.0.0.0',
    port:8080,
    open:true
  }
})

  •  vite.config.ts-配置别名
zhaoman@gytlvdeMacBook-Pro cloud-admin % npm install @types/node --save-dev
import { defineConfig } from 'vite'
import vue from '@vitejs/plugin-vue'
import { resolve } from 'path'

// https://vitejs.dev/config/
export default defineConfig({
  plugins: [vue()],
  server:{
    host:'0.0.0.0',
    port:8080,
    open:true
  },
  resolve:{
    alias:[
      {
        find:'@',
        replacement:resolve(__dirname,'src')
      }
    ]
  }
})
  • tsconfig.json-配置别名路径 
{
  "compilerOptions": {
    "target": "ESNext",
    "useDefineForClassFields": true,
    "module": "ESNext",
    "moduleResolution": "Node",
    "strict": true,
    "jsx": "preserve",
    "resolveJsonModule": true,
    "isolatedModules": true,
    "esModuleInterop": true,
    "lib": ["ESNext", "DOM"],
    "skipLibCheck": true,
    "noEmit": true,
    "paths": {
      "@/*": ["./src/*"]     //格式一定要写对符号*不能少不然找不到@或者没有代码提示
    }
  },
  "include": ["src/**/*.ts", "src/**/*.d.ts", "src/**/*.tsx", "src/**/*.vue"],
  "references": [{ "path": "./tsconfig.node.json" }]
}
  • 使用别名
import HelloWorld from '@/components/HelloWorld.vue'

  • 0
    点赞
  • 0
    收藏
    觉得还不错? 一键收藏
  • 0
    评论
当然,我可以为您提供一个使用 Vite + Vue 3 创建项目,并使用 OpenLayers 封装一个 `MapView` 组件实现高德地图的加载的示例代码。 首先,确保您已经安装了最新版本的 Node.js。然后,按照以下步骤创建项目: 1. 打开终端并创建一个新的项目文件夹: ``` mkdir vite-vue3-openlayers cd vite-vue3-openlayers ``` 2. 初始化一个新的 npm 项目: ``` npm init -y ``` 3. 使用以下命令安装 Vite: ``` npm install create-vite@latest -g ``` 4. 使用 Vite 创建一个新的 Vue 3 项目: ``` create-vite ``` 在提示中选择 `vue-ts` 作为项目模板,并输入项目名称。 5. 进入项目文件夹: ``` cd your-project-name ``` 6. 安装 OpenLayers: ``` npm install ol --save ``` 7. 在 `src/components` 文件夹中创建一个名为 `MapView.vue` 的组件文件,并添加以下代码: ```vue <template> <div ref="mapContainer" class="map-container"></div> </template> <script> import { ref, onMounted } from 'vue' import { Map, View } from 'ol' import { Tile as TileLayer } from 'ol/layer' import { XYZ as XYZSource } from 'ol/source' export default { name: 'MapView', setup() { const mapContainer = ref(null) onMounted(() => { const map = new Map({ target: mapContainer.value, layers: [ new TileLayer({ source: new XYZSource({ url: 'https://webst02.is.autonavi.com/appmaptile?style=6&x={x}&y={y}&z={z}' }) }) ], view: new View({ center: [0, 0], zoom: 2 }) }) }) return { mapContainer } } } </script> <style scoped> .map-container { width: 100%; height: 100%; } </style> ``` 8. 在 `src/App.vue` 文件中引入并使用 `MapView` 组件: ```vue <template> <div id="app"> <h1>Hello Vite + Vue 3</h1> <MapView /> </div> </template> <script> import MapView from './components/MapView.vue' export default { components: { MapView } } </script> <style> #app { text-align: center; } </style> ``` 9. 启动开发服务器: ``` npm run dev ``` 现在,您可以在浏览器中访问 `http://localhost:3000` 查看使用 OpenLayers 封装的 `MapView` 组件加载高德地图的 Vue 3 应用程序。 请注意,这只是一个简单的示例,您可以根据自己的需求进一步调整地图的样式和行为。 祝您使用 Vite + Vue 3 和 OpenLayers 进行开发成功!如有其他问题,请随时提问。

“相关推荐”对你有帮助么?

  • 非常没帮助
  • 没帮助
  • 一般
  • 有帮助
  • 非常有帮助
提交
评论
添加红包

请填写红包祝福语或标题

红包个数最小为10个

红包金额最低5元

当前余额3.43前往充值 >
需支付:10.00
成就一亿技术人!
领取后你会自动成为博主和红包主的粉丝 规则
hope_wisdom
发出的红包
实付
使用余额支付
点击重新获取
扫码支付
钱包余额 0

抵扣说明:

1.余额是钱包充值的虚拟货币,按照1:1的比例进行支付金额的抵扣。
2.余额无法直接购买下载,可以购买VIP、付费专栏及课程。

余额充值