


目录
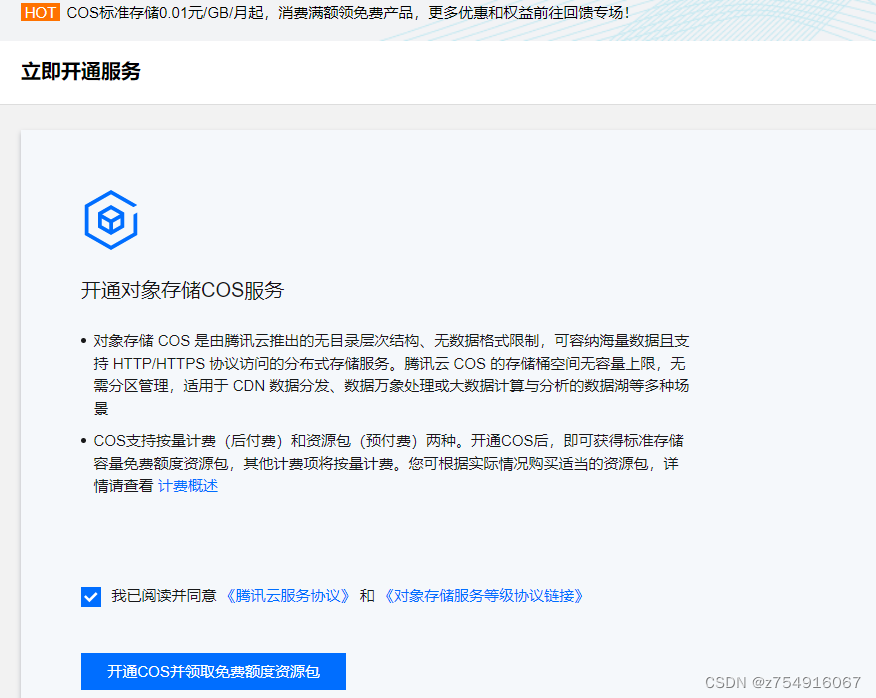
开通对象存储
腾讯云开通对象存储COS服务
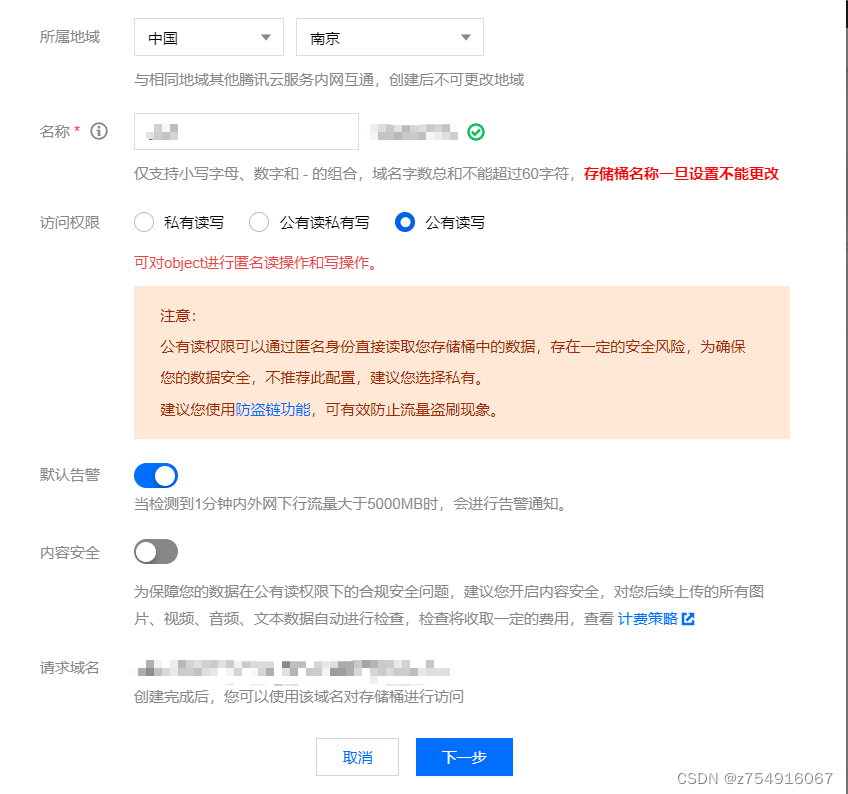
创建存储桶
记得选择公有读写
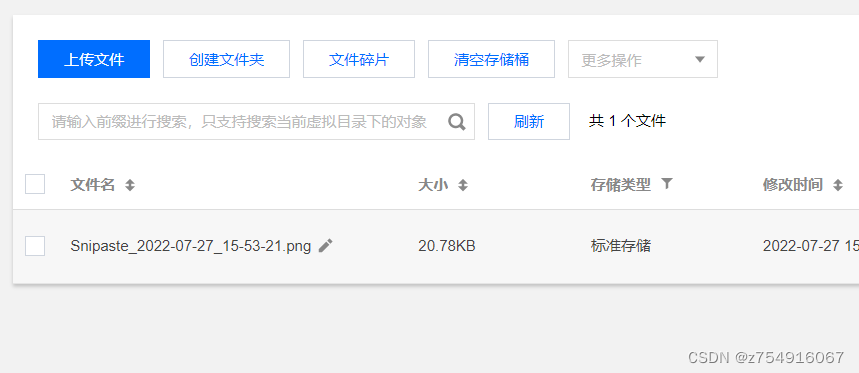
测试上传
点击桶名称,进入详情页,可以测试上传文件
创建API密钥
在API密钥管理里面新建一个自己的密钥,就不截图了。
引入依赖
<dependency>
       <groupId>com.qcloud</groupId>
       <artifactId>cos_api</artifactId>
       <version>5.6.54</version>
</dependency>
测试代码
import com.alibaba.fastjson.JSON;
import com.qcloud.cos.COSClient;
import com.qcloud.cos.ClientConfig;
import com.qcloud.cos.auth.BasicCOSCredentials;
import com.qcloud.cos.http.HttpProtocol;
import com.qcloud.cos.model.PutObjectRequest;
import com.qcloud.cos.model.PutObjectResult;
import com.qcloud.cos.region.Region;

import java.io.File;

public class FileTest {
    public static void main(String[] args) {
        //初始化用户信息secretId secretKey
        String secredId = "你的id";
        String secretKey = "你的密钥";
        //创建验证
        BasicCOSCredentials cred = new BasicCOSCredentials(secredId, secretKey);
        //设置bucket的地域
        Region region = new Region("ap-nanjing");
        // clientConfig 中包含了设置 region, https(默认 http), 超时,
        // 代理等 set 方法, 使用可参见源码或者常见问题 Java SDK 部分。
        ClientConfig clientConfig = new ClientConfig(region);
        //初始化 默认使用https
        clientConfig.setHttpProtocol(HttpProtocol.https);
        //生成cos客户端
        COSClient cosClient = new COSClient(cred, clientConfig);
        try{
            //指定上传的文件
            File file = new File("文件地址\\111.png");
            //指定文件将要存放的存储桶
            String bucketName = "桶名称";
            // 指定文件上传到 COS 上的路径,即对象键。
            // 例如对象键为folder/picture.jpg
            // 则表示将文件 picture.jpg 上传到 folder 路径下
            String key = "test-11.png";
            PutObjectRequest putObjectRequest = new PutObjectRequest(bucketName,key,file);
            PutObjectResult putObjectResult = cosClient.putObject(putObjectRequest);
            System.out.println(JSON.toJSONString(putObjectResult));
        }catch (Exception clientException){
            clientException.printStackTrace();
        }
    }
}
整合腾讯云对象存储
service_vod模块引入依赖
        <dependency>
            <groupId>com.qcloud</groupId>
            <artifactId>cos_api</artifactId>
            <version>5.6.54</version>
        </dependency>

        <!-- 日期工具栏依赖 -->
        <dependency>
            <groupId>joda-time</groupId>
            <artifactId>joda-time</artifactId>
        </dependency>
修改本地配置
在application.properties里添加如下内容
spring.servlet.multipart.max-file-size=1024MB
spring.servlet.multipart.max-request-size=1024MB
#不同的服务器,地址不同
tencent.cos.file.region=ap-nanjing
tencent.cos.file.secretid=你的id
tencent.cos.file.secretkey=你的key
#bucket可以在控制台创建,也可以使用java代码创建
tencent.cos.file.bucketname=你的bucketName
创建工具类
该工具类为常量类,专门用来读取properties里的配置。
在vod里面创建utils文件夹并且创建如下java类
当一个类实现InitialzingBean接口之后,初始化Bean时,若该Bean实现InitialzingBean接口,会自动调用afterPropertiesSet()方法,完成一些用户自定义的初始化操作。
package vod.utils;

import org.springframework.beans.factory.InitializingBean;
import org.springframework.beans.factory.annotation.Value;

public class ConstantPropertiesUtil implements InitializingBean {
    @Value("${tencent.cos.file.region}")
    private String region;
    @Value("${tencent.cos.file.secretid}")
    private String secretId;
    @Value("${tencent.cos.file.secretkey}")
    private String secretKey;
    @Value("${tencent.cos.file.bucketname}")
    private String bucketName;

    public static String END_POINT;
    public static String ACCESS_KEY_ID;
    public static String ACCESS_KEY_SECRET;
    public static String BUCKET_NAME;

    @Override
    public void afterPropertiesSet() throws Exception {
        END_POINT = region;
        ACCESS_KEY_ID = secretId;
        ACCESS_KEY_SECRET = secretKey;
        BUCKET_NAME = bucketName;
    }
}
创建Service
创建对应的接口,且声明方法
package vod.service;

import org.springframework.web.multipart.MultipartFile;

public interface FileService {
    //文件上传
    String upload(MultipartFile file);
}
impl实现service
package vod.service.impl;

import com.alibaba.fastjson.JSON;
import com.qcloud.cos.COSClient;
import com.qcloud.cos.ClientConfig;
import com.qcloud.cos.auth.BasicCOSCredentials;
import com.qcloud.cos.auth.COSCredentials;
import com.qcloud.cos.http.HttpProtocol;
import com.qcloud.cos.model.ObjectMetadata;
import com.qcloud.cos.model.PutObjectRequest;
import com.qcloud.cos.model.PutObjectResult;
import com.qcloud.cos.region.Region;
import org.joda.time.DateTime;
import org.springframework.stereotype.Service;
import org.springframework.web.multipart.MultipartFile;
import vod.service.FileService;
import vod.utils.ConstantPropertiesUtil;
import java.util.UUID;
import java.io.InputStream;

@Service
public class FileServiceImpl implements FileService {
    @Override
    public String upload(MultipartFile file) {
        String endPoint = ConstantPropertiesUtil.END_POINT;
        String bucketName = ConstantPropertiesUtil.BUCKET_NAME;
        //初始化用户信息
        String accessKeyId = ConstantPropertiesUtil.ACCESS_KEY_ID;
        String accessKeySecret = ConstantPropertiesUtil.ACCESS_KEY_SECRET;
        //创建验证
        COSCredentials cred = new BasicCOSCredentials(accessKeyId, accessKeySecret);
        // 2 设置 bucket 的地域
        // clientConfig 中包含了设置 region, https(默认 http),超时, 代理等 set 方法
        Region region = new Region(ConstantPropertiesUtil.END_POINT);
        ClientConfig clientConfig = new ClientConfig(region);
        // 从 5.6.54 版本开始,默认使用了 https
        clientConfig.setHttpProtocol(HttpProtocol.https);
        // 3 生成 cos 客户端。
        COSClient cosClient = new COSClient(cred, clientConfig);
        try{
            // 指定要上传的文件
            InputStream inputStream = file.getInputStream();
            // 指定文件将要存放的存储桶
            // 指定文件上传到 COS 上的路径,即对象键。例如对象键为folder/picture.jpg,则表示将文件 picture.jpg 上传到 folder 路径下
            //构建出一个key 加上时间日期
            String key = UUID.randomUUID().toString().replaceAll("-","")+
                    file.getOriginalFilename();
            String dateUrl = new DateTime().toString("yyyy/MM/dd");
            key = dateUrl+"/"+key;
            //上传的文件
            ObjectMetadata objectMetadata = new ObjectMetadata();
            PutObjectRequest putObjectRequest =
                    new PutObjectRequest(bucketName, key, inputStream,objectMetadata);
            //将其上传 查看结果
            PutObjectResult putObjectResult = cosClient.putObject(putObjectRequest);
            System.out.println(JSON.toJSONString(putObjectResult));
            //生成的路径/文件如下所示 将路径返回
            //https://ggkt-atguigu-1310644373.cos.ap-beijing.myqcloud.com/01.jpg
            String url = "https://"+bucketName+"."+"cos"+"."+endPoint+".myqcloud.com"+"/"+key;
            return url;
        } catch (Exception clientException) {
            clientException.printStackTrace();
            return null;
        }
    }
}
创建Controller
新建一个FileUploadController,注意声明的 @ApiParam(name = “file”, value = “文件”, required = true)没有实际作用,是给swagger注解的,重要的是@RequestParam
@Api(tags = "文件上传接口")
@RestController
@CrossOrigin
@RequestMapping("/admin/vod/file")
public class FileUploadController {
    @Autowired
    private FileService fileService;

    //文件上传
    @ApiOperation(value = "文件上传")
    @PostMapping("upload")
    public Result upload(
            @ApiParam(name="file",value = "文件",required = true)
            @RequestParam("file") MultipartFile file){
        String uploadUrl = fileService.upload(file);
        //成功的url给前端展示
        String upload = fileService.upload(file);
        return Result.ok(uploadUrl).message("文件上传成功");
    }
}
添加讲师前端完善(上传讲师头像)
进入form.vue,之前写在这块地方
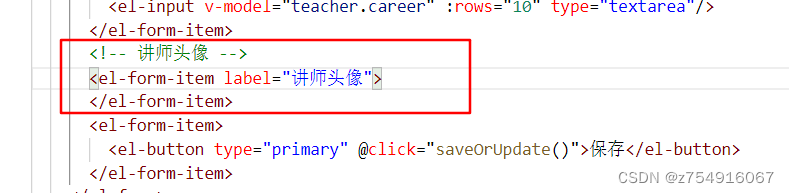
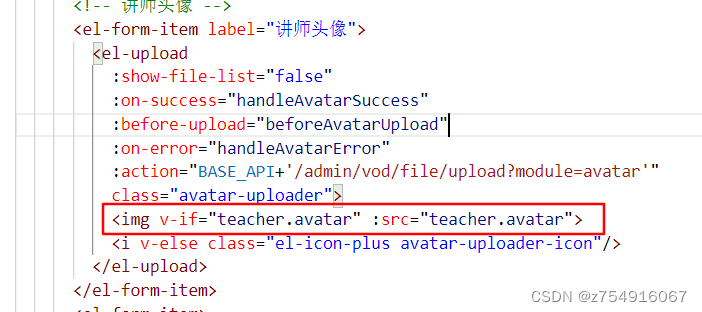
改成
      <el-form-item label="讲师头像">
        <el-upload
          :show-file-list="false"
          :on-success="handleAvatarSuccess"
          :before-upload="beforeAvatarUpload"
          :on-error="handleAvatarError"
          :action="BASE_API+'/admin/vod/file/upload?module=avatar'"
          class="avatar-uploader">
          <img v-if="teacher.avatar" :src="teacher.avatar">
          <i v-else class="el-icon-plus avatar-uploader-icon"/>
        </el-upload>
      </el-form-item>
注意这里的action是直接访问了后台接口,把上传的avatar送了过去,其中还写了三个方法:创建前,成功时,错误时。
在data数据模型定义中加上:
BASE_API: 'http://localhost:8301',//统一开头
添加上传操作方法
之前头像已经定义过,所以直接赋值即可。
    handleAvatarSuccess(res,file){
      //上传成功时后端代码会返回code和图片文件url(已经存到云服务器上)
      if(res.code==200){
        this.teacher.avatar = res.data
        //强制重新渲染
        this.$forceUpdate()
      }else{
        this.$message.error('上传失败(非0)')
      }
    },
    //错误处理
    handleAvatarError(){
      console.log('error')
      this.$message.error('上传失败(http失败)')
    },
    //上传校验
    beforeAvatarUpload(file) {
      const isJPG = file.type === 'image/jpeg'
      const isLt2M = file.size / 1024 / 1024 < 2
      if (!isJPG) {
        this.$message.error('上传头像图片只能是 JPG 格式!')
      }
      if (!isLt2M) {
        this.$message.error('上传头像图片大小不能超过 2MB!')
      }
      return isJPG && isLt2M
    }
疑问
我有个问题,上传的时候没见把avatar存到数据库里啊,那么下次再来看的时候不就不会显示了吗…
答:想起来了,之前写保存老师的时候,已经把avatar的内容写在里面了,所以不用再写一遍。
课程分类管理模块
需求:分类列表
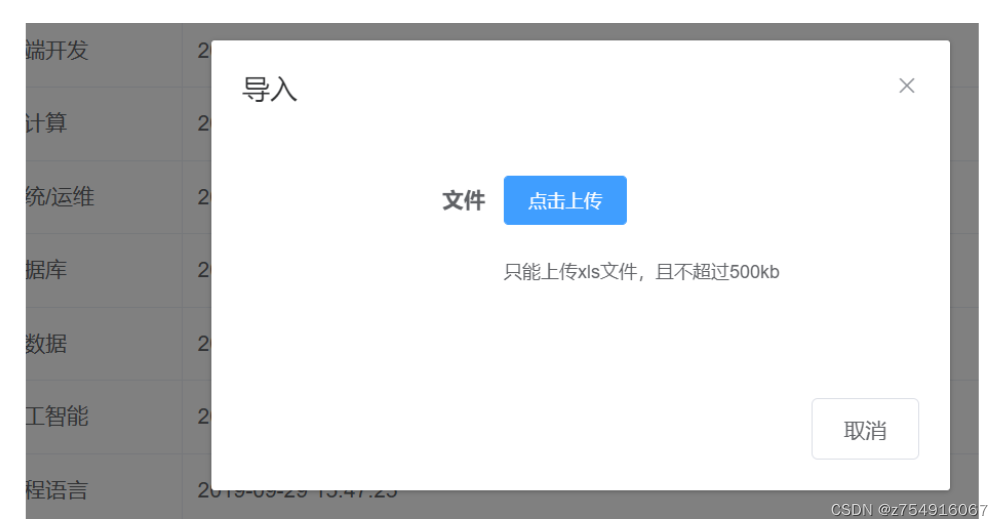
需求:导入导出
数据库设计
数据库在glkt_vod的subject里
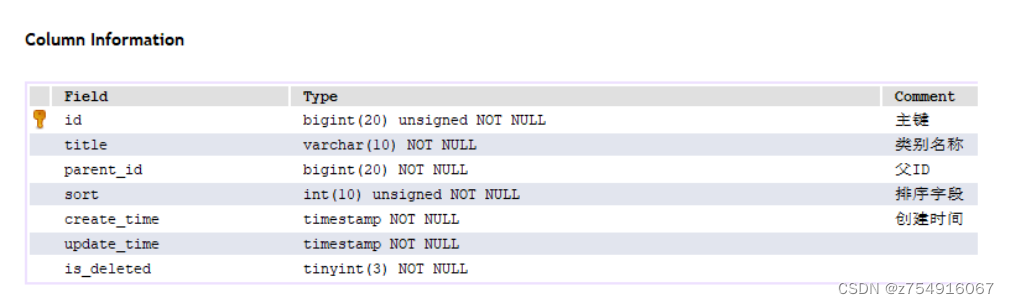
各种课类型的名称,其父类课程,排序,创建时间和更新时间。
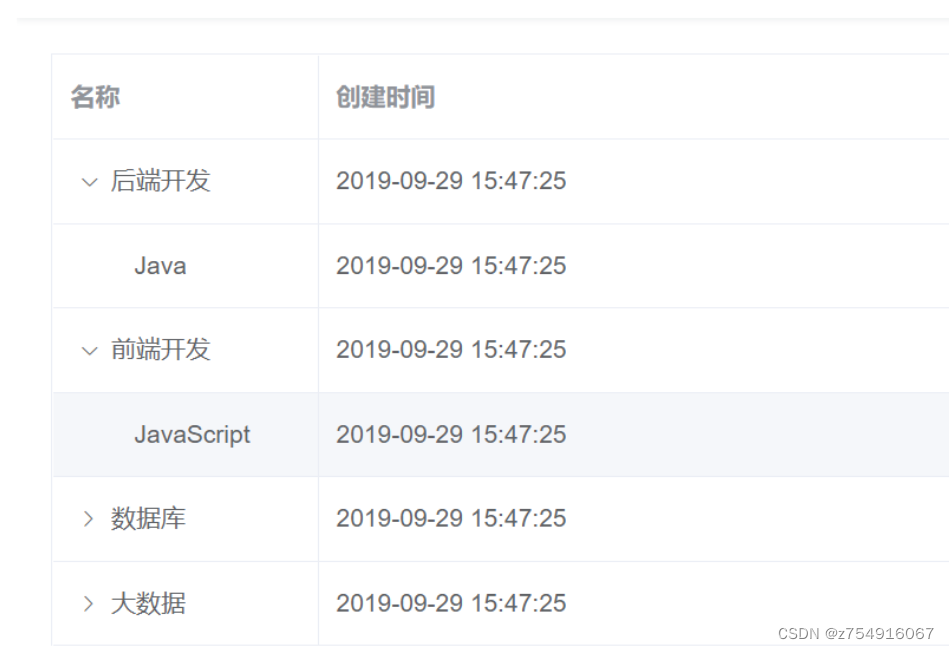
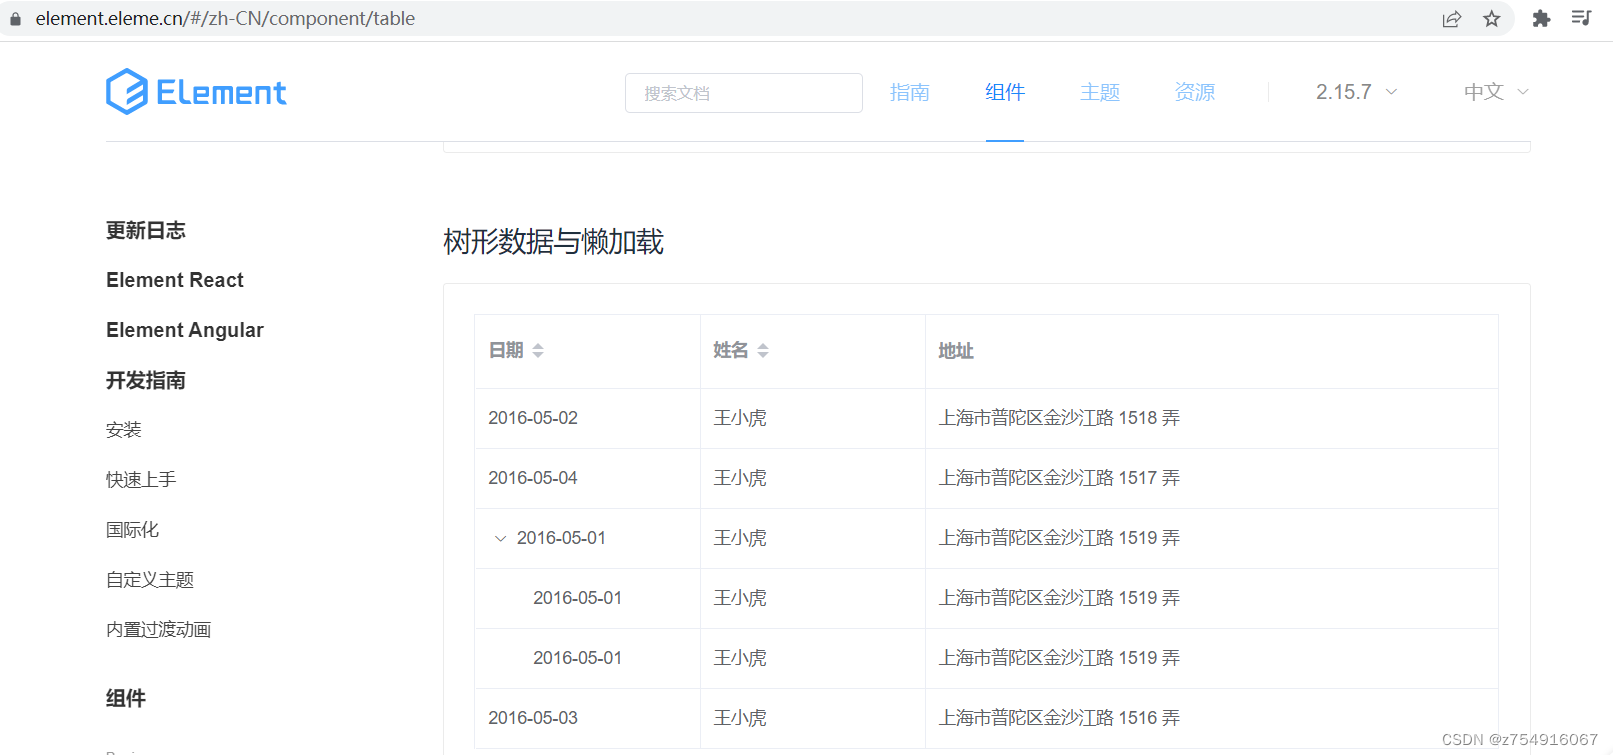
课程分类列表
课程分类采用树形展示,考虑使用“树形数据与懒加载”的方式展现数据列表,可以先看一下提示。
懒加载的意思是点击一层出现一层,初始只有一层。

进去看代码,首先返回的这些字段要和html的对应

其次懒加载时会调用load方法,在有孩子地方设置hasChildren
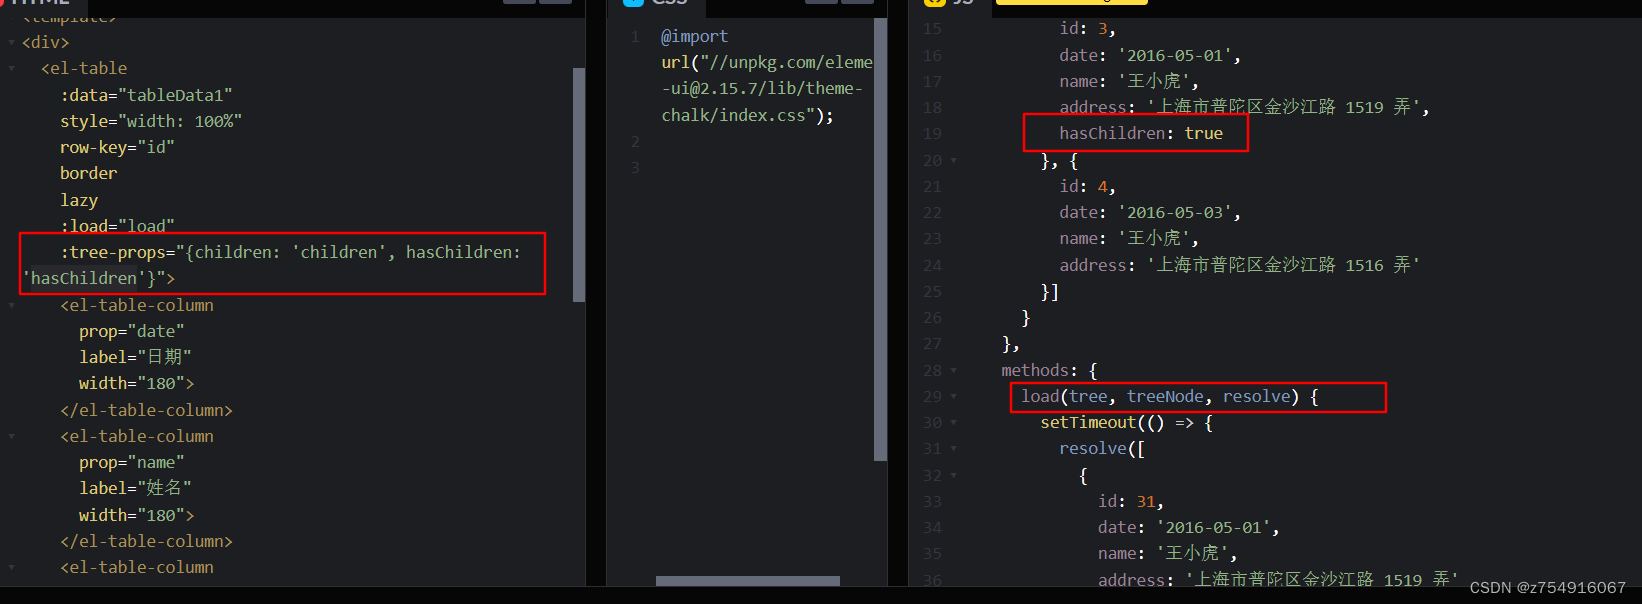
它是根据有没有孩子来确定是否有子节点的,所以我们需要返回指定的行是否包含子节点。
编写SubjectMapper
public interface SubjectMapper extends BaseMapper<Subject> {
}
编写SubjectService
实现其接口
public interface SubjectService extends IService<Subject> {
    //查询下一层课程分类
    List<Subject> findChildSubject(Long id);
}
impl实现
这里面有个问题,查找用的是baseMapper实现的,按道理来说应该用SubjectMapper实现,于是决定改一下。
@Service
public class SubjectServiceImpl extends ServiceImpl<SubjectMapper, Subject> implements SubjectService {
    //声明mapper
    @Autowired
    private SubjectMapper mapper;

    //找到下一层的课程分类
    @Override
    public List<Subject> findChildSubject(Long id) {
        //首先进数据库查询
        QueryWrapper<Subject> subjectQueryWrapper = new QueryWrapper<>();
        //找到parent_id为id的课程
        subjectQueryWrapper.eq("parent_id",id);
        //将这些list提出来
        List<Subject> subjects = mapper.selectList(subjectQueryWrapper);
        //设置他们是否有孩子
        for(Subject subject:subjects){
            Long sid = subject.getId();
            boolean childen = this.isChilden(sid);
            //这里时数据库不存的 所以model上声明了了exist=false
            subject.setHasChildren(childen);
        }
        return subjects;
    }
    //判断id下面是否有子节点 即该课程是否为父节点
    private boolean isChilden(Long id){
        QueryWrapper<Subject> subjectQueryWrapper = new QueryWrapper<>();
        subjectQueryWrapper.eq("parent_id",id);
        Integer count = mapper.selectCount(subjectQueryWrapper);
        return count>0;
    }
}
编写controller
@Api(tags = "课程分类管理")
@RestController
@RequestMapping(value="/admin/vod/subject")
//@CrossOrigin
public class SubjectController {
    @Autowired
    private SubjectService subjectService;
    //查询下一层课程分类
    //根据parent_id
    @ApiOperation("查询下一层的课程分类")
    @GetMapping("getChildSubject/{id}")
    public Result getChildSubject(@PathVariable Long id) {
        List<Subject> list = subjectService.selectList(id);
        return Result.ok(list);
    }
}
课程分类列表前端
添加路由
在router/index.js里添加路由
  //课程分类列表
  {
    path:'/subject',
    component:Layout,
    redirect: '/subject/list',
    name:'课程分类管理',
    alwaysShow:true,
    meta: {title: '课程分类管理',icon:'example'},
    children:[
      {
        path:'list',
        name:'课程分类列表',
        component:() => import('@/views/vod/subject/list'),
        meta:{title:'课程分类列表',iconL:'table'}
      }
    ]
  },
定义数据字典列表接口
创建src/api/vod/subject.js
import request from '@/utils/request'
//对api_name传入方法时 即往后端发送请求
const api_name = '/admin/vod/subject'
export default{
    getChildList(id){
        return request({
            url:`${api_name}/getChildSubject/{id}`,
            method:'get'
        })
    }
}
编写subject/list.vue
<template>
    <div  class="app-container">
    <el-table
        :data="list"
        style="width: 100%"
        row-key="id"
        border
        lazy
        :load="load"
        :tree-props="{children: 'children', hasChildren: 'hasChildren'}">
        <el-table-column
        prop="title"
        label="名称"
        width="150">
        </el-table-column>
        <el-table-column
        prop="createTime"
        label="创建时间">
        </el-table-column>
    </el-table>
    </div>
</template>
<script>

import subjectApi from '@/api/vod/subject'
export default {
    data() {
        return {
            list:[] //数据字典列表数组
        }
    },
    created() {
      //就查第一层的意思
      this.getSubList(0)
    },
    methods: {
        //数据字典列表
        getSubList(id) {
            subjectApi.getChildList(id)
                .then(response => {
                    this.list = response.data
                })
        },
        //展示下层数据
        load(tree, treeNode, resolve) {
            subjectApi.getChildList(tree.id).then(response => {
                resolve(response.data)
            })
      }
    }
}
</script>
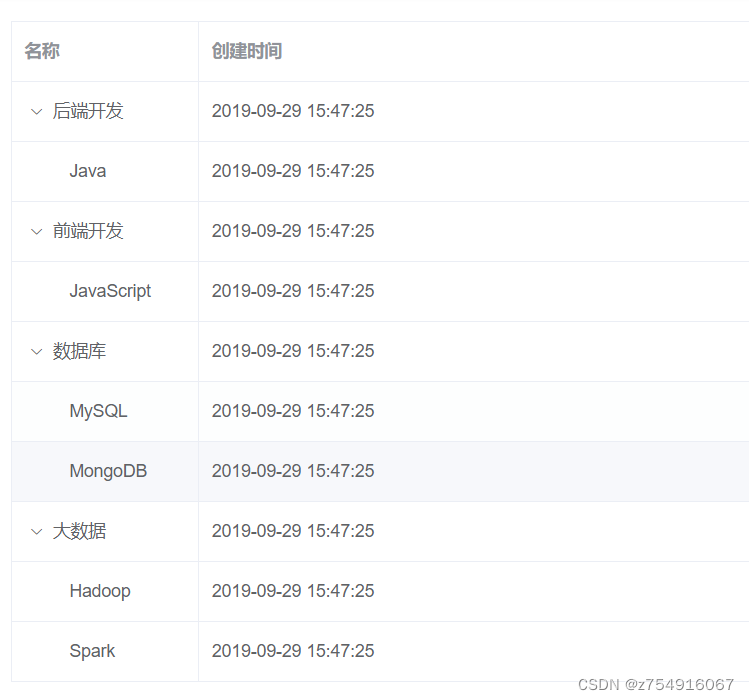
效果


 2715
2715

 被折叠的 条评论
为什么被折叠?
被折叠的 条评论
为什么被折叠?
 到【灌水乐园】发言


