


尺寸之间,无穷世界。手机作为移动设备,屏幕空间有限,要想在手机上展示丰富的内容,就要提供多视图,大尺寸。为了避免程序页面跳转混乱,就需要视图导航来解决此问题。
一、模态视图
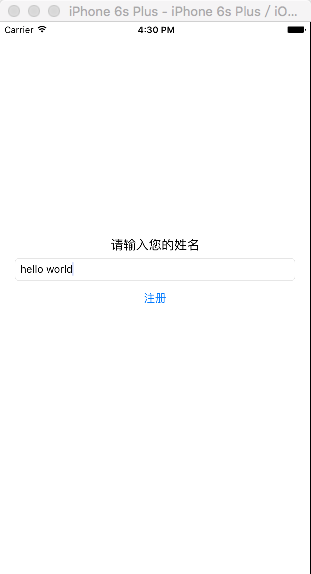
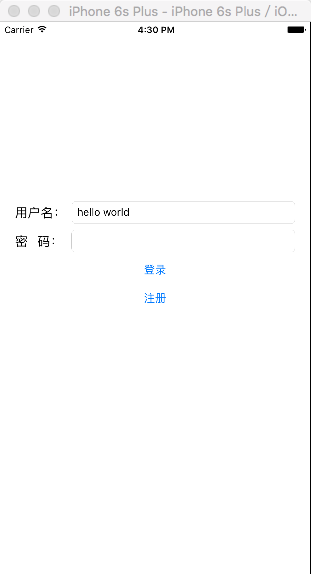
模态视图:不属于导航结构的主要分支,是为了打断主视图显示出来提供用户交互,如在登录页面提供注册接口,注册页面就是模态视图。模态视图通常由下往上滑入,由上往下滑出。当然,也可以使用动画来改变其模式。通常会用到:
- (void)presentViewController:animated:completion:
- (void)dismissViewControllerAnimated:completion:
实现步骤:
1、新建Single ViewController 工程“模态视图”
2、在故事版中布局好登录界面和注册界面
3、按着Control键点击登录页面的注册拖拽到注册页面,在弹出的对话框里选择present modally
4、传值是通过Notification实现的

二、标签导航
标签视图:标签视图是为了组织平衡级别的页面的,页面之间没有太大联系,但属于一类。常见的入微信,微博,扣扣等;使用UITabBarController实现。
设置选中颜色和图片:
//选中背景图片
UIImage *image = [self.tabBarItem.selectedImage imageWithRenderingMode:UIImageRenderingModeAlwaysOriginal];
self.tabBarItem.selectedImage = image;
//选中标题颜色
[self.tabBarItem setTitleTextAttributes:@{NSForegroundColorAttributeName: [UIColor redColor]} forState:UIControlStateSelected];1、新建Tabbed Application
2、新建相关ViewController
3、按着Control键,点击Tab BarController拖拽到新的ViewController上,在弹出的对话框里选择ViewControllers
4、设置Title和Image即可

三、树形导航
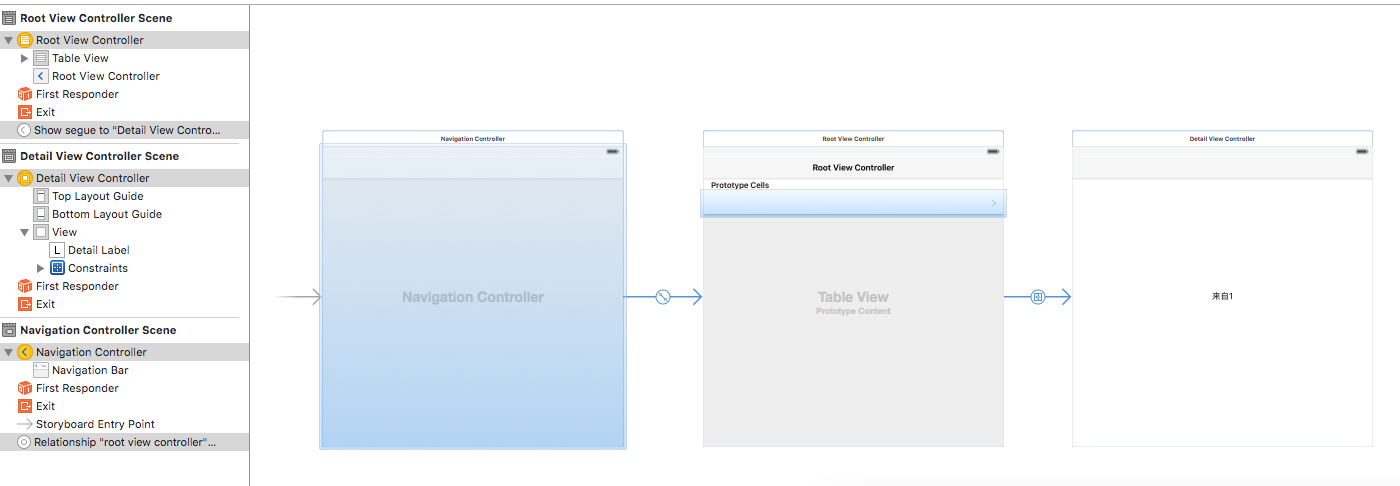
树形视图:用于组织具有层级关系的页面视图。使用UINavigationController实现。
步骤:
1、新建Single View Application
2、删除生成的ViewControllerScene,从视图列表中拖一个Navigation Controller到故事版,系统会自带一个RootViewController的情景 是TableViewController,把ViewController.h继承UITableViewController
3、添加一个新的视图DetailViewController,设计界面
4、按着Control键,点RootViewController上的单元格的“>”到DetailViewController在弹出的对话框里选择show
ViewController.m
//
// ViewController.m
// 树形导航
//
// Created by LiLeo on 16/7/5.
// Copyright © 2016年 LeoLi. All rights reserved.
//
#import "ViewController.h"
#import "DetailViewController.h"
@interface ViewController ()
@property (nonatomic, strong) NSArray * contents;
@end
@implementation ViewController
- (void)viewDidLoad {
[super viewDidLoad];
// Do any additional setup after loading the view, typically from a nib.
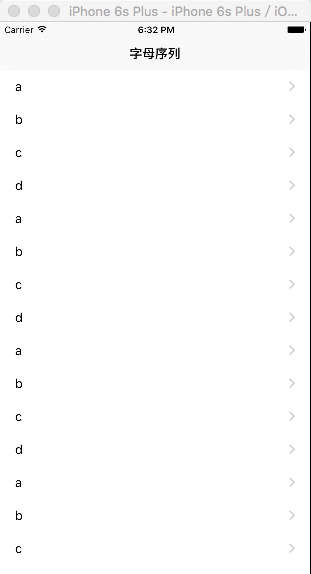
self.title = @"字母序列";
//初始化数据
_contents = [NSArray arrayWithObjects:@"a", @"b", @"c", @"d", @"a", @"b", @"c", @"d", @"a", @"b", @"c", @"d", @"a", @"b", @"c", @"d", nil];
//设置数据源和代理
self.tableView.delegate = self;
self.tableView.dataSource = self;
}
- (void)didReceiveMemoryWarning {
[super didReceiveMemoryWarning];
// Dispose of any resources that can be recreated.
}
#pragma mark - tableView要实现的方法
- (NSInteger)tableView:(UITableView *)tableView numberOfRowsInSection:(NSInteger)section {
return [_contents count];
}
- (UITableViewCell *)tableView:(UITableView *)tableView cellForRowAtIndexPath:(NSIndexPath *)indexPath {
UITableViewCell * cell = [tableView dequeueReusableCellWithIdentifier:@"CellIdentifier" forIndexPath:indexPath];
cell.textLabel.text = [_contents objectAtIndex:[indexPath row]];
return cell;
}
#pragma mark - KVC的方式传值
- (void)prepareForSegue:(UIStoryboardSegue *)segue sender:(id)sender {
DetailViewController * destination = segue.destinationViewController;
destination.title = @"序列展示";
NSInteger row = [[self.tableView indexPathForSelectedRow] row];
[destination setValue:_contents[row] forKey:@"detail"];
}
@end
DetailViewController.m
//
//  DetailViewController.m
//  树形导航
//
//  Created by LiLeo on 16/7/5.
//  Copyright © 2016年 LeoLi. All rights reserved.
//

#import "DetailViewController.h"

@interface DetailViewController ()
@property (weak, nonatomic) IBOutlet UILabel *detailLabel;

@property (copy, nonatomic) NSString * detail;

@end

@implementation DetailViewController

- (void)viewDidLoad {
    [super viewDidLoad];
    // Do any additional setup after loading the view.
    _detailLabel.text = _detail;
}

- (void)didReceiveMemoryWarning {
    [super didReceiveMemoryWarning];
    // Dispose of any resources that can be recreated.
}

/*
#pragma mark - Navigation

// In a storyboard-based application, you will often want to do a little preparation before navigation
- (void)prepareForSegue:(UIStoryboardSegue *)segue sender:(id)sender {
    // Get the new view controller using [segue destinationViewController].
    // Pass the selected object to the new view controller.
}
*/

@end


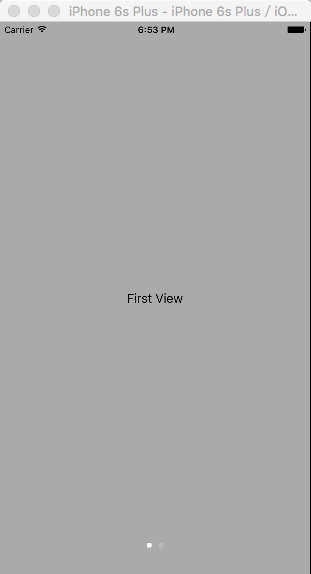
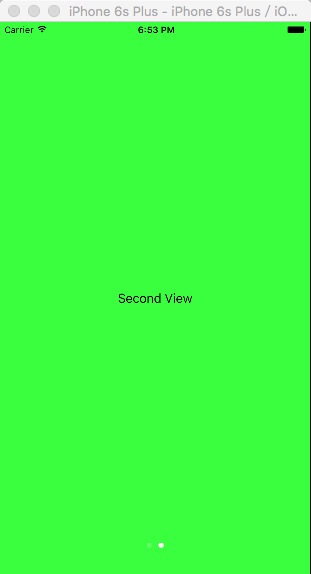
四、平铺导航
平铺导航:各个页面没有直接联系,与标签导航不同的是主要通过左右滑动进行页面的操作。通过,UIScrollView和UIPageControl配合实现
步骤:
1、新建Single View Application
2、在故事版中添加ScrollView 和 PageControl
3、添加各个页面并设置Storyboard ID
4、在ViewController.m中加载各个页面 并实现滑动和pagecontrol的联动
ViewController.m
//
//  ViewController.m
//  平铺导航
//
//  Created by LiLeo on 16/7/5.
//  Copyright © 2016年 LeoLi. All rights reserved.
//

#import "ViewController.h"

@interface ViewController () <UIScrollViewDelegate>
@property (weak, nonatomic) IBOutlet UIScrollView *scrollView;
@property (weak, nonatomic) IBOutlet UIPageControl *pageControl;

@property (strong, nonatomic) UIView * page1;
@property (strong, nonatomic) UIView * page2;

@end

@implementation ViewController

- (void)viewDidLoad {
    [super viewDidLoad];
    // Do any additional setup after loading the view, typically from a nib.
    _scrollView.delegate = self;
    _scrollView.frame = [UIScreen mainScreen].bounds;
    CGSize size = [[UIScreen mainScreen] bounds].size;
    _scrollView.contentSize = CGSizeMake(size.width * 2, size.height);

    UIStoryboard * mainStoryBoard = self.storyboard;
    UIViewController * firstView = [mainStoryBoard instantiateViewControllerWithIdentifier:@"FirstViewControllerScene"];
    _page1 = firstView.view;

    UIViewController * secondView = [mainStoryBoard instantiateViewControllerWithIdentifier:@"SecondViewControllerScene"];
    _page2 = secondView.view;

    _page1.frame = CGRectMake(0, 0, size.width, size.height);
    _page2.frame = CGRectMake(size.width, 0, size.width, size.height);

    [_scrollView addSubview:_page1];
    [_scrollView addSubview:_page2];
}

- (void)didReceiveMemoryWarning {
    [super didReceiveMemoryWarning];
    // Dispose of any resources that can be recreated.
}

#pragma mark - UIScrollView里的方法
- (void)scrollViewDidScroll:(UIScrollView *)scrollView {
    CGPoint offset = scrollView.contentOffset;
    CGSize size = [[UIScreen mainScreen] bounds].size;
    _pageControl.currentPage = offset.x / size.width;
}

#pragma mark - UIPageControl的响应时间

- (IBAction)onPageChanged:(id)sender {
    NSInteger index = _pageControl.currentPage;
    CGSize size = [[UIScreen mainScreen] bounds].size;
    _scrollView.contentOffset = CGPointMake(size.width * index, 0);
}

@end
五、相关参考


 20万+
20万+

 被折叠的 条评论
为什么被折叠?
被折叠的 条评论
为什么被折叠?
 到【灌水乐园】发言


