ImageView系列:设置图片圆角和圆形图片

效果图,如下:

使用NiceImageView,github地址:SheHuan/NiceImageView

在项目根目录下的build.gradle文件中,增加gradle地址:

allprojects {
    repositories {
        google()
        jcenter()
        maven { url "https://jitpack.io" } //增加这行
    }
}

在app的module下,build.gradle文件中,增加依赖:

implementation 'com.github.SheHuan:NiceImageView:1.0.5'

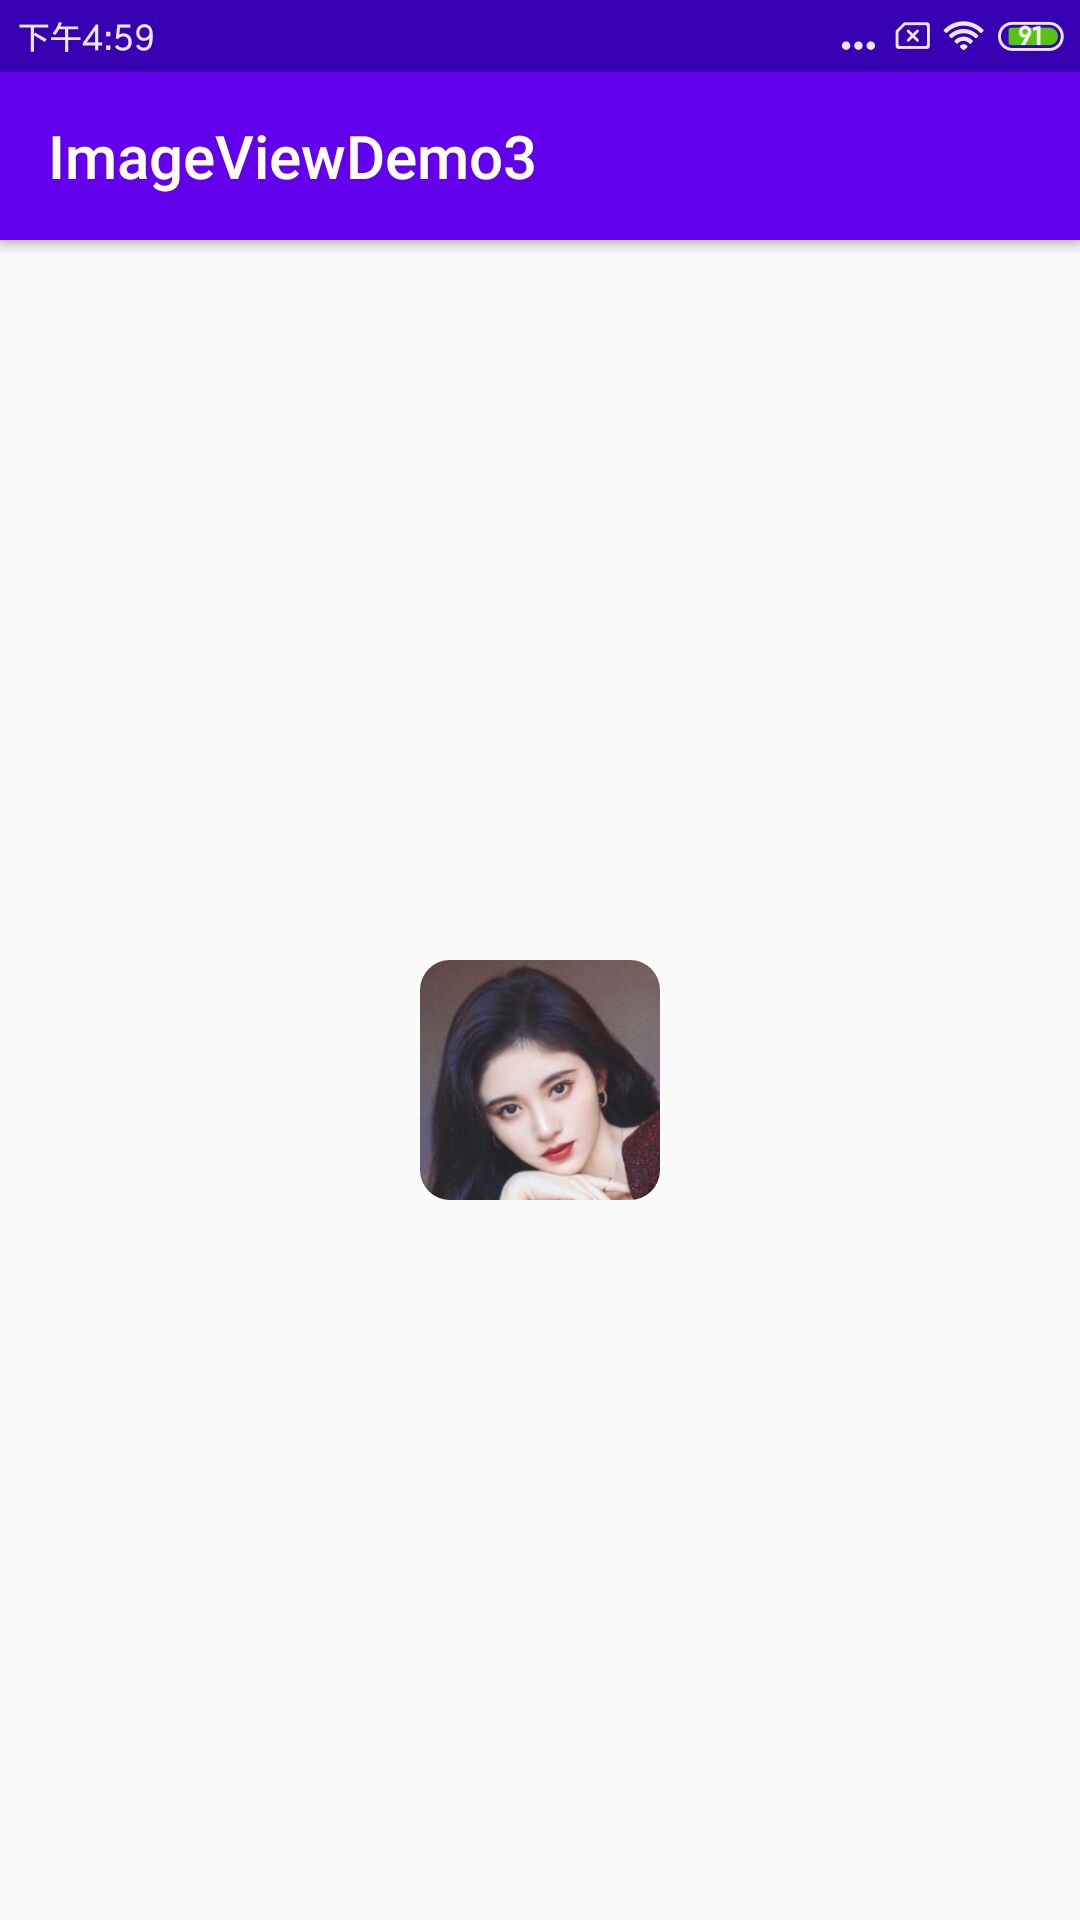
圆角效果,设置app:corner_radius="10dp"就好了,对应的布局文件:

<?xml version="1.0" encoding="utf-8"?>
<RelativeLayout xmlns:android="http://schemas.android.com/apk/res/android"
    xmlns:app="http://schemas.android.com/apk/res-auto"
    xmlns:tools="http://schemas.android.com/tools"
    android:layout_width="match_parent"
    android:layout_height="match_parent"
    tools:context=".MainActivity">

  <com.shehuan.niv.NiceImageView
      android:id="@+id/iv"
      android:layout_width="80dp"
      android:src="@drawable/ju"
      android:layout_height="80dp"
      android:layout_centerInParent="true"
      app:corner_radius="10dp"
      />

</RelativeLayout>

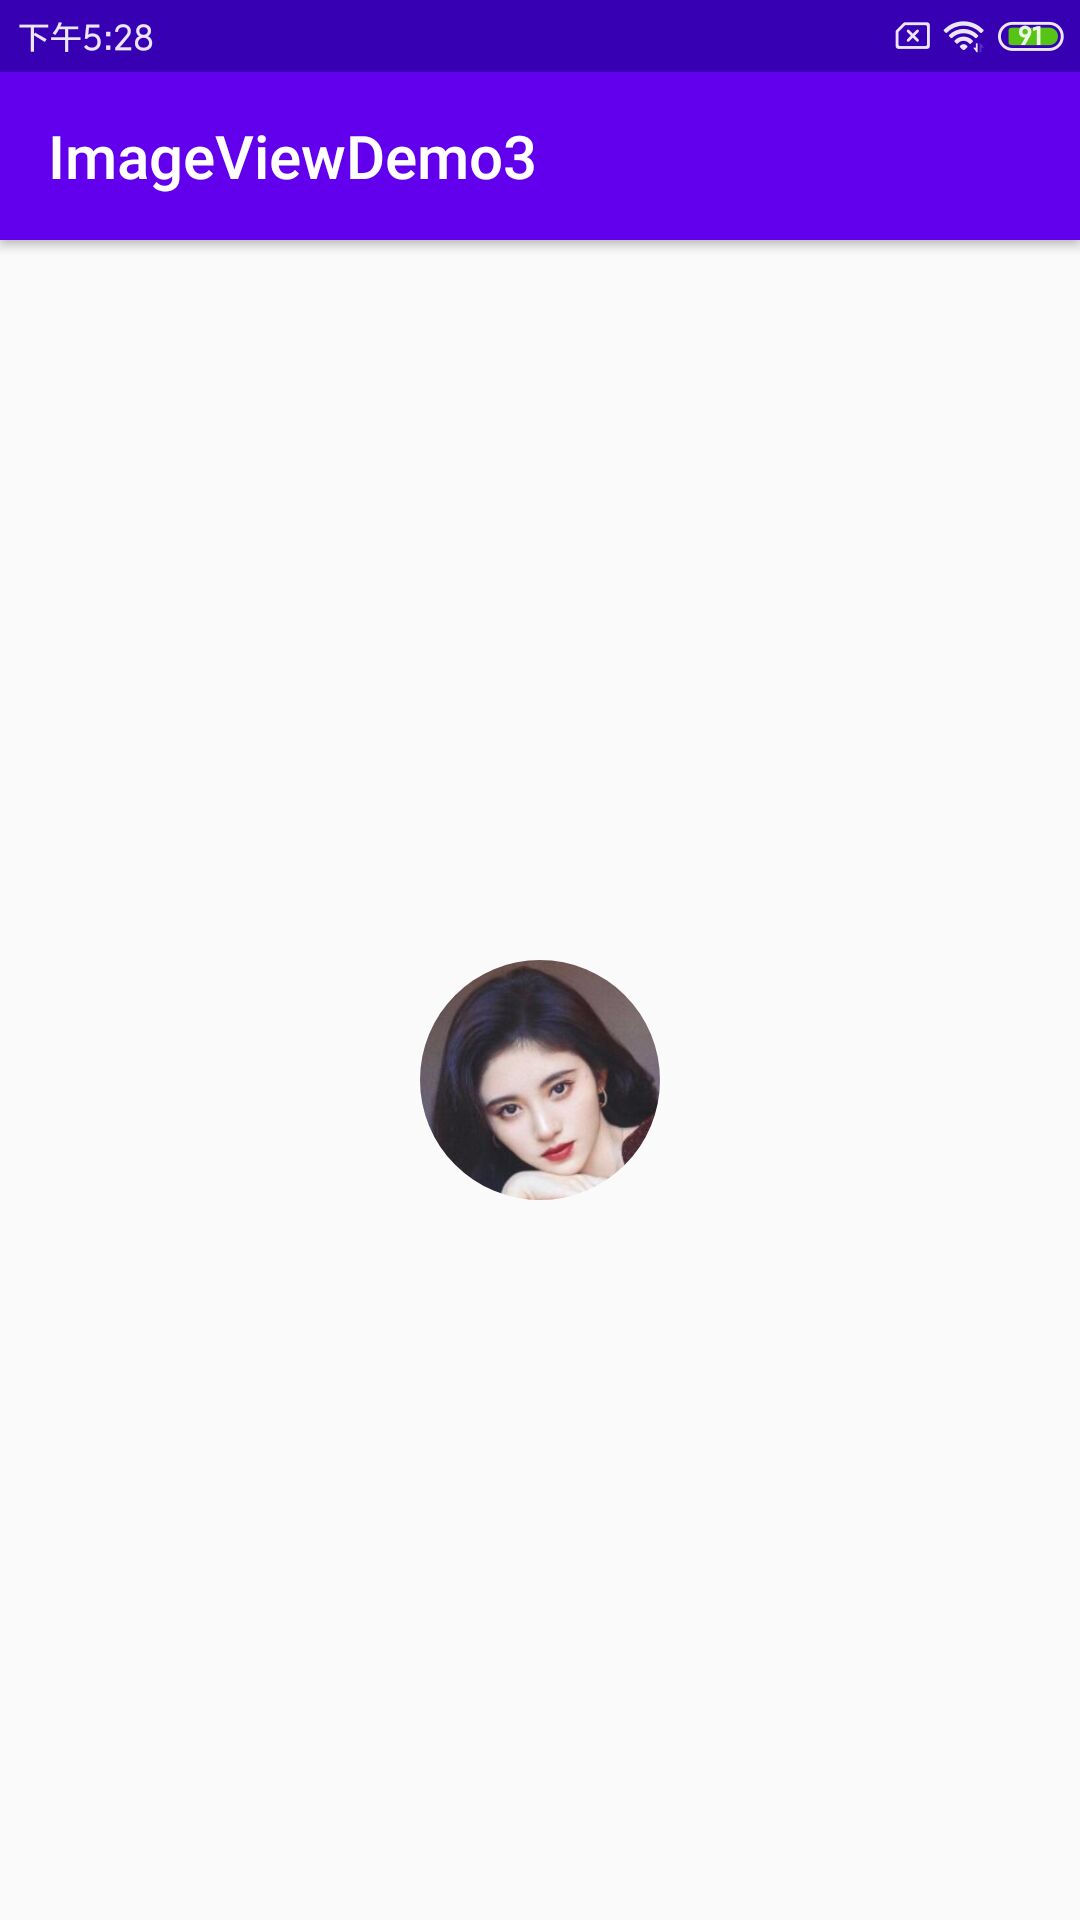
圆形图片,设置app:is_circle="true"就好,不需要设置app:corner_radius="10dp",对应的布局文件:

<?xml version="1.0" encoding="utf-8"?>
<RelativeLayout xmlns:android="http://schemas.android.com/apk/res/android"
    xmlns:app="http://schemas.android.com/apk/res-auto"
    xmlns:tools="http://schemas.android.com/tools"
    android:layout_width="match_parent"
    android:layout_height="match_parent"
    tools:context=".MainActivity">

  <com.shehuan.niv.NiceImageView
      android:id="@+id/iv"
      android:layout_width="80dp"
      android:layout_height="80dp"
      android:layout_centerInParent="true"
      android:src="@drawable/ju"
      app:is_circle="true" />

</RelativeLayout>

待研究的问题:具体是怎么实现圆角的?

  • 1
    点赞
  • 3
    收藏
    觉得还不错? 一键收藏
  • 3
    评论
要实现这个要求,你可以自定义一个继承自 ImageView 的类,并在其中重写 onMeasure 方法来控制 ImageView 的最大长度和高度。同时,在加载图片时,你可以根据图片的宽高比例来计算缩放比例,然后使用 Matrix 对图片进行缩放操作。 下面是一个示例代码: ```java public class CustomImageView extends ImageView { private int mMaxWidth; // 最大宽度 private int mMaxHeight; // 最大高度 public CustomImageView(Context context) { super(context); init(); } public CustomImageView(Context context, AttributeSet attrs) { super(context, attrs); init(); } public CustomImageView(Context context, AttributeSet attrs, int defStyleAttr) { super(context, attrs, defStyleAttr); init(); } private void init() { // 设置默认的最大宽度和高度 mMaxWidth = Integer.MAX_VALUE; mMaxHeight = Integer.MAX_VALUE; } @Override protected void onMeasure(int widthMeasureSpec, int heightMeasureSpec) { // 获取 ImageView 的测量模式和尺寸 int widthMode = MeasureSpec.getMode(widthMeasureSpec); int heightMode = MeasureSpec.getMode(heightMeasureSpec); int widthSize = MeasureSpec.getSize(widthMeasureSpec); int heightSize = MeasureSpec.getSize(heightMeasureSpec); // 计算根据最大宽度和高度得到的宽度和高度 int maxWidth = Math.min(widthSize, mMaxWidth); int maxHeight = Math.min(heightSize, mMaxHeight); int scaledWidth = widthSize; int scaledHeight = heightSize; // 根据图片的宽高比例计算缩放比例 Drawable drawable = getDrawable(); if (drawable != null) { int imageWidth = drawable.getIntrinsicWidth(); int imageHeight = drawable.getIntrinsicHeight(); float scale = Math.min((float) maxWidth / imageWidth, (float) maxHeight / imageHeight); scaledWidth = (int) (imageWidth * scale); scaledHeight = (int) (imageHeight * scale); } // 根据测量模式设置最终的宽度和高度 int finalWidth = (widthMode == MeasureSpec.EXACTLY) ? widthSize : scaledWidth; int finalHeight = (heightMode == MeasureSpec.EXACTLY) ? heightSize : scaledHeight; // 设置最终的宽度和高度 setMeasuredDimension(finalWidth, finalHeight); } public void setMaxSize(int maxWidth, int maxHeight) { mMaxWidth = maxWidth; mMaxHeight = maxHeight; } } ``` 你可以在布局文件中使用这个自定义的 ImageView,然后通过调用 `setMaxSize()` 方法来设置最大宽度和高度。当加载图片时,ImageView 会按照比例缩放图片来适应最大的宽度和高度限制。

“相关推荐”对你有帮助么?

  • 非常没帮助
  • 没帮助
  • 一般
  • 有帮助
  • 非常有帮助
提交
评论 3
添加红包

请填写红包祝福语或标题

红包个数最小为10个

红包金额最低5元

当前余额3.43前往充值 >
需支付:10.00
成就一亿技术人!
领取后你会自动成为博主和红包主的粉丝 规则
hope_wisdom
发出的红包
实付
使用余额支付
点击重新获取
扫码支付
钱包余额 0

抵扣说明:

1.余额是钱包充值的虚拟货币,按照1:1的比例进行支付金额的抵扣。
2.余额无法直接购买下载,可以购买VIP、付费专栏及课程。

余额充值