


- 下载elasticsearch
https://www.elastic.co/cn/downloads/elasticsearch - 创建文件目录并解压
mkdir elasticsearch
chmod 777 elasticsearch
tar -zxvf elasticsearch-8.11.3-linux-x86_64.tar.gz - 创建启动用户并设置文件夹归属
useradd es
passwd es
chown -R es:es /pwrd/elasticsearch/elasticsearch-8.11.3 - 修改配置文件elasticsearch.yml
cluster.name: my-application
node.name: node-1
network.host: 0.0.0.0
http.port: 9200
cluster.initial_master_nodes: [“node-1”]
xpack.security.enabled: false
xpack.security.http.ssl:
enabled: false
keystore.path: certs/http.p12 - 修改虚拟机配置文件
1./etc/security/limits.conf
es soft nofile 65536
es hard nofile 65536
2./etc/security/limits.d/20-nproc.conf
es soft nofile 65536
es hard nofile 65536
/* hard nproc 4096(前面/去掉只有*,*在csdn是特殊符号)
3./etc/sysctl.conf
vm.max_map_count=655360
4.重新加载
sysctl -p - 重新启动
su es
cd /pwrd/elasticsearch/elasticsearch-8.11.3/bin
./elasticsearch - 查看是否启动
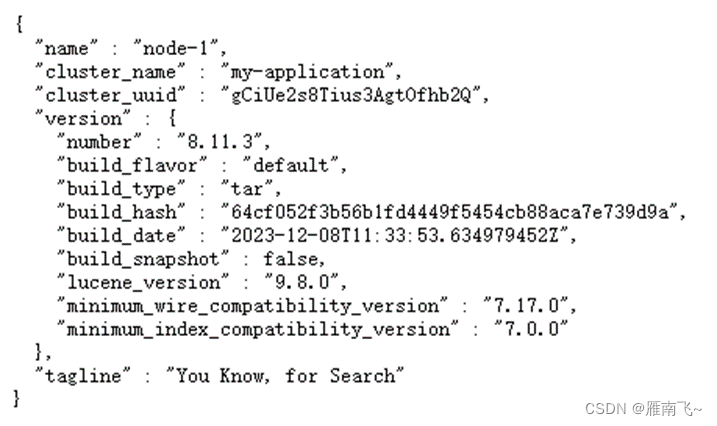
ps -ef|grep elastic - 访问IP+9200显示如下则安装成功
centos7源码安装elasticsearch
于 2023-12-18 17:55:42 首次发布
 本文详细介绍了如何从官网下载并安装Elasticsearch8.11.3版本,包括创建文件目录、解压、设置权限、配置文件(如集群名、节点设置、安全选项等)、调整虚拟机资源限制以及重启服务的过程,确保了成功安装并能通过IP访问。


 1107
1107

 被折叠的 条评论
为什么被折叠?
被折叠的 条评论
为什么被折叠?
 到【灌水乐园】发言


