Grid Spacing on Android
英文原文:Grid Spacing on Android
作者:Cyril Mottier
大多数的用户界面(包括手机和网络)都是基于网格(Grid)的概念,在设计UI时利用网格的原理有助于排版界面元素,带来一致性,使代码更干净,保证用户更容易理解UI内容等。总而言之,网格是一种功能极其强大的设计工具。
使用网格概念通常需要开发者在元素之间添加一些额外的padding/margin/spacing(选择适合你的名字)。事实上,在元素之间添加空隙有助于保持元素块之间清晰的距离,同时可以将你的UI界面的可读性维持在一个较高的水平。所有的Android开发者对这些概念都比较熟悉,并且大多数情况下都是在Views上使用padding/margin等框架特性来解决。为了清晰地与UI逻辑隔离开,通常情况下这些都是在XML定义中完成。当UI是静态的时候这些工作十分简单,但它很难管理动态的UI元素,例如根据需求UI元素动态显示/隐藏的时候。本文将针对更好地管理动态网格UI元素给出一些提示和窍门。
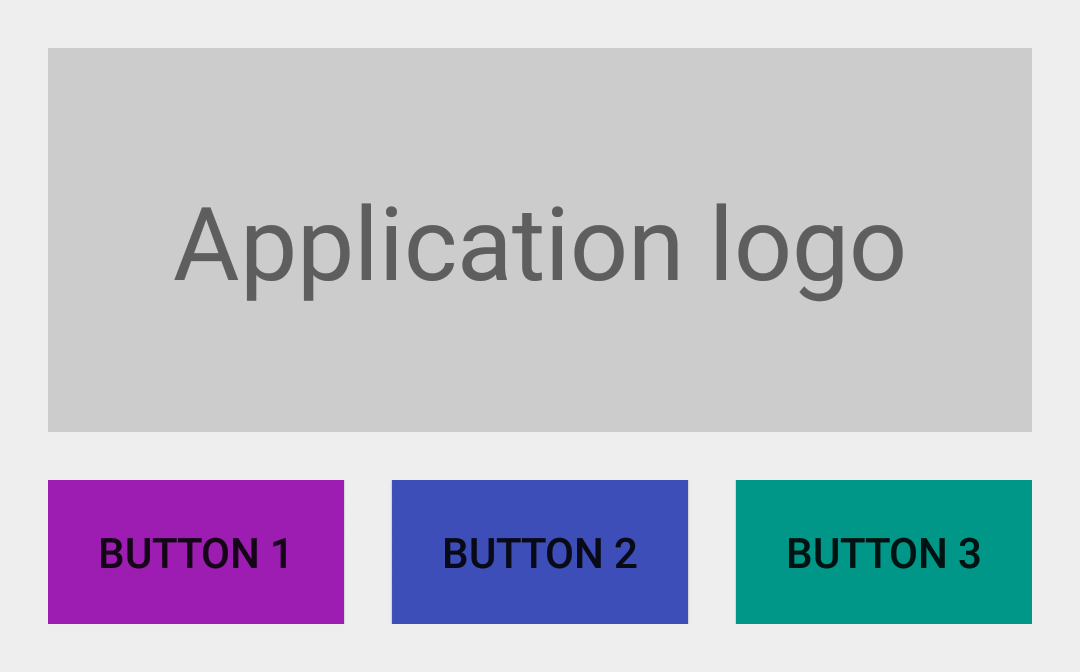
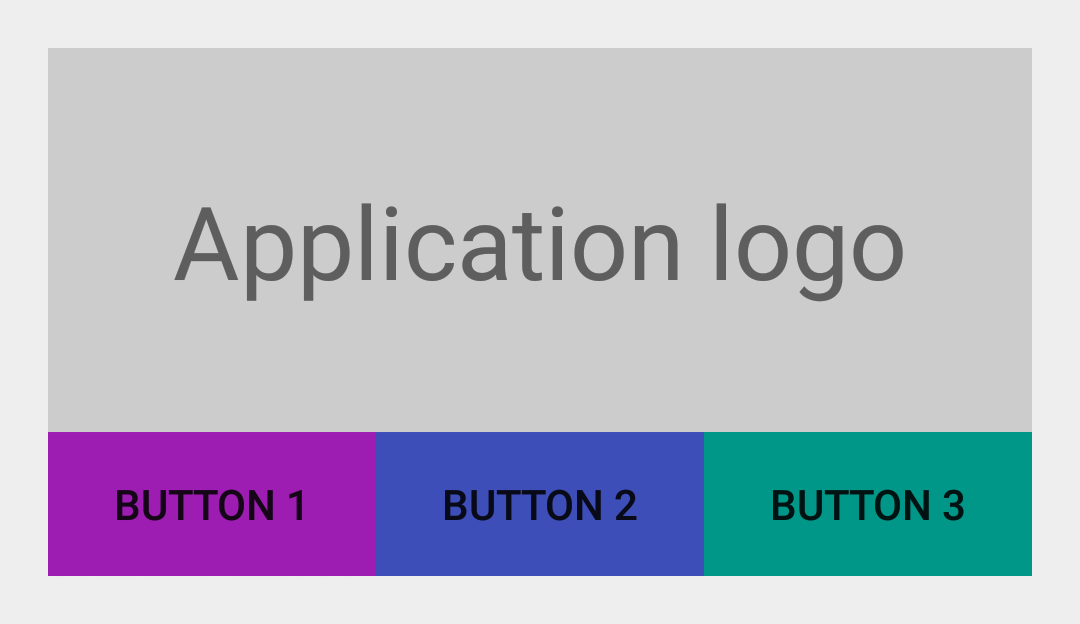
接下来让我们创建一个简单的布局文件作为示例。我们在一个静态的View(例如应用的Logo图片)下创建由三个Button组成的水平布局。如下图所示:
<LinearLayout xmlns:android="http://schemas.android.com/apk/res/android"
    android:layout_width="match_parent"
    android:layout_height="wrap_content"
    android:orientation="vertical"
    android:padding="@dimen/spacing_medium">

    <TextView
        android:layout_width="match_parent"
        android:layout_height="128dp"
        android:background="@color/light_gray"
        android:gravity="center"
        android:text="@string/application_logo"
        android:textAppearance="@android:style/TextAppearance.Material.Display1" />

    <LinearLayout
        android:id="@+id/buttons_container"
        android:layout_width="match_parent"
        android:layout_height="wrap_content"
        android:orientation="horizontal">

        <Button
            android:id="@+id/btn_first"
            android:layout_width="0dp"
            android:layout_height="wrap_content"
            android:layout_weight="1"
            android:background="@drawable/purple"
            android:text="@string/button_1" />

        <Button
            android:id="@+id/btn_second"
            android:layout_width="0dp"
            android:layout_height="wrap_content"
            android:layout_weight="1"
            android:background="@drawable/indigo"
            android:text="@string/button_2" />

        <Button
            android:id="@+id/btn_third"
            android:layout_width="0dp"
            android:layout_height="wrap_content"
            android:layout_weight="1"
            android:background="@drawable/teal"
            android:text="@string/button_3" />

    </LinearLayout>

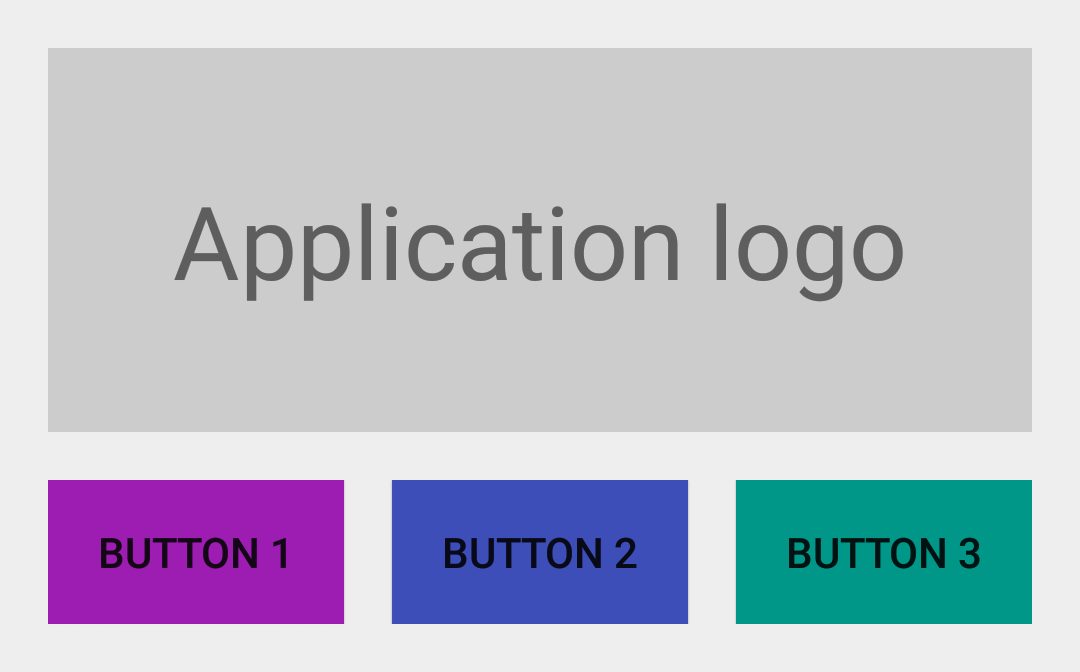
</LinearLayout>上图所示的用户界面很显然是依赖于网格的概念。然而,它严重缺乏元素之间的空隙使用户能清晰地区分UI中各独立的元素。让我们简单地给id是@id/buttons_container的LinearyLayout添加android:layout_marginTop="@dimen/spacing_medium",然后给id是@id/btn_first和@id/btn_second的两个Button添加android:layout_marginRight="@dimen/spacing_medium":

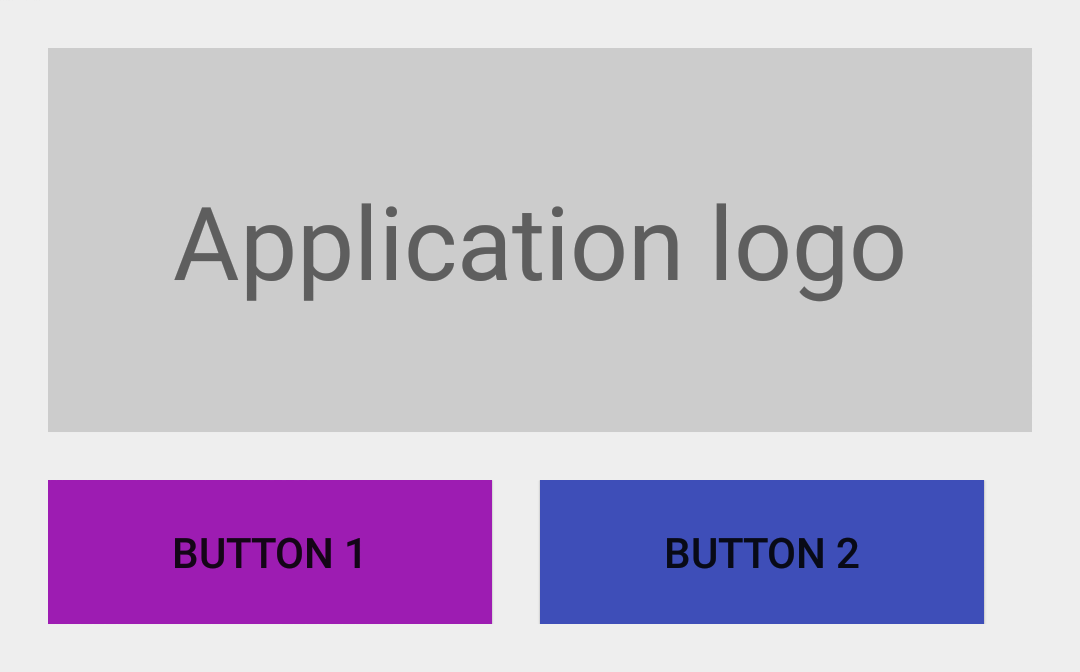
上图所示的UI看起来非常棒了:它们看起来很不错,而且拥有可读性等。不幸的是,当动态隐藏布局中的某些View时事情开始变地有点糟糕。的确,让我们想像一下,激活@id/btn_third按钮需要的一些功能在设备上不可用(例如Google Play Services)。为了不使UI变地混乱最好的方式是改变第三个Button的可见性为View.GONE:
跟期望中的一样,@id/btn_third现在不再显示了,但按钮@id/btn_second右边界不再与应用Logo的右边对齐了。这个问题的主要原因是开始设定中的margin技术仍然有效:每个在右/上拥有邻居的View都有右/上的margin。隐藏区域中的一些View与这个约束相悖。
要处理这个问题,一个很明显的办法是在java代码中手动改变元素的margin值。值得说的是这是个很糟糕的解决方案;另外一个方式就是利用自动处理元素间距的布局。例如,GridLayout就是其中一个。不幸的是,这个布局用起来让人很讨厌,并且不允许你指定特定的元素间距(只能使用默认margin)。
实际上,LinearLayout已经管理元素之间的间距概念,这个特性很不为人知地隐藏在框架之中,但它像魔法一样优美。这个技巧就是使用固定width/height的Drawable作为LinearLayout中元素的分隔符:
<?xml version="1.0" encoding="utf-8"?>
<shape xmlns:android="http://schemas.android.com/apk/res/android"
    android:shape="rectangle">

    <size
        android:width="@dimen/spacing_medium"
        android:height="@dimen/spacing_medium" />

    <solid android:color="@android:color/transparent" />

</shape>现在你可以设置新创建的Drawable作为LinearyLayout的分隔符使内部元素之间产生间隔区:
<LinearLayout xmlns:android="http://schemas.android.com/apk/res/android"
    android:layout_width="match_parent"
    android:layout_height="wrap_content"
    android:divider="@drawable/spacer_medium"
    android:orientation="vertical"
    android:padding="@dimen/spacing_medium"
    android:showDividers="middle">

    <!-- TextView -->

    <LinearLayout
        android:id="@+id/buttons_container"
        android:layout_width="match_parent"
        android:layout_height="wrap_content"
        android:divider="@drawable/spacer_medium"
        android:orientation="horizontal"
        android:showDividers="middle">

        <!-- Buttons -->

    </LinearLayout>

</LinearLayout>Android框架包含一些有用的特性,可以超出预期地完成不同的目的。Drawable概念通常就就是这些技巧中的一部分。确保你完全理解了Drawbale的概念,它有时会帮助你简化代码。


 323
323

 被折叠的 条评论
为什么被折叠?


