


这段代码是一个用于图像识别的脚本,它使用HALCON软件的命令和函数来实现对图像中的对象进行训练和识别。
dev_update_off ()
*
- Set DoTraining to true to force a new training
DoTraining := false - Get the image file names, the object names and IDs
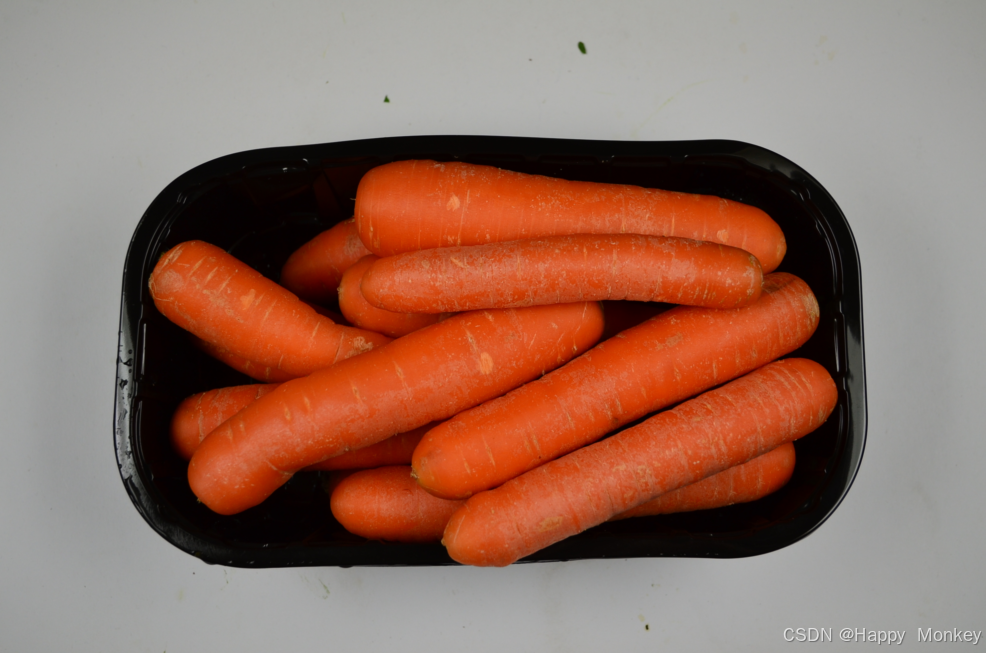
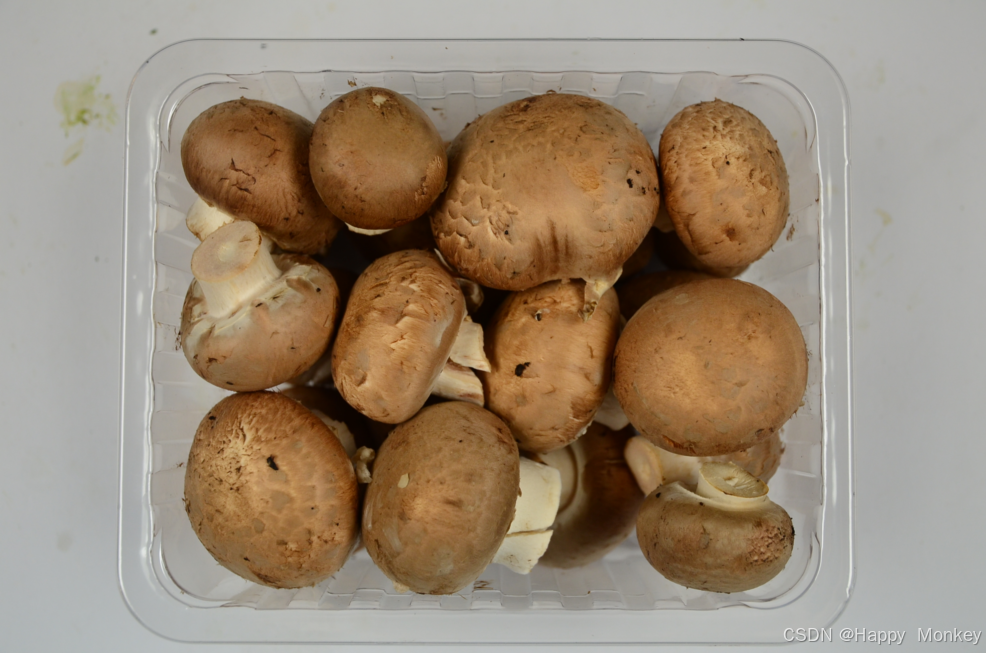
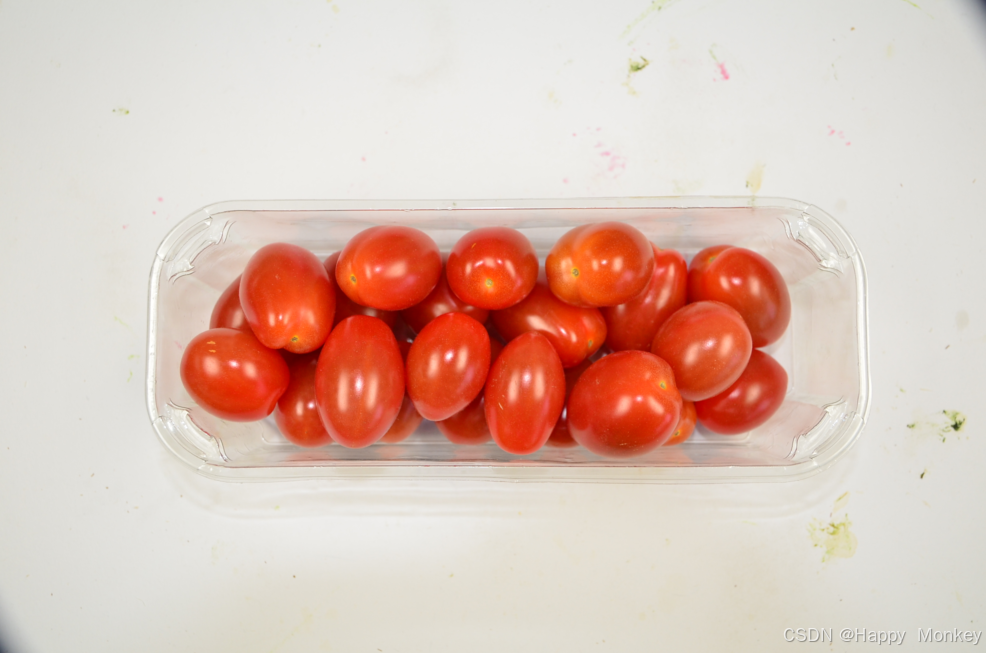
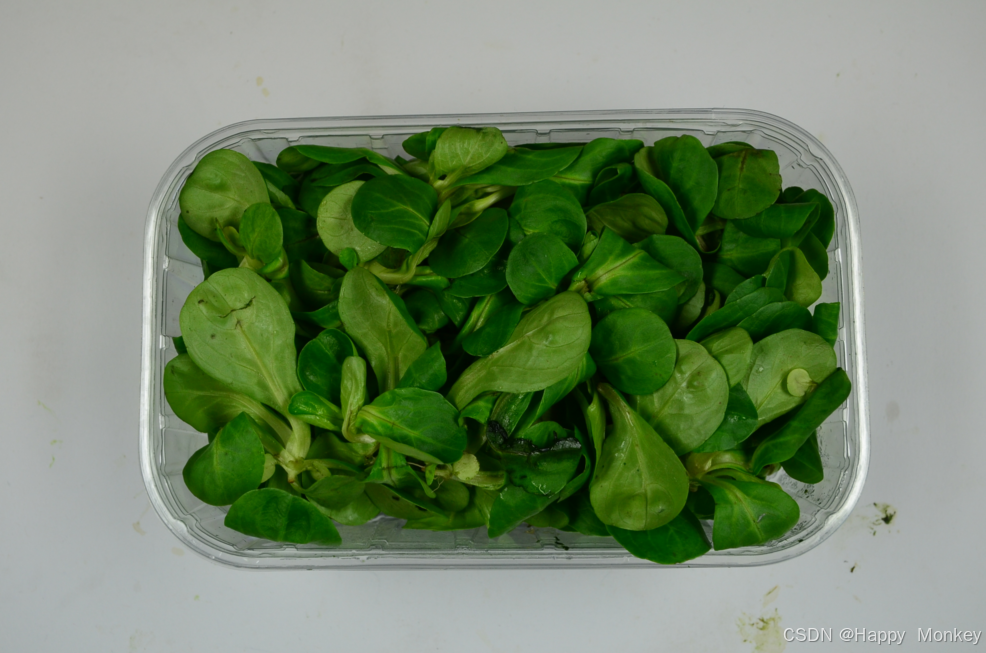
ImageDirectory := ‘food/vegetables’
IdentifierFileName := ‘vegetables.sid’
get_object_images (ImageDirectory, ObjectNames, ObjectIDs, ImageFileNames, TrainingObjectNames, TrainingObjectIDs, TrainingImageFileNames)
read_image (Image, TrainingImageFileNames[0])
dev_close_window ()
dev_open_window_fit_image (Image, 0, 0, -1, -1, WindowHandle)
set_display_font (WindowHandle, 14, ‘mono’, ‘true’, ‘false’)
*
file_exists (IdentifierFileName, FileExists)
if (FileExists and not DoTraining)
disp_message (WindowHandle, ‘Read the trained sample identifier …’, ‘window’, 12, 12, ‘black’, ‘true’)
read_sample_identifier (IdentifierFileName, SampleIdentifier)
else
disp_message (WindowHandle, ‘Create, prepare and train a new sample identifier’, ‘window’, 12, 12, ‘black’, ‘true’)
disp_continue_message (WindowHandle, ‘black’, ‘true’)
stop ()
* If the trained sample identifier is not available yet we create
* a new sample identifier. Because we have color images available
* we want to use the color in addition to the texture information
* for identification.
create_sample_identifier (‘add_color_info’, ‘true’, SampleIdentifier)
* To robustly identify the vegetables it is sufficient to use an
* internal image size of 0.1 megapixels. This speeds up the
* application.
set_sample_identifier_param (SampleIdentifier, ‘image_resize_value’, 0.1)
* Prepare the sample identifier by adding some representive sample
* images that show the different types of objects. For this,
* we simply use the training images.
for Index := 0 to |TrainingImageFileNames| - 1 by 1
read_image (Image, TrainingImageFileNames[Index])
dev_display (Image)
disp_message (WindowHandle, ‘Add a sample of ’ + TrainingObjectNames[Index], ‘window’, 12, 12, ‘black’, ‘true’)
* Add the current image as preparation data. Because we know
* the object ID, we can use it in order to label the preparation
* data. Thus, we can later reuse it for training and do not need to
* add additional training data.
add_sample_identifier_preparation_data (Image, SampleIdentifier, TrainingObjectIDs[Index], [], [], ObjectSampleIdx)
* Optionally add the object name to the sample identifier for
* convinience reasons.
set_sample_identifier_object_info (SampleIdentifier, TrainingObjectIDs[Index], ‘preparation_object_name’, TrainingObjectNames[Index])
endfor
* Now, we can prepare the identifier
dev_clear_window ()
disp_message (WindowHandle, [‘Prepare and train the sample identifier’,’(this might take some seconds)'], ‘window’, 12, 12, ‘black’, ‘true’)
prepare_sample_identifier (SampleIdentifier, ‘true’, [], [])
* Use the preparation data to train the identifier
train_sample_identifier (SampleIdentifier, [], [])
* Write the trained identifier to disk
write_sample_identifier (SampleIdentifier, IdentifierFileName)
endif
disp_continue_message (WindowHandle, ‘black’, ‘true’)
stop ()
*
- Identify new objects
Errors := 0
RandomIndices := sort_index(rand(|ImageFileNames|)) - Choose how many images should be tested
NumTests := 50 - Use the following line to test all images
- NumTests := |RandomIndices|
for I := 1 to min([NumTests,|RandomIndices|]) by 1- Randomly select a run-time image
Index := RandomIndices[I - 1]
ImageFileName := ImageFileNames[Index]
ObjectID := ObjectIDs[Index]
ObjectName := ObjectNames[Index]
read_image (Image, ImageFileName) - Apply the sample identifier to identify the new objects
apply_sample_identifier (Image, SampleIdentifier, 1, 0, [], [], ObjectIdx, Rating) - Get the name of the identified object for visualization purposes
get_sample_identifier_object_info (SampleIdentifier, ObjectIdx, ‘training_object_name’, ResultObjectName)
if (ObjectIdx != ObjectID)- Use red color for incorrect identifications
Color := ‘red’
Errors := Errors + 1
else
Color := ‘forest green’
endif
dev_display (Image)
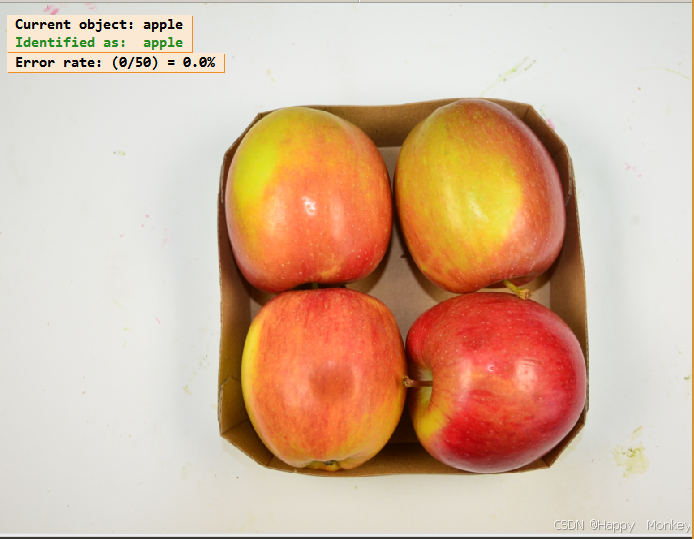
disp_message (WindowHandle, 'Current object: ’ + ObjectName, ‘window’, 12, 12, ‘black’, ‘true’)
disp_message (WindowHandle, ‘Identified as: ’ + ResultObjectName, ‘window’, 30, 12, Color, ‘true’)
disp_message (WindowHandle, ‘Error rate: (’ + Errors + ‘/’ + I + ‘) = ’ + (100.0 * Errors / I)$’.1f’ + ‘%’, ‘window’, 50, 12, ‘black’, ‘true’)
endfor
- Use red color for incorrect identifications
- Randomly select a run-time image
- Clear the sample identifier
clear_sample_identifier (SampleIdentifier)
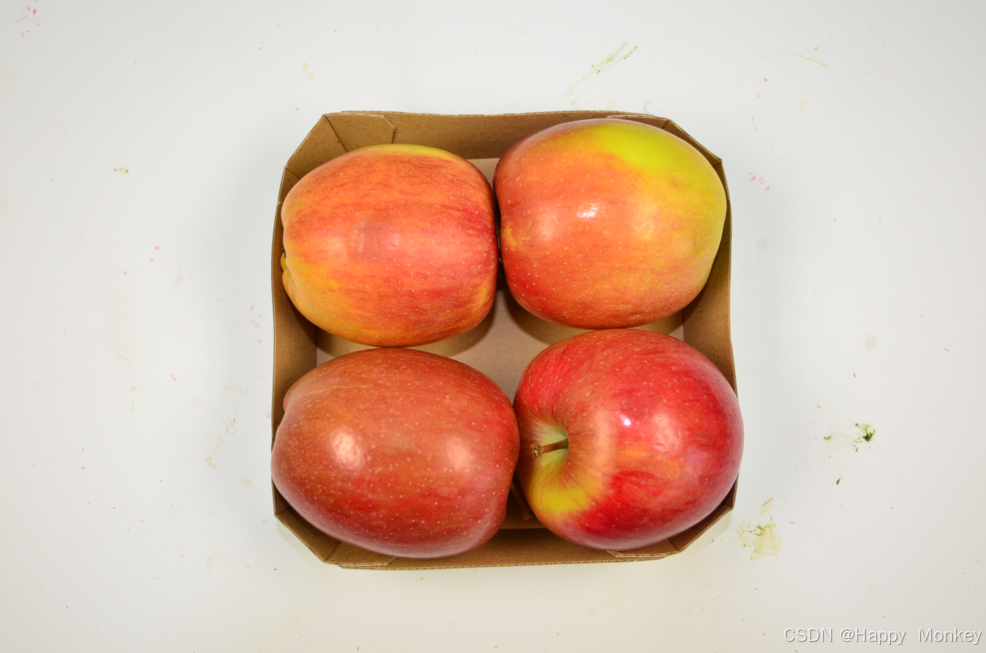
apple_1.png
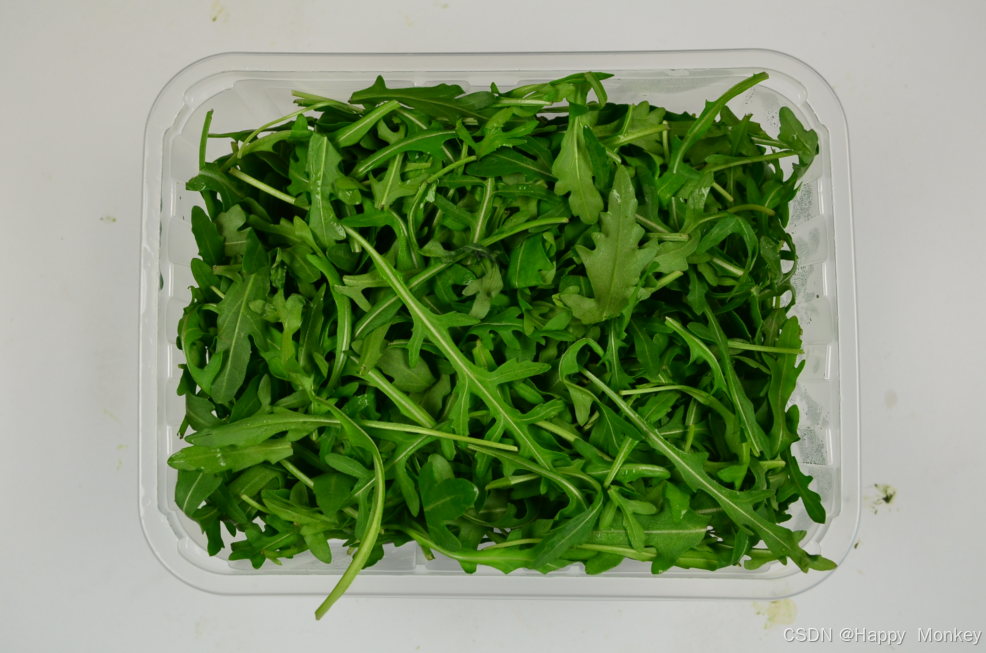
arugula_1.png
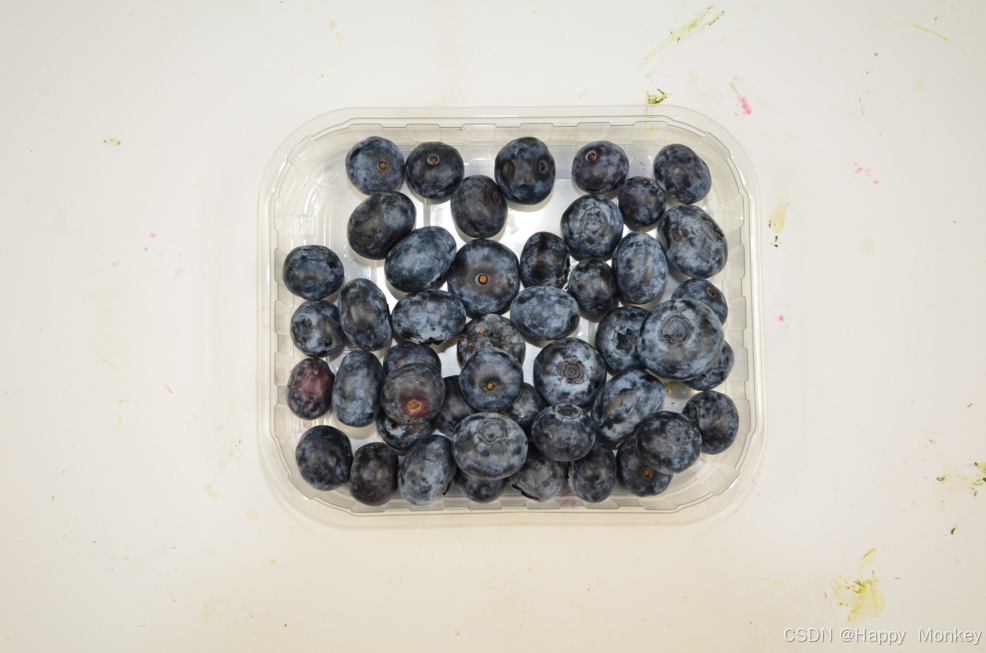
blueberry_1.png
bonbon_tomato_1.png
carrot_1.png
champignon_1.png
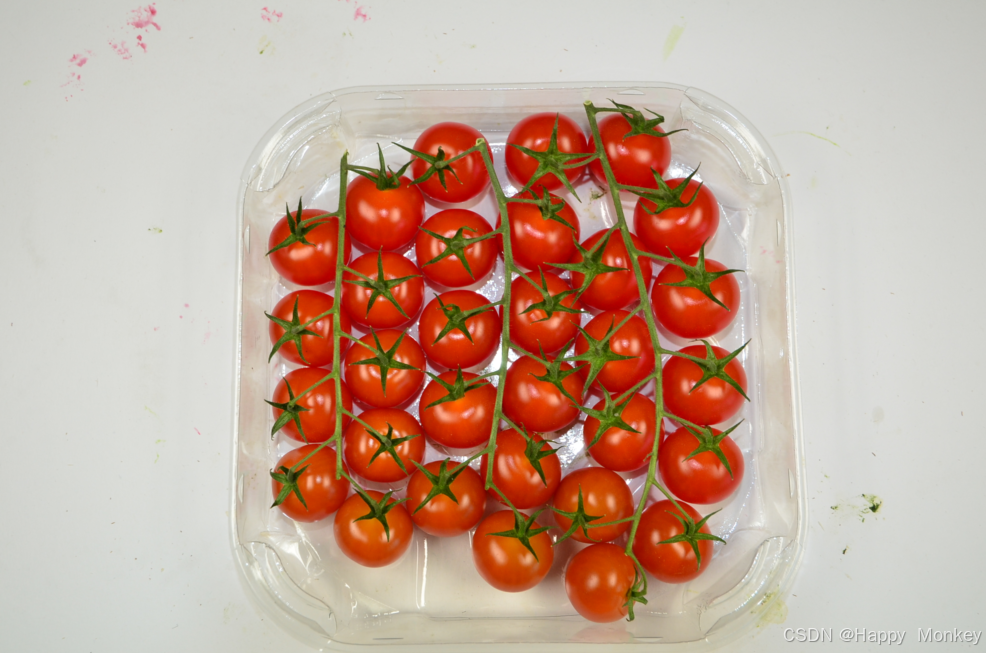
cocktail_tomatoes_1.png
corn_salad_1.png
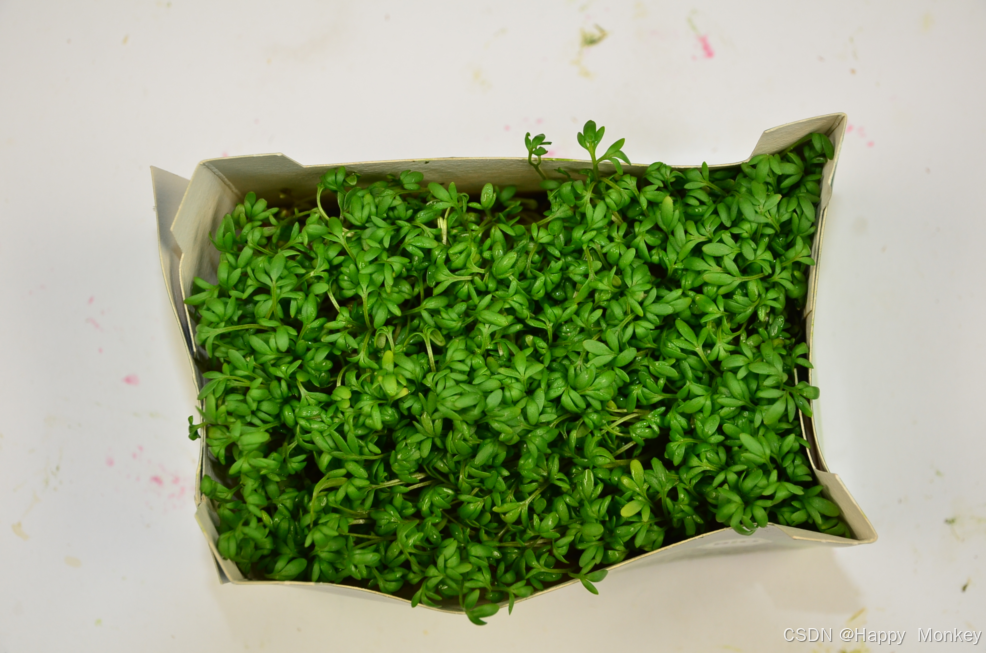
cress_1.png
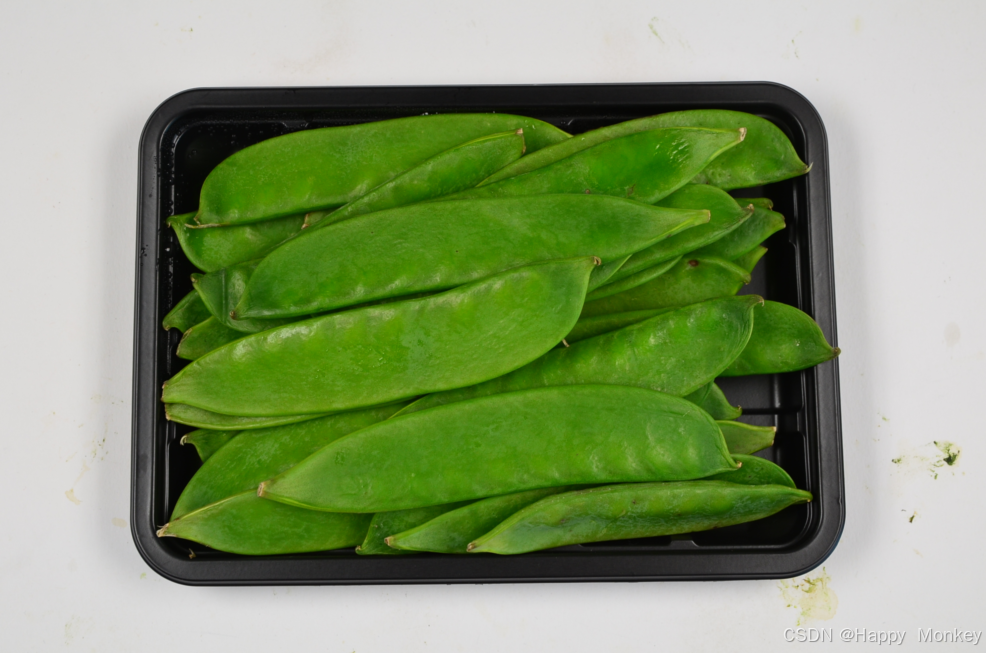
mangetout_1.png
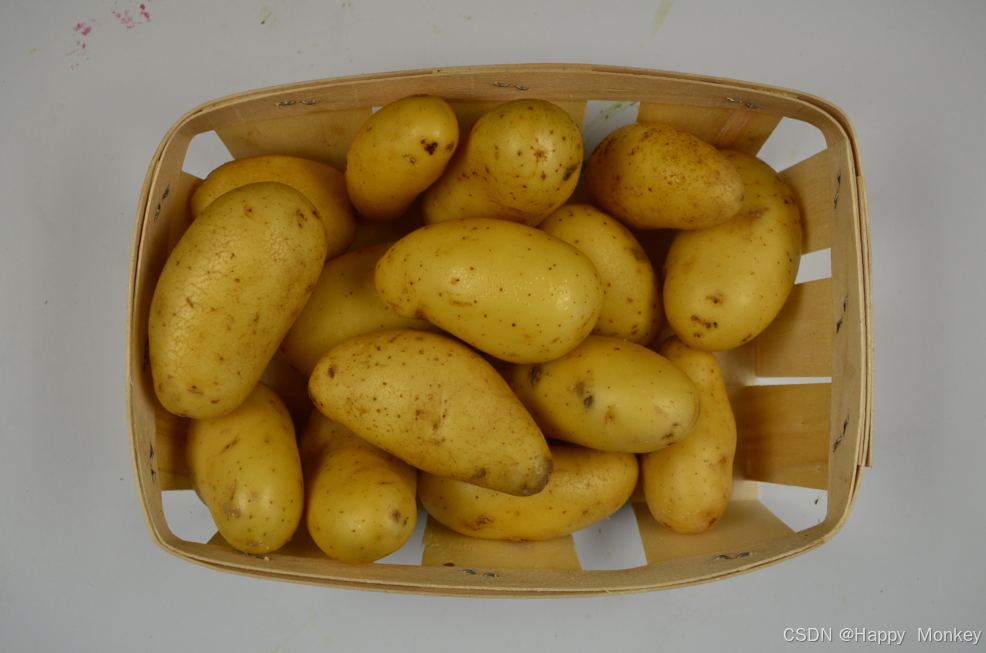
potato_1.png
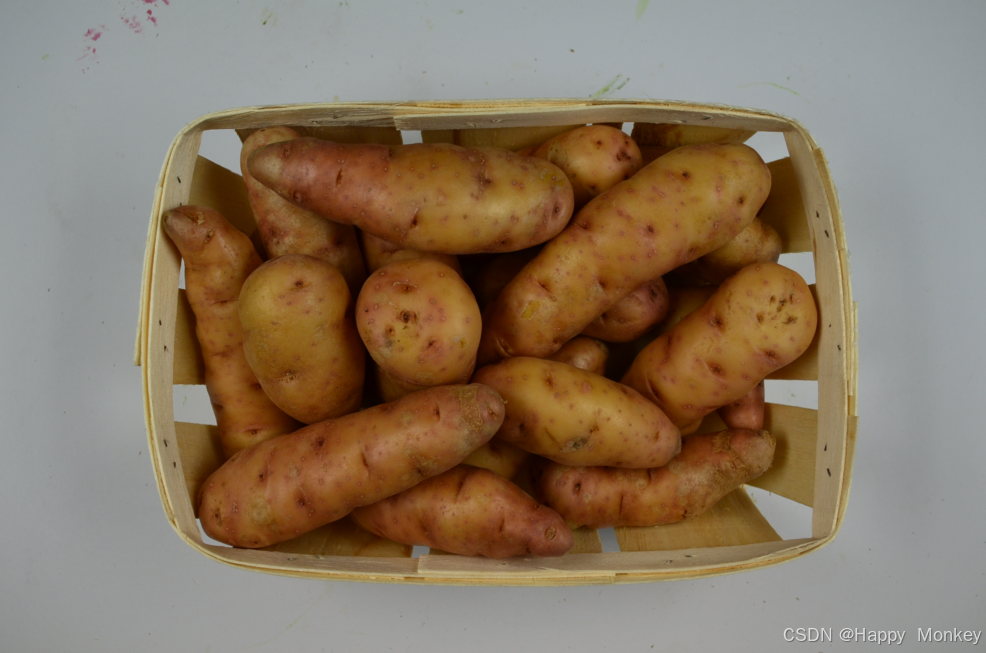
potato_sweet_1.png
raspberry_1.png
strawberry_1.png
程序运行结果如下:
以下是代码的详细解释:
dev_update_off():关闭设备更新,以避免在处理图像时刷新显示窗口。
DoTraining := false:设置一个变量DoTraining,用于控制是否进行训练。这里设置为false,表示默认不进行训练。
ImageDirectory、IdentifierFileName:定义图像目录和样本标识符文件名。
get_object_images():获取图像文件名、对象名称和ID。
read_image()、dev_open_window_fit_image()、set_display_font():读取图像,打开窗口并设置显示字体。
file_exists():检查样本标识符文件是否存在。
如果样本标识符文件存在且DoTraining为false,则读取训练好的样本标识符;否则,创建新的样本标识符并进行训练。
create_sample_identifier():创建样本标识符,可以选择是否添加颜色信息。
set_sample_identifier_param():设置样本标识符参数,如内部图像大小。
add_sample_identifier_preparation_data():向样本标识符添加准备数据,即训练图像。
set_sample_identifier_object_info():为样本标识符设置对象信息,如对象名称。
prepare_sample_identifier()、train_sample_identifier():准备和训练样本标识符。
write_sample_identifier():将训练好的样本标识符写入文件。
clear_sample_identifier():清除样本标识符。
识别新对象的过程:
随机选择测试图像。
使用样本标识符对新对象进行识别。
根据识别结果,显示识别正确或错误的信息,并计算错误率。
整个脚本的流程是:首先检查是否存在已训练的样本标识符,如果不存在,则创建并训练新的样本标识符。然后,使用训练好的样本标识符对新图像进行识别,并显示识别结果和错误率。最后,清除样本标识符以释放资源。


 2257
2257

 被折叠的 条评论
为什么被折叠?
被折叠的 条评论
为什么被折叠?
 到【灌水乐园】发言


