


inflate(int resource, ViewGroup root, boolean attachToRoot) 中,第三个参数是一个Bool值。
我们通过实验得出第三个参数的作用,如下:
layout/main.xml
<?xml version="1.0" encoding="utf-8"?>
<LinearLayout xmlns:android="http://schemas.android.com/apk/res/android"
android:layout_width="fill_parent"
android:layout_height="fill_parent"
android:orientation="vertical" >
<TextView
android:layout_width="fill_parent"
android:layout_height="wrap_content"
android:text="@string/hello" />
<FrameLayout
android:id="@+id/test"
android:layout_width="match_parent"
android:layout_height="wrap_content"></FrameLayout>
</LinearLayout>
layout/custom.xml
<?xml version="1.0" encoding="utf-8"?>
<LinearLayout xmlns:android="http://schemas.android.com/apk/res/android"
android:layout_width="match_parent"
android:layout_height="match_parent"
android:orientation="vertical" >
<CheckBox
android:id="@+id/checkBox1"
android:layout_width="wrap_content"
android:layout_height="wrap_content"
android:text="CheckBox" />
</LinearLayout>
Activity 中的部分代码如下:
setContentView(R.layout.main);
ViewGroup vg = (ViewGroup) findViewById(R.id.test);
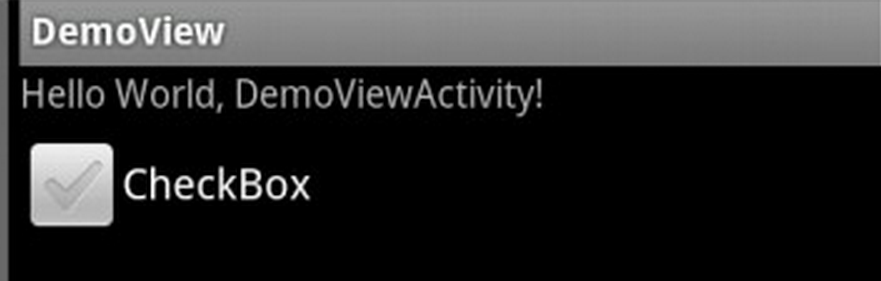
View view = LayoutInflater.from(this).inflate(R.layout.custom, vg);
效果图如下:
将Activity 中view的代码改为如下:
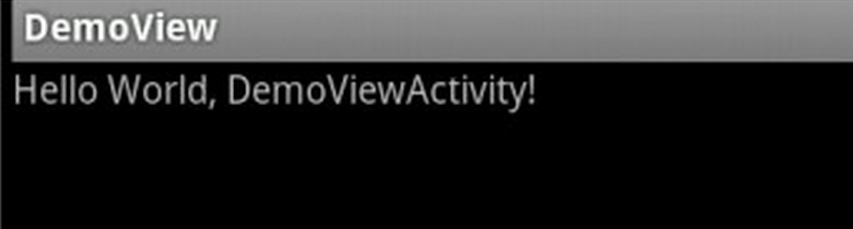
View view = LayoutInflater.from(this).inflate(R.layout.custom, vg, false);
效果图如下:
将Activity 中view的代码改为如下:
ViewGroup vg = (ViewGroup) findViewById(R.id.test);
View view = LayoutInflater.from(this).inflate(R.layout.custom, vg, false);
vg.addView(view);
效果图如下,checkBox又出现了


 1215
1215

 被折叠的 条评论
为什么被折叠?
被折叠的 条评论
为什么被折叠?
 到【灌水乐园】发言


