


 本文档详细介绍了如何在Linux CentOS 7环境下批量更新戴尔IDRAC固件。首先,通过官网下载racadm工具和固件文件,然后使用racadm命令进行单台服务器的固件更新。接着,编写shell脚本批量设置IPMI和更新固件,通过ipmitool验证BMC账号,并使用FTP服务器分发固件。最后,执行批量升级脚本完成所有服务器的IDRAC固件更新。
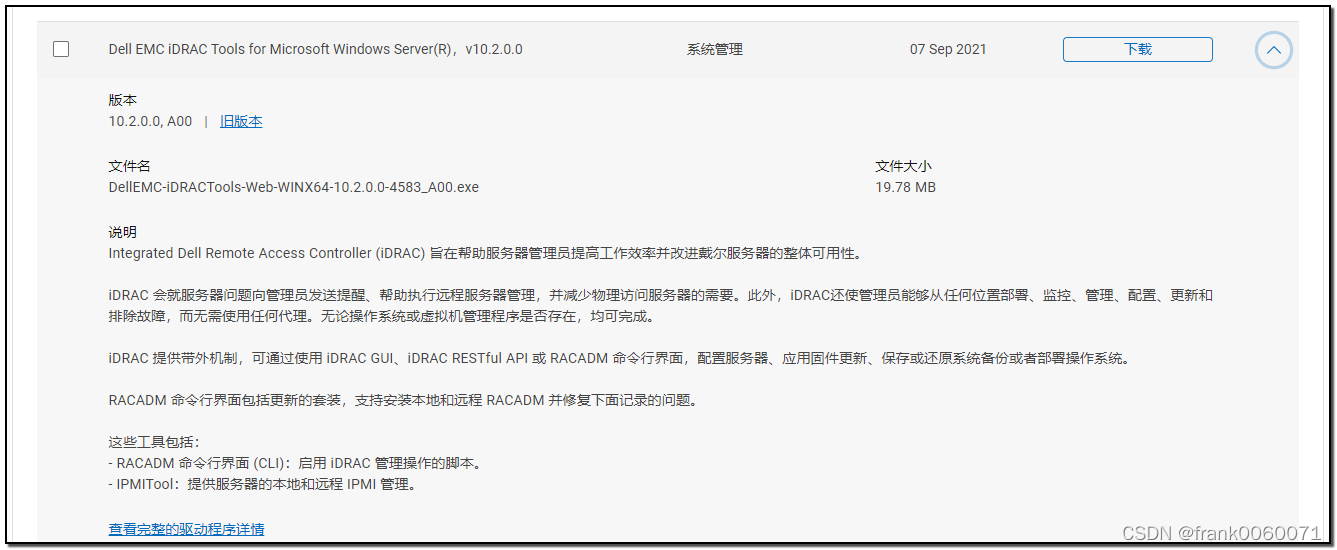
下载racadm 工具 如下:
尝试获取racadm 下载信息

racadm -r 192.168.0.0 -u root -p xxxx getsysinfo
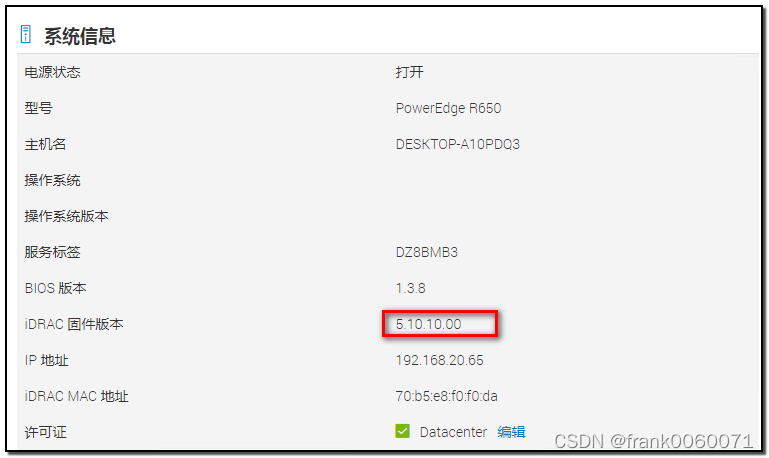
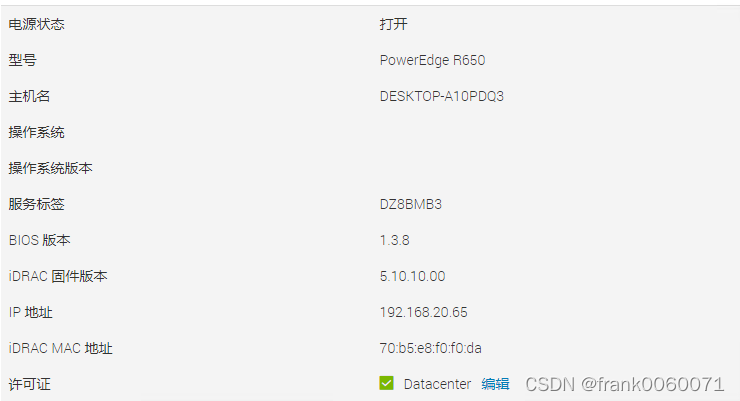
>racadm.exe -r 192.168.20.65 -u root -p calvin getsysinfo
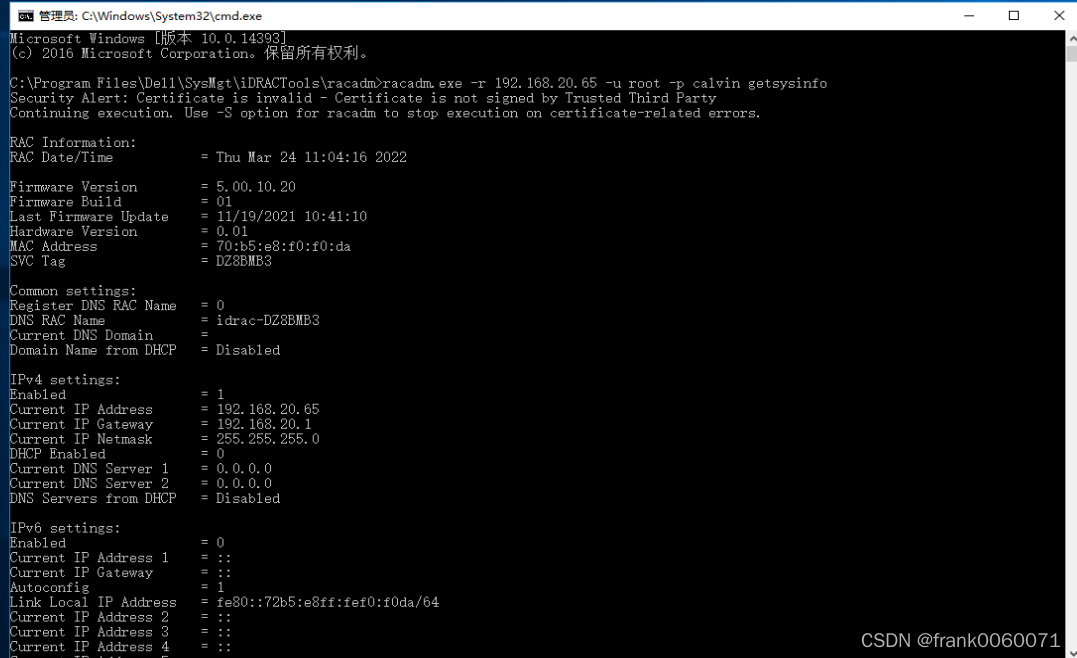
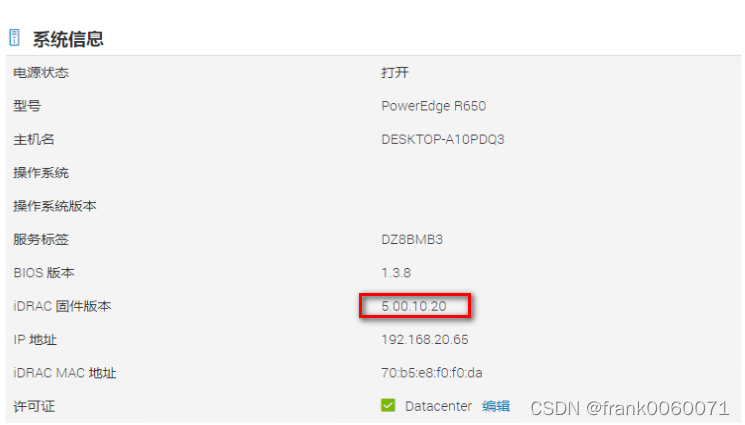
R650 idrac版本是5.00.10.20
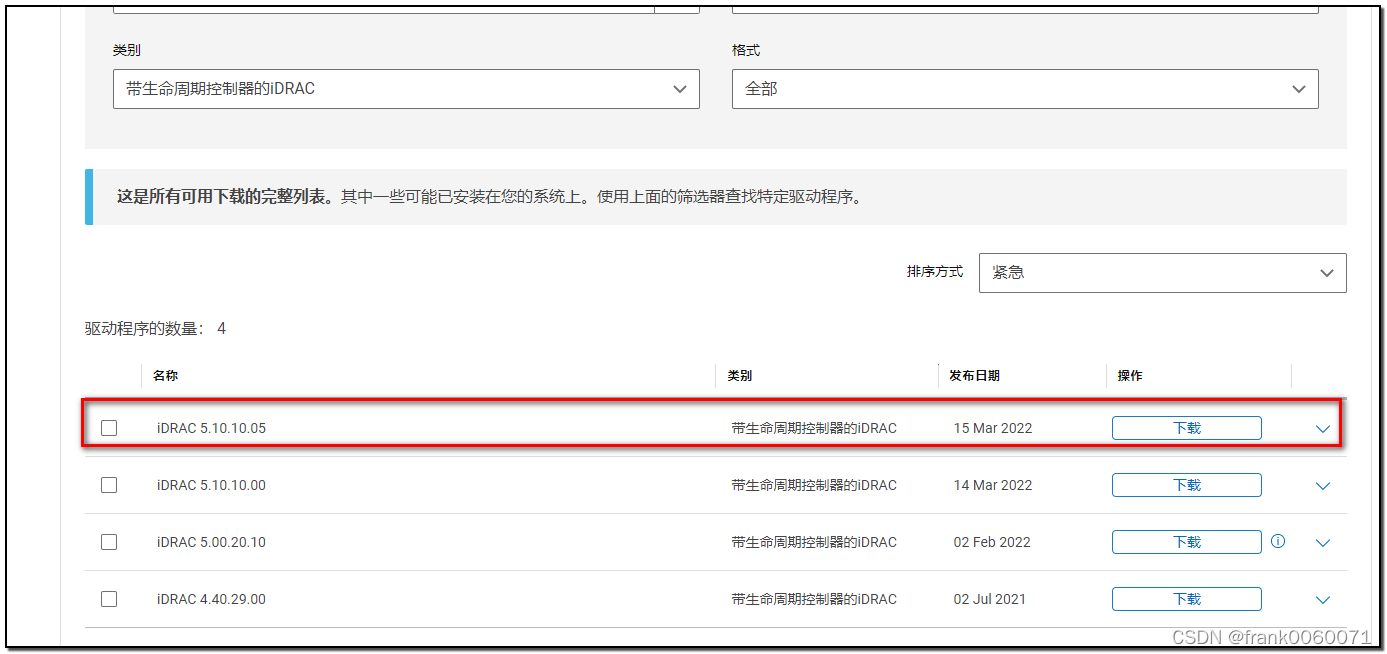
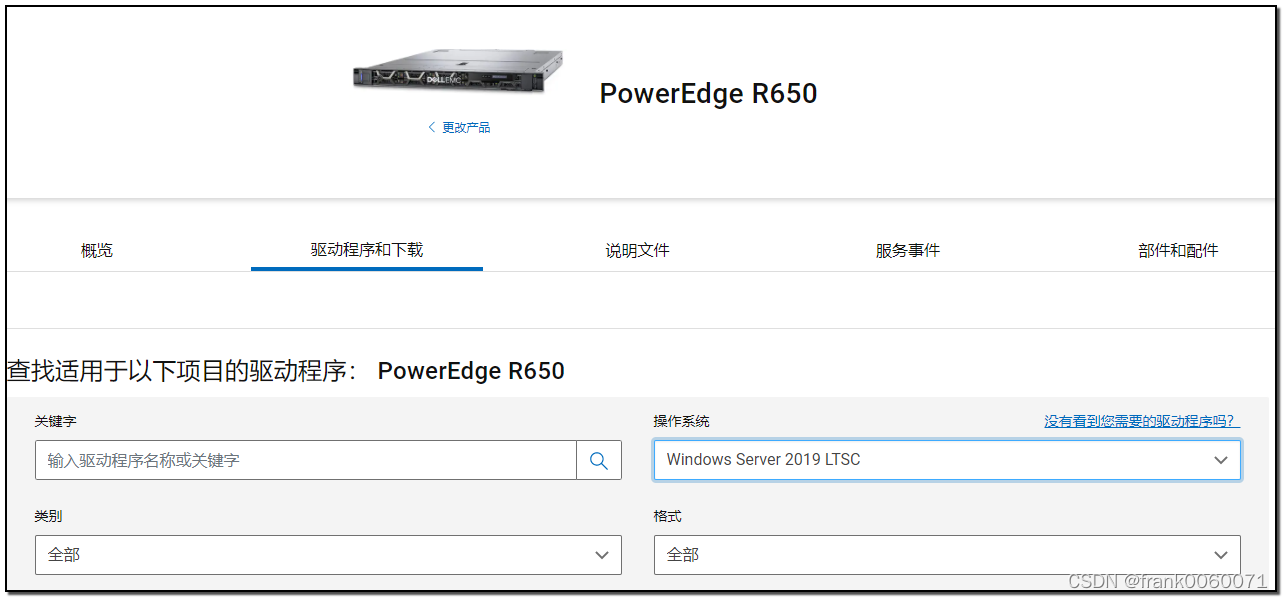
官网下载的信息
提取d9文件
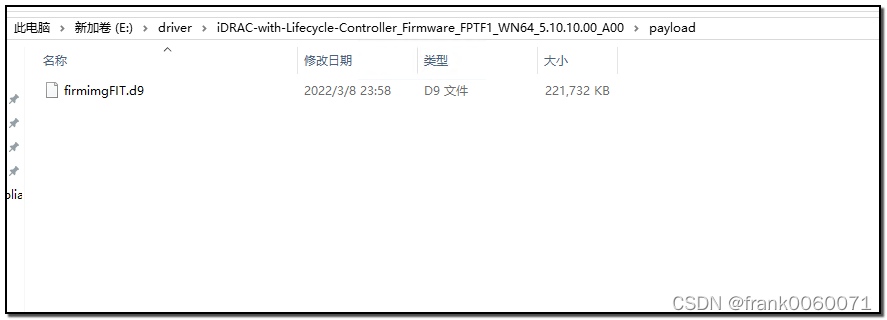
运行racadm.exe -r 192.168.20.65 -u root -p calvin fwupdate -p -u -d e:\driver\firmimgFIT.d9

进行更新 更新完毕如下:
更新到最新版本
批量更新借鉴网上的方法 在linux centos7中
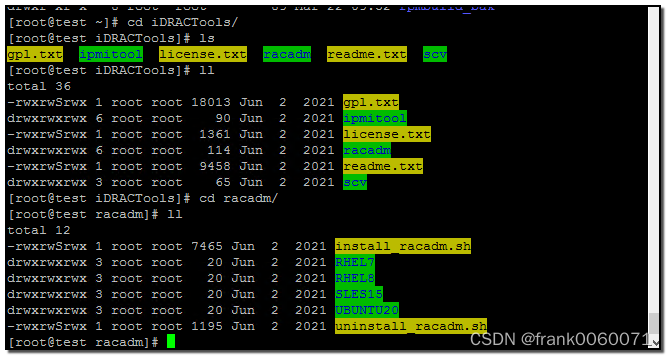
下载针对linux版本的racadm
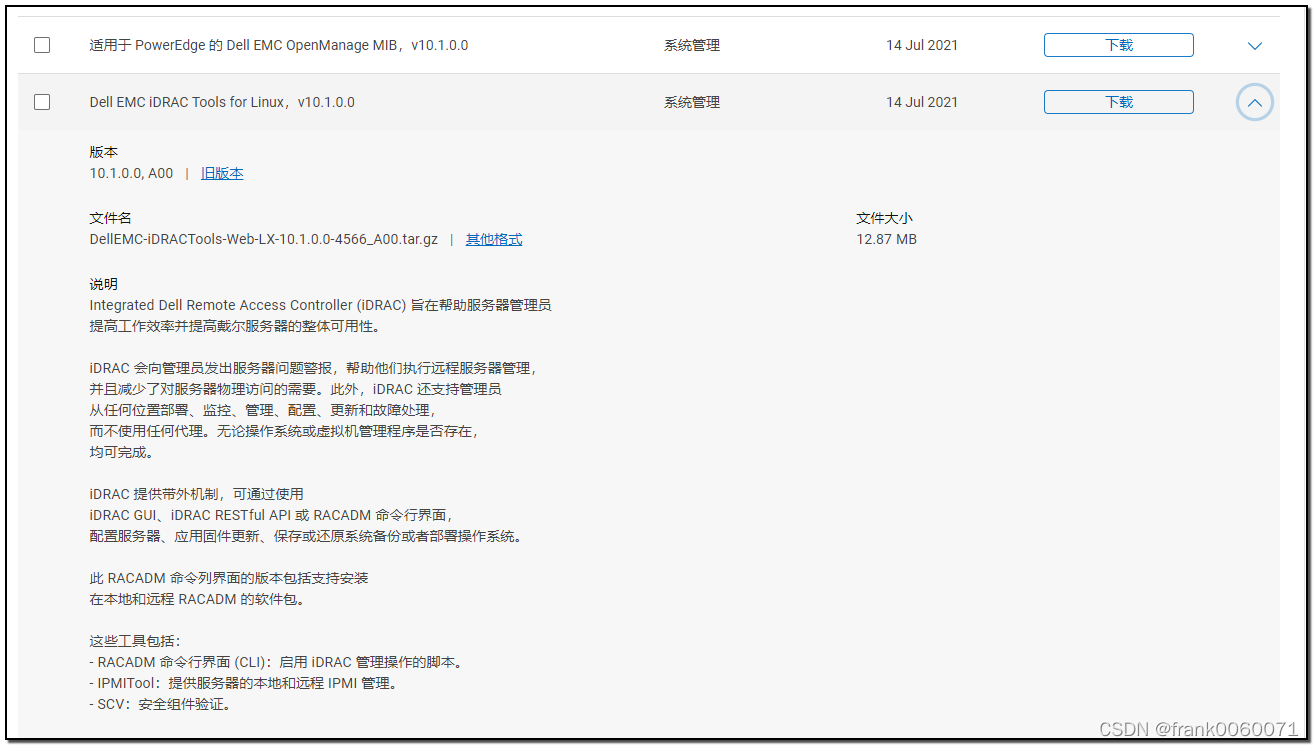
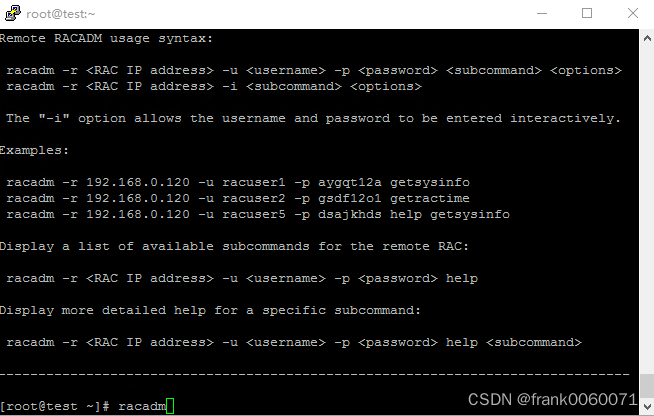
安装完毕后在系统中运行racadm 如下
DELL RACADM 批量升级戴尔IDRAC固件 - 张兴龙 - 博客园
第一步 将BMC IP写入 ip.conf 及设置ipmi over lan =on
192.168.20.99
192.168.20.65
设置 iDRAC.IPMILan.Enable 1
进行批量设置 IPMIon.sh
#!/bin/bash
user=user
password=password
while read ip; do
racadm -r $ip -u $user -p $password set iDRAC.IPMILan.Enable 1
done < ip.conf
user和password 设置成正确的
第二步,验证当前BMC帐号 userlist.sh
#!/bin/bash
true > userlist.txt
while read line;
do
ip=`echo $line|awk '{print $1}'`
ipmitool -H $ip -I lanplus -U userid -P password user list >/dev/null
ret=$?
if [ $ret -eq 0 ]
then printf "$ip OK\n">>userlist.txt
else printf "$ip ERR\n">>userlist.txt
fi
done < ./ip.conf
上述的iDRAC 用户名和密码修改成服务器真实的
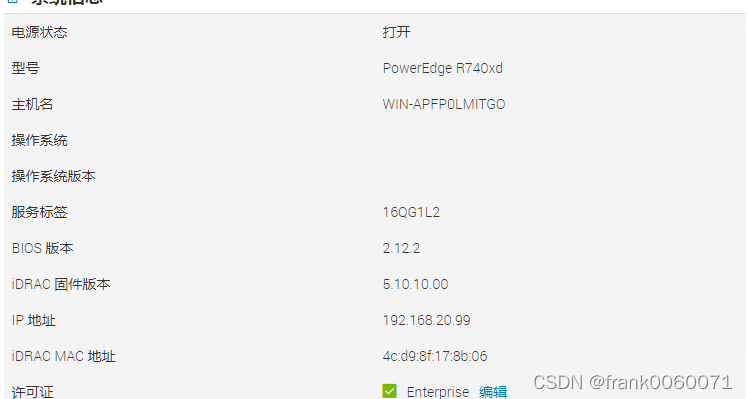
第三步,官网下载查看当前戴尔设备的RDRAC版本或者是其它的固件信息
第四步,下载IDRAC固件版本和搭建FTP服务器
#yum install vsftpd -y
默认目录在/var/ftp/pub中 将固件上传至目录中
第五步,编写批量升级IDRAC脚本 update_idrac.sh
#!/bin/bash
user=user
password=password
while read ip; do
racadm -r $ip -u $user -p $password fwupdate -f ftp_ip_address anonymous 1 -d /pub/firmimgFIT.d9
done < ip.conf
第六步 批量升级IDRAC固件
在系统中运行
#sh update_firmware.sh
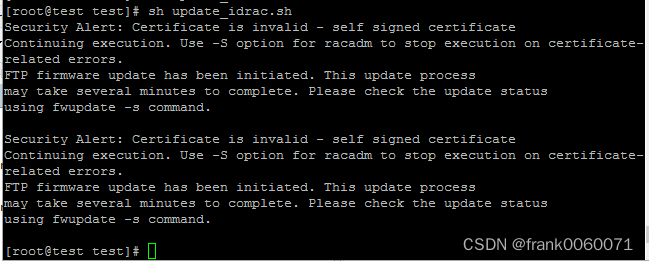
更新完毕后信息如下 均升级到最新 也可以升级到其它的固件


 1万+
1万+

 被折叠的 条评论
为什么被折叠?
被折叠的 条评论
为什么被折叠?
 到【灌水乐园】发言


