


canvas感觉很炫酷
获取画布对象
getContext的参数有两种2d和webgl
这篇文章主要说的是2d
webgl会在我之后的其他文章里涉及,像一些3d效果就可以用它实现效果还是蛮炫酷的
<canvas id="myCanvas"></canvas>
<script>
    var ctx = myCanvas.getContext('2d')
</script>
canvas 常用的一些属性和方法
1、fillStyle(属性)
主要是用填充块状区域颜色
var ctx = myCanvas.getContext('2d')
ctx.fillRect(0,0,myCanvas.width,myCanvas.height)

上面是有图片的但是白色的
var ctx = myCanvas.getContext('2d')
ctx.fillStyle = '#f00'
ctx.fillRect(0,0,myCanvas.width,myCanvas.height)

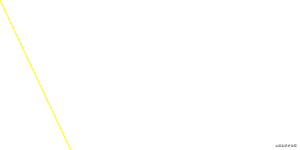
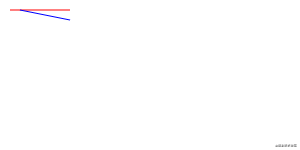
2、strokeStyle
主要是用来设置线段和字的颜色
ctx.strokeStyle = '#ffff00'
ctx.moveTo(0, 0)
ctx.lineTo(100, 212)
ctx.stroke();
3、rect()
创建一个矩形(不会直接绘制,需要通过fill和stroke方法绘制)
rect(x,y,w,h)
x:绘制x轴起点
y:绘制y轴起点
w:绘制宽度
h:绘制高度
和fillRect()还有和strokeRect()参数一样
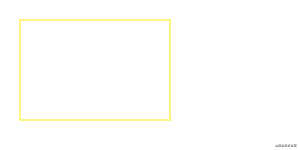
4、stroke()
用来把线画出来 不知道的话线不会被画出来
ctx.strokeStyle = '#fff000'
ctx.rect(20,20,150,100);
ctx.stroke();
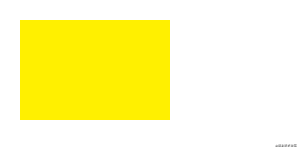
4、fill()
填充块状颜色
ctx.fillStyle = '#fff000'
ctx.rect(20,20,150,100);
ctx.fill();
5、fillRect()
可以通过fillStyle属性设置颜色
相当于
ctx.rect(20,20,150,100); ctx.fill();
6、strokeRect()
可以通过fillStroke属性设置颜色
相当于
ctx.rect(20,20,150,100); ctx.stroke();
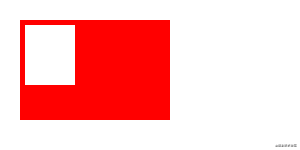
7、clearRect()
用于清除画布中的设置区域中的像素值clearRect(x,y,w,h)
ctx.fillStyle = '#ff0000'
ctx.fillRect(20,20,150,100);
ctx.clearRect(25,25,50,60)
8、moveTo()和lineTo()
moveTo相当于一个线的起点
lineTo相当于一个线的终点
可以通过strokeStyle设置颜色
需要通过stroke方法绘制出来这条线
列子在上面strokeStyle中
8、closePath()
用来绘制一些闭合的图像
比如三角形(有三个点)
ctx.moveTo(10,10)
ctx.lineTo(70,10)
ctx.lineTo(10,100)
ctx.stroke()

这是三点组成的
ctx.moveTo(10,10)
ctx.lineTo(70,10)
ctx.lineTo(10,100)
ctx.lineTo(10,10)
ctx.stroke()

这是三点组成的
有两个点是重复的三个点足够解决问题了 使用这个让路径闭合
ctx.moveTo(10,10)
ctx.lineTo(70,10)
ctx.lineTo(10,100)
ctx.closePath()
ctx.stroke()

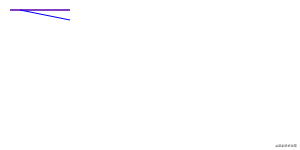
8、beginPath()
重新创建一条路径告诉画布自己要重新开始画新的内容,不要重新绘制之前的内容
ctx.beginPath()
ctx.strokeStyle = 'red'
ctx.moveTo(10,10)
ctx.lineTo(70,10)
ctx.stroke()
ctx.beginPath()
ctx.strokeStyle = 'blue'
ctx.moveTo(20,10)
ctx.lineTo(70,20)
ctx.stroke()
如果不使用beginPath的话
// ctx.beginPath()
ctx.strokeStyle = 'red'
ctx.moveTo(10,10)
ctx.lineTo(70,10)
ctx.stroke()
// ctx.beginPath()
ctx.strokeStyle = 'blue'
ctx.moveTo(20,10)
ctx.lineTo(70,20)
ctx.stroke()
画布就会重新把之前绘制过的内容再绘制一边
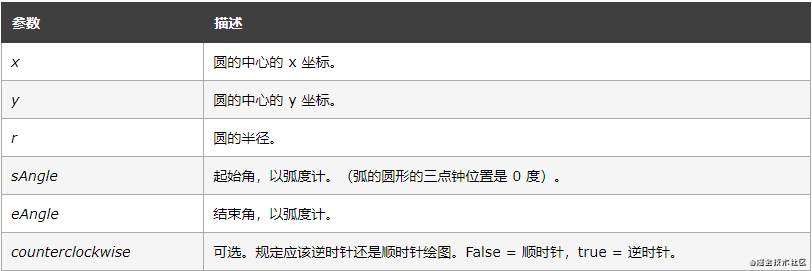
9、arc()
创建一个圆形和上面rect一个都可以通过fill和stroke填充和绘制
ctx.arc(x,y,r,sAngle,eAngle,counterclockwise)
这些属性的具体解析还是看文档把
ctx.arc(60,60,30,0,2 * Math.PI)
ctx.fill()

11、translate()
设置画布的圆心
上面的代码
ctx.translate(60,60)
ctx.arc(0,0,30,0,2 * Math.PI)
ctx.fill()
// 效果相同
ctx.arc(60,60,30,0,2 * Math.PI)
ctx.fill()
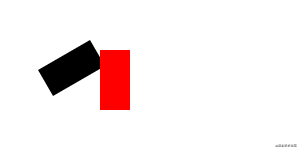
12、rotate()
旋转要绘制的突破性
注意要在创建图像之前旋转
ctx.translate(60,60)
ctx.rotate(2 * Math.PI / 4) // 360 / 4
ctx.rect(0,0,30,60)
ctx.fill()

12、save() 和 restore()
官方解释是保存当前环境的状态和返回之前保存过的路径状态和属性
save相当于保存在调用时CanvasRenderingContext2D 对象的属性、剪切路径和变换矩阵的值
restore是把之前save保存的值拿出来
ctx.translate(90, 40)
ctx.rotate(2 * Math.PI / 6) // 360 / 6
ctx.save() // 保存了旋转记录

ctx.beginPath();
ctx.rect(0, 0, 30, 60)
ctx.fill()
// ctx.restore() // 这个在这里注不注释没有明显效果

ctx.beginPath();
ctx.fillStyle = 'red'
ctx.rect(10, 10, 30, 60)
ctx.fill()
效果
ctx.translate(90, 40)
ctx.save()

ctx.rotate(2 * Math.PI / 6) // 360 / 6
ctx.beginPath();
ctx.rect(0, 0, 30, 60)
ctx.fill()
ctx.restore()

ctx.beginPath();
ctx.fillStyle = 'red'
ctx.rect(10, 10, 30, 60)
ctx.fill()
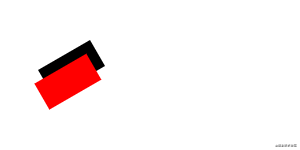
这个是因为我保存了没有旋转是的状态然后在绘制红色矩形之前通过ctx.restore()把之前的状态拿了出来
这个是旋转状态我们现在再来试试fillStyle
ctx.translate(90, 40)
ctx.fillStyle = 'red'
ctx.save()


ctx.beginPath();
ctx.fillStyle = 'blue'
ctx.rect(-20, 0, 30, 60)
ctx.fill()
ctx.restore()

ctx.beginPath();
ctx.rect(10, 10, 30, 60)
ctx.fill()
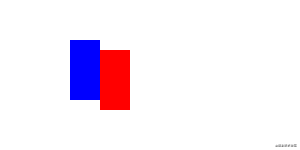
如果没用取出之前的状态的话应该会出现两个蓝色的矩形而现在有一个红色矩形说明 在save之前的属性在restore之后这个属性又重新生效了


 247
247


 被折叠的 条评论
为什么被折叠?
被折叠的 条评论
为什么被折叠?
 到【灌水乐园】发言


