


示例:
配置文件:
<beans xmlns="http://www.springframework.org/schema/beans"
       xmlns:xsi="http://www.w3.org/2001/XMLSchema-instance"
       xmlns:context="http://www.springframework.org/schema/context"
       xmlns:aop="http://www.springframework.org/schema/aop"
       xmlns:p="http://www.springframework.org/schema/p"
       xmlns:c="http://www.springframework.org/schema/c"
       xsi:schemaLocation="
	http://www.springframework.org/schema/beans
	http://www.springframework.org/schema/beans/spring-beans.xsd
    http://www.springframework.org/schema/context
    http://www.springframework.org/schema/context/spring-context.xsd
    http://www.springframework.org/schema/aop
	http://www.springframework.org/schema/aop/spring-aop-3.2.xsd"
    default-lazy-init="false">

  <bean id="student" class="com.spring.bean.Student">
    <property name="name" value="${test}"/>
  </bean>
  <context:component-scan base-package="com.spring"/>
  <context:property-placeholder location="classpath:test2.properties,classpath:test.properties"/>
</beans>
test.properties:
test:studytest2.properties:
test:play实例:
package com.spring.bean;

import lombok.Data;

import javax.annotation.PostConstruct;

@Data
public class Student extends Person  {

    private String name;

    private  int age;

    @Override
    public String show(String str) {
        System.out.println("Studeng:test()");
        return str;
    }

}
测试:
 @org.junit.Test
    public void test7() throws InterruptedException {

        ApplicationContext context = new ClassPathXmlApplicationContext("spring.xml");
        Student bean =(Student)context.getBean("student");

        System.out.println("Student:"+bean.getName());

    }
结果:

源码分析:自定义标签解析PropertyPlaceholderBeanDefinitionParser
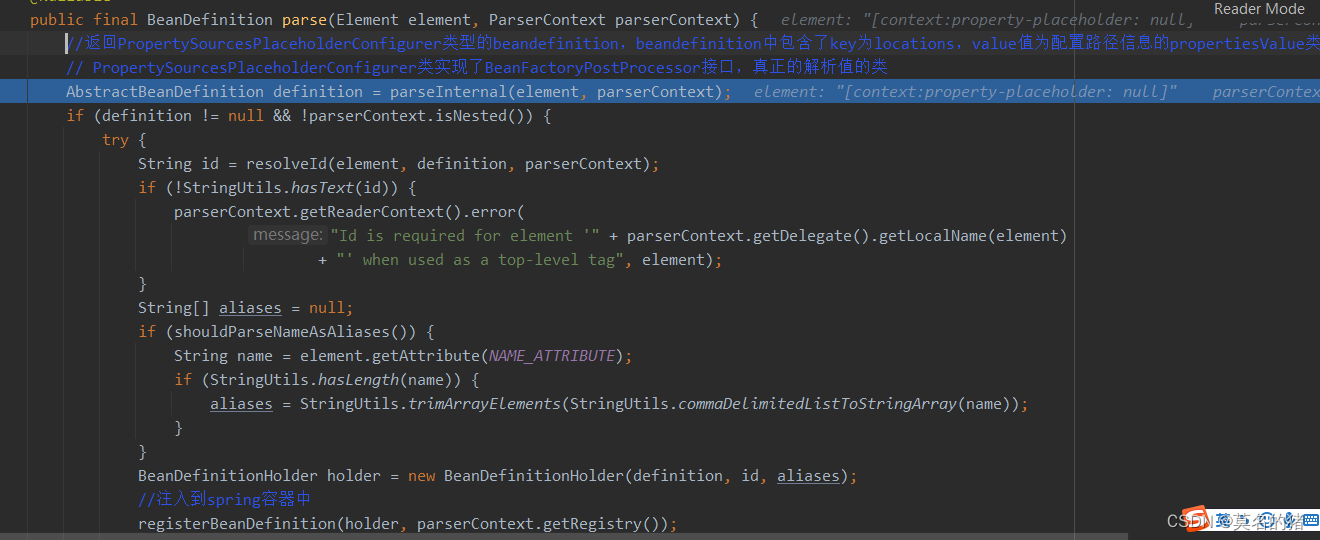
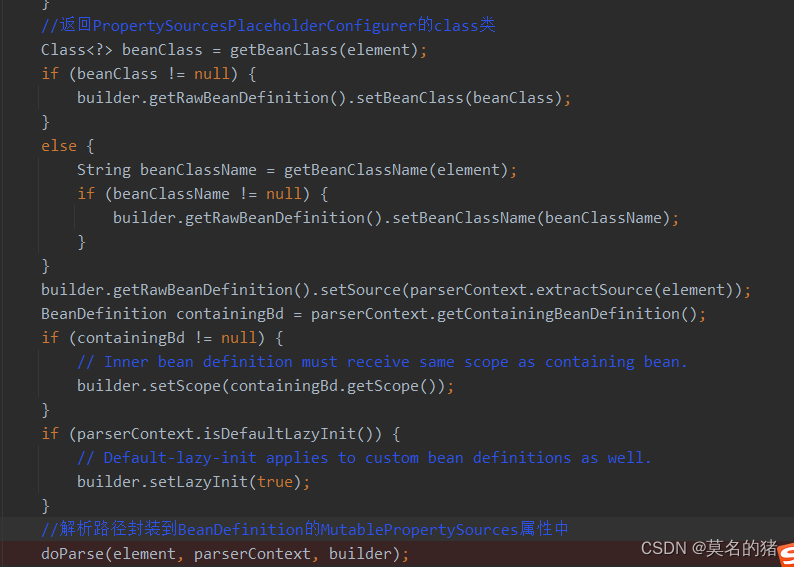
解析配置文件中的值并赋值:PropertySourcesPlaceholderConfigurer实现了BeanFactoryPostProcessor接口

在这儿加入到embeddedValueResolvers容器中:


以解析string为例:


解析@value注解,通过AutowiredAnnotationBeanPostProcessor

这里从embeddedValueResolvers容器中获取解析:

注意:如果多个配置文件中的key值相同,value值会取最后配置的,因为会覆盖掉前面的值,例如: <context:property-placeholder location="classpath:test2.properties,classpath:test.properties"/>最后name的值为study;


 6万+
6万+


 被折叠的 条评论
为什么被折叠?
被折叠的 条评论
为什么被折叠?
 到【灌水乐园】发言


