


一、需求背景
因为业务需要,在同一个页面中,需要加载多个富文本编辑器。如下图所示。
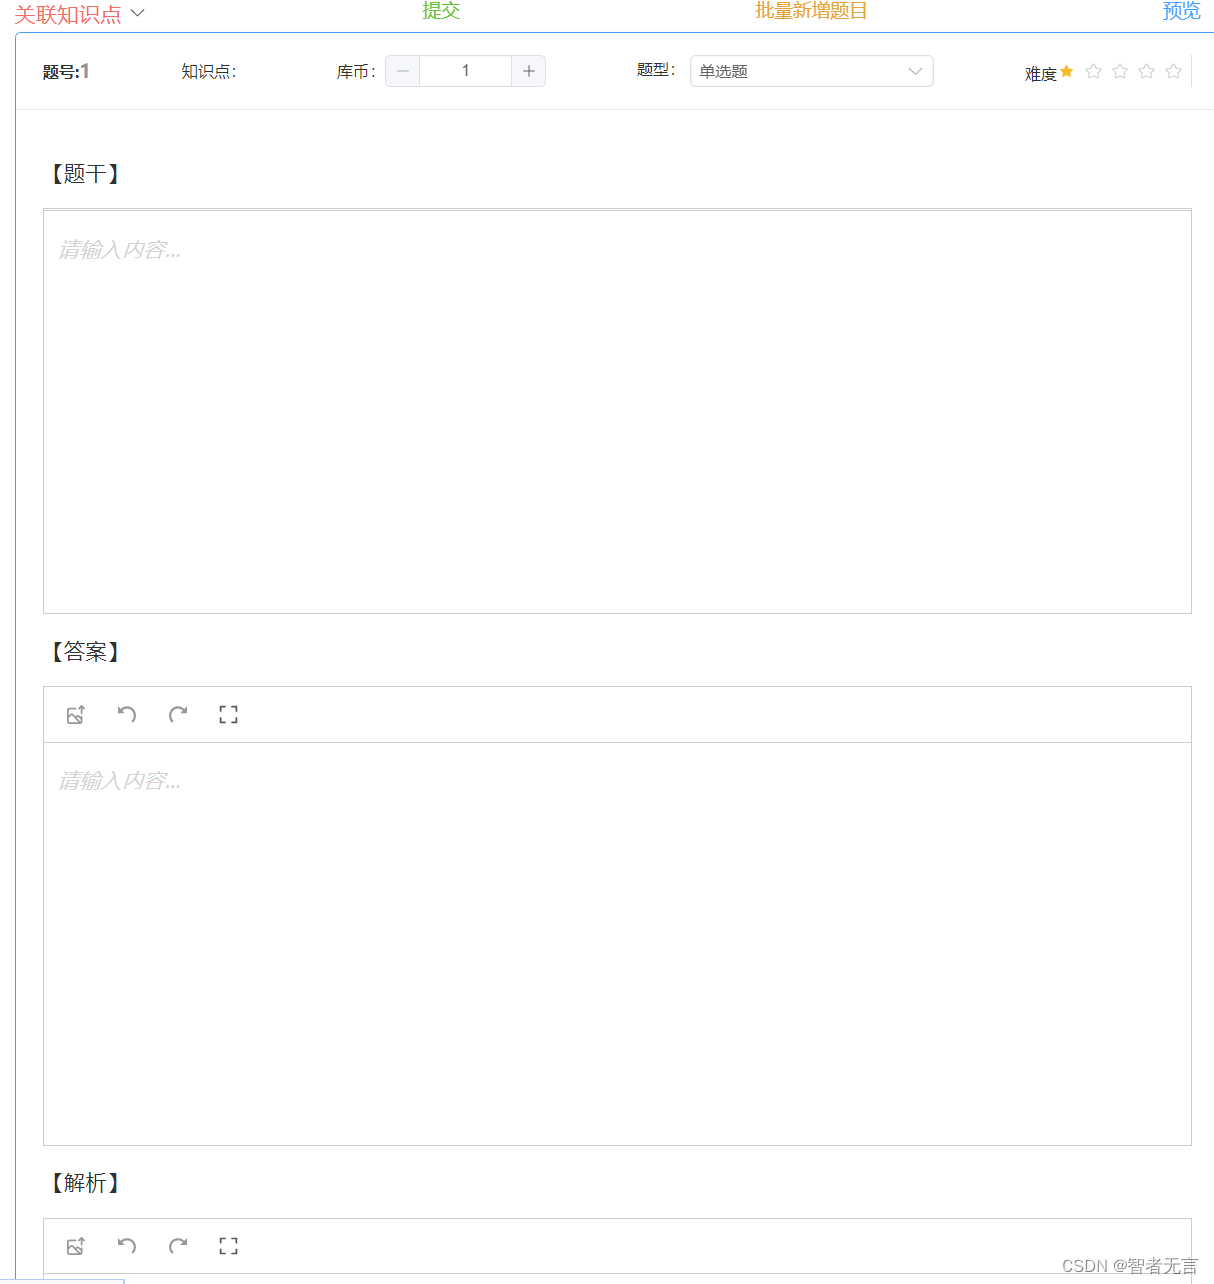
图1
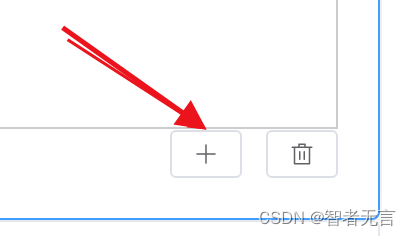
而且是富文本编辑器是动态生成,即点击按钮就生成一个新的编辑器,如下图2所示
开始尝试了tinymce富文本,出现的问题是,当加载多次后,后面的富文本编辑器就失效了,变成了普通的文本输入框。后来还是用wangEditor,可以根据需要多次加载,也正常使用。
二、使用wangEditor富文本编辑器(以下简称wangEditor编辑器)
因为同个页面需要多次加载,并多个页面重复使用,所以把这个富文本编辑器进行了封装。封装的过程参考一下链接。需要的自己去看。
vue3项目使用tinymce_vue3 使用tinymce-CSDN博客
我的封装代码如下所示,部分改动,为了简化界面。关键代码如下:
/**
  initValue: 父组件传递过来的富文本框初始值,这里会实时监听,更新初始值,放置在弹窗中使用,没有钩子函数的更新。
  getEditorContent() 方法,父组件通过这个方法获取富文本编辑器的内容,包括数组格式的和html格式的内容
*/
<template>
  <!-- <div v-html="valueHtml"></div> -->
  <div style="border: 1px solid #ccc">
    <Toolbar
      style="border-bottom: 1px solid #ccc"
      :editor="editorRef"
      :defaultConfig="toolbarConfig"
      :mode="mode"
    />
    <Editor
      style="min-height: 300px;min-width: 600px; overflow-y: hidden; text-align: left;"
      v-model="valueHtml"
      :defaultConfig="editorConfig"
      :mode="mode"
      @onCreated="handleCreated"
      @onChange="handleChange"
    />
  </div>
</template>
<script setup>
import '@wangeditor/editor/dist/css/style.css' // 引入 css
import { onBeforeUnmount, ref, shallowRef, onMounted, nextTick, watch } from 'vue'
import { Editor, Toolbar } from '@wangeditor/editor-for-vue'
import axios from 'axios'
import { localGet, uploadImgServer } from '@/utils'
// 初始值
const props = defineProps({
  index:Number,
  initValue: String,
  father_method:Function,
})
const emits = defineEmits(['getEditorContent'])
// const emits = defineEmits([''])
let mode = ref('default')
// 编辑器实例,必须用 shallowRef
const editorRef = shallowRef()
// 内容 HTML
const valueHtml = ref('')
// 模拟 ajax 异步获取内容
onMounted(() => {
  nextTick(() => { // 界面节点更新完以后再修改值。
    valueHtml.value = props.initValue
  })
})
// 工具栏配置
const toolbarConfig = {
  toolbarKeys: [
    // 菜单 key
    // 'headerSelect',
    // 'bold', // 加粗
    // 'italic', // 斜体
    // 'through', // 删除线
    // 'underline', // 下划线
    // 'bulletedList', // 无序列表
    // 'numberedList', // 有序列表
    // 'color', // 文字颜色
    // 'insertLink', // 插入链接
    // 'fontSize', // 字体大小
    // 'lineHeight', // 行高
    'uploadImage', // 上传图片
    // 'delIndent', // 缩进
    // 'indent', // 增进
    // 'deleteImage',//删除图片
    // 'divider', // 分割线
    // 'insertTable', // 插入表格
    // 'justifyCenter', // 居中对齐
    // 'justifyJustify', // 两端对齐
    // 'justifyLeft', // 左对齐
    // 'justifyRight', // 右对齐
    'undo', // 撤销
    'redo', // 重做
    // 'clearStyle', // 清除格式
    'fullScreen' // 全屏
  ]
}
const editorConfig = {
  placeholder: '请输入内容...', // 配置默认提示
  // readOnly: true,
  MENU_CONF: {                // 配置上传服务器地址
    uploadImage: {
      // 小于该值就插入 base64 格式(而不上传),默认为 0
      base64LimitSize: 5 * 1024, // 5kb
      // 单个文件的最大体积限制,默认为 2M
      // maxFileSize: 1 * 1024 * 1024, // 1M
      // // 最多可上传几个文件,默认为 100
      // maxNumberOfFiles: 5,
      // 选择文件时的类型限制,默认为 ['image/*'] 。如不想限制,则设置为 []
      allowedFileTypes: ['image/*'],
      // 自定义上传
      async customUpload(file, insertFn) { // 文件上传
        const formData = new FormData();
        formData.set('images', file)
        // 这里根据自己项目封装情况,设置上传地址
        axios.defaults.headers['token'] = localGet('token') || ''
        // axios.defaults.headers.common['Authorization'] = localGet('token')
        axios.defaults.headers.post['Content-Type'] = 'multipart/form-data'
        let result = await axios.post(uploadImgServer, formData)
        console.log('图上传结果',result)
        // 插入图片后,不插入到富文本编辑器中,而是还给父组件,通过father_method方法
        if(props.father_method){
          props.father_method(result.data.results)
        }

         // 插入到富文本编辑器中,主意这里的三个参数都是必填的,要不然控制台报错:typeError: Cannot read properties of undefined (reading 'replace')
        // insertFn(result.data.data.url, result.data.data.name, result.data.data.name)
      }
    }
  }
}
// 组件销毁时,也及时销毁编辑器
onBeforeUnmount(() => {
    const editor = editorRef.value
    if (editor == null) return
    editor.destroy()
})
const handleCreated = (editor) => {
  // editorRef.value = editor // 创建富文本编辑器
}
const handleChange = (info) => {
  // info.children 数组包含了数据类型和内容,valueHtml.value内容的html格式
  console.log("变化后",info.children)
  if(info.children[0].type=='paragraph'){
    emits('getEditorContent', info.children[0].text, valueHtml.value)
  }

}
watch(()=>props.initValue, (value) => {  // 父组件获取初始值
  // valueHtml.value = value
})
</script>其中最后的代码是初始化编辑器的内容。我是把它注释掉了,因为这也是本文的关键处,如果不注释掉,多个编辑器之间的输入,会互相干扰。
我也不知道为什么,如果有大神知道,跪求留言。如果是页面加载单个编辑器实例,这行代码不需要注释。
附上我的父组件关键代码:
  <p>【题干】</p>
<WangEditor ref="refContentGenerate(index)"  v-model="item.content_front"  @getEditorContent="onEditorChange" :father_method="appendImageToContentFromEditor" />
<el-image v-for="url in item.images" :key="url" :src="url" style="width: 150px;" />

<p>【答案】</p>
<WangEditor2 ref="refAnswerGenerate(index)" v-model="item.answer_front" @getEditorContent="onEditorAnswerChange" :father_method="appendImageToAnswerFromEditor" />
 <el-image v-for="url in item.images_answer" :key="url" :src="url" style="width: 150px;" />

<p>【解析】</p>
<WangEditor3 ref="refExplainGenerate(index)" v-model="item.explain_front"  @getEditorContent="onEditorExplainChange" :father_method="appendImageToExplainFromEditor" />

<el-image v-for="url in item.images_explain" :key="url" :src="url" style="width: 150px;" />
中间代码省略

// 当富文本编辑器的题干内容发生变化
  const onEditorChange = (array, html) => {
    console.log("选中的数组项",state.currentSelectQuestionIndex)
    console.log("html:",html)
    state.paperQuestionList[state.currentSelectQuestionIndex].content_front=html
    console.log('修改内容后数组',state.paperQuestionList)
  }
  // 当富文本编辑器的题干内容发生变化
  const onEditorAnswerChange = (array, html) => {
    state.paperQuestionList[state.currentSelectQuestionIndex].answer_front=html
  }
    // 当富文本编辑器的题干内容发生变化
  const onEditorExplainChange = (array, html) => {
    state.paperQuestionList[state.currentSelectQuestionIndex].explain_front=html
    console.log('修改解析后数组',state.paperQuestionList)
  }
【解释】:我的业务需求是,不在编辑器内展示图片,而是另外单独显示,并把图片保存到数组的images、images_answer和images_explain中。
三、根据业务需求修改封装代码
我的业务需求是去掉上传图片后把图片插入编辑器的功能。所以相应的封装代码也有修改如下:
async customUpload(file, insertFn) { // 文件上传
        const formData = new FormData();
        formData.set('images', file)
        // 这里根据自己项目封装情况,设置上传地址
        axios.defaults.headers['token'] = localGet('token') || ''
        // axios.defaults.headers.common['Authorization'] = localGet('token')
        axios.defaults.headers.post['Content-Type'] = 'multipart/form-data'
        let result = await axios.post(uploadImgServer, formData)
        console.log('图上传结果',result)
        // 插入图片后,不插入到富文本编辑器中,而是还给父组件,通过father_method方法
        if(props.father_method){
          props.father_method(result.data.results)
        }

         // 插入到富文本编辑器中,主意这里的三个参数都是必填的,要不然控制台报错:typeError: Cannot read properties of undefined (reading 'replace')
        // insertFn(result.data.data.url, result.data.data.name, result.data.data.name)
      }
我把代码:
insertFn(result.data.data.url, result.data.data.name, result.data.data.name)注释掉了。这行代码是把后台收到的图片url插入到编辑器。跟我的业务需求相反。
而是改成了
props.father_method(result.data.results)。即当编辑器上传图片后,后台返回的图片url反馈给父组件的father_method执行,让父组件保存图片url


 1万+
1万+


 被折叠的 条评论
为什么被折叠?
被折叠的 条评论
为什么被折叠?
 到【灌水乐园】发言


