


先前一直不知道到写一些什么,因为Android自带的APIDemos做得非常好,都是那些真正的高手们写的,而且文档也写的非常漂亮,我个人觉得很多东西都可以直接拿来用,在上边改,然后成为我们自己的东西,说得好听叫“站在巨人的肩膀上”,说得难听点叫“窃取”。反正不过了,学为先
打开Eclipse,点击Android SDK and AVD Manager

打开后选中一个我们已经建好的AVD
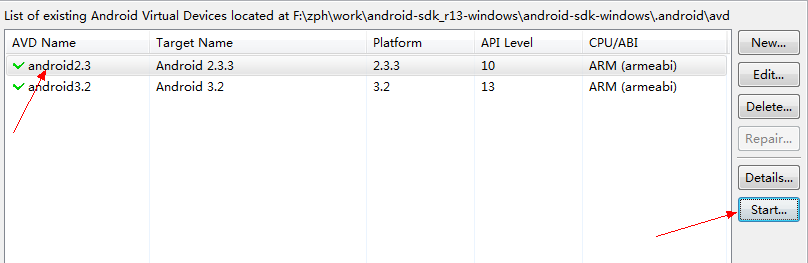
启动,有些人的机器可能反应慢一点,给他一点时间,喝杯茶
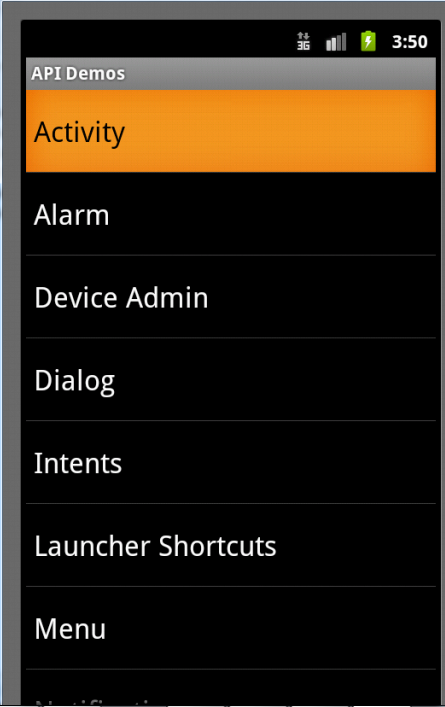
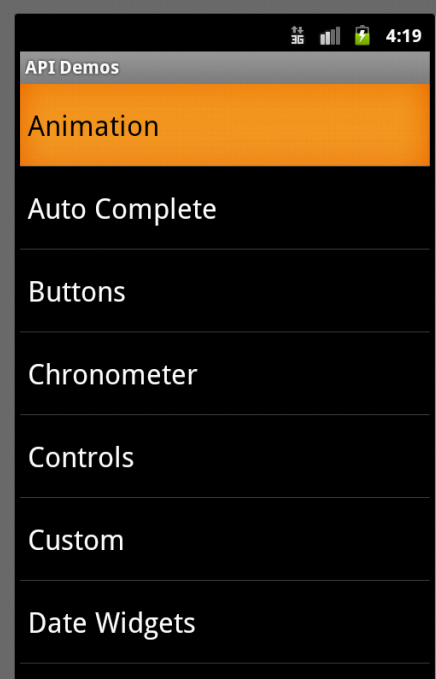
进入界面后左上角就是APIDemos
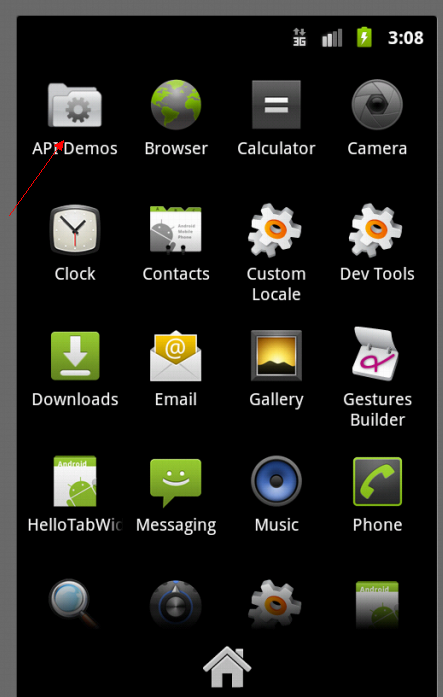
单击
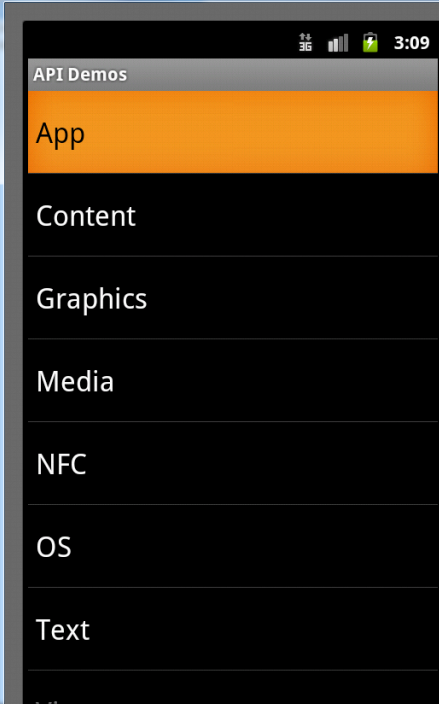
大致浏览一下,我这就不去文档找详细的归纳了,昨天看了一本书《Android Application Development》,里面有一些总结,但是这本书在写的时候还没NFC模块,恰巧被张翼飞看到了,说是做传感这一块的,最好的例子是世博会上手机刷票,我到百科里查了一下是:
NFC是Near Field Communication缩写,即近距离无线通讯技术。由飞利浦公司和索尼公司共同开发的NFC是一种非接触式识别和互联技术,可以在移动设备、消费类电子产品、PC 和智能控件工具间进行近距离无线通信。NFC 提供了一种简单、触控式的解决方案,可以让消费者简单直观地交换信息、访问内容与服务。(http://baike.baidu.com/view/917495.htm)
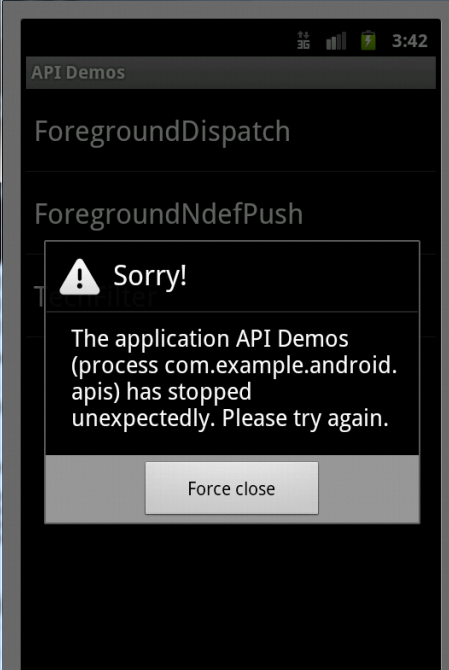
可惜点进去没有预想的效果,估计是要在Eclipse先模拟一个发射器
App
这个目录下的范例是演示如何创建一些程序级别的元素,比如Activity、警告、对话框、Intent和Service等。
Content
这个目录下的范例是演示如何从一个普通文件、资源文件和XML文件中读取有用的信息

里面的演示结果第一眼可能会觉得不好看,但功能是有的
Graphics
这个目录里包含许多图形方面的范例,比如位图的各种操作、图像的截取、图层的各种操作和OpenGL的使用等
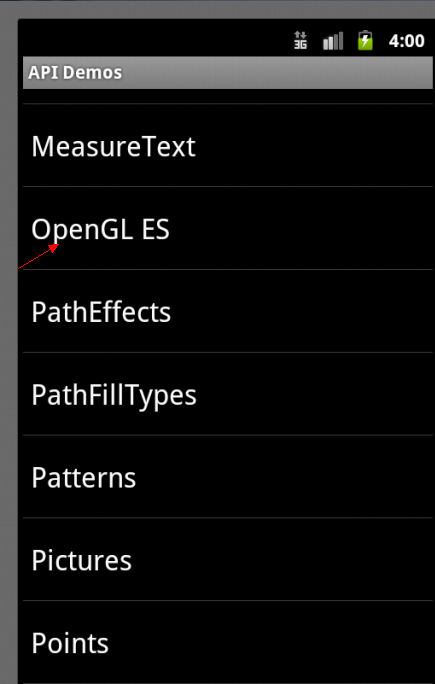
打开OpenGL ES

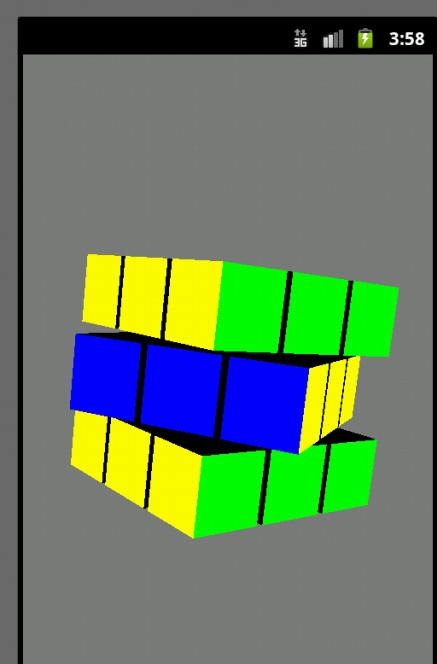

里面是非常漂亮的动画,大家可以基于这些做很多更漂亮的东西
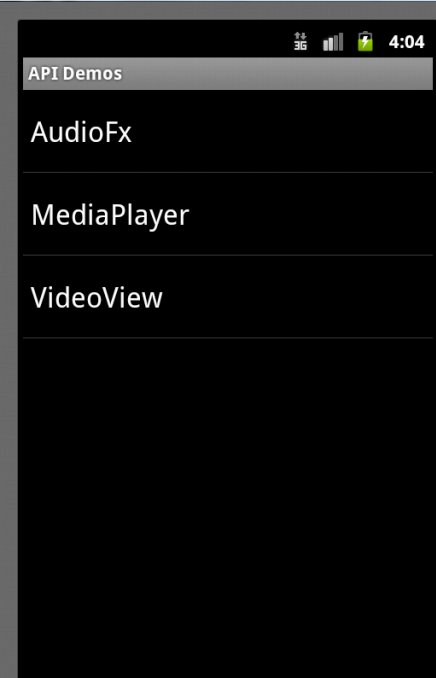
Media
这里包含AduioFx、MediaPlayer、和VideoView的示例

NFC
目前位置没有一点头绪,有朋友对此理解甚深,可一起分享

OS
这里演示的是如何调用系统服务,有Morse Code 、Rotation Vector 、Sensors 、SMS Messaging。
实不相瞒,我就认识这最后一个是短信发送服务

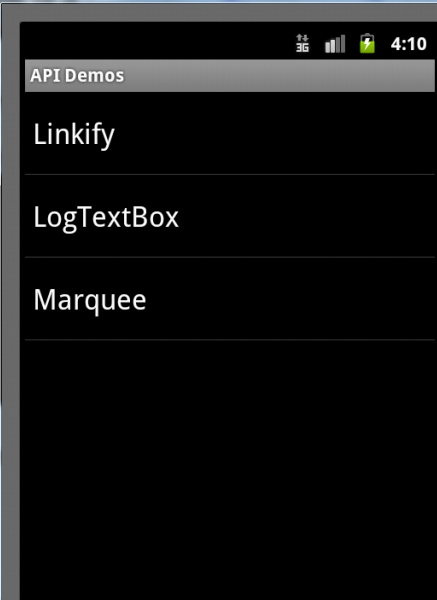
Text
这里包含文本的使用范例
Views
这里很多视图组件的范例,在这里可以找到这些组件的使用方法以及如何设定各种参数
这里就大致介绍完了这些APIDemos的功能、作用,具体应用依情况而定。
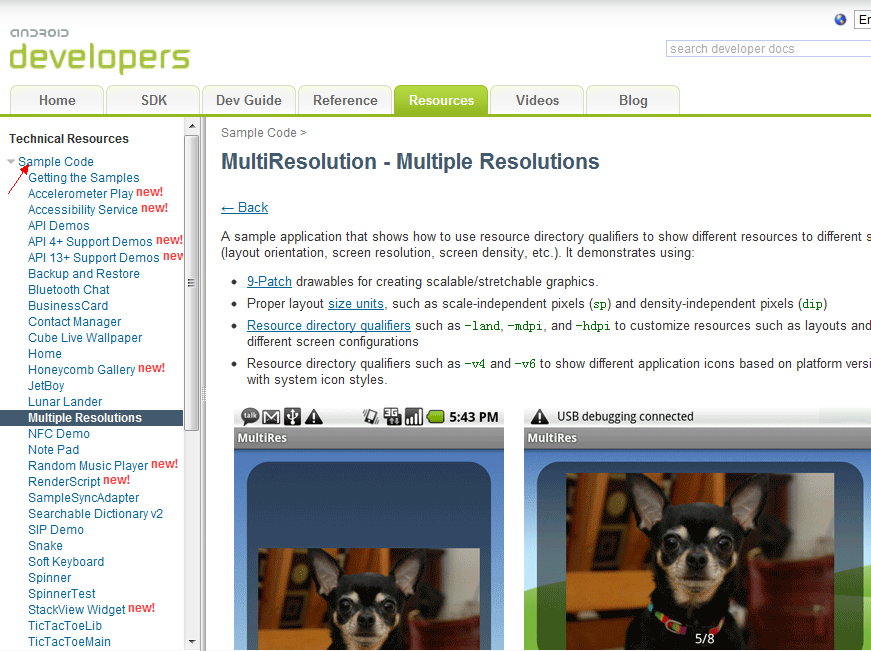
这些例子的源代码在Android安装目录下的sampls文件下
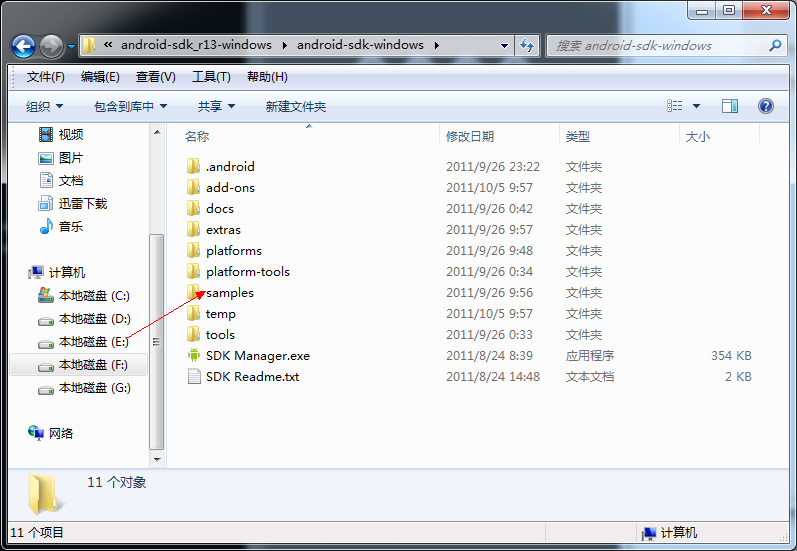
打开
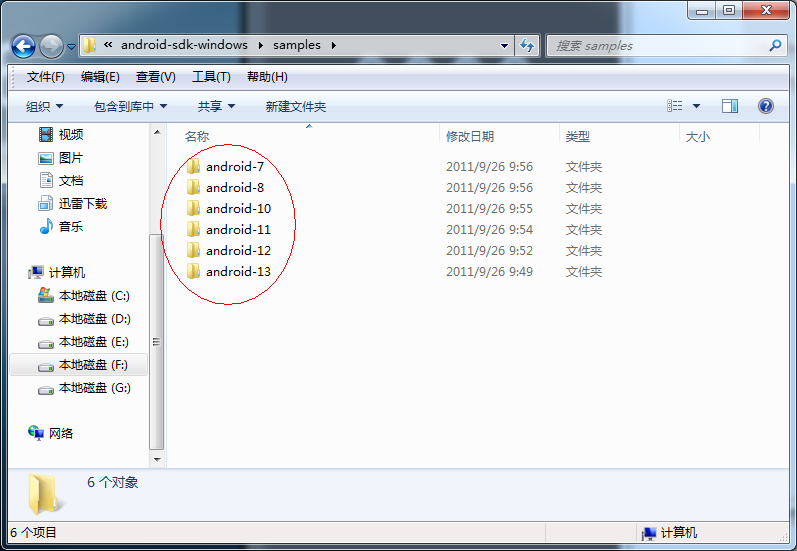
这里是很多版本的标号,我用的是android2.3,所以他的版本号是10

打开

源代码都在这里了。
那总不能就这么去读代码啊,我们还是要借助文档,毕竟这么好的文档放在不用可惜了
里面讲的太详细了,我如果去班门弄斧,实在是惹人耻笑。不过我还是会把自己学习的经验拿出来一起分享。
最后再说一点,就是如果你觉得每次都做自己的Demo都要建个project,在屏幕上都显示一个图标太难看了,可以把自己写的Demo放到APIDemos里。
我们用一个例子说明,现在要做的是在Views下面添加一个ToastTest
具体方法如下:
首先,打开: android安装路径\samples\android-10\ApiDemos\AndroidManifest.xml

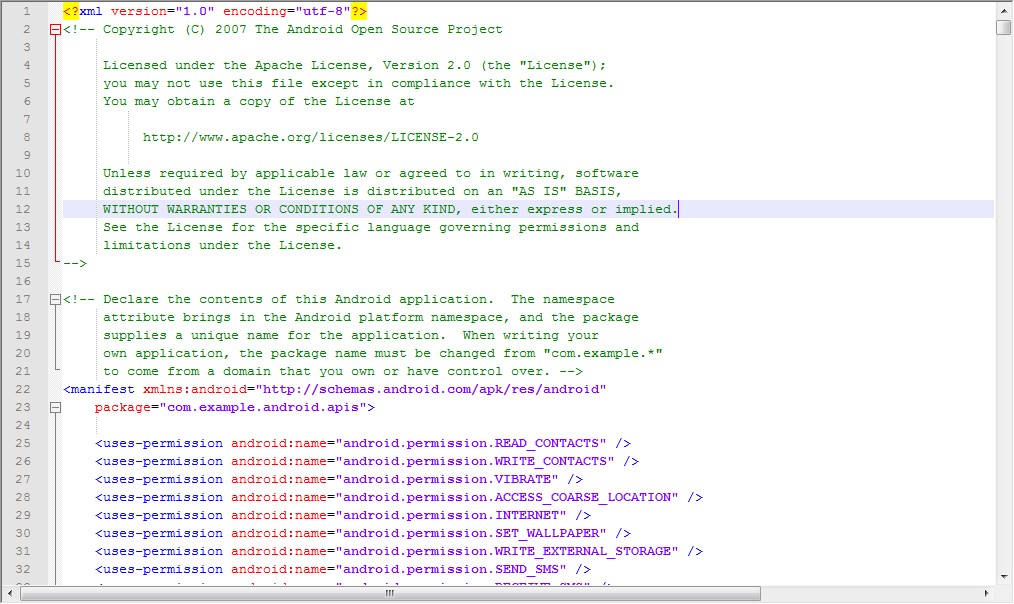
代码太多了,我就不贴出来了
用Eclipse新建一个project
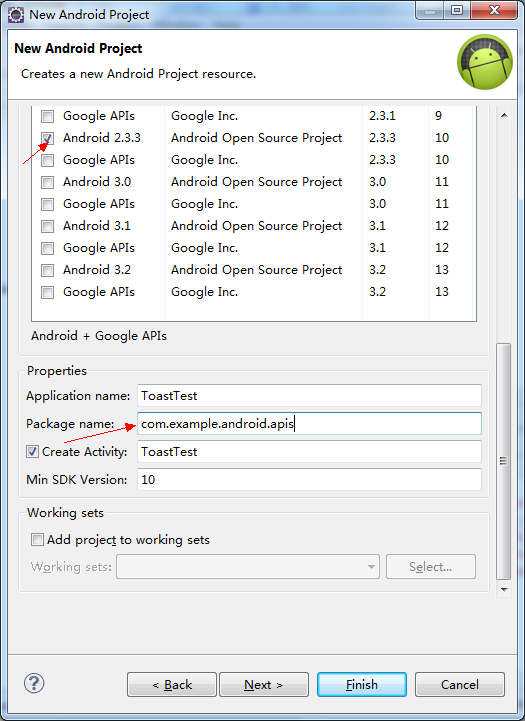
选择android2.3.3
包名一定要写:com.example.android.apis,因为要对应上
在layout文件夹下新建一个toast_test.xml文件
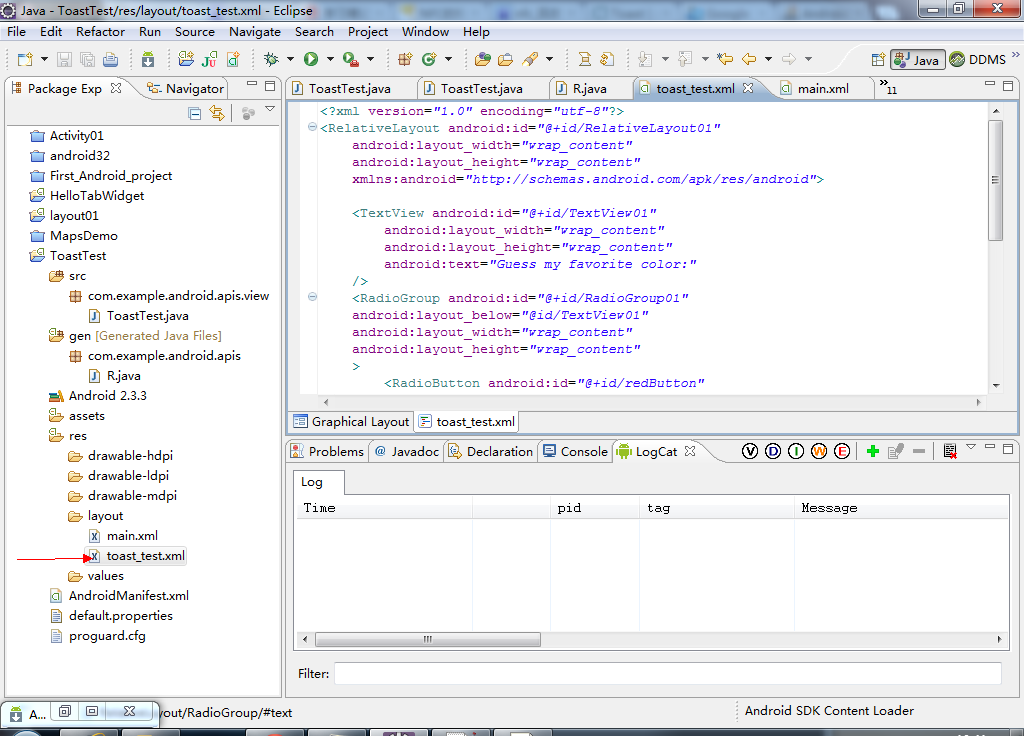
代码如下
<?xml version="1.0" encoding="utf-8" ?>
<RelativeLayout android:id="@+id/RelativeLayout01"
	android:layout_width="wrap_content"
	android:layout_height="wrap_content"
	xmlns:android="http://schemas.android.com/apk/res/android">

	<TextView android:id="@+id/TextView01"
		android:layout_width="wrap_content"
		android:layout_height="wrap_content"
		android:text="Guess my favorite color:"
	/>
	<RadioGroup android:id="@+id/RadioGroup01"
	android:layout_below="@id/TextView01"
	android:layout_width="wrap_content"
	android:layout_height="wrap_content"
	>
		<RadioButton android:id="@+id/redButton"
			android:layout_width="wrap_content"
			android:layout_height="wrap_content"
			android:text="red Button"
		/>

		<RadioButton android:id="@+id/greenButton"
			android:layout_width="wrap_content"
			android:layout_height="wrap_content"
			android:text="green Button"
		/>
		<RadioButton android:id="@+id/blueButton"
			android:layout_width="wrap_content"
			android:layout_height="wrap_content"
			android:text="blue Button"
		/>
	</RadioGroup>


	</RelativeLayout>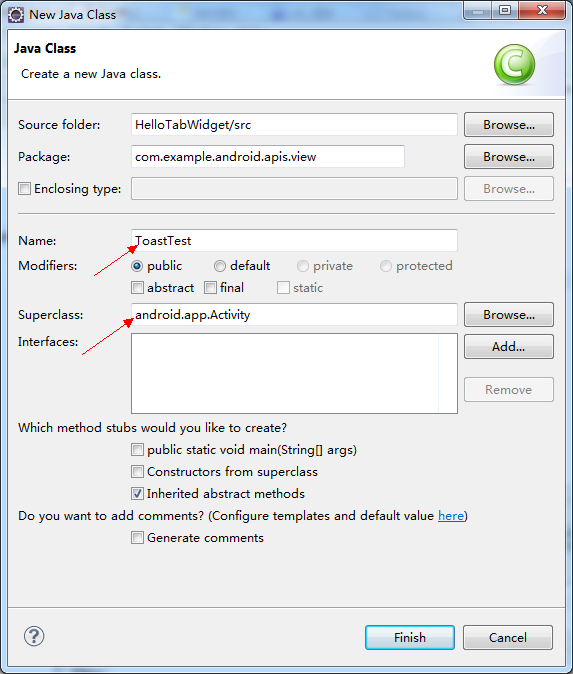
代码如下:

package com.example.android.apis.view;

import com.example.android.apis.R;

import android.app.Activity;
import android.os.Bundle;
import android.view.View;
import android.widget.RadioButton;
import android.widget.Toast;

public class ToastTest extends Activity {
	/** Called when the activity is first created. */
	@Override
	public void onCreate(Bundle savedInstanceState) {
		super.onCreate(savedInstanceState);
		setContentView(R.layout.main);

		final RadioButton redButton = (RadioButton) findViewById(R.id.redButton);

		// 添加一个监听器
		redButton.setOnClickListener(new View.OnClickListener() {

			public void onClick(View v) {
				Toast.makeText(ToastTest.this, "OOOOH,RED", Toast.LENGTH_SHORT)
						.show();

			}
		});
把这两个文件放到相应的目录下:
android安装路径\samples\android-10\ApiDemos\res\layout
android安装路径\samples\android-10\ApiDemos\src\com\example\android\apis\view
最后修改AndroidManifest.xml文件:android安装路径\samples\android-10\ApiDemos
把新建的Activity添加到这个文件里,应该是添加在TextSwitch1之后
      <activity android:name=".view.TextSwitcher1"
                android:label="Views/TextSwitcher">
            <intent-filter>
                <action android:name="android.intent.action.MAIN" />
                <category android:name="android.intent.category.SAMPLE_CODE" />
            </intent-filter>
        </activity>


	<activity android:name=".view.ToastTest"
		android:label="Views/ToastTest">
			<intent-filter>
                <action android:name="android.intent.action.MAIN" />
                <category android:name="android.intent.category.SAMPLE_CODE" />
            </intent-filter>
		</activity>


        <activity android:name=".view.ImageButton1"
                android:label="Views/ImageButton">
            <intent-filter>
                <action android:name="android.intent.action.MAIN" />
                <category android:name="android.intent.category.SAMPLE_CODE" />
            </intent-filter>
        </activity>


 365
365

 被折叠的 条评论
为什么被折叠?
被折叠的 条评论
为什么被折叠?
 到【灌水乐园】发言


