


创建虚拟环境ISAT_with_segment_anything
conda create -n ISAT_with_segment_anything python==3.8
conda activate ISAT_with_segment_anything
安装Segment anything
 https://github.com/facebookresearch/segment-anything
pip install -e .3个权重文件,base最小,large中等,huge最大 ,根据电脑性能选个合适的。
显存至少需求6G
https://dl.fbaipublicfiles.com/segment_anything/sam_vit_b_01ec64.pth
显存至少需求8Ghttps://dl.fbaipublicfiles.com/segment_anything/sam_vit_b_01ec64.pth
https://dl.fbaipublicfiles.com/segment_anything/sam_vit_l_0b3195.pth
显存至少需求8G
https://dl.fbaipublicfiles.com/segment_anything/sam_vit_h_4b8939.pth
安装ISAT_with_segment_anything
pip install -r requirements.txt运行main.py会报错ModuleNotFoundError: No module named 'pycocotools'
在虚拟环境ISAT_with_segment_anything中,本地安装pycocotools
Links for pycocotools-windows![]() https://pypi.tuna.tsinghua.edu.cn/simple/pycocotools-windows/
https://pypi.tuna.tsinghua.edu.cn/simple/pycocotools-windows/
pip install pycocotools_windows-2.0.0.2-cp37-cp37m-win_amd64.whl运行main.py
默认安装的cpu版本
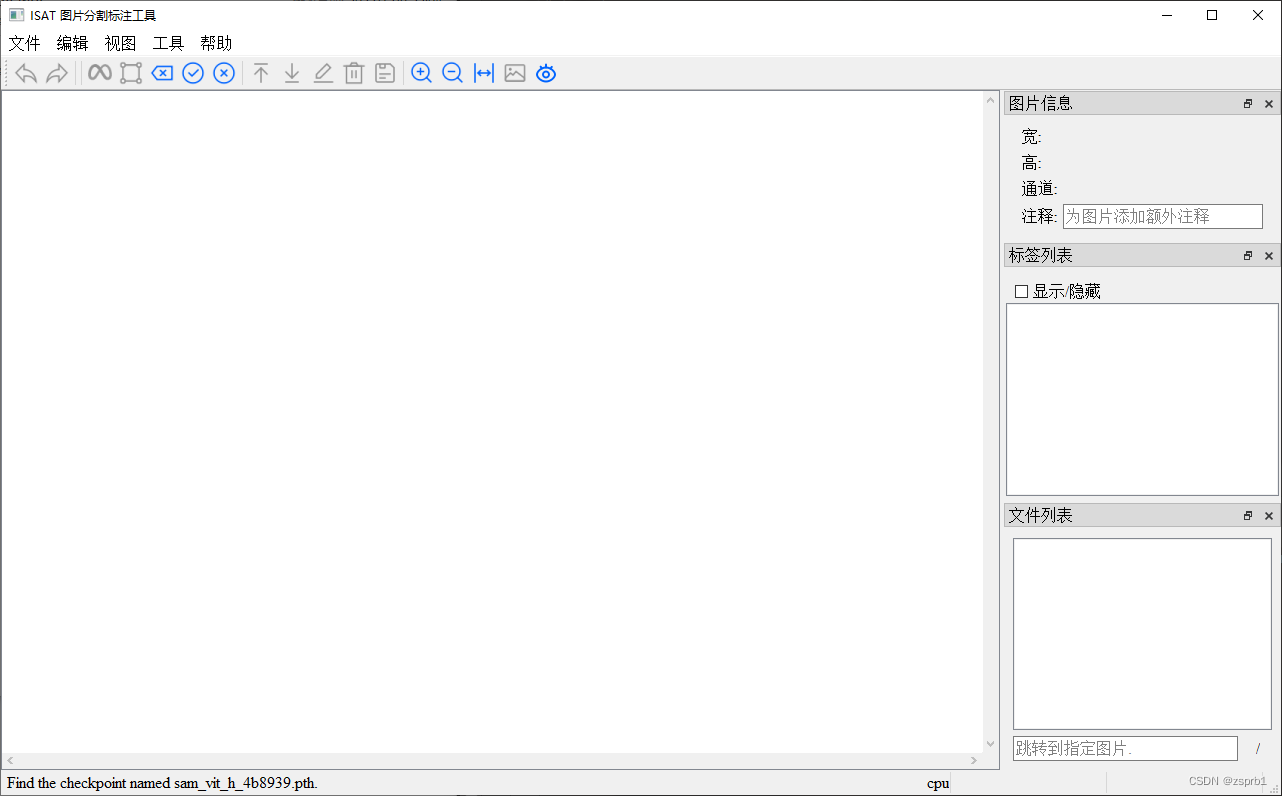
用CPU版本也行,就是显卡没被使用,速度慢,需要替换为GPU版本就先卸载。
查看一下当前的版本
pip listtorch 1.8.1
torchvision 0.9.1
官网下载对应的gpu版本的torch,Start Locally | PyTorch
https://download.pytorch.org/whl/cu117/torch-2.0.1%2Bcu117-cp38-cp38-win_amd64.whl
pip uninstall torch
pip uninstall torchvision
pip install torch torchvision F:\迅雷下载\torch-2.0.1+cu117-cp38-cp38-win_amd64.whl再查看一下当前的版本
torch 2.0.1+cu117
torchvision 0.15.2
再次启动,就是GPU版本的了。
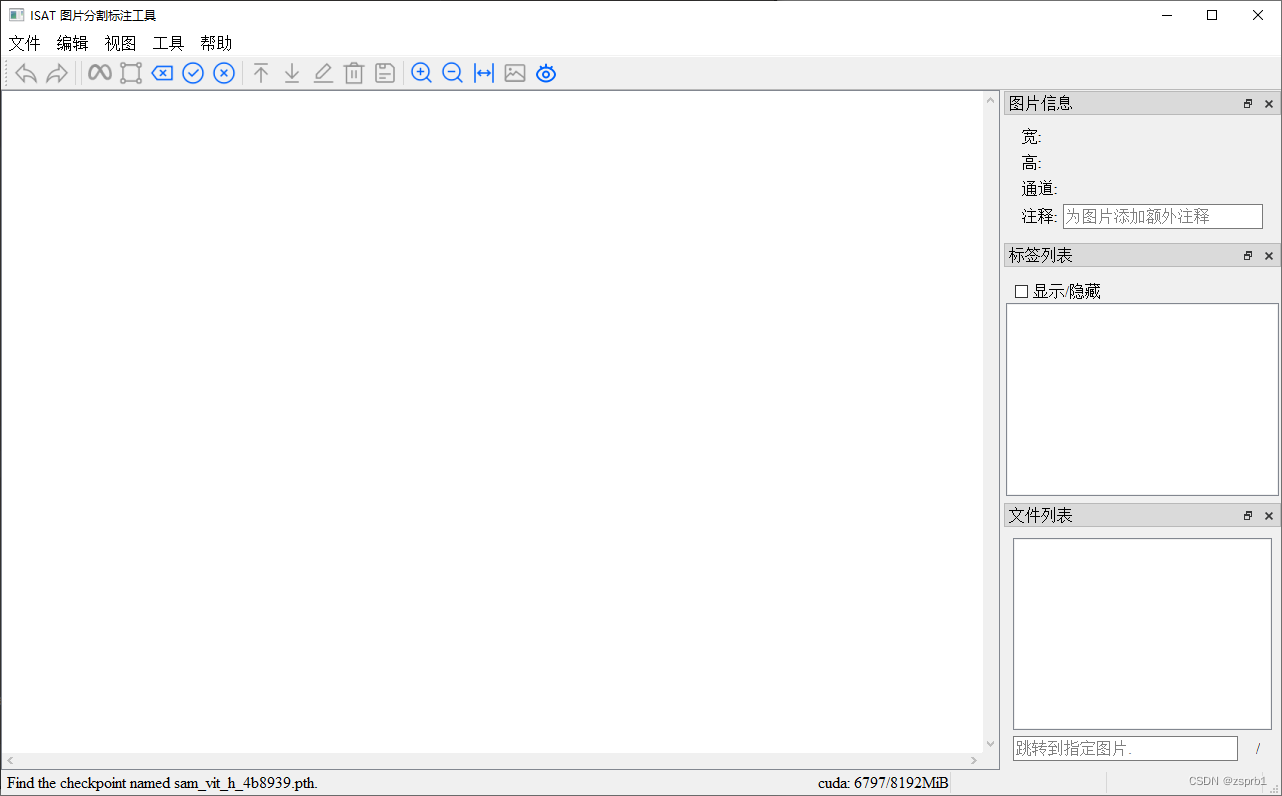
小功告成
使用教程,可以看作者的视频【集成SAM(segment anything model)的图像分割标注工具】
<iframe src="//player.bilibili.com/player.html?aid=740343784&bvid=BV1Lk4y1J7uB&cid=1105879681&page=1" scrolling="no" border="0" frameborder="no" framespacing="0" allowfullscreen="true"> </iframe>


 361
361


 被折叠的 条评论
为什么被折叠?
被折叠的 条评论
为什么被折叠?
 到【灌水乐园】发言


