


本章介绍AnimationDrawable逐帧动画对象,结合上一章Android应用开发(9)图像视图(ImageView)AnimationDrawable+ImageView实现帧动画显示。
参考:https://developer.android.com/reference/android/graphics/drawable/AnimationDrawable
一、AnimationDrawable介绍
用于创建逐帧动画的对象,由一系列 Drawable 对象定义,可用作 View 对象的背景。
创建逐帧动画的最简单方法是在 XML 文件中定义动画,放置在 res/drawable/ 文件夹中,并将其设置为 View 对象的背景。然后,调用start()运行动画。
-
通过XML 文件中定义动画,放置在 res/drawable/ 文件夹中
以 XML 定义的 AnimationDrawable 由单个 <animation-list>元素和一系列嵌套 <item>标签组成。每个项目定义一个动画帧。请参见下面的示例。
res/drawable/ 文件夹中的 spin_animation.xml 文件:
 <!-- Animation frames are wheel0.png through wheel5.png
     files inside the res/drawable/ folder -->
 <animation-list android:id="@+id/selected" android:oneshot="false">
    <item android:drawable="@drawable/wheel0" android:duration="50" />
    <item android:drawable="@drawable/wheel1" android:duration="50" />
    <item android:drawable="@drawable/wheel2" android:duration="50" />
    <item android:drawable="@drawable/wheel3" android:duration="50" />
    <item android:drawable="@drawable/wheel4" android:duration="50" />
    <item android:drawable="@drawable/wheel5" android:duration="50" />
</animation-list>-
通过代码加载和播放此动画
创建背景逐帧动画
 // Load the ImageView that will host the animation and
 // set its background to our AnimationDrawable XML resource.
 ImageView img = (ImageView)findViewById(R.id.spinning_wheel_image);
 img.setBackgroundResource(R.drawable.spin_animation);

 // Get the background, which has been compiled to an AnimationDrawable object.
 AnimationDrawable frameAnimation = (AnimationDrawable) img.getBackground();

 // Start the animation (looped playback by default).
 frameAnimation.start();
创建前景逐帧动画
 // Load the ImageView that will host the animation and
 // set its ImageResource to our AnimationDrawable XML resource.
 ImageView img = (ImageView)findViewById(R.id.spinning_wheel_image);
 img.setImageResource(R.drawable.spin_animation);

 // Get the Drawable, which has been compiled to an AnimationDrawable object.
 AnimationDrawable frameAnimation = (AnimationDrawable) img.getDrawable();

 // Start the animation (looped playback by default).
 frameAnimation.start();
AnimationDrawable XML 属性
AnimationDrawable XML 属性 | |
| 对用于框架的可绘制资源的引用。 | |
| 显示此帧的时间量(以毫秒为单位)。 | |
| 如果为真,动画将只运行一次然后停止。 | |
| 如果为 true,则允许 drawable 的填充根据所选的当前状态进行更改。 | |
| 提供可绘制对象的初始可见性状态;默认值为 false。 | |
二、AnimationDrawable Public 方法
Public methods | |
| void | addFrame(Drawable frame, int duration) 向动画添加帧 |
| int | getDuration(int i) |
| getFrame(int index) | |
| int | |
| void | inflate(Resources r, XmlPullParser parser, AttributeSet attrs, Resources.Theme theme) 从 XML 资源中扩充此 Drawable,该资源可选择按主题设置样式。 |
| boolean | |
| boolean | 指示动画当前是否正在运行。 |
| mutate() 使这个 drawable 可变。 | |
| void | run() 此方法仅用于实现目的,不应直接调用。 |
| void | setOneShot(boolean oneShot) 设置动画是播放一次还是重复播放。 |
| boolean | setVisible(boolean visible, boolean restart) 设置此 AnimationDrawable 是否可见。 |
| void | start() 从第一帧开始播放动画,必要时循环播放。 |
| void | stop() 在当前帧停止动画。 |
| void | unscheduleSelf(Runnable what) 使用当前Callback实现来取消调度此 Drawable。 |
Java code 添加帧图片,并播放动画
 // 从layout布局文件中获取名叫imageView的ImageView控件
 ImageView imageView = (ImageView)findViewById(R.id.imageView);
 // 创建一个帧动画对象
 AnimationDrawable frameAnimation = new AnimationDrawable();
 // 添加图片到帧动画的列表中
 frameAnimation.addFrame(getDrawable(R.drawable.frame1), 50);
 frameAnimation.addFrame(getDrawable(R.drawable.frame2), 50);
 frameAnimation.addFrame(getDrawable(R.drawable.frame3), 50);

 // 设置帧动画是否只播放一次。为true表示只播放一次,为false表示循环播放
 frameAnimation.setOneShot(false);

 // 设置图像视图的图形为帧动画
 imageView.setImageDrawable(frameAnimation);

 // 开始播放帧动画
 frameAnimation.start();
三、AnimationDrawable测试程序
java:
MainActivity.java
package com.example.animationdrawabletest;

import androidx.appcompat.app.AppCompatActivity;

import android.graphics.drawable.AnimationDrawable;
import android.os.Bundle;
import android.view.View;
import android.widget.Button;
import android.widget.ImageView;

public class MainActivity extends AppCompatActivity  implements
        View.OnClickListener{
    private static final String TAG = "lzl-test-AnimationDrawable-Test";
    private ImageView mImageViewByCode, mImageViewByXml;
    private Button mButtonByCode, mButtonByXml;
    private AnimationDrawable mAnimationDrawableByCode, mAnimationDrawableByXml;

    @Override
    protected void onCreate(Bundle savedInstanceState) {
        super.onCreate(savedInstanceState);
        setContentView(R.layout.activity_main);

        mImageViewByCode = (ImageView) findViewById(R.id.imageView_code);
        mImageViewByCode.setOnClickListener(this);
        mButtonByCode = (Button) findViewById(R.id.button_code);
        mButtonByCode.setOnClickListener(this);
        mButtonByCode.setText("开始");

        mImageViewByXml = (ImageView) findViewById(R.id.imageView_xml);
        mImageViewByXml.setOnClickListener(this);
        mButtonByXml = (Button) findViewById(R.id.button_xml);
        mButtonByXml.setOnClickListener(this);
        mButtonByXml.setText("开始");

        setAnimationDrawableByCode();
        setAnimationDrawableByXml();
    }

    private void setAnimationDrawableByCode() {
        mAnimationDrawableByCode = new AnimationDrawable();

        // 下面图片加入到AnimationDrawable的列表中
        mAnimationDrawableByCode.addFrame(getDrawable(R.drawable.fingerprint_unlock_1), 50);
        mAnimationDrawableByCode.addFrame(getDrawable(R.drawable.fingerprint_unlock_2), 50);
        mAnimationDrawableByCode.addFrame(getDrawable(R.drawable.fingerprint_unlock_3), 50);
        mAnimationDrawableByCode.addFrame(getDrawable(R.drawable.fingerprint_unlock_4), 50);
        mAnimationDrawableByCode.addFrame(getDrawable(R.drawable.fingerprint_unlock_5), 50);

        // false表示循环播放
        mAnimationDrawableByCode.setOneShot(false);
        mImageViewByCode.setImageDrawable(mAnimationDrawableByCode);
        mAnimationDrawableByCode.start(); // 开始播放帧动画
    }

    private void setAnimationDrawableByXml() {
        // 设置从animation_list.xml获取
        mImageViewByXml.setImageResource(R.drawable.animation_list);
        mAnimationDrawableByXml = (AnimationDrawable) mImageViewByXml.getDrawable();
        /*mImageViewByXml.setBackgroundResource(R.drawable.animation_list);
        mAnimationDrawableByXml = (AnimationDrawable) mImageViewByXml.getBackground();*/
        mAnimationDrawableByXml.start(); // 开始播放帧动画
    }
    @Override
    public void onClick(View v) {
        if (v.getId() == R.id.button_code || v.getId() == R.id.imageView_code) {
            // 判断帧动画是否正在播放
            if (mAnimationDrawableByCode.isRunning()) {
                mAnimationDrawableByCode.stop(); // 停止播放帧动画
                mButtonByCode.setText("开始");
            } else {
                mAnimationDrawableByCode.start(); // 开始播放帧动画
                mButtonByCode.setText("暂停");
            }
        }

        if (v.getId() == R.id.button_xml || v.getId() == R.id.imageView_xml) {
            // 判断帧动画是否正在播放
            if (mAnimationDrawableByXml.isRunning()) {
                mAnimationDrawableByXml.stop(); // 停止播放帧动画
                mButtonByXml.setText("开始");
            } else {
                mAnimationDrawableByXml.start(); // 开始播放帧动画
                mButtonByXml.setText("暂停");
            }
        }
    }
}
xml:
activity_main.xml layout
<?xml version="1.0" encoding="utf-8"?>
<LinearLayout xmlns:android="http://schemas.android.com/apk/res/android"
    xmlns:app="http://schemas.android.com/apk/res-auto"
    xmlns:tools="http://schemas.android.com/tools"
    android:layout_width="match_parent"
    android:layout_height="match_parent"
    android:orientation="vertical"
    tools:context=".MainActivity">

    <LinearLayout
        android:layout_width="match_parent"
        android:layout_height="300dp"
        android:orientation="horizontal">

        <ImageView
            android:id="@+id/imageView_code"
            android:layout_width="match_parent"
            android:layout_height="wrap_content"
            android:layout_weight="1"
            app:srcCompat="@drawable/fingerprint_unlock_1" />

        <ImageView
            android:id="@+id/imageView_xml"
            android:layout_width="wrap_content"
            android:layout_height="wrap_content"
            android:layout_weight="1"
            app:srcCompat="@drawable/fingerprint_unlock_1" />
    </LinearLayout>

    <LinearLayout
        android:layout_width="match_parent"
        android:layout_height="wrap_content"
        android:orientation="horizontal">
        <Button
            android:id="@+id/button_code"
            android:layout_width="wrap_content"
            android:layout_height="wrap_content"
            android:layout_margin="30dp"
            android:layout_weight="1"
            android:text="开始" />
        <Button
            android:id="@+id/button_xml"
            android:layout_width="wrap_content"
            android:layout_height="wrap_content"
            android:layout_margin="30dp"
            android:layout_weight="1"
            android:text="开始" />
    </LinearLayout>
</LinearLayout>
/res/drawable/animation_list.xml
<animation-list xmlns:android="http://schemas.android.com/apk/res/android"
android:oneshot="false">
<item android:drawable="@drawable/fingerprint_unlock_1" android:duration="50" />
<item android:drawable="@drawable/fingerprint_unlock_2" android:duration="50" />
<item android:drawable="@drawable/fingerprint_unlock_3" android:duration="50" />
<item android:drawable="@drawable/fingerprint_unlock_4" android:duration="50" />
<item android:drawable="@drawable/fingerprint_unlock_5" android:duration="50" />
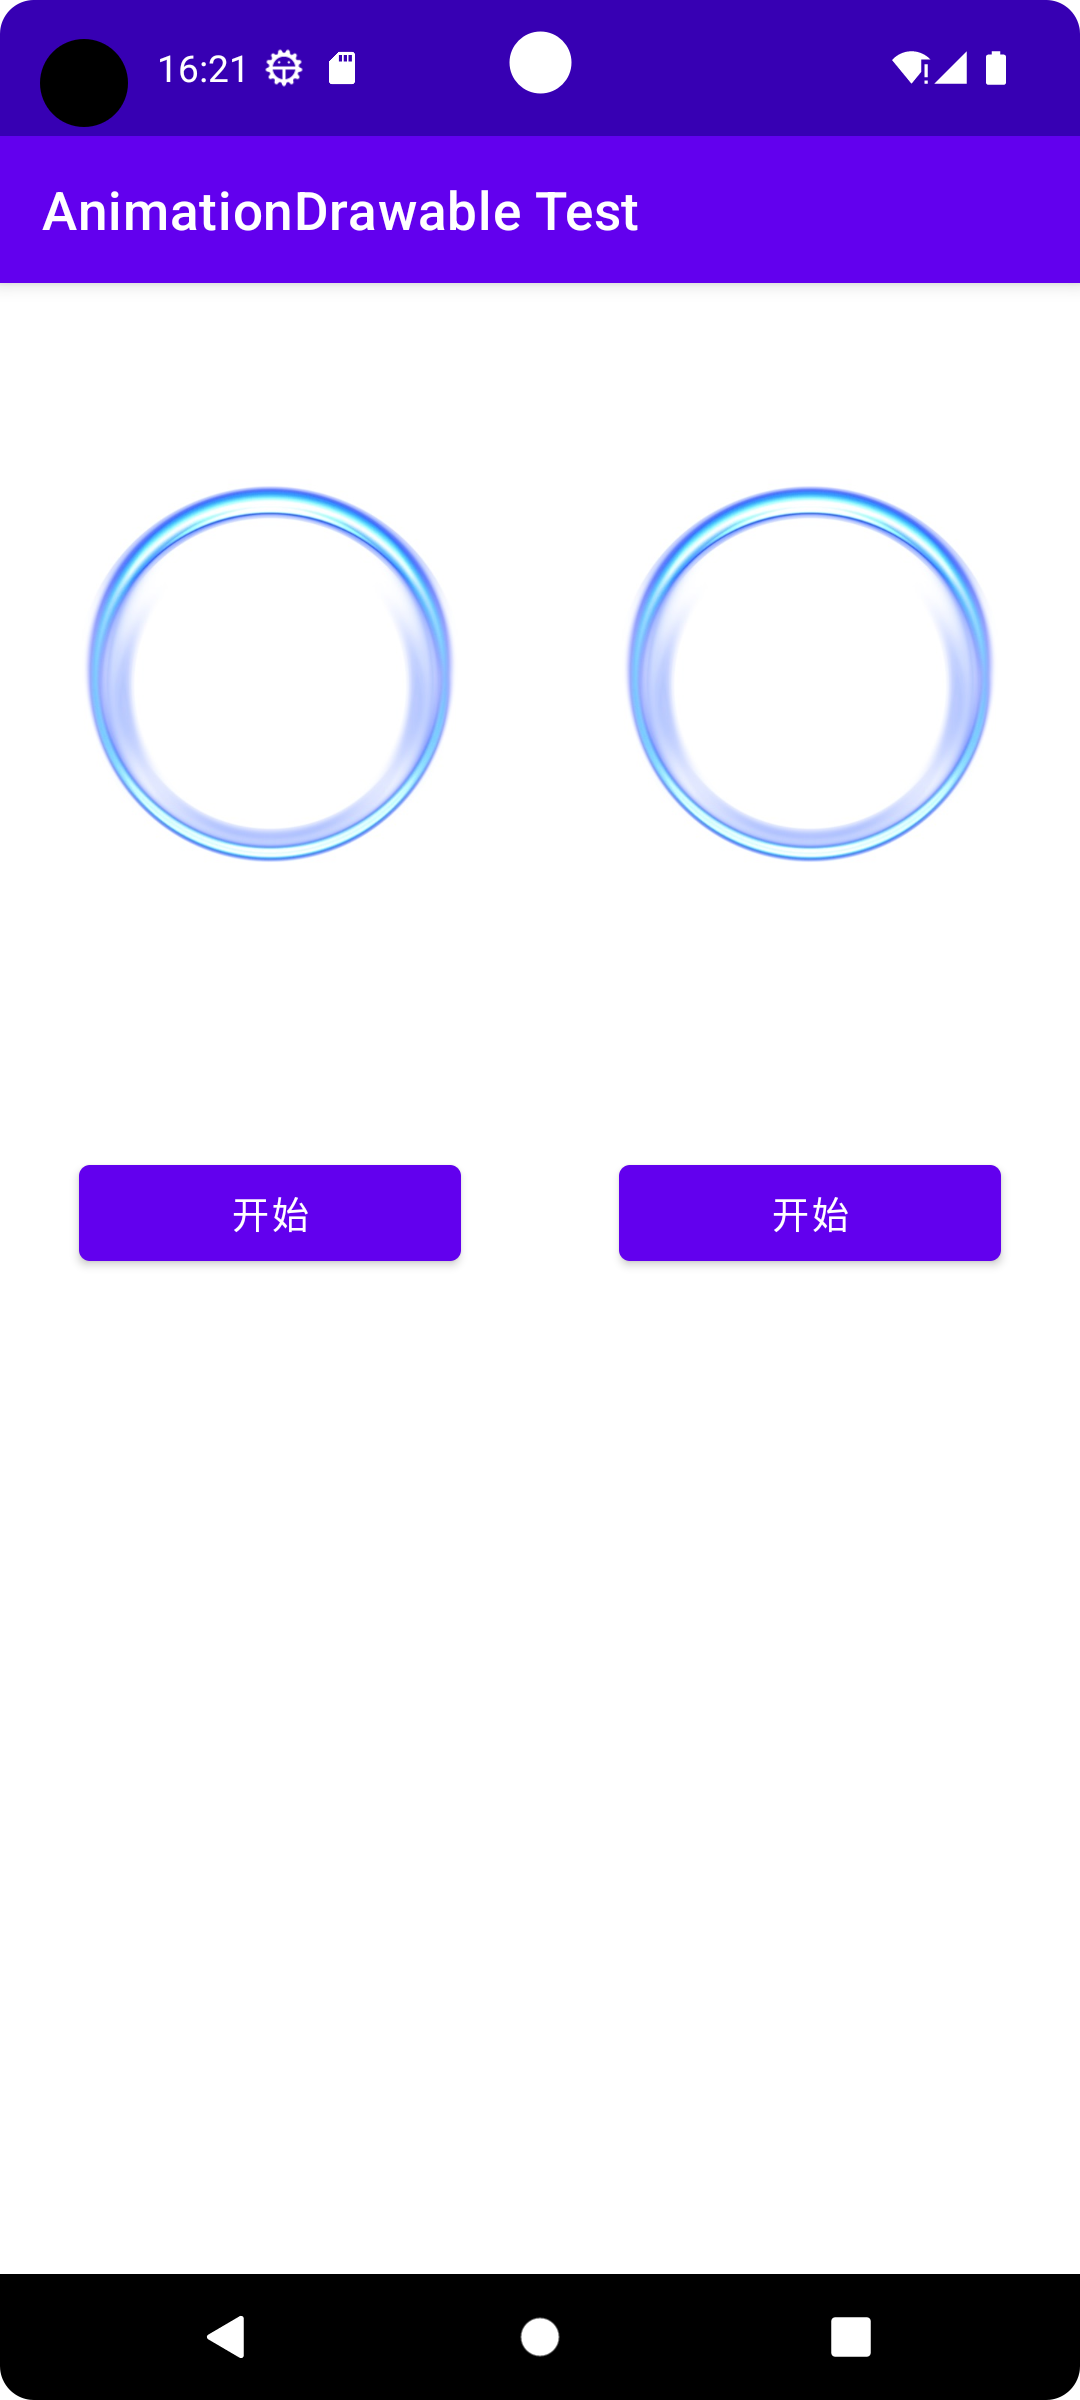
</animation-list>模拟器运行
源码
百度网盘链接:百度网盘 请输入提取码 提取码:test
github下载地址:
GitHub - liuzhengliang1102/AndroidStudio-LearnAppDevelopment
AnimationDrawableTest目录


 871
871

 被折叠的 条评论
为什么被折叠?
被折叠的 条评论
为什么被折叠?
 到【灌水乐园】发言


