


五坑无错,直接一键安装,手把手教程!
系统环境:centos7.9 (linux系统)、网络连接正常、键盘和鼠标.
Nginx是一个强大且灵活的Web服务器和反向代理服务器,适用于各种Web应用和场景,具有出色的性能和可扩展性。具体理论知识请自行学习~
下面开始手把手部署教程
脚本使用方法:
su - root
#输入root密码登录


touch /root/my.sh && chmod 777 /root/my.sh
#创建一个脚本文本,并赋予777权限


vim /root/my.sh
#开始写入脚本
话不多说直接上脚本
#!/bin/bash
#function: nginx源代码编译安装
#author: zw 2023.9.4
##############zw原创##############

##############关闭防火墙和selinux##############
systemctl stop firewalld.service
setenforce 0

##############编译安装nginx##############
useradd nginx
##创建用户

yum -y install wget
yum -y install  gcc gcc-c++ autoconf automake libtool make openssl openssl-devel pcre pcre-devel
##安装依赖
cd  /usr/local/src/
##切换安装路径
wget  http://nginx.org/download/nginx-1.8.1.tar.gz
tar -zxvf nginx-1.8.1.tar.gz
cd  nginx-1.8.1

./configure \
--prefix=/usr/local/nginx \
--with-http_ssl_module \
--with-http_flv_module \
--with-http_stub_status_module \
--with-http_gzip_static_module \
--with-pcre
make && make install
##编译安装


ln -s /usr/local/nginx/sbin/nginx  /usr/local/sbin/
##做软连接使nginx命令在系统中被识别,优化路径


sed -i "s/#user  nobody;/user  nginx;/g" /usr/local/nginx/conf/nginx.conf
sed -i '3i worker_rlimit_nofile  65535;' /usr/local/nginx/conf/nginx.conf
#sed -i 's|#pid        logs/nginx.pid;|pid        /var/logs/nginx.pid;|g' /usr/local/nginx/conf/nginx.conf
sed -i "s/worker_connections  1024;/worker_connections  10240;/g" /usr/local/nginx/conf/nginx.conf
###修改配置文件


echo  "
##############目录简介##################
注意以下是nginx所在目录:
  nginx path prefix: "/usr/local/nginx"
  nginx binary file: "/usr/local/nginx/sbin/nginx"
  nginx configuration prefix: "/usr/local/nginx/conf"
  nginx configuration file: "/usr/local/nginx/conf/nginx.conf"
  nginx pid file: "/usr/local/nginx/logs/nginx.pid"
  nginx error log file: "/usr/local/nginx/logs/error.log"
  nginx http access log file: "/usr/local/nginx/logs/access.log"
  nginx http client request body temporary files: "client_body_temp"
  nginx http proxy temporary files: "proxy_temp"
  nginx http fastcgi temporary files: "fastcgi_temp"
  nginx http uwsgi temporary files: "uwsgi_temp"
  nginx http scgi temporary files: "scgi_temp"。
"
echo  -e " \n"
echo "
##############命令简介##################
常用命令:
# 进入生成目录
cd  /usr/local/nginx
# 测试
/usr/local/nginx/sbin/nginx -t
# 查看编译模块信息
/usr/local/nginx/sbin/nginx -V
# 启动
/usr/local/nginx/sbin/nginx
# 重新载入配置文件
/usr/local/nginx/sbin/nginx  -s reload
# 重启
/usr/local/nginx/sbin/nginx  -s reopen
# 停止
/usr/local/nginx/sbin/nginx  -s stop
"
以下代码全部复制进文本里
退出保存直接运行脚本即可安装
sh my.sh
#运行这个脚本
运行结束后,输入启动命令开启服务
nginx
#启动nginx服务
接下来,打开游览器,搜索本机ip验证是否安装成功
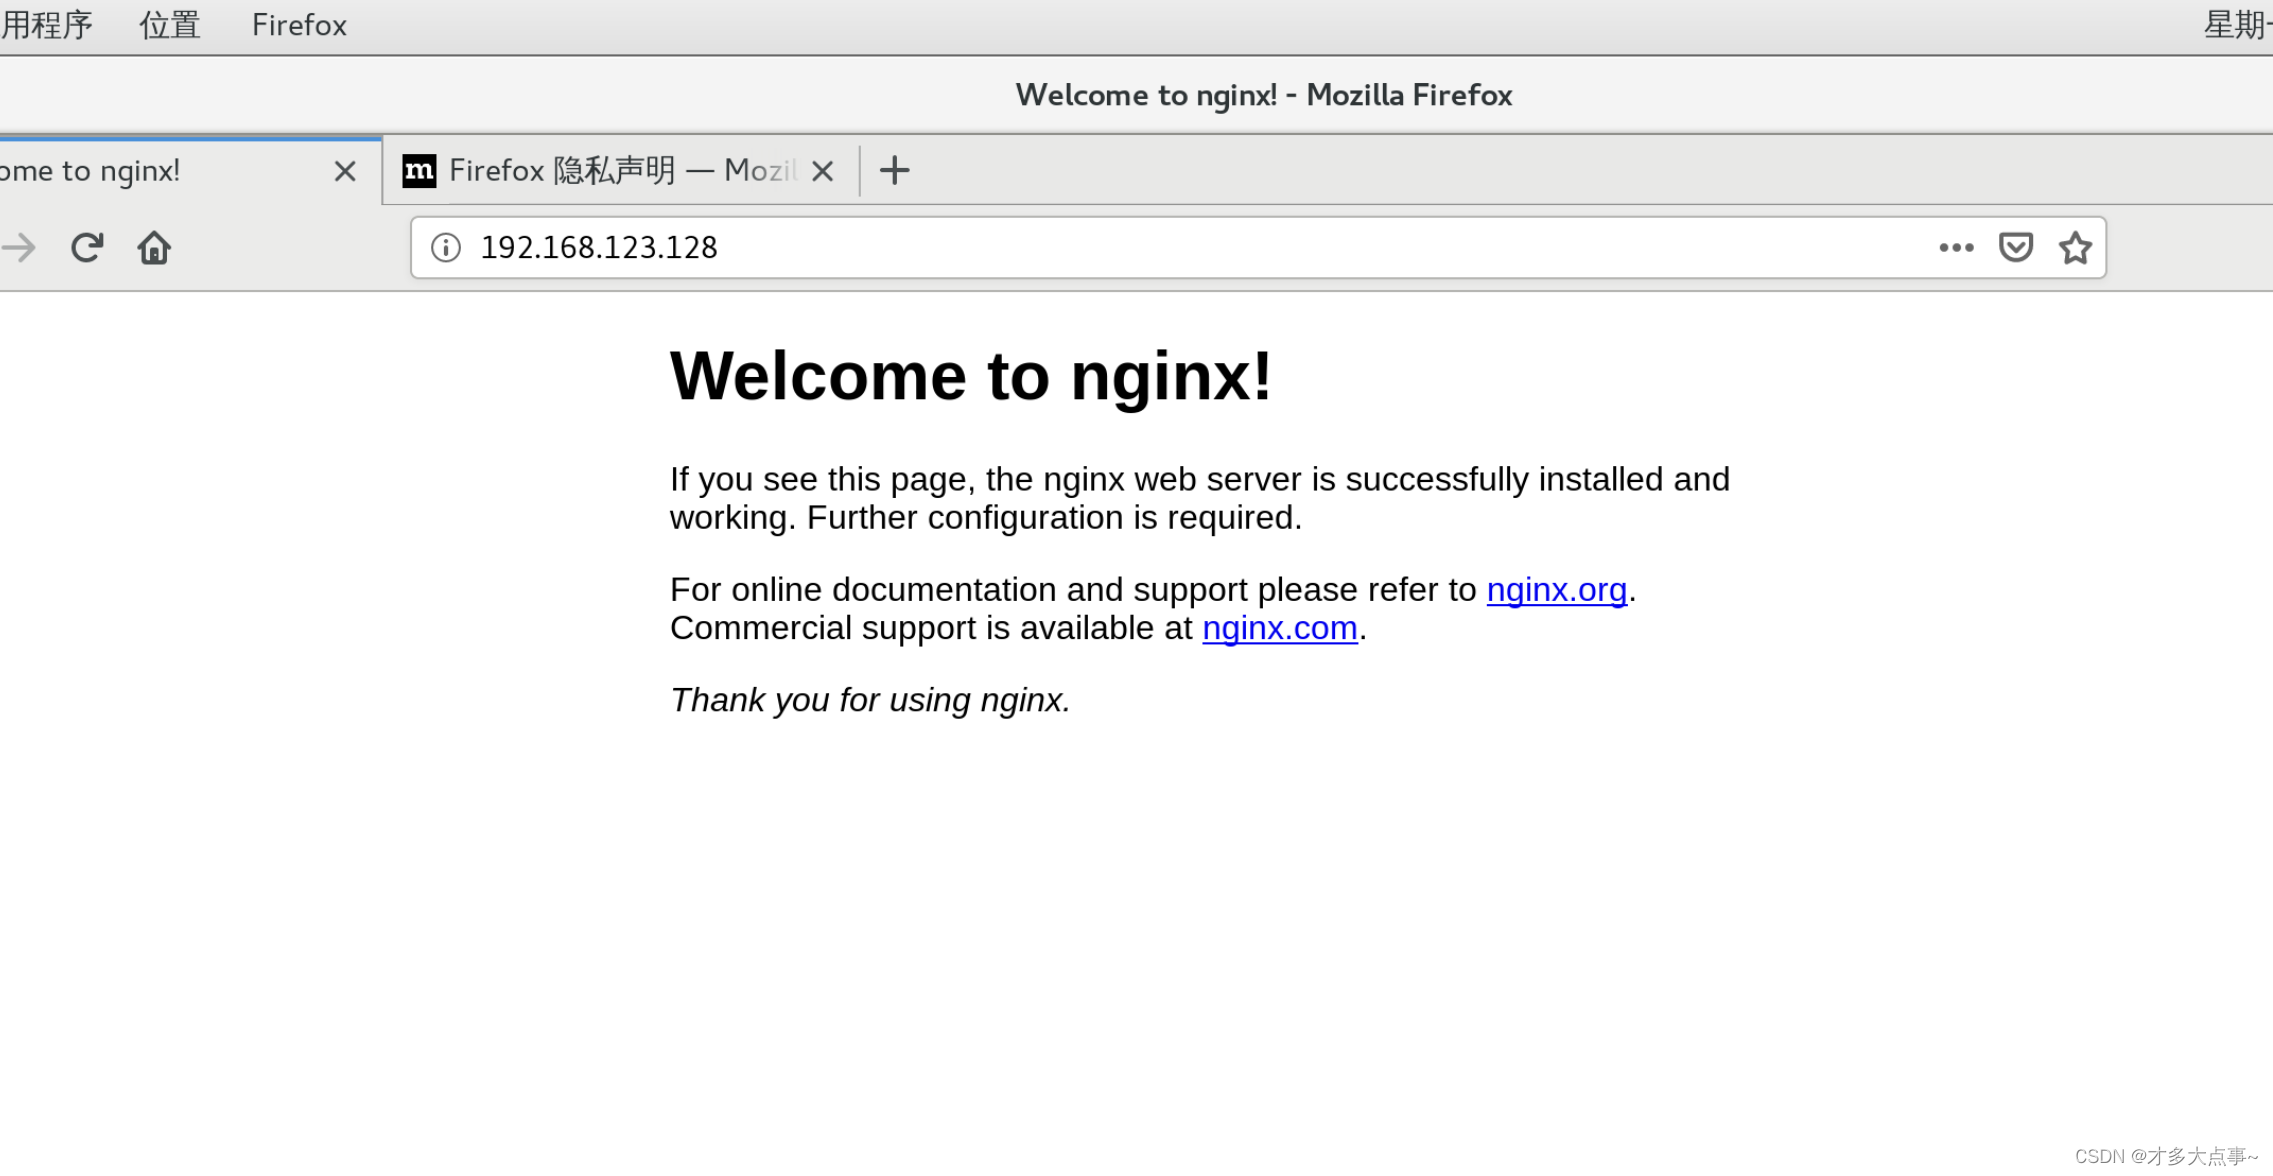
出现以上图片信息就表示安装成功了.
到这就结束了,点个关注不迷路,还有更多的教程脚本和资源干货哦!


 6146
6146


 被折叠的 条评论
为什么被折叠?
被折叠的 条评论
为什么被折叠?
 到【灌水乐园】发言


