


兴趣需要,想做下VTK与MFC想结合的程序,MFC快要在桌面程序上面失去市场份额了,现在大多使用QT来做,但是本科的时候学的就是MFC,也相对来说比较熟悉,所以就想使用MFC来写一个简单的单文档程序。首先我们需要在编译的时候将USEGUISUPPORT->USEMFC勾选上,才能在MFC平台上使用VTK。网络上现在大多流行两种VTK和MFC的方法,其实两者结合的关键就是将VTK的绘制窗口vtkrenderwindow与MFC中的view窗口相一致,让VTK上的绘制图形能够在MFC上的VIEW类上显示出来。所以网上的方法一:就是使用vtkMFCWindow类,方法二:使用renWin->SetParentId(myhwnd);在这两个方法的选择上,水灵大神的在CSDN的博客上面就是使用方法二,但是在他的期刊论文上则是推荐使用方法一,所以我就方法一进行了测试,但是很不幸,我按网上的步骤一步一步的添加代码,编译无错,但是在运行时出现异常,查其原因就是出现了空指针,在C++中,出现空指针无疑是最致命的,所以在网友的劝说下,我就使用了第二种方法进行测试,虽然在途中同样出现空指针错误,但是经过思考解决了这一问题,我想其实可能第一种方法的问题也是差不多的,所以将代码和结果写上,以免自己时间久了忘记了。
1.首先将程序中的控制台程序贴上来,其实就是读取一个格式为XYZ的三维点坐标,并将这些点按顺序连接起来,形成一个线圈。
#include <iostream>
#include <vector>
#include "vtkActor.h"
#include "vtkRenderer.h"
#include "vtkRenderWindow.h"
#include "vtkRenderWindowInteractor.h"
#include "vtkProperty.h"
#include "vtkInteractorStyleTrackballCamera.h"
#include "vtkPoints.h"
#include "vtkPolyVertex.h"
#include "vtkUnstructuredGrid.h"
#include "vtkDataSetMapper.h"
#include "vtkPolyData.h"
#include "vtkCellArray.h"
#include "vtkInteractorStyleTrackball.h"
#include "vtkPolyDataMapper.h"
#include "vtkSmartPointer.h"
#include "vtkLine.h"
#include "vtkLineSource.h"
using namespace std;

void main(int argc, char* argv[])
{
	vtkPoints *m_Points = vtkPoints::New();
	vtkCellArray *vertices = vtkCellArray::New();	//_存放细胞顶点,用于渲染(显示点云所必须的)
	vtkPolyData *polyData = vtkPolyData::New();
	vtkPolyDataMapper *pointMapper = vtkPolyDataMapper::New();
	vtkActor *pointActor = vtkActor::New();
	vtkRenderer *ren1= vtkRenderer::New();
	vtkRenderWindow *renWin = vtkRenderWindow::New();
	vtkRenderWindowInteractor *iren = vtkRenderWindowInteractor::New();
	vtkInteractorStyleTrackball *istyle = vtkInteractorStyleTrackball::New();

	//_读进点云数据信息
	FILE*fp = NULL;
	fp=fopen("point.txt","r");	//读取TXT中的XYZ坐标
	if(!fp)
	{

		printf("打开文件失败!!\n");
		exit(0);
	}
	double x=0,y=0,z=0;
	int i = 0;
	while (!feof(fp))
	{
		fscanf(fp,"%lf	%lf	%lf",&x,&y,&z);
		m_Points->InsertPoint(i,x,y,z);	//_加入点信息
		//cout<<x<<" "<<y<<" "<<z<<endl;
		cout<<x<<endl;
		vertices->InsertNextCell(1);		//_加入细胞顶点信息----用于渲染点集
		vertices->InsertCellPoint(i);
		i ++;
	}
	fclose(fp);
	cout<<"i-1="<<i-1<<endl;

	vtkCellArray *lines=vtkCellArray::New();
	for (int m=0;m<=i-1;m++)
	{
		if(m<i-1)
		{
			vtkSmartPointer<vtkLine> line =
			vtkSmartPointer<vtkLine>::New();
		line->GetPointIds()->SetId(0,m);
		line->GetPointIds()->SetId(1,m+1);
		lines->InsertNextCell(line);
		}
		else
		{
			vtkSmartPointer<vtkLine> line =
				vtkSmartPointer<vtkLine>::New();
			line->GetPointIds()->SetId(0,m);
			line->GetPointIds()->SetId(1,1);
			lines->InsertNextCell(line);
		}
	}


	//_创建待显示数据源

	polyData->SetPoints(m_Points);		//_设置点集
	polyData->SetVerts(vertices);//_设置渲染顶点
	polyData->SetLines(lines);

	pointMapper->SetInput(polyData);

	pointActor->SetMapper(pointMapper);
	pointActor->GetProperty()->SetColor(0.0,0.1,1.0);
	pointActor->GetProperty()->SetAmbient(0.5);
	pointActor->GetProperty()->SetPointSize(2);
	//pointActor->GetProperty()->SetRepresentationToWireframe();
	//pointActor->GetProperty()->SetRepresentationToSurface();

	ren1->AddActor( pointActor );
	ren1->SetBackground( 0, 0, 0);

	renWin->AddRenderer( ren1 );
	renWin->SetSize(800,800);

	iren->SetInteractorStyle(istyle);
	iren->SetRenderWindow(renWin);  //交互

	renWin->Render();
	iren->Start();

	//删除各指针
	m_Points->Delete();
	vertices->Delete();
	polyData->Delete();
	pointMapper->Delete();
	pointActor->Delete();
	ren1->Delete();
	renWin->Delete();
	iren->Delete();
	istyle->Delete();
}
(2)其后就是在MFC中创建一个单文档程序,配置好VTK的环境,这个时候既可以采用水灵大神在博客里面写的CmakeList.txt的方法,也可以一个一个在MFC程序中将附加库路径,包含库路径等设置好,也是同样的效果。
在设置好环境之后,我们在MFC中创建一个新类CVTK,为了将我们上述的控制台程序作为一个类的形式写进去,方便后面的调用。
首先在CVTK.h中添加头文件并声明各类的指针变量
// Vtk.h: interface for the CVtk class.
//
//

#if !defined(AFX_VTK_H__B872AED3_7A78_4473_BB74_44D3E9117A8F__INCLUDED_)
#define AFX_VTK_H__B872AED3_7A78_4473_BB74_44D3E9117A8F__INCLUDED_

#if _MSC_VER > 1000
#pragma once
#endif // _MSC_VER > 1000
#include <iostream>
#include <vector>
#include "vtkActor.h"
#include "vtkRenderer.h"
#include "vtkRenderWindow.h"
#include "vtkRenderWindowInteractor.h"
#include "vtkProperty.h"
#include "vtkInteractorStyleTrackballCamera.h"
#include "vtkPoints.h"
#include "vtkPolyVertex.h"
#include "vtkUnstructuredGrid.h"
#include "vtkDataSetMapper.h"
#include "vtkPolyData.h"
#include "vtkCellArray.h"
#include "vtkInteractorStyleTrackball.h"
#include "vtkPolyDataMapper.h"
#include "vtkSmartPointer.h"
#include "vtkLine.h"
#include "vtkLineSource.h"
class CVtk
{
public:

	vtkPoints *m_Points;
	vtkCellArray *lines;
	vtkCellArray *vertices;
	vtkPolyData *polyData;
	vtkLine *line;
	vtkPolyDataMapper *pointMapper;
	vtkActor *pointActor;
	vtkRenderer *ren1;
	vtkRenderWindow *renWin;
	vtkRenderWindowInteractor *iren;
	int i;
	//vtkInteractorStyleTrackball *istyle;
	void BeginRenderOn(HWND myhwnd);
	CVtk();
	virtual ~CVtk();
	void TextRenderer(void);
};

#endif // !defined(AFX_VTK_H__B872AED3_7A78_4473_BB74_44D3E9117A8F__INCLUDED_)
(3)我们在CVTK.cpp中添加一个成员函数TextRenderer(),其代码如下,关键是弹出一个文件对话框,并可以选择格式为XYZ的三维文本文件,并将其插入到VtkPoints,并连接成一个封闭的线串。
void CVtk::TextRenderer(void)
{
	CString FilePathName;
	CString wenjianhouzhui;
	CFileDialog dlg(TRUE,NULL,NULL,OFN_HIDEREADONLY|OFN_OVERWRITEPROMPT,(LPCTSTR)_TEXT("DCIOM Files (*.dcm)|*.dcm|TIFF Files (*.tif)|*.tif|TXT Files (*.txt)|*.txt|BMP Files (*.bmp)|*.bmp|JPG Files (*.jpg)|*.jpg|All Files (*.*)|*.*||"),NULL);
	if (dlg.DoModal()==IDOK)
	{
		FilePathName=dlg.GetPathName();
		wenjianhouzhui=dlg.GetFileExt();
		//wenjianhouzhui=dlg.GetFileExt();
		//AfxMessageBox(wenjianhouzhui);
	}
	else
	{
		return ;
	}
	if(wenjianhouzhui=="txt")
	{
		FILE*fp = NULL;
		fp=fopen(FilePathName,"r");	//读取TXT中的XYZ坐标
		if(!fp)
		{

			AfxMessageBox("打开文件失败!!\n");
			exit(0);
		}
		double x=0,y=0,z=0;
		int i = 0;
		m_Points=vtkPoints::New();
		vertices=vtkCellArray::New();
		while (!feof(fp))
		{
			fscanf(fp,"%lf	%lf	%lf",&x,&y,&z);
			m_Points->InsertPoint(i,x,y,z);	//_加入点信
			//cout<<x<<" "<<y<<" "<<z<<endl;
			cout<<x<<endl;
			vertices->InsertNextCell(1);		//_加入细胞顶点信息----用于渲染点集
			vertices->InsertCellPoint(i);
			i ++;
		}
		fclose(fp);

	lines=vtkCellArray::New();
	for (int m=0;m<=i-1;m++)
	{
		if(m<i-1)
		{
			line =vtkLine::New();
			line->GetPointIds()->SetId(0,m);
			line->GetPointIds()->SetId(1,m+1);
			lines->InsertNextCell(line);
		}
		else
		{
			line =vtkLine::New();
			line->GetPointIds()->SetId(0,m);
			line->GetPointIds()->SetId(1,1);
			lines->InsertNextCell(line);
		}
	}
	//_创建待显示数据源
	polyData=vtkPolyData::New();
	polyData->SetPoints(m_Points);		//_设置点集
	polyData->SetVerts(vertices);//_设置渲染顶点
	polyData->SetLines(lines);
	pointMapper=vtkPolyDataMapper::New();
	pointMapper->SetInput(polyData);
	pointActor=vtkActor::New();
	pointActor->SetMapper(pointMapper);
	pointActor->GetProperty()->SetColor(0.0,0.1,1.0);
	pointActor->GetProperty()->SetPointSize(2);
	ren1=vtkRenderer::New();
	ren1->AddActor( pointActor );
	ren1->SetBackground(1,1,1);
	//ren1->SetBackground( 0, 0, 0);
	renWin=vtkRenderWindow::New();
	renWin->AddRenderer( ren1 );
	iren=vtkRenderWindowInteractor::New();
	//istyle=vtkInteractorStyleTrackball::New();
	//iren->SetInteractorStyle(istyle);
	iren->SetRenderWindow(renWin);

}
}
(4)我们在CVTK.cpp中添加一个成员函数BeginRenderer(),其代码如下,作用就是获取当前的窗口指针并将其设为VTK绘制窗口的父窗口
void CVtk::BeginRenderOn(HWND myhwnd)
{
	renWin->SetParentId(myhwnd);
	//开始实现
	if(ren1)
	{
		renWin->Render();
	}
}
(5)其后我们在CVTK的析构函数!~CVTK()中删除声明的指针对象
CVtk::~CVtk()
{
	m_Points->Delete();
	vertices->Delete();
	line->Delete();
	lines->Delete();
	polyData->Delete();
	pointMapper->Delete();
	pointActor->Delete();
	ren1->Delete();
	renWin->Delete();
	iren->Delete();

}
(6)到现在为止,将VTK的控制台程序转为MFC中的代码就已经完成了,其后就是在MFC中实现图形的绘制,我们现在主菜单上添加一个打开文件的按钮,并在Cview类下面添加他的事件处理程序。
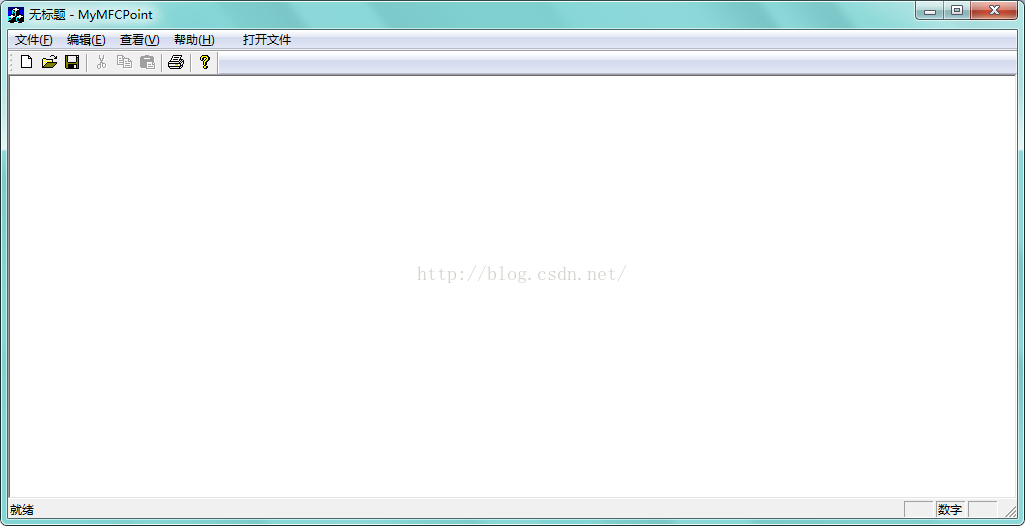
其事件处理程序如下,及在此调用CVTK的TextRenderer()函数,下面的m_pVtk为CVTK类的对象,上述声明是在View的头文件中进行的声明,
void CMyMFCPointView::OnTxTFileopen()
{
	// TODO: 在此添加命令处理程序代码

	m_pVtk.TextRenderer();
Invalidate();
}下面为view类头文件的声明
// MyMFCPointView.h : interface of the CMyMFCPointView class
//
/

#if !defined(AFX_MYMFCPOINTVIEW_H__A74C4D7E_8977_4D06_9F00_610A95A7CFF9__INCLUDED_)
#define AFX_MYMFCPOINTVIEW_H__A74C4D7E_8977_4D06_9F00_610A95A7CFF9__INCLUDED_

#if _MSC_VER > 1000
#pragma once
#endif // _MSC_VER > 1000
#include "Vtk.h"

class CMyMFCPointView : public CView
{
protected: // create from serialization only
	CMyMFCPointView();
	DECLARE_DYNCREATE(CMyMFCPointView)

// Attributes
public:
	CMyMFCPointDoc* GetDocument();
	/*CString FilePathName;
	CString wenjianhouzhui;*/
// Operations
public:
	CVtk m_pVtk;
	double sx;
	double sy;


// Overrides
	// ClassWizard generated virtual function overrides
	//{{AFX_VIRTUAL(CMyMFCPointView)
	public:
	virtual void OnDraw(CDC* pDC);  // overridden to draw this view
	virtual BOOL PreCreateWindow(CREATESTRUCT& cs);
	protected:
	virtual BOOL OnPreparePrinting(CPrintInfo* pInfo);
	virtual void OnBeginPrinting(CDC* pDC, CPrintInfo* pInfo);
	virtual void OnEndPrinting(CDC* pDC, CPrintInfo* pInfo);
	//}}AFX_VIRTUAL

// Implementation
public:
	virtual ~CMyMFCPointView();
#ifdef _DEBUG
	virtual void AssertValid() const;
	virtual void Dump(CDumpContext& dc) const;
#endif

protected:

// Generated message map functions
protected:
	//{{AFX_MSG(CMyMFCPointView)
		// NOTE - the ClassWizard will add and remove member functions here.
		//    DO NOT EDIT what you see in these blocks of generated code !
	//}}AFX_MSG
	DECLARE_MESSAGE_MAP()
public:
	afx_msg void OnSize(UINT nType, int cx, int cy);

	afx_msg void OnTxTFileopen();
//	afx_msg void OnFileOpen();
};

#ifndef _DEBUG  // debug version in MyMFCPointView.cpp
inline CMyMFCPointDoc* CMyMFCPointView::GetDocument()
   { return (CMyMFCPointDoc*)m_pDocument; }
#endif

/

//{{AFX_INSERT_LOCATION}}
// Microsoft Visual C++ will insert additional declarations immediately before the previous line.

#endif // !defined(AFX_MYMFCPOINTVIEW_H__A74C4D7E_8977_4D06_9F00_610A95A7CFF9__INCLUDED_)
为了能将所画的图形随着窗口大小变化而变化,起先开始我是在view的Onsize()函数中写下如下代码,m_pVtk.renWin->SetSize(cx,cy);,但是这个时候会出现空指针错误,是因为,当窗口第一次创建的时候我们还没有renWin这个指针对象,这个是我们在点击打开文件按钮选择好文件之后才会创建的对象,所以此时会出现空指针错误,为了解决这个问题,我在view.h中定义了两个变量sx,sy,然后在Onsize()函数中写下如下的代码,目的是将当前窗口的大小的值赋给sx,sy。而我可以在其他的地方使用这个值。
void CMyMFCPointView::OnSize(UINT nType, int cx, int cy)
{
	CView::OnSize(nType, cx, cy);

	// TODO: 在此处添加消息处理程序代码
	sx=cx;
	sy=cy;
}
最后,我在view类的OnDraw()函数中绘图,并实现图形随窗口大小变动的功能
void CMyMFCPointView::OnDraw(CDC* pDC)
{
	CMyMFCPointDoc* pDoc = GetDocument();
	ASSERT_VALID(pDoc);
	// TODO: add draw code for native data here
	m_pVtk.BeginRenderOn(this->m_hWnd);
	m_pVtk.renWin->SetSize(sx,sy);
}
至此,我们就完成了VTK与MFC相结合的程序,当我们点击打开文件按钮之后,就会在view窗口出现所画的线圈,并且随窗口大小改变
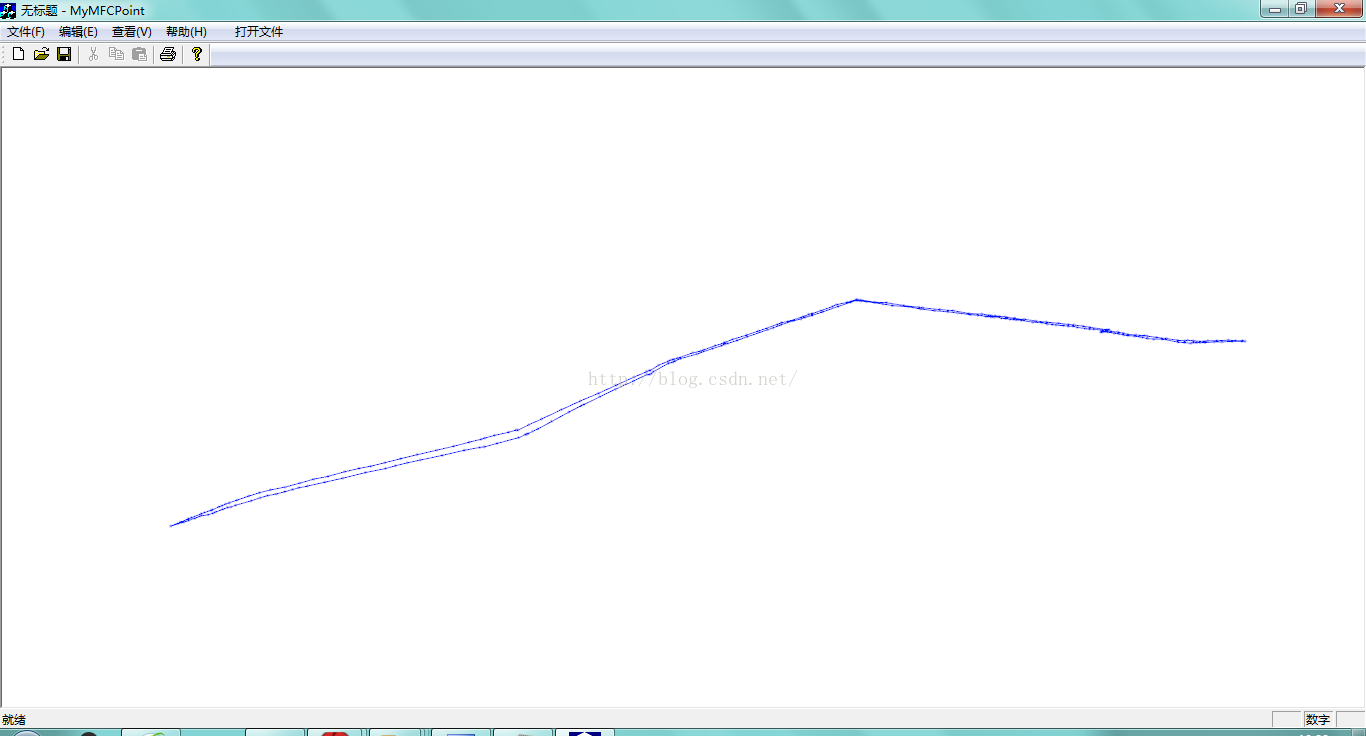
可以在这个程序进行更多三维重建的功能,还得继续开发。至于VtkMFCWindow类的可用性还未证实,留待以后的实验。
如果您觉得这篇博文有用,请访问我的个人站:http://www.stubbornhuang.com,更多博文干货等着您。


 626
626


 被折叠的 条评论
为什么被折叠?
被折叠的 条评论
为什么被折叠?
 到【灌水乐园】发言


