


【这不是一篇技术博客】
1.关闭键盘的方式
- (IBAction) textFieldDoneEditing:(id)sender;
- (IBAction) backgroundTap:(id)sender;- (IBAction) textFieldDoneEditing:(id)sender {
[sender resignFirstResponder];
}
- (IBAction) backgroundTap:(id)sender{
[_nameField resignFirstResponder];
[_numberField resignFirstResponder];
}添加完代码之后还要打开 Connection inspector ,把 Did End On Exit 连到 File's Owner 上。
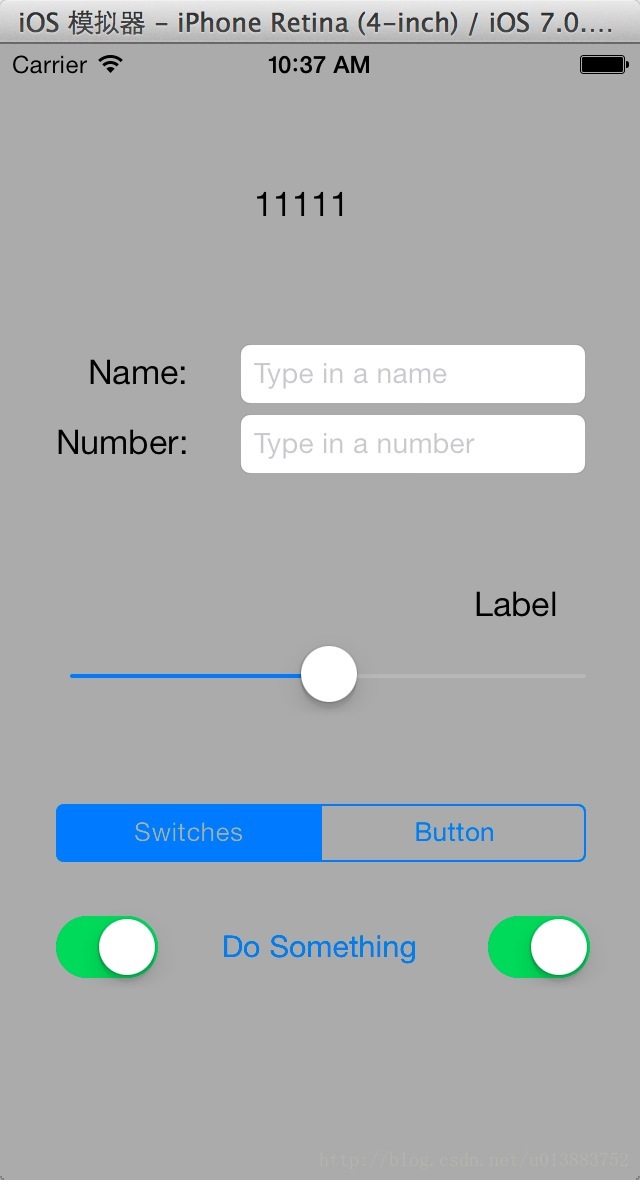
2.数值调节
接下来是中间那个 Label 和 Slider 。这两个控件是用来实现将 Slider 的 Attributes inspector 中,Maximum 改为100,Minimum 最小改为0,Current 改为50。接下来是创建输入输出口。打开 Assistant editor ,按住 control 将 Slider 连线至 ViewController.h 的 @interface 与 @end 间的空白处,弹出窗口后类型选择 Action ,命名为 sliderChanged 。用同样的方法操作 Label ,但是直接使用默认设置 IBOutlet ,命名为 sliderLabel 。在 ViewController.m 中的相应位置加入如下代码:
-(IBAction)sliderChanged:(id)sender{
    UISlider *slider =(UISlider *)sender;
    int progressAsInt = (int)roundf(slider.value);
    _sliderLabel.text = [NSString stringWithFormat:@"%d", progressAsInt];
}@synthesize a=_a;3.简易的分栏
- (IBAction)toggleControls:(id)sender {
    if([sender selectedSegmentIndex] == 0){
        _leftSwitches.hidden = NO;
        _rightSwitches.hidden = NO;
        _doSomethingButton.hidden = YES;
    }
    else{
        _leftSwitches.hidden = YES;
        _rightSwitches.hidden = YES;
        _doSomethingButton.hidden = NO;
    }
}
4.开关联动
- (IBAction)switchChanged:(id)sender {
    UISwitch *whichSwitch = (UISwitch *)sender;
    BOOL setting = whichSwitch.isOn;
    [_leftSwitches setOn:setting animated:YES];
    [_rightSwitches setOn:setting animated:YES];
}
5.操作表和警报
这两个东西其实应该叫“Action Sheet”和“Alert View”会显得不那么陌生。我们就以上面已经创建的名为“Do Something”的 Button 为Action Sheet 的触发按钮。在 ViewController.h 中创建一个此 Button 的 Action 方法,命名为“buttonPressed”。该方法的实现如下:
- (IBAction)buttonPressed:(id)sender {
    UIActionSheet *myActionSheet=[[UIActionSheet alloc]initWithTitle:@"标题" delegate:self cancelButtonTitle:@"取消键" destructiveButtonTitle:@"毁灭键" otherButtonTitles:@"额外加键", nil];
    [myActionSheet showInView:self.view];
}
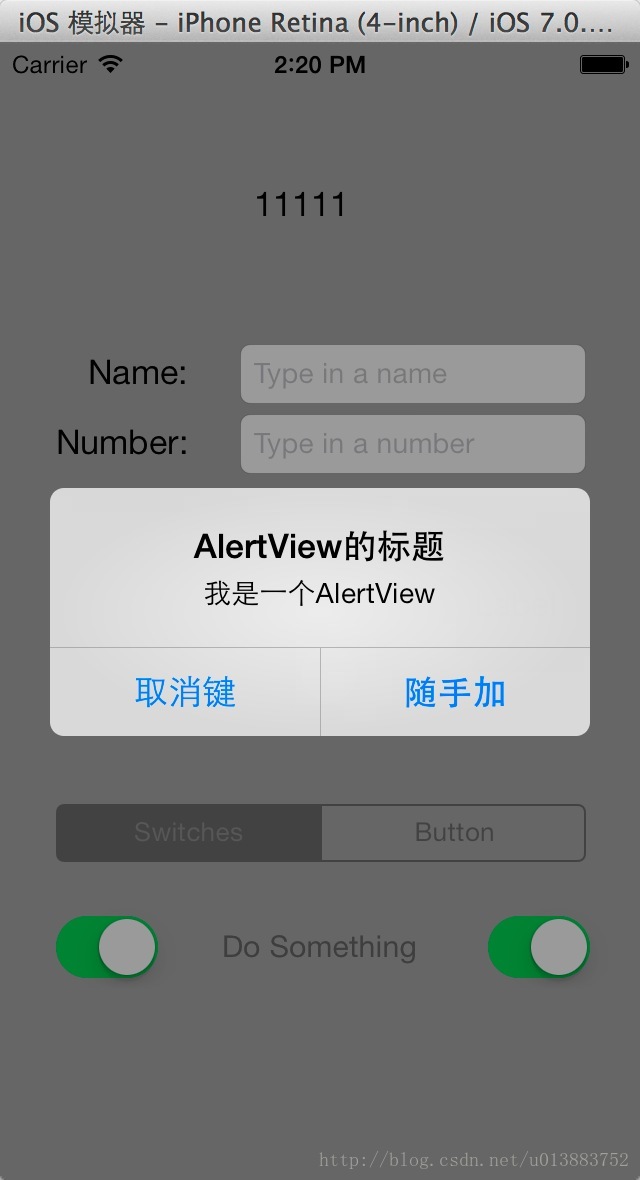
接下来我们把“毁灭键”作为 Alert View 的触发按钮。只需要在 ViewController.m 中加入如下代码即可:
-(void)actionSheet:(UIActionSheet *)actionSheet didDismissWithButtonIndex:(NSInteger)buttonIndex{
    if (buttonIndex==[actionSheet destructiveButtonIndex]){
        UIAlertView *myAlertView = [[UIAlertView alloc] initWithTitle:@"AlertView的标题" message:@"我是一个AlertView" delegate:self cancelButtonTitle:@"取消键" otherButtonTitles:@"随手加", nil];
        [myAlertView show];
    }
}
6.【这不是一篇技术博客】
嗯,其实我是已经把一本书学过一遍之后再拿起来复(鞭)习(尸)。对于技术博客,我也是个新手,这只是我的第一篇。我写它也只希望能加深印象,更好地掌握这些技巧,至于对别人有没有帮助,嗯,我大部分写的还是转述或者缩写书上的内容,很多我认为不重要的具体操作过程我都省略了。
通过这部分内容的学习,我了解了一些基本控件,掌握了输出口、Action 等操作。虽然这都是最基本的,但是毕竟是从零开始学。以前这些功能都是在 iOS 设备上看到的,而我自己写一遍又有不一样的感觉:“哦,原来是这么写出来的。” 当然学 iOS 开发并不能局限于这一点小成就,后面还有更难的东西。


 659
659


 被折叠的 条评论
为什么被折叠?
被折叠的 条评论
为什么被折叠?
 到【灌水乐园】发言


