


本文是对之前一篇文章的补充:http://blog.csdn.net/qqmcy/article/details/19282213
代码:http://download.csdn.net/detail/qqmcy/7008341
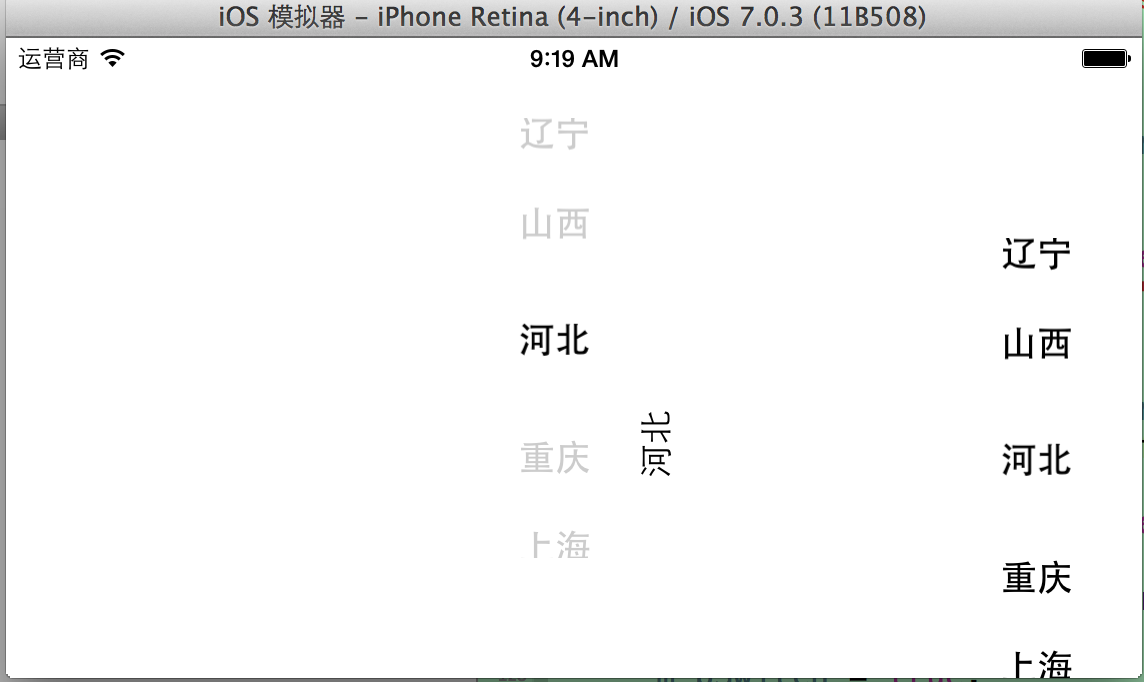
效果
ViewController.h
#import <UIKit/UIKit.h>
#import "InfiniteScrollPicker.h"
#import "StaticDataModel.h"

@interface ViewController : UIViewController<InfiniteScrollPickerDelegate>

@property (strong , nonatomic) InfiniteScrollPicker* m_InfiniteScroll;
@property (strong , nonatomic) InfiniteScrollPicker* m_InfiniteScroll2;

@property (strong , nonatomic) UILabel* m_labelTest;
@property (strong , nonatomic) StaticDataModel* m_StaticData;


@property (assign , nonatomic) BOOL m_bSwitch;
@end
ViewController.m
//
//  ViewController.m
//  InfiniteScrollPickerDemo2
//
//  Created by 杜甲 on 14-2-14.
//  Copyright (c) 2014年 杜甲. All rights reserved.
//

#import "ViewController.h"

@interface ViewController ()

@end

@implementation ViewController

- (void)viewDidLoad
{
    [super viewDidLoad];
    _m_bSwitch = true;
	// Do any additional setup after loading the view, typically from a nib.
    self.m_StaticData = [StaticDataModel getInstance];


    NSMutableArray* set1 = [[NSMutableArray alloc] init];
    for (int i = 0; i < self.m_StaticData.m_OrganizationArr.count; i++) {

        UIImage* img = [UIImage imageNamed:[NSString stringWithFormat:@"s1_0.png",i]];


        [set1 addObject:img];
    }


    self.m_InfiniteScroll = [[InfiniteScrollPicker alloc] initWithFrame:CGRectMake(0, 448, 220, 90)];
  //  self.m_InfiniteScroll.backgroundColor  = [UIColor redColor];
    self.m_InfiniteScroll.Infinitedelegate = self;
    self.m_InfiniteScroll.organizationArr = self.m_StaticData.m_OrganizationArr;
    [self.m_InfiniteScroll setItemSize:CGSizeMake(40, 40)];
    [self.m_InfiniteScroll setImageAry:set1];
    self.m_InfiniteScroll.positionRatio = 2.0f;
    [self.view addSubview:self.m_InfiniteScroll];

   // self.view.transform =  CGAffineTransformMakeRotation(M_PI / 2);
        [UIApplication sharedApplication].statusBarOrientation = UIInterfaceOrientationLandscapeRight;

    self.m_labelTest = [[UILabel alloc] initWithFrame:CGRectMake(100, 300, 100, 50)];

    [self.view addSubview:self.m_labelTest];


    NSMutableArray* set2 = [[NSMutableArray alloc] init];
    for (int i = 0; i < self.m_StaticData.m_OrganizationArr.count; i++) {

        UIImage* img = [UIImage imageNamed:[NSString stringWithFormat:@"five.png"]];


        [set2 addObject:img];
    }

    self.m_InfiniteScroll2 = [[InfiniteScrollPicker alloc] initWithFrame:CGRectMake(60, 208, 220, 90)];
   // self.m_InfiniteScroll2.backgroundColor  = [UIColor redColor];
    self.m_InfiniteScroll2.Infinitedelegate = self;
    self.m_InfiniteScroll2.organizationArr = self.m_StaticData.m_OrganizationArr;
    [self.m_InfiniteScroll2 setItemSize:CGSizeMake(20, 20)];
    [self.m_InfiniteScroll2 setImageAry:set2];
    self.m_InfiniteScroll2.positionRatio = 2.0f;
    self.m_InfiniteScroll2.alphaOfobjs = 0.2f;
    self.m_InfiniteScroll2.heightOffset = 1;
    self.m_InfiniteScroll2.alpha  = 0.0f;
    [self.view addSubview:self.m_InfiniteScroll2];

}


-(BOOL)shouldAutorotate
{
    return NO;
}


#pragma mark-  InfiniteScrollPickerDelegate

/*点击单张图片的回调*/
-(void)tapImageViewMethod:(UIGestureRecognizer *)gesture
{

    self.m_labelTest.text = [self.m_StaticData.m_OrganizationArr objectAtIndex:gesture.view.tag];
    NSLog(@"gesture.view.tag = %d",gesture.view.tag);
}

-(void)sliderInfiniteScrollView:(UIView *)view reloadView:(float)offset
{
    if (_m_bSwitch) {
        [UIView animateWithDuration:0.2f animations:^{
             self.m_InfiniteScroll2.alpha = 1.0;
        } completion:^(BOOL finished) {

        }];

    }
    _m_bSwitch = false;
    [self.m_InfiniteScroll2 scrollRectToVisible:CGRectMake(offset, 48, 220, 90) animated:NO];

}

/*滑动时的回调*/
-(void)sliderInfiniteScrollView:(UIView *)view
{
    [self.m_InfiniteScroll2 scrollRectToVisible:CGRectMake(10, 48, 220, 90) animated:YES];
    self.m_labelTest.text = [self.m_StaticData.m_OrganizationArr objectAtIndex:view.tag];    NSLog(@"slider view.tag = %d",view.tag);

    }
/*结束时的回调*/
-(void)infiniteScrollPicker:(InfiniteScrollPicker *)infiniteScrollPicker didSelectAtImageView:(UIView *)view
{
    self.m_labelTest.text = [self.m_StaticData.m_OrganizationArr objectAtIndex:view.tag];
    NSLog(@"stop image tag= %d",view.tag);
}

-(void)infiniteScrollPicker:(InfiniteScrollPicker *)infiniteScrollPicker didSelectAtImageView:(UIView *)view reloadView:(float)offset
{
    self.m_labelTest.text = [self.m_StaticData.m_OrganizationArr objectAtIndex:view.tag];

    [self.m_InfiniteScroll2 scrollRectToVisible:CGRectMake(offset, 48, 220, 90) animated:YES];

    _m_bSwitch = true;

    [UIView animateWithDuration:0.3f animations:^{
            self.m_InfiniteScroll2.alpha = 0.0f;
    } completion:^(BOOL finished) {

    }];

}


- (void)didReceiveMemoryWarning
{
    [super didReceiveMemoryWarning];
    // Dispose of any resources that can be recreated.
}

@end


 1822
1822


 被折叠的 条评论
为什么被折叠?
被折叠的 条评论
为什么被折叠?
 到【灌水乐园】发言


