


代码在cocos2dx 3.1.1 c++项目测试过,使用正常.
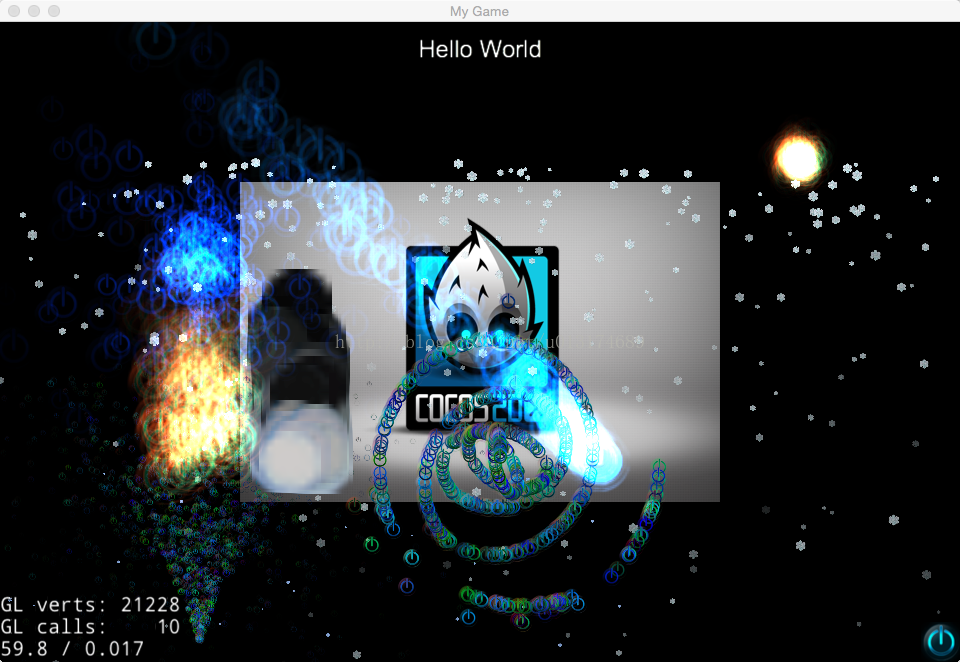
下面上个图吧,各种效果都集成在里面了.
包含 雪花 烟火 下雨 烟雾 螺旋 流星 星云 太阳 火焰
哈哈哈...因为效果太多,,,所以,,,简直是群魔乱舞,不看入目!!
以下转自http://blog.csdn.net/star530/article/details/23552641
___________________________
这篇讲的是粒子,其实我对粒子这一块没什么研究,因为当初刚开始接粗cocos2dx时,总经理和我说粒子这块可以暂时不去了解,因为还用不到。他的这话也导致我很长时间都有意无意的去避开粒子这一块知识。所以说啊,我也是个菜鸟啊,还有很多东西不懂。虽然博客写的还比较多,但水平也就尔尔吧,有的人叫我大神,大侠啥的,请千万别“诅咒”我啊~~~。因为知识从懵懂到理解的过程是痛苦而又快乐的,每次一学到一个新的知识点后我就想赶紧分享到博客上来,一方面是可以加深自己对该知识点的理解,另一方面我也想让更多人知道这个知识点,少走些弯路...
如果你觉得我要讲解粒子的原理啥的,那就大错特错了。毕竟技巧性的文章讲究的就是短小但是可以旋转嘛。我就直接将一些可以用的现成粒子特效拉出来扯扯虎皮。下面开始扯:
1、先说雪花特效。去年冬天看过一款游戏,叫部落啥的,它的地图界面一直都有雪花飘来飘去,那时候觉得真TM高端大气上档次,现在我就呵呵了。
- ParticleSystem* ps = ParticleSnow::create();
- //因为偷懒,我直接用helloWorld里的close 图片当雪花
- ps->setTexture(Director::getInstance()->getTextureCache()->addImage("CloseSelected.png"));
- ps->setPosition(Point(200,200));//生成的雪花从这个坐标往下落
- this->addChild(ps,10);
如果想控制产生场景中雪花的数量,可以使用下面这个接口,下面几个例子也是一样:
- static ParticleSnow* createWithTotalParticles(int numberOfParticles);//参数即是雪花的数量<span style="font-family: Arial, Helvetica, sans-serif; background-color: rgb(255, 255, 255);"> </span>
- ParticleSystem* ps = ParticleFireworks::create();
- ps->setTexture(Director::getInstance()->getTextureCache()->addImage("CloseSelected.png"));
- ps->setPosition(Point(200,200));
- this->addChild(ps,10);
- ParticleSystem* ps = ParticleRain::create();
- ps->setTexture(Director::getInstance()->getTextureCache()->addImage("CloseSelected.png"));
- ps->setPosition(Point(200,200));
- this->addChild(ps,10);
- ParticleSystem* ps = ParticleSmoke::create();//效果实在不咋地
- ps->setTexture(Director::getInstance()->getTextureCache()->addImage("CloseSelected.png"));
- ps->setPosition(Point(200,200));
- this->addChild(ps,10);
- ParticleSystem* ps = ParticleExplosion::create();
- ps->setTexture(Director::getInstance()->getTextureCache()->addImage("CloseSelected.png"));
- ps->setPosition(Point(200,200));
- this->addChild(ps,10);
- ParticleSystem* ps = ParticleSpiral::create();
- ps->setTexture(Director::getInstance()->getTextureCache()->addImage("CloseSelected.png"));
- ps->setPosition(Point(200,200));
- this->addChild(ps,10);
- ParticleSystem* ps = ParticleMeteor::create();
- ps->setTexture(Director::getInstance()->getTextureCache()->addImage("CloseSelected.png"));
- ps->setPosition(Point(200,200));
- this->addChild(ps,10);
- ParticleSystem* ps = ParticleGalaxy::create();
- ps->setTexture(Director::getInstance()->getTextureCache()->addImage("CloseSelected.png"));
- ps->setPosition(Point(200,200));
- this->addChild(ps,10);
- ParticleSystem* ps = ParticleSun::create();
- ps->setTexture(Director::getInstance()->getTextureCache()->addImage("CloseSelected.png"));
- ps->setPosition(Point(200,200));
- this->addChild(ps,10);
- ParticleSystem* ps = ParticleFire::create();
- ps->setTexture(Director::getInstance()->getTextureCache()->addImage("CloseSelected.png"));
- ps->setPosition(Point(200,200));
- this->addChild(ps,10);
哈哈,写完了。多久没写过这种复制粘贴的博客了。嘿嘿。
尊重原创,转载请注明来源:http://blog.csdn.net/star530/article/details/23552641


 1057
1057


 被折叠的 条评论
为什么被折叠?
被折叠的 条评论
为什么被折叠?
 到【灌水乐园】发言


