


今天装好Silverlight后,第一个程序就是写个helloworld,这里贡献给Silverlight的初学者,希望对你有用!
这里我认为您已经装好VS2008和Siverlight2 beta1,:)
下面就开始我们的helloworld之旅吧!hoho
1、打开vs2008-〉创建Siverlight Application项目

2、输入SilverLightHelloWorld->OK我们将看到:
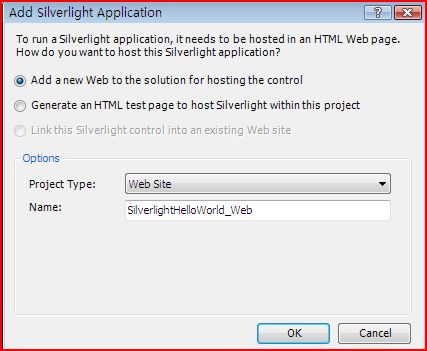
3、选择第二项Generate an .... ->OK,我们将看到下图创建好的工程:
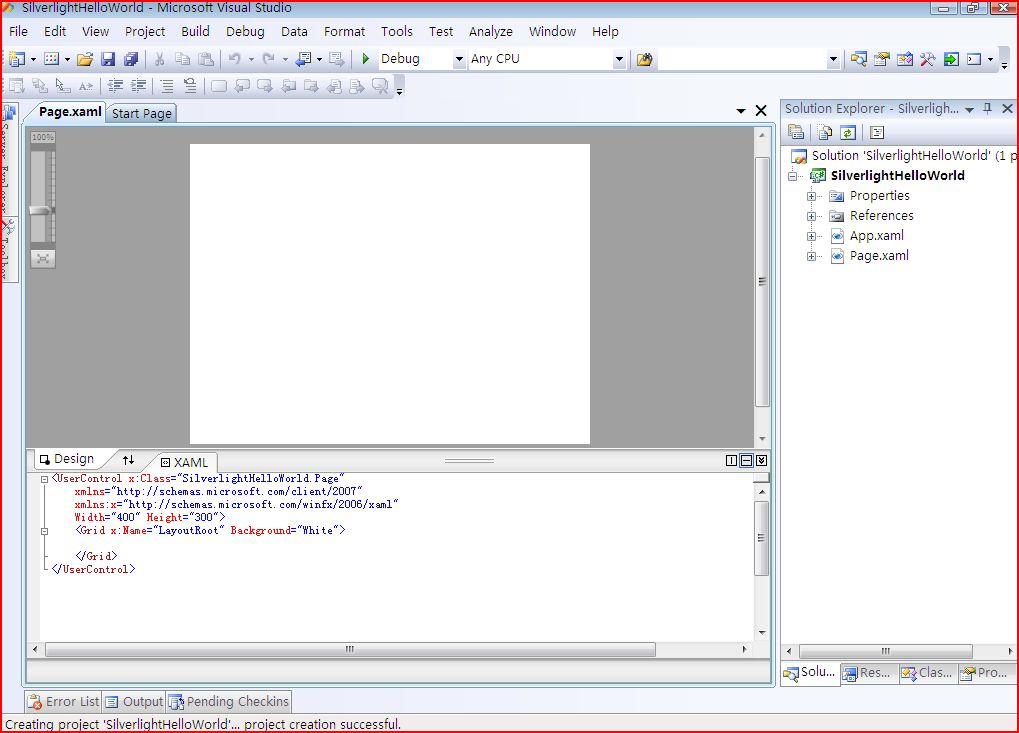
4、我们试着编译以下F7:

编译通过没有问题,哈哈
我们将看到page.xaml代码:
 <
UserControl
x:Class
="SilverlightHelloWorld.Page"
xmlns
="http://schemas.microsoft.com/client/2007"
xmlns:x
="http://schemas.microsoft.com/winfx/2006/xaml"
Width
="400"
Height
="300"
>
<
Grid
x:Name
="LayoutRoot"
Background
="White"
>
</
Grid
>
</
UserControl
>
<
UserControl
x:Class
="SilverlightHelloWorld.Page"
xmlns
="http://schemas.microsoft.com/client/2007"
xmlns:x
="http://schemas.microsoft.com/winfx/2006/xaml"
Width
="400"
Height
="300"
>
<
Grid
x:Name
="LayoutRoot"
Background
="White"
>
</
Grid
>
</
UserControl
>
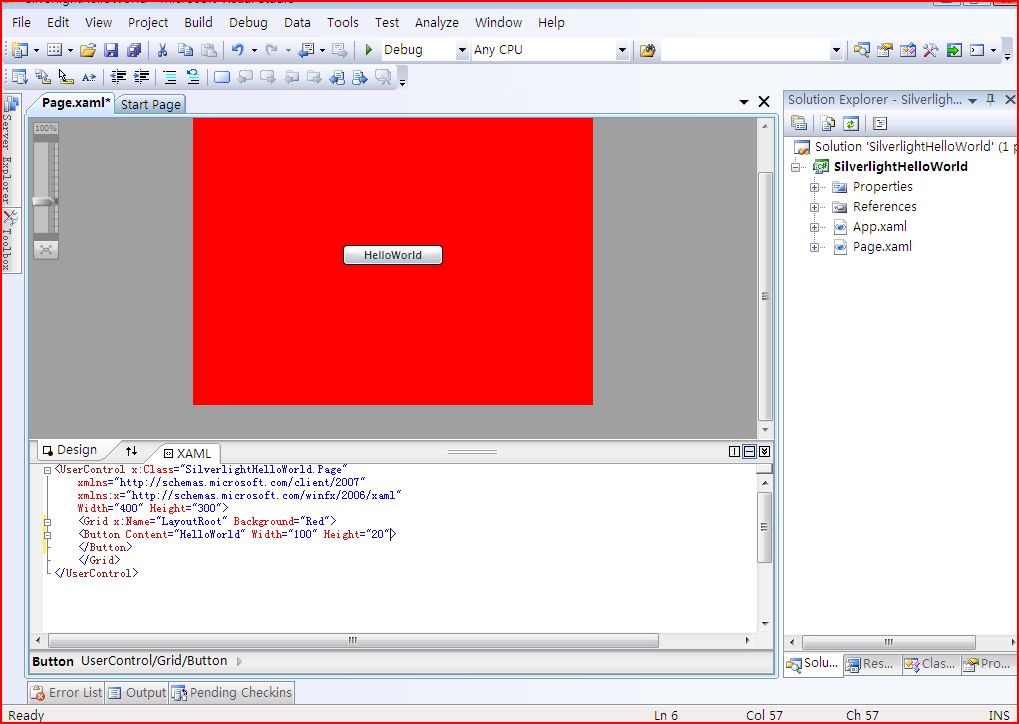
5、我们需要更改其xaml代码,更改Grid的背景色并添加一个Button,如下代码:
<
UserControl
x:Class
="SilverlightHelloWorld.Page"
xmlns
="http://schemas.microsoft.com/client/2007"
xmlns:x
="http://schemas.microsoft.com/winfx/2006/xaml"
Width
="400"
Height
="300"
>
<
Grid
x:Name
="LayoutRoot"
Background
="Red"
>
<
Button
Content
="HelloWorld"
Width
="100"
Height
="20"
>
</
Button
>
</
Grid
>
</
UserControl
>
背景改成了红色,添加了HelloWorld按钮,效果如下图:
6、我们再给HelloWorld加个Click事件,代码入下:
<
UserControl
x:Class
="SilverlightHelloWorld.Page"
xmlns
="http://schemas.microsoft.com/client/2007"
xmlns:x
="http://schemas.microsoft.com/winfx/2006/xaml"
Width
="400"
Height
="300"
>
<
Grid
x:Name
="LayoutRoot"
Background
="Red"
>
<
Button
Content
="HelloWorld"
Width
="100"
Height
="20"
Click
="Button_Click"
>
</
Button
>
</
Grid
>
</
UserControl
>
还需要添加事件的处理,在Page.xaml.cs中,代码如下:
using
System;
using
System.Collections.Generic;
using
System.Linq;
using
System.Windows;
using
System.Windows.Controls;
using
System.Windows.Documents;
using
System.Windows.Input;
using
System.Windows.Media;
using
System.Windows.Media.Animation;
using
System.Windows.Shapes;
namespace
SilverlightHelloWorld
 ...
{
...
{ public partial class Page : UserControl
 ...{ public Page() ...{ InitializeComponent();
 } private void Button_Click(object sender, RoutedEventArgs e) ...{ //这里添加代码 SolidColorBrush brush = (SolidColorBrush)this.LayoutRoot.Background; if (brush.Color == Colors.Red) ...{ this.LayoutRoot.Background = new SolidColorBrush(Colors.Blue); } } }
 }
}
代码逻辑很简单,每点击一次按钮会更改一次背景色。
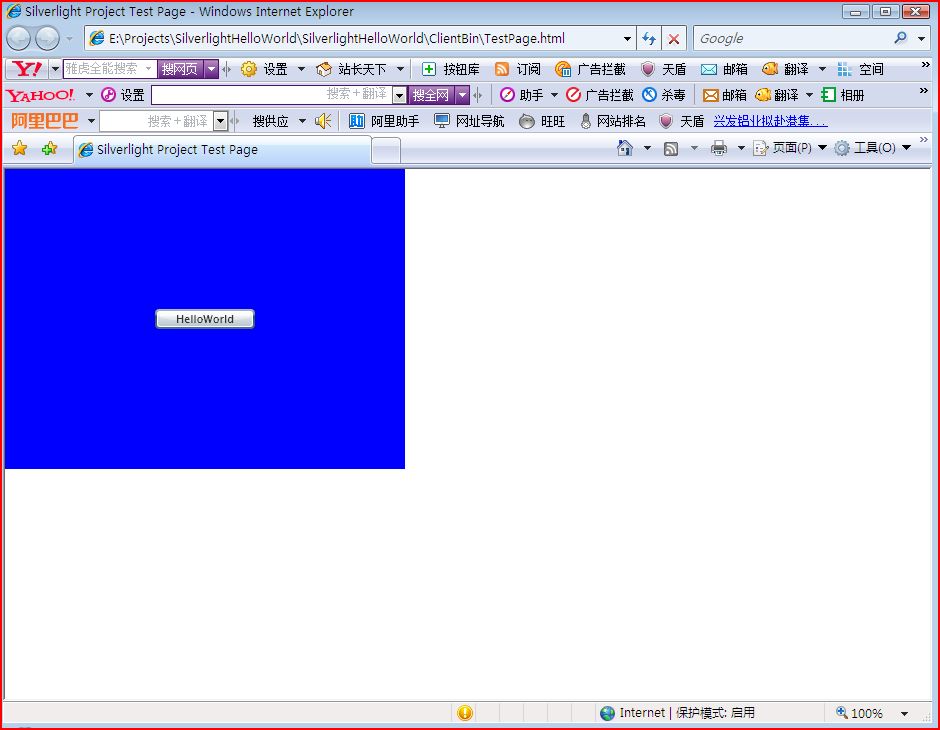
F5运行看看效果:
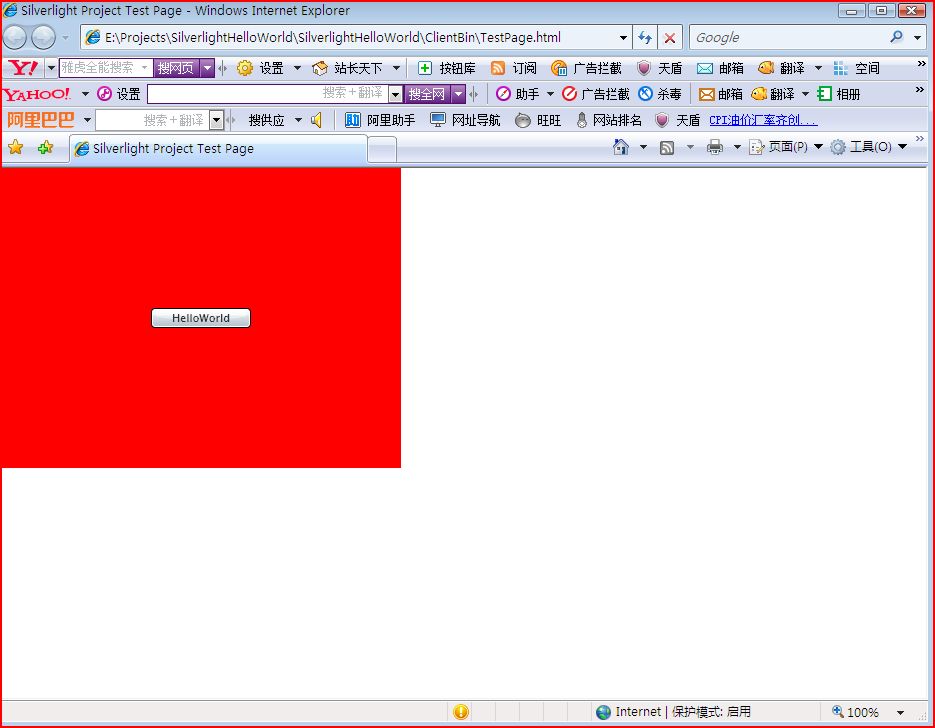
点击后的效果:
XAML何以玩出很多花样,剩下的就看你了,hoho!
作者:王卫星
转载注明出处,谢谢!


 183
183


 被折叠的 条评论
为什么被折叠?
被折叠的 条评论
为什么被折叠?
 到【灌水乐园】发言


