


最近终于有了一些空闲时间,所以想着把之前的Android相关的项目整理一下,前几天整理了Android OCR 的项目, 今天就干脆再整理一下 NDK JNI调用。
关于Android 中通过JNI进行本地调用的配置与开发,已经在链接 http://blog.csdn.net/watkinsong/article/details/9849973 中给出了非常详细的说明。 请仔细阅读。
同时,关于Android 作OCR的说明,也已经 在 http://blog.csdn.net/watkinsong/article/details/45541215 给出了详细的解释。 所以,本文章不再赘述如何配置开发环境,如何创建项目等,而是直接给出一个项目,列出需要注意的几点要点。
1. 首先,通过https://github.com/weixsong/libra 链接下载该项目,找到NDKDemo项目。
2. 通过Eclipse导入项目。
3. 在调用JNI之前,我们需要定义一个接口,实现和JNI通讯,本例的接口定义:
package com.example.ndk;

public class CannyDetect {
	static {
		System.loadLibrary("native");
	}

	/**
	 * @param width
	 *            the current view width
	 * @param height
	 *            the current view height
	 */
	public static native int[] cannyDetect(int[] buf, int w, int h);
}
接口中,要通过静态初始化代码块加载.so文件,不需要添加后缀名。 然后定义static native 的接口,这个接口需要符合JNI的规范。
4. 既然有了JNI调用接口,就要看看如何编写JNI程序:
在native.cpp 中:
#include <jni.h>
#include <stdio.h>
#include <stdlib.h>
#include <opencv2/opencv.hpp>

using namespace cv;
IplImage * change4channelTo3InIplImage(IplImage * src);

extern "C" {
JNIEXPORT jintArray JNICALL Java_com_example_ndk_CannyDetect_cannyDetect(
		JNIEnv* env, jobject obj, jintArray buf, int w, int h);
JNIEXPORT jintArray JNICALL Java_com_example_ndk_CannyDetect_cannyDetect(
		JNIEnv* env, jobject obj, jintArray buf, int w, int h) {

	jint *cbuf;
	cbuf = env->GetIntArrayElements(buf, 0);
	if (cbuf == NULL) {
		return 0;
	}

	Mat myimg(h, w, CV_8UC4, (unsigned char*) cbuf);
	IplImage image = IplImage(myimg);
	IplImage* image3channel = change4channelTo3InIplImage(&image);

	IplImage* pCannyImage = cvCreateImage(cvGetSize(image3channel),
			IPL_DEPTH_8U, 1);

	cvCanny(image3channel, pCannyImage, 50, 150, 3);

	int* outImage = new int[w * h];
	for (int i = 0; i < w * h; i++) {
		outImage[i] = (int) pCannyImage->imageData[i];
	}

	int size = w * h;
	jintArray result = env->NewIntArray(size);
	env->SetIntArrayRegion(result, 0, size, outImage);
	env->ReleaseIntArrayElements(buf, cbuf, 0);
	return result;
}
}

IplImage * change4channelTo3InIplImage(IplImage * src) {
	if (src->nChannels != 4) {
		return NULL;
	}

	IplImage * destImg = cvCreateImage(cvGetSize(src), IPL_DEPTH_8U, 3);
	for (int row = 0; row < src->height; row++) {
		for (int col = 0; col < src->width; col++) {
			CvScalar s = cvGet2D(src, row, col);
			cvSet2D(destImg, row, col, s);
		}
	}

	return destImg;
}
之前的博客评论中,总是有些小伙伴说哎呀,JNI找不到函数阿神码神码的,麻烦您先彻底看清楚博客怎么写的。。。
这里再强调一下:
JNIEXPORT jintArray JNICALL Java_com_example_ndk_CannyDetect_cannyDetect (***)这个函数的声明,一定要遵循JNI的标准规范,首先是
JNIEXPORT jintArray JNICALL然后, Java_ + 包名称,其中,包中的点用_代替,然后,步骤3中定义的接口的类名,然后是方法名。
5. 注意一下Android.mk文件:
LOCAL_PATH := $(call my-dir)
include $(CLEAR_VARS)
OPENCV_LIB_TYPE:=STATIC
OPENCV_INSTALL_MODULES:=on
OPENCV_CAMERA_MODULES:=off
ifeq ("$(wildcard $(OPENCV_MK_PATH))","")
#try to load OpenCV.mk from default install location
include /home/wesong/software/OpenCV-2.4.10-android-sdk/sdk/native/jni/OpenCV.mk
else
include $(OPENCV_MK_PATH)
endif
LOCAL_MODULE    := native
LOCAL_SRC_FILES := native.cpp

LOCAL_LDLIBS +=  -llog -ldl
include $(BUILD_SHARED_LIBRARY)
修改里面的OpenCV.mk的路径。
6. 看一眼 Application.mk
APP_STL:=gnustl_static
APP_CPPFLAGS:=-frtti -fexceptions
APP_ABI:=armeabi armeabi-v7a
APP_PLATFORM := android-19
7. 主程序:
package com.example.ndk;
import android.app.Activity;
import android.graphics.Bitmap;
import android.graphics.Bitmap.Config;
import android.graphics.drawable.BitmapDrawable;
import android.os.Bundle;
import android.widget.Button;
import android.view.View;
import android.widget.ImageView;
public class MainActivity extends Activity {
ImageView imgView;
Button btnNDK, btnRestore;
private String title = "Canny detect by NDK";
@Override
public void onCreate(Bundle savedInstanceState) {
super.onCreate(savedInstanceState);
setContentView(R.layout.activity_main);
this.setTitle(title);
btnRestore = (Button) this.findViewById(R.id.btnRestore);
btnRestore.setOnClickListener(new ClickEvent());
btnNDK = (Button) this.findViewById(R.id.btnNDK);
btnNDK.setOnClickListener(new ClickEvent());
imgView = (ImageView) this.findViewById(R.id.ImageView01);
Bitmap img = ((BitmapDrawable) getResources().getDrawable(
R.drawable.lena)).getBitmap();
imgView.setImageBitmap(img);
}
class ClickEvent implements View.OnClickListener {
public void onClick(View v) {
if (v == btnNDK) {
long current = System.currentTimeMillis();
Bitmap img1 = ((BitmapDrawable) getResources().getDrawable(
R.drawable.lena)).getBitmap();
int w = img1.getWidth(), h = img1.getHeight();
int[] pix = new int[w * h];
img1.getPixels(pix, 0, w, 0, 0, w, h);
int[] resultInt = CannyDetect.cannyDetect(pix, w, h);
Bitmap resultImg = Bitmap.createBitmap(w, h, Config.RGB_565);
resultImg.setPixels(resultInt, 0, w, 0, 0, w, h);
long performance = System.currentTimeMillis() - current;
imgView.setImageBitmap(resultImg);
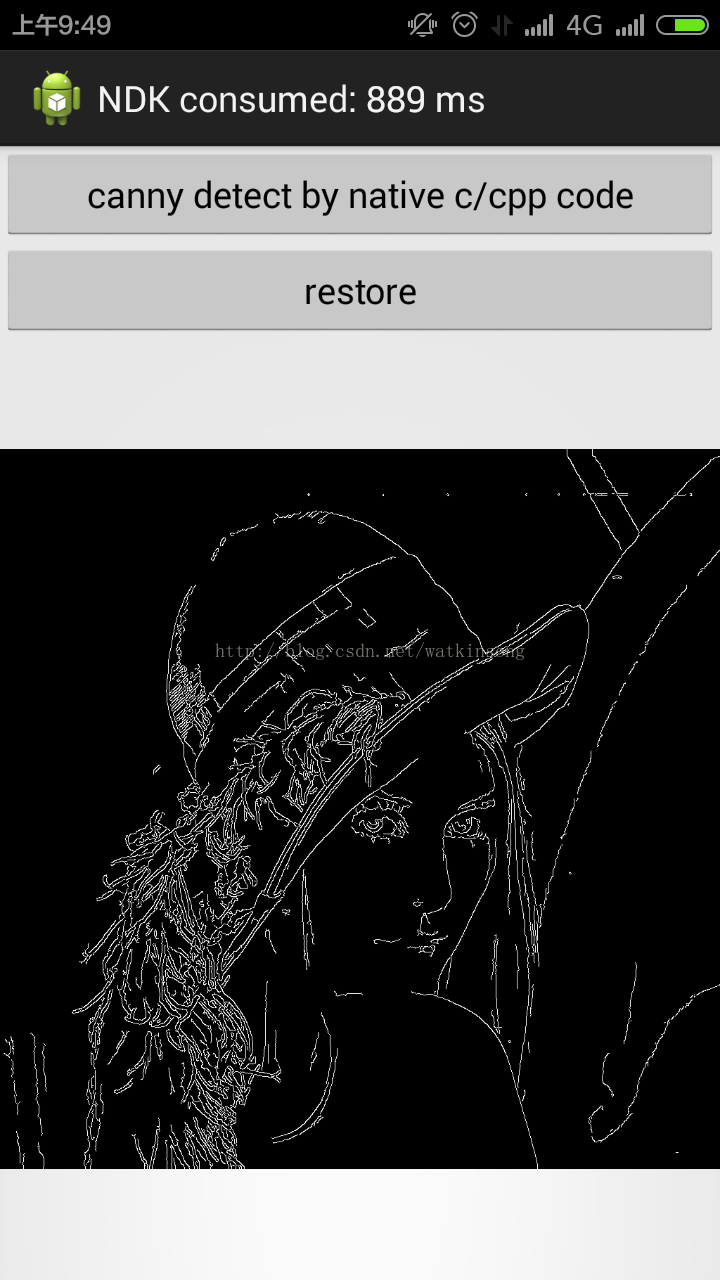
MainActivity.this.setTitle("NDK consumed: "
+ String.valueOf(performance) + " ms");
} else if (v == btnRestore) {
Bitmap img2 = ((BitmapDrawable) getResources().getDrawable(
R.drawable.lena)).getBitmap();
imgView.setImageBitmap(img2);
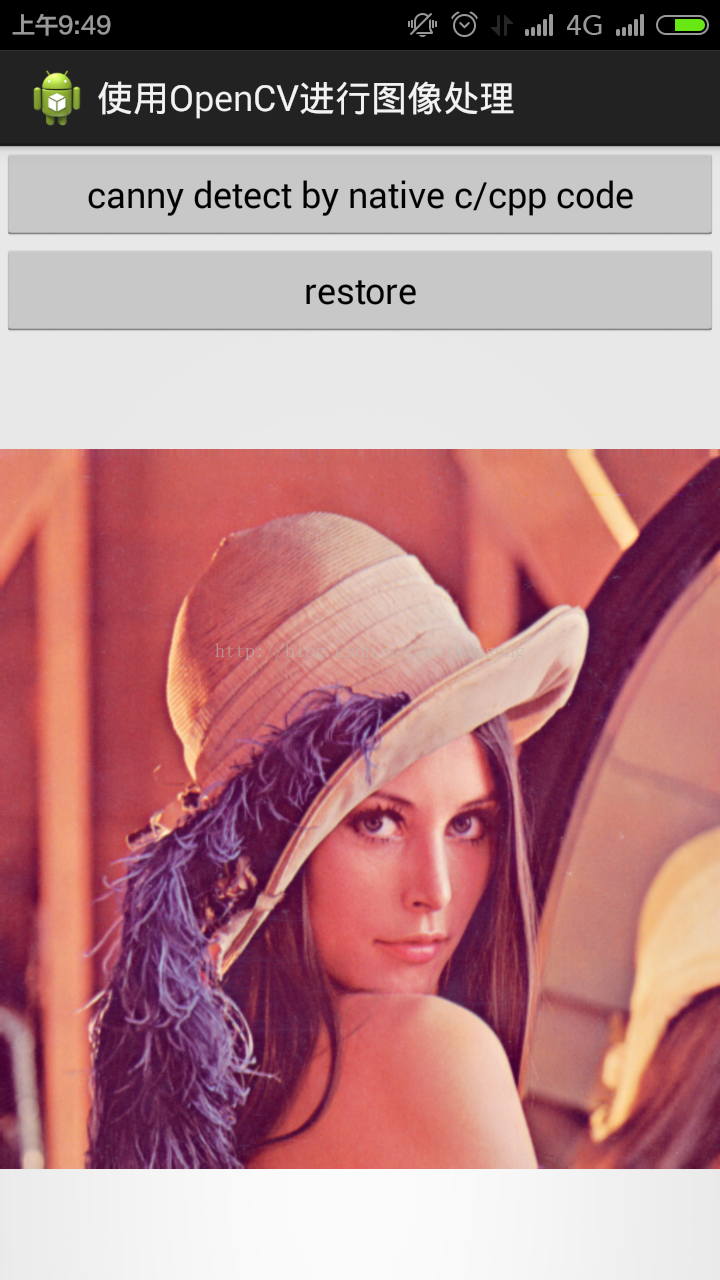
MainActivity.this.setTitle("使用OpenCV进行图像处理");
}
}
}
}
截图:


 981
981


 被折叠的 条评论
为什么被折叠?
被折叠的 条评论
为什么被折叠?
 到【灌水乐园】发言


