


 本文介绍如何基于F1平台快速构建微服务,涵盖项目搭建、数据库配置、Eureka注册、Swagger文档生成及权限认证等关键技术环节。
引言
本文介绍了如何快速开发一个F1平台的微服务,面向开发人员,按本文可以快速建成一个微服务最基础的部分。
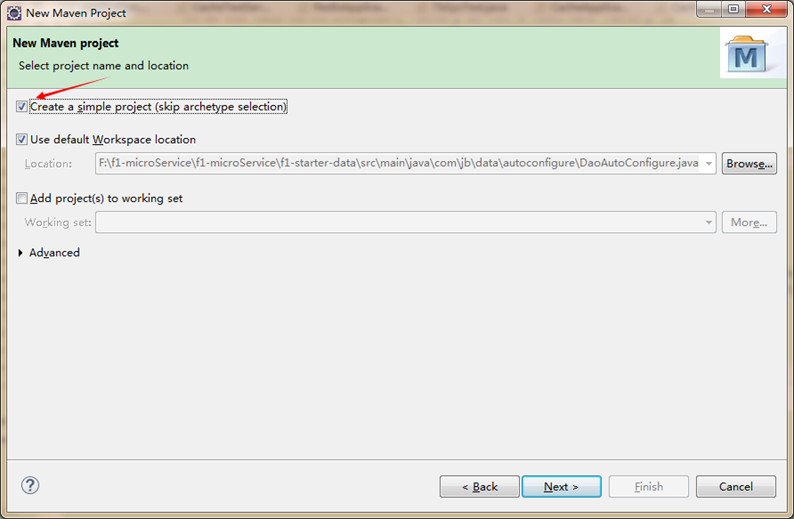
新建maven项目
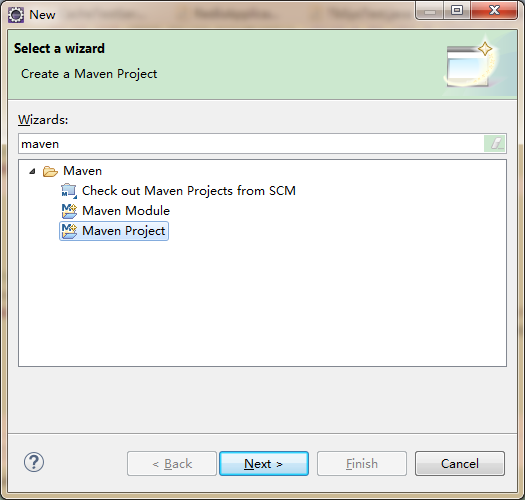
创建一个简单的maven项目跳过archetype选择
用f1-parent做父模块
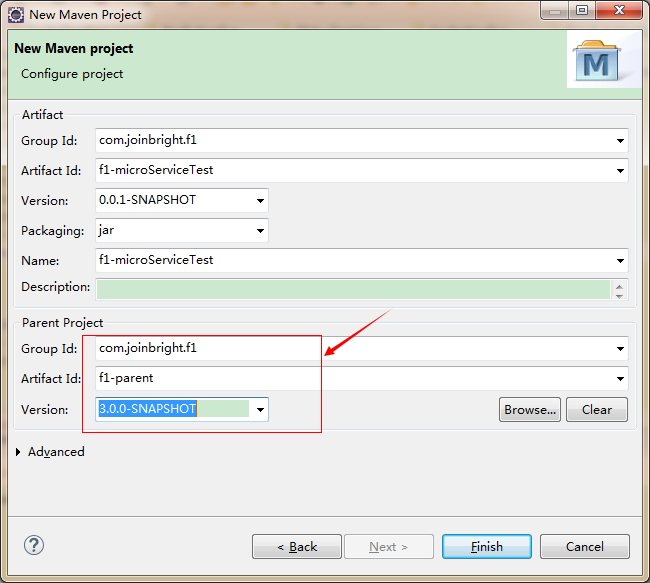
点击"finish"完成项目的创建。
编写pom文件
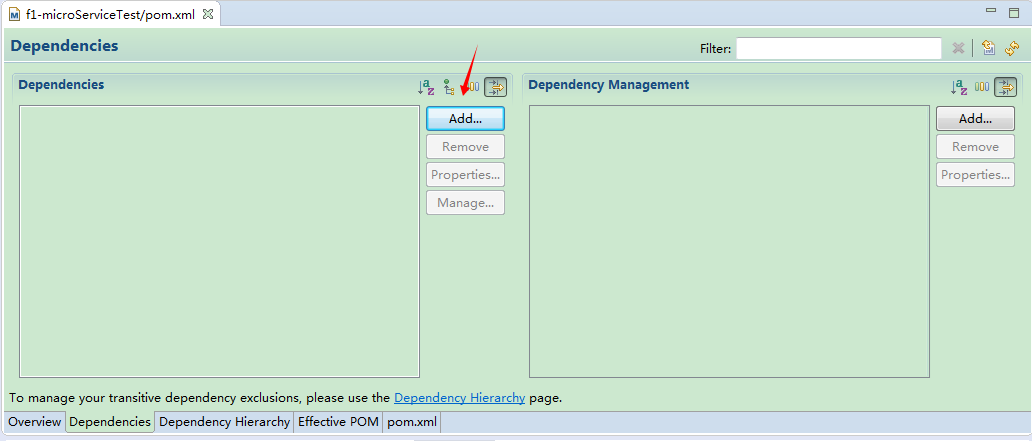
通过搜索找到f1-starter和spring-boot-starter-web,把它们添加为依赖。
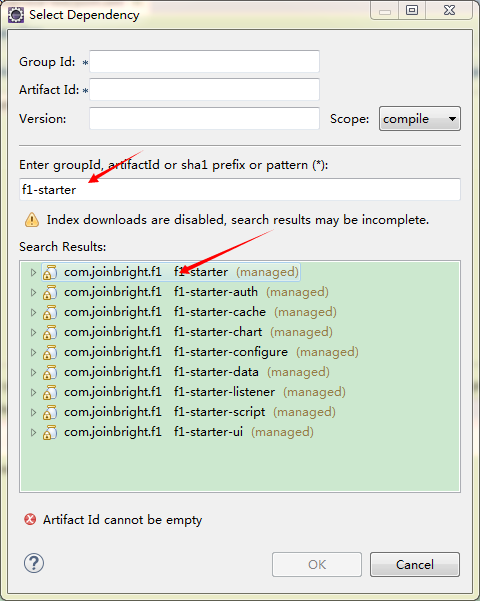
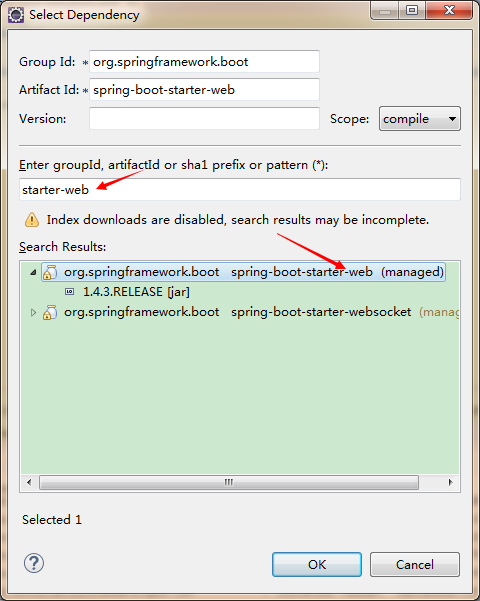
然后保存pom.xml
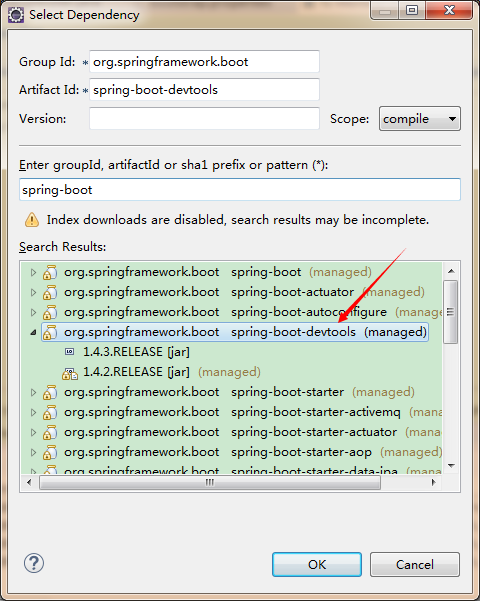
如果想要在改了代码后不会每次都重启,用加上spring-boot-devtools依赖,可以热部署
编写启动类
做一个带main方法的类作为启动类
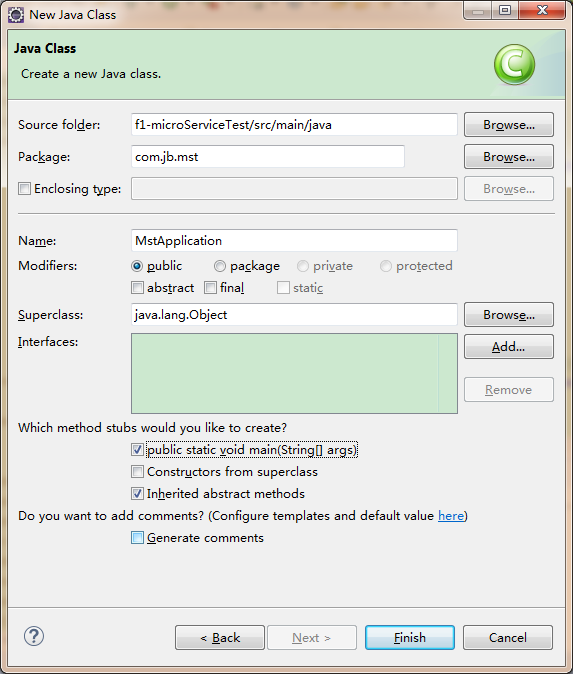
在启动类上加上@SpringBootApplication标注,在main方法中调用SpringApplication的run方法启动当前这个SpringBoot项目
@SpringBootApplication

public class MstApplication {

	public static void main(String[] args) {
		SpringApplication.run(MstApplication.class,args);
	}

}
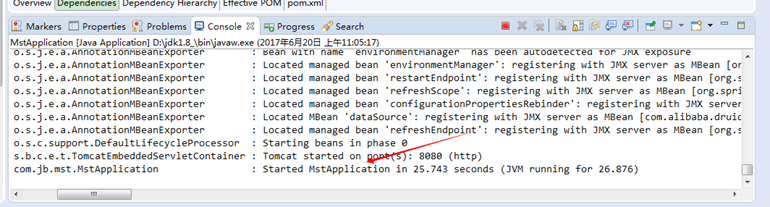
如下图启动成功
编写controller
@RestController
@RequestMapping("/first")
public class HelloWorldController {
@ApiOperation(value = "控制器示例", httpMethod = "GET", response = String.class, notes = "控制器示例")
@ApiParam(required = false, name = "name", value = "名字")
@RequestMapping(value = "", method=RequestMethod.GET)
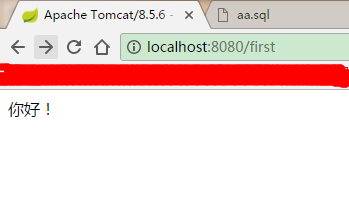
public String hello(String name) {
return "你好!"+name;
}
使用数据库
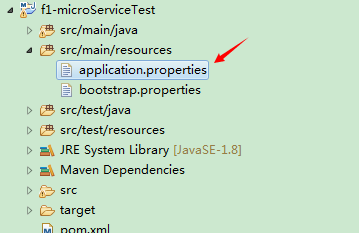
在application.properties中配置上和数据库的连接信息
spring.datasource.url=jdbc:mysql://192.168.***.***:3306/us_sys
spring.datasource.username=****
spring.datasource.password=****
spring.datasource.driver-class-name=com.mysql.jdbc.Driver
spring.jpa.properties.hibernate.current_session_context_class=org.springframework.orm.hibernate5.SpringSessionContext
spring.datasource.type=com.alibaba.druid.pool.DruidDataSource
# 下面为连接池的补充设置,应用到上面所有数据源中
# 初始化大小,最小,最大
spring.datasource.initialSize=5
spring.datasource.minIdle=5
spring.datasource.maxActive=20
# 配置获取连接等待超时的时间
spring.datasource.maxWait=60000
# 配置间隔多久才进行一次检测,检测需要关闭的空闲连接,单位是毫秒
spring.datasource.timeBetweenEvictionRunsMillis=60000
# 配置一个连接在池中最小生存的时间,单位是毫秒
spring.datasource.minEvictableIdleTimeMillis=300000
spring.datasource.validationQuery=SELECT1FROMDUAL
spring.datasource.testWhileIdle=true
spring.datasource.testOnBorrow=false
spring.datasource.testOnReturn=false
# 打开PSCache,并且指定每个连接上PSCache的大小
spring.datasource.poolPreparedStatements=true
spring.datasource.maxPoolPreparedStatementPerConnectionSize=20
# 配置监控统计拦截的filters,去掉后监控界面sql无法统计,'wall'用于防火墙
spring.datasource.filters=stat,wall,log4j
# 通过connectProperties属性来打开mergeSql功能;慢SQL记录
spring.datasource.connectionProperties=druid.stat.mergeSql=true;druid.stat.slowSqlMillis=5000
# 合并多个DruidDataSource的监控数据
#spring.datasource.useGlobalDataSourceStat=true
platform.config.dbtype=mysql然后创建查询数据库的Service的接口和实现类
public interface HelloWorldService {
String queryDb();
}
@Service("helloWorldService")
@Transactional(value="transactionManager", propagation=Propagation.REQUIRED)
public class HelloWorldServiceImpl implements HelloWorldService {
@Autowired
private GenericDao genericDao;
@Override
public String queryDb() {
List<?> ls = genericDao.getDataWithSQL("select count(1) from us_sys.tb_sys_person");
return "人数:"+ls.get(0).toString();
}
}最后把service注入到controller中
@Autowired
private HelloWorldService helloWorldService;
@ApiOperation(value = "查询数据库示例", httpMethod = "GET", response = String.class, notes = "查询数据库示例")
@ApiParam(required = false, name = "name", value = "名字")
@RequestMapping(value = "queryDb", method=RequestMethod.GET)
public String queryDb() {
String returnstr = helloWorldService.queryDb();
return returnstr;
}效果:
注册到eureka
配置好eureka的地址和是否注册到eureka
在application.properties中加参数
# 注册中心地址
eureka.client.serviceUrl.defaultZone=http://192.168.1.20:1111/eureka/
eureka.client.registerWithEureka=true
eureka.client.fetchRegistry=true
# 客户端在注册时就会使用自己的ip地址而不是主机名(客户端自身加)
eureka.instance.preferIpAddress=true配置好微服务的名字和端口,eureka通过这个发现微服务
# 服务Id
spring.application.name=f1-microService1
server.port=8080在启动类上加标注@EnableDiscoveryClient
@EnableDiscoveryClient
@SpringBootApplication
public class MstApplication {
在pom.xml中引入spring-cloud-starter-eureka
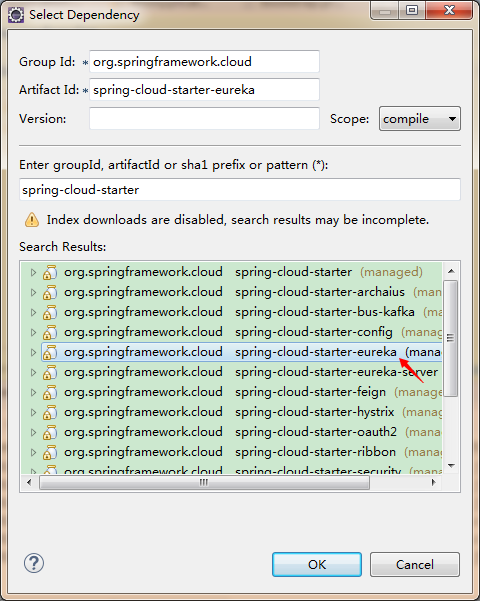
然后启动微服务,就可以在eureka中看到对应的注册信息
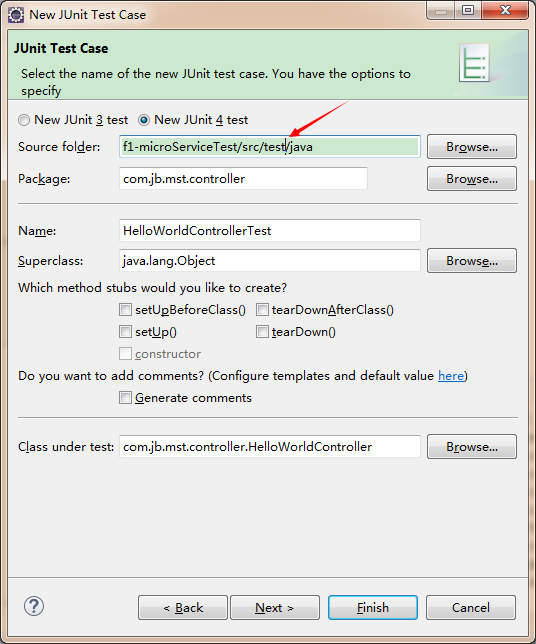
单元测试
创建一个测试类
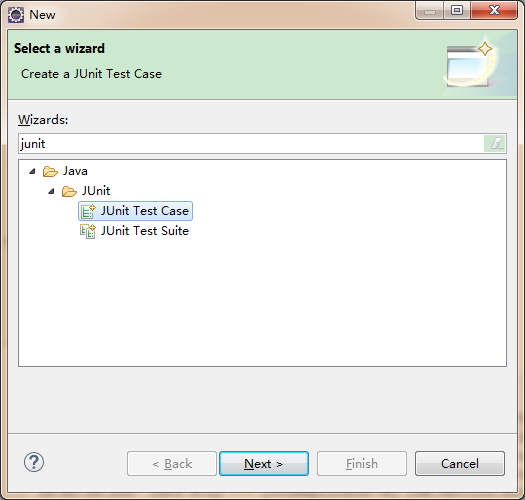
放到test 目录下
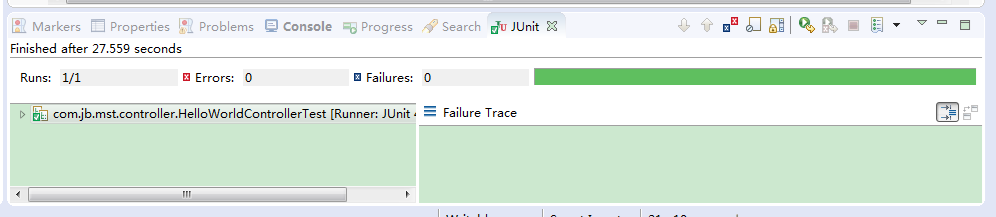
下边是测试类的代码,用mock方式请求了这个控制器,并对结果进行对比
@SpringBootTest(classes=com.jb.mst.MstApplication.class)
@AutoConfigureMockMvc
public class HelloWorldControllerTest extends TestTemplate {
@Test
public void test() throws Exception {
ResultActions result = this.mockMvc.perform(post("/first")
.param("name", "abcda老王"))
.andDo(print()).andExpect(status().isOk())
.andExpect(content().string(containsString("abcda老王")));
}
这样就完成了一个对控制器的单元测试,run as junit Test 测试通过了
swagger配置
首先引入f1-starter-configure依赖, 上边已经加入了f1-starter就不用加了,已经级联引入了
然后给控制器加上swagger的标注
	@ApiOperation(value = "控制器示例", httpMethod = "GET", response = String.class, notes = "控制器示例")
	@ApiParam(required = false, name = "name", value = "名字")
	@RequestMapping(value = "", method=RequestMethod.GET)
	public String hello(String name) {
		return "你好!"+name;
}然后就可以访问swagger查看对应接口的api以及进行测试。
点击Authorize进行登录,然后就可以点击 Try it out进行测试了。
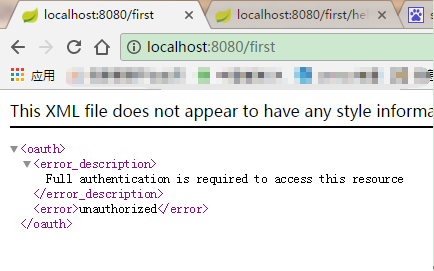
使用统一权限
在当前的微服务中依赖f1-starter-auth(如果已经引入了f1-starter,就会间接引入f1-starter-auth),如果没有授权的请求来访问,就会被拒绝。
application.properties中加入权限服务器参数:
###########################oauth服务器相关配置#####################
# 认证服务器凭证
security.sessions:never
security.oauth2.client.client-id: client-id
security.oauth2.client.client-secret: client-secret
security.oauth2.client.access-token-uri: http://IP地址/uaa/oauth/token
security.oauth2.client.user-authorization-uri: http://IP地址/uaa/oauth/authorize
security.oauth2.resource.user-info-uri: http://IP地址/uaa/user
# 断路器配置共享security上下文
hystrix.shareSecurityContext: true
###########################swagger兼容授权配置#####################
security.userOauth.type=oauth2
security.userOauth.tokenName=access_token
security.userOauth.scope.code=write
security.userOauth.scope.desc=write
app.key=f1swagger
app.name=F1平台微服务请求API
app.desc=更多的下载资源和信息请查看:http://192.168.1.173/f1-platform/f1-microService/
app.version=3.0.0
app.termsOfServiceUrl=http://192.168.1.173/f1-platform/f1-microService/
app.contact.name=平台组
app.contact.url=http://http://blog.csdn.net/zhbr_f1
app.contact.email=**
app.license=The F1 Platform, Version 3.0
app.licenseUrl=http://http://blog.csdn.net/zhbr_f1
####################### REDIS (RedisProperties)
# Redis数据库索引(默认为0
spring.redis.database=0
# Redis连接密码
spring.redis.password=****
# Redis数据库服务地址
spring.redis.host=192.168.***.***
# Redis服务器连接端口
spring.redis.port=6379
# 连接池最大连接数(使用负值表示没有限制)
spring.redis.pool.max-active=8
# 连接池最大阻塞等待时间(使用负值表示没有限制)
spring.redis.pool.max-wait=-1
# 连接池中的最大空闲连接
spring.redis.pool.max-idle=8
# 连接池中的最小空闲连接
spring.redis.pool.min-idle=0
# 连接超时时间(毫秒)
spring.redis.timeout=0
在启动类上加上标注:
@EnableOAuth2Sso这样就只有授权的请求可以访问当前微服务了
在刚才那个url后边加上权限相关的参数(用户名密码认证通过后返回的,真正系统中是自动加上的,这里加到url后边只是为了演示)就可以访问了


 484
484

 被折叠的 条评论
为什么被折叠?
被折叠的 条评论
为什么被折叠?
 到【灌水乐园】发言


