本文的前两个代码主要是来自于书本《OPenCV计算机视觉编程攻略》最后一个代码是根据前两个代码做的一个颜色迁移
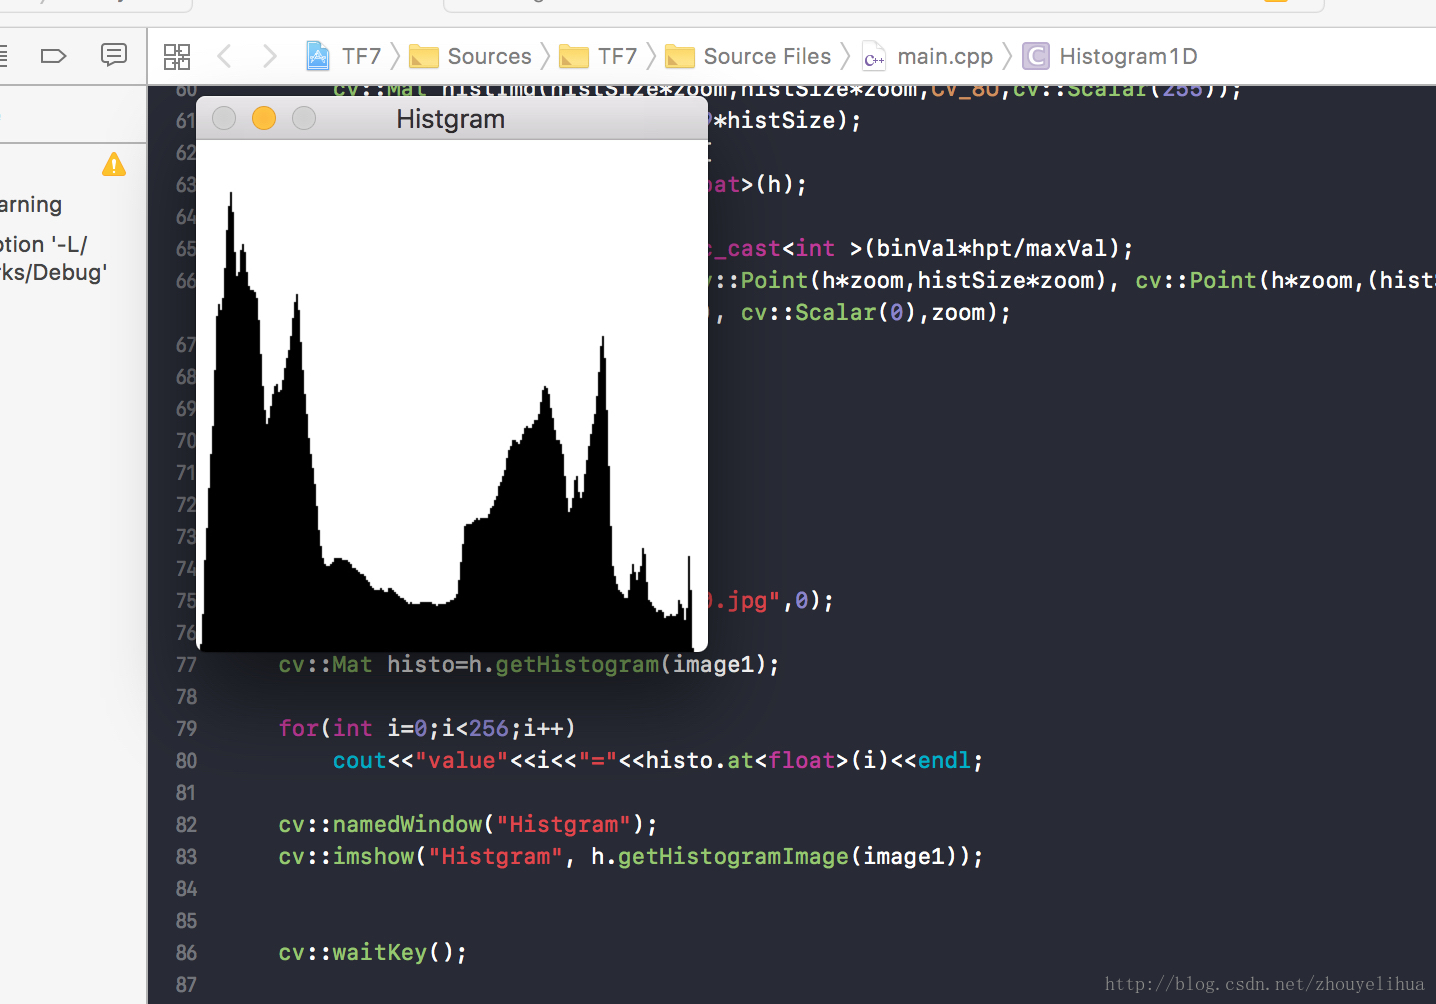
黑白图片的直方图计算
#include <iostream>
#include <opencv2/core/core.hpp>
#include <opencv2/highgui/highgui.hpp>
#include <opencv2/opencv.hpp>
using namespace std;
class Histogram1D{
private:
int histSize[1];
float hranges[2];
const float*ranges[1];
int channels[1];
public:
Histogram1D(){
histSize[0]=256;
hranges[0]=0.0;
hranges[1]=256;
ranges[0]=hranges;
channels[0]=0;
}
cv::Mat getHistogram(const cv::Mat& image){
cv::Mat hist;
cv::calcHist(&image, 1, channels, cv::Mat(), hist, 1, histSize, ranges);
return hist;
}
cv::Mat getHistogramImage(const cv::Mat &image,int zoom=1){
cv::Mat hist=getHistogram(image);
return getImageOfHistogram(hist,zoom);
}
static cv::Mat getImageOfHistogram(const cv::Mat &hist,int zoom){
double maxVal=0;
double minVal=0;
cv::minMaxLoc(hist, &minVal, &maxVal,0,0);
int histSize=hist.rows;
cv::Mat histImg(histSize*zoom,histSize*zoom,CV_8U,cv::Scalar(255));
int hpt=static_cast<int>(0.9*histSize);
for(int h=0;h<histSize;h++){
float binVal=hist.at<float>(h);
if(binVal >0){
int intensity=static_cast<int >(binVal*hpt/maxVal);
cv::line(histImg, cv::Point(h*zoom,histSize*zoom), cv::Point(h*zoom,(histSize-intensity)*zoom), cv::Scalar(0),zoom);
}
}
return histImg;
}
};
int main(){
cv::Mat image1=cv::imread("Mesh0.jpg",0);
Histogram1D h;
cv::Mat histo=h.getHistogram(image1);
for(int i=0;i<256;i++)
cout<<"value"<<i<<"="<<histo.at<float>(i)<<endl;
cv::namedWindow("Histgram");
cv::imshow("Histgram", h.getHistogramImage(image1));
cv::waitKey();
return 0;
}


 536
536

 被折叠的 条评论
为什么被折叠?
被折叠的 条评论
为什么被折叠?
 到【灌水乐园】发言


