


2.为什么要用ConstraintLayout
3.ConstraintLayout的简单使用
1.ConstraintLayout是什么
ConstraintLayout 是Google在2016年推出的一种布局,是一个ViewGroup它的出现主要是为了解决布局嵌套过多的问题,以灵活的方式定位和调整小部件。
2.为什么要用ConstraintLayout
可以有效地解决布局嵌套过多的问题(设备绘制视图所需的时间和计算功耗)
性能比较结果表明: ConstraintLayout在测量/布局阶段的性能比相对布局大约高40%
3.ConstraintLayout的简单使用
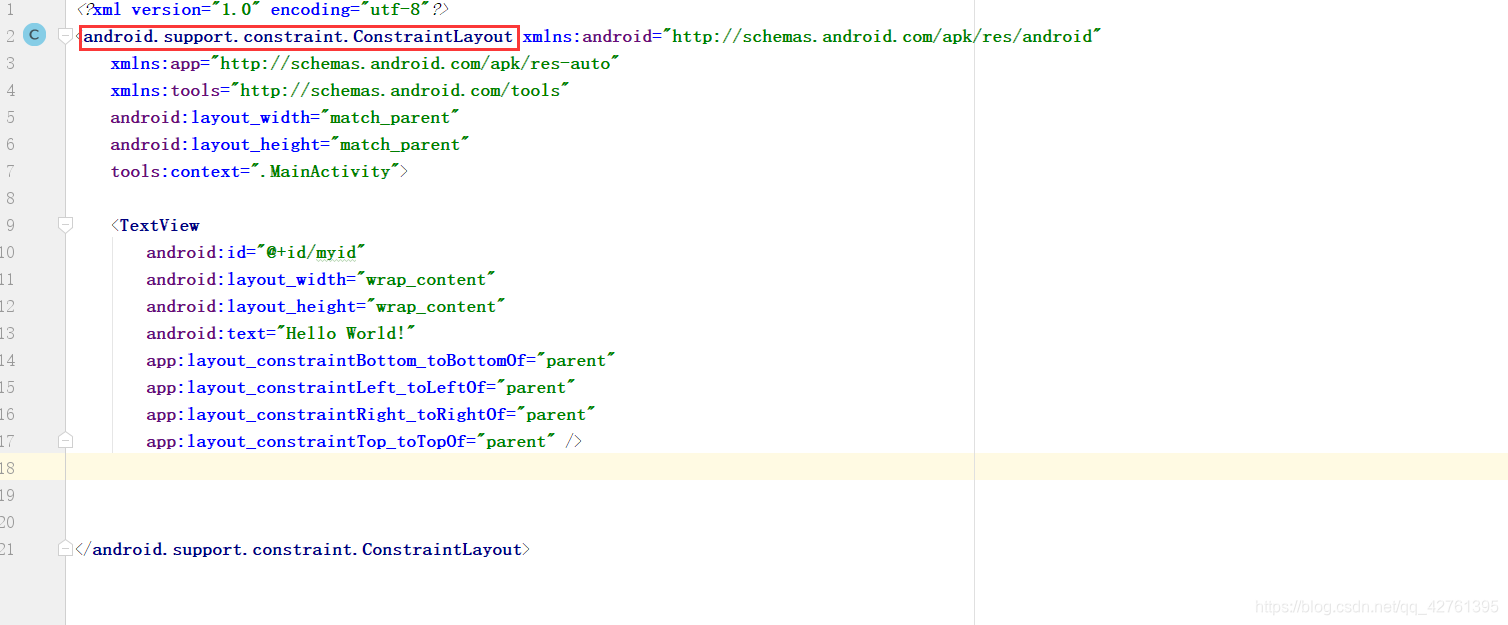
以前在新建一个项目后,发现已经默认是ConstraintLayout布局了,如下:
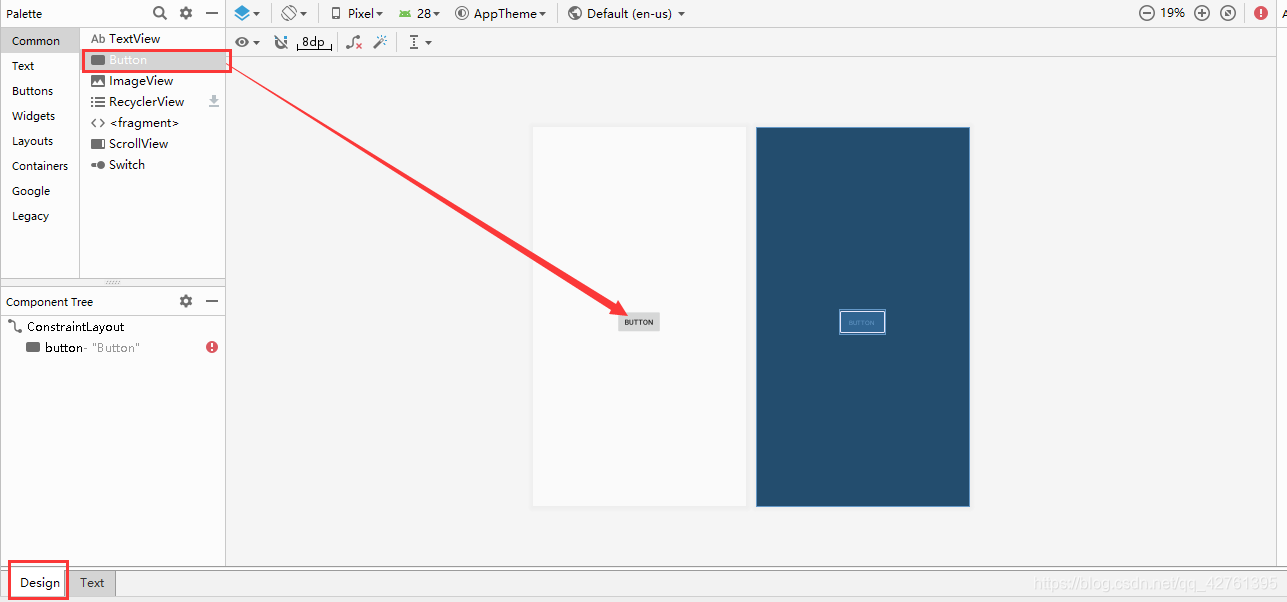
ConstraintLayout的基本用法也很简单,比如我们想要向布局中添加一个按钮,那么只需要从左侧的Palette区域拖一个Button进去就可以了,如下图所示。
然后会发现xml代码中Button标签爆红
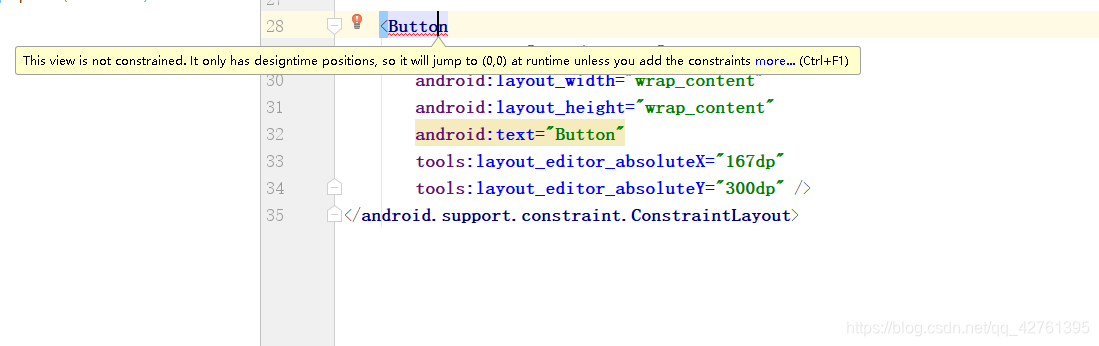
这句话的意思是:此视图不受约束。它只有设计时的位置,所以它将在运行时跳到(0.0),除非你添加更多的约束Ctrl+F1)。
那么接下来就是添加约束了:(设置参照物)
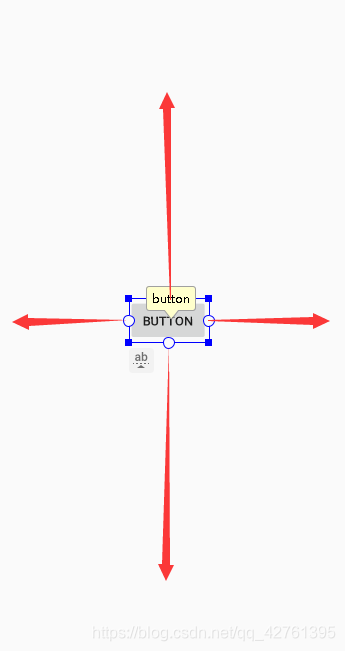
(通过四个点来确定其布局)首先来个最简单的,上下左右都拉一次。
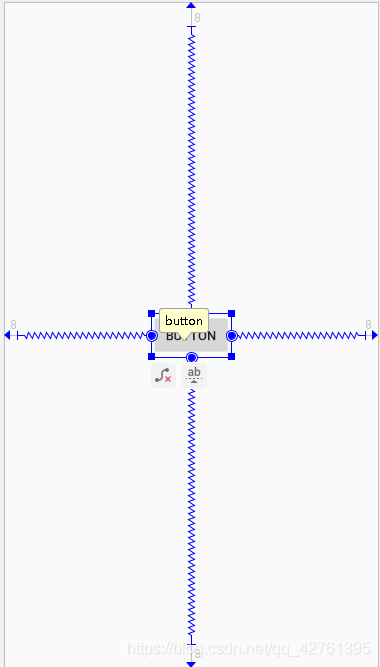
然后就不爆红了,这就是最基础的使用了(这时通过鼠标可以直接移动控件的位置),下面通过一个小Demo,来拓展一下
layout_constraintStart_toEndOf :同left_toRightOf
layout_constraintStart_toStartOf :同left_toLeftOf
layout_constraintEnd_toStartOf :同right_toLeftOf
layout_constraintEnd_toEndOf :同right_toRightOf
layout_constraintLeft_toLeftOf :当前View的左侧和另一个View的左侧位置对齐
layout_constraintLeft_toRightOf :当前view的左侧会在另一个View的右侧位置
layout_constraintRight_toLeftOf :当前view的右侧会在另一个View的左侧位置
layout_constraintRight_toRightOf :当前View的右侧和另一个View的右侧位置对齐
layout_constraintTop_toTopOf :头部对齐
layout_constraintTop_toBottomOf :当前View在另一个View的下侧
layout_constraintBottom_toTopOf :当前View在另一个View的上方
layout_constraintBottom_toBottomOf :底部对齐
layout_constraintBaseline_toBaselineOf :文字底部对齐
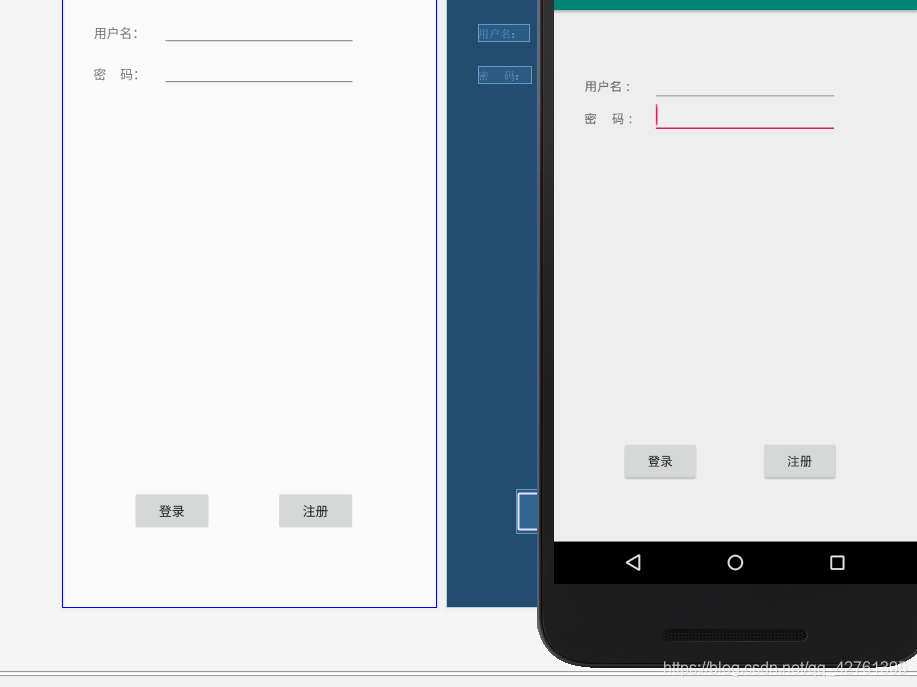
Demo代码如下:
<?xml version="1.0" encoding="utf-8"?><android.support.constraint.ConstraintLayout xmlns:android=“http://schemas.android.com/apk/res/android”
xmlns:app=“http://schemas.android.com/apk/res-auto”
xmlns:tools=“http://schemas.android.com/tools”
android:layout_width=“match_parent”
android:layout_height=“match_parent”
tools:context=“.MainActivity”>
<EditText
android:id=“@+id/main_et_user”
android:layout_width=“wrap_content”
android:layout_height=“wrap_content”
android:layout_marginStart=“32dp”
android:layout_marginLeft=“32dp”
android:layout_marginTop=“8dp”
android:layout_marginEnd=“8dp”
android:layout_marginRight=“8dp”
android:layout_marginBottom=“8dp”
android:ems=“10”
android:inputType=“textMultiLine”
app:layout_constraintBottom_toBottomOf=“parent”
app:layout_constraintEnd_toEndOf=“parent”
app:layout_constraintHorizontal_bias=“0.493”
app:layout_constraintStart_toStartOf=“parent”
app:layout_constraintTop_toTopOf=“parent”
app:layout_constraintVertical_bias=“0.164” />
<TextView
android:layout_width=“wrap_content”
android:layout_height=“wrap_content”
android:layout_marginStart=“8dp”
android:layout_marginLeft=“8dp”
android:layout_marginTop=“8dp”
android:layout_marginEnd=“8dp”
android:layout_marginRight=“8dp”
android:layout_marginBottom=“8dp”
android:text=“密 码:”
app:layout_constraintBottom_toBottomOf=“parent”
app:layout_constraintEnd_toEndOf=“parent”
app:layout_constraintHorizontal_bias=“0.079”
app:layout_constraintStart_toStartOf=“parent”
app:layout_constraintTop_toTopOf=“parent”
app:layout_constraintVertical_bias=“0.185” />
<Button
android:layout_width=“wrap_content”
android:layout_height=“wrap_content”
android:layout_marginStart=“8dp”
android:layout_marginLeft=“8dp”
android:layout_marginTop=“8dp”
android:layout_marginEnd=“8dp”
android:layout_marginRight=“8dp”
android:layout_marginBottom=“8dp”
android:text=“登录”
app:layout_constraintBottom_toBottomOf=“parent”
app:layout_constraintEnd_toEndOf=“parent”
app:layout_constraintHorizontal_bias=“0.224”
app:layout_constraintStart_toStartOf=“parent”
app:layout_constraintTop_toTopOf=“parent”
app:layout_constraintVertical_bias=“0.89” />
<Button
android:layout_width=“wrap_content”
android:layout_height=“wrap_content”
android:layout_marginStart=“8dp”
android:layout_marginLeft=“8dp”
android:layout_marginTop=“8dp”
android:layout_marginEnd=“8dp”
android:layout_marginRight=“8dp”
android:layout_marginBottom=“8dp”
android:text=“注册”
app:layout_constraintBottom_toBottomOf=“parent”
先自我介绍一下,小编13年上海交大毕业,曾经在小公司待过,也去过华为、OPPO等大厂,18年进入阿里一直到现在。
深知大多数初中级Android工程师,想要提升技能,往往是自己摸索成长或者是报班学习,但对于培训机构动则近万的学费,着实压力不小。自己不成体系的自学效果低效又漫长,而且极易碰到天花板技术停滞不前!
因此收集整理了一份《Android移动开发全套学习资料》送给大家,初衷也很简单,就是希望能够帮助到想自学提升又不知道该从何学起的朋友,同时减轻大家的负担。
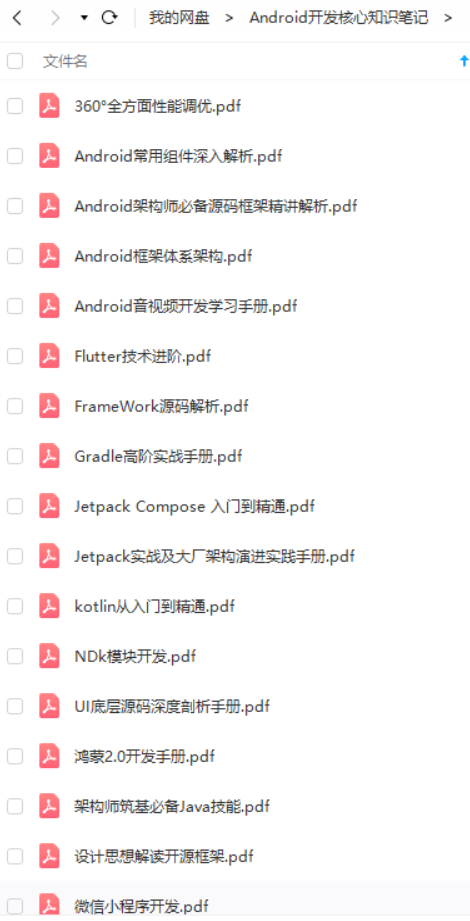
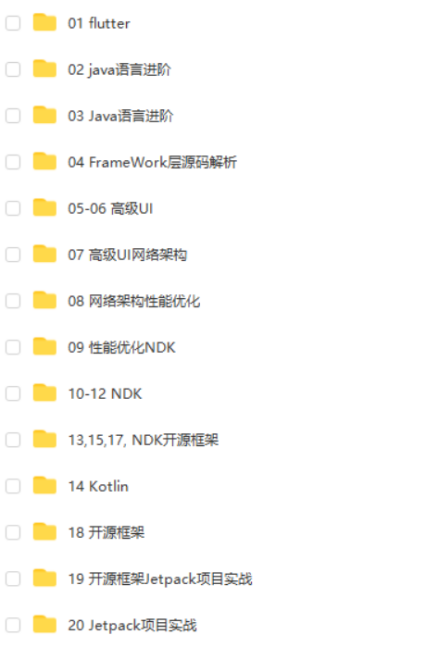
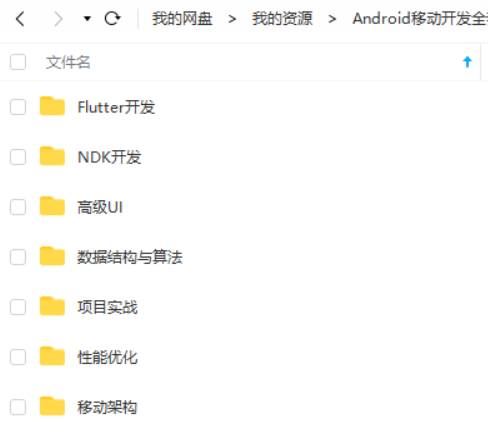
由于文件比较大,这里只是将部分目录截图出来,每个节点里面都包含大厂面经、学习笔记、源码讲义、实战项目、讲解视频
如果你觉得这些内容对你有帮助,可以扫码领取!!!!

Android高级架构师
由于篇幅问题,我呢也将自己当前所在技术领域的各项知识点、工具、框架等汇总成一份技术路线图,还有一些架构进阶视频、全套学习PDF文件、面试文档、源码笔记。
- 330页PDF Android学习核心笔记(内含上面8大板块)


-
Android学习的系统对应视频
-
Android进阶的系统对应学习资料

- Android BAT部分大厂面试题(有解析)

好了,以上便是今天的分享,希望为各位朋友后续的学习提供方便。觉得内容不错,也欢迎多多分享给身边的朋友哈。
《Android学习笔记总结+移动架构视频+大厂面试真题+项目实战源码》,点击传送门,即可免费领取!
中…(img-OPZR9noz-1711285723683)]
- Android BAT部分大厂面试题(有解析)
[外链图片转存中…(img-cJZQcu0z-1711285723683)]
好了,以上便是今天的分享,希望为各位朋友后续的学习提供方便。觉得内容不错,也欢迎多多分享给身边的朋友哈。
《Android学习笔记总结+移动架构视频+大厂面试真题+项目实战源码》,点击传送门,即可免费领取!


 1万+
1万+


 被折叠的 条评论
为什么被折叠?
被折叠的 条评论
为什么被折叠?
 到【灌水乐园】发言


