


整合Junit与整合Druid和MyBatis差异比较大,为什么呢?Junit是一个搞单元测试用的工具,它不是我们程序的主体,也不会参加最终程序的运行,从作用上来说就和之前的东西不一样,它不是做功能的,看做是一个辅助工具就可以了。
6.3.1 环境准备
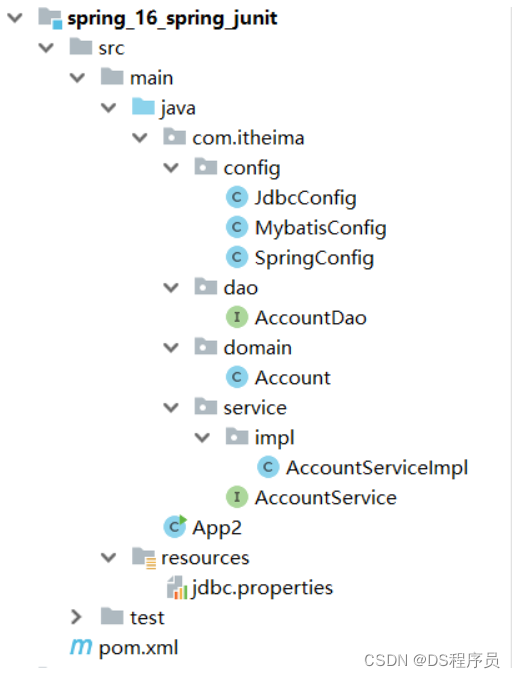
这块环境,大家可以直接使用Spring与Mybatis整合的环境即可。当然也可以重新创建一个,因为内容是一模一样,所以我们直接来看下项目结构即可:
6.3.2 整合Junit步骤
在上述环境的基础上,我们来对Junit进行整合。
步骤1:引入依赖
pom.xml
<dependency> <groupId>junit</groupId> <artifactId>junit</artifactId> <version>4.12</version> <scope>test</scope> </dependency> <dependency> <groupId>org.springframework</groupId> <artifactId>spring-test</artifactId> <version>5.2.10.RELEASE</version> </dependency>
步骤2:编写测试类
在test\java下创建一个AccountServiceTest,这个名字任意
//设置类运行器
@RunWith(SpringJUnit4ClassRunner.class)
//设置Spring环境对应的配置类
@ContextConfiguration(classes = {SpringConfiguration.class}) //加载配置类
//@ContextConfiguration(locations={"classpath:applicationContext.xml"})//加载配置文件
public class AccountServiceTest {
//支持自动装配注入bean
@Autowired
private AccountService accountService;
@Test
public void testFindById(){
System.out.println(accountService.findById(1));
}
@Test
public void testFindAll(){
System.out.println(accountService.findAll());
}
}
注意:
-
单元测试,如果测试的是注解配置类,则使用
@ContextConfiguration(classes = 配置类.class) -
单元测试,如果测试的是配置文件,则使用
@ContextConfiguration(locations={配置文件名,...}) -
Junit运行后是基于Spring环境运行的,所以Spring提供了一个专用的类运行器,这个务必要设置,这个类运行器就在Spring的测试专用包中提供的,导入的坐标就是这个东西
SpringJUnit4ClassRunner -
上面两个配置都是固定格式,当需要测试哪个bean时,使用自动装配加载对应的对象,下面的工作就和以前做Junit单元测试完全一样了
知识点1:@RunWith
| 名称 | @RunWith |
|---|---|
| 类型 | 测试类注解 |
| 位置 | 测试类定义上方 |
| 作用 | 设置JUnit运行器 |
| 属性 | value(默认):运行所使用的运行期 |
知识点2:@ContextConfiguration
| 名称 | @ContextConfiguration |
|---|---|
| 类型 | 测试类注解 |
| 位置 | 测试类定义上方 |
| 作用 | 设置JUnit加载的Spring核心配置 |
| 属性 | classes:核心配置类,可以使用数组的格式设定加载多个配置类 locations:配置文件,可以使用数组的格式设定加载多个配置文件名称 |


 1676
1676

 被折叠的 条评论
为什么被折叠?
被折叠的 条评论
为什么被折叠?
 到【灌水乐园】发言


