


准备工作
yum -y install ansible
cd /etc/ansible
vim hosts
[web]
web-2或10.0.0.51
web-3或10.0.0.56
做免密登录(ssh)
ssh-keygen
ssh-copy-id -i web-2
ssh-copy-id -i web-3
被管理端80端口没被占用,未安装nginx
案例:nginx的批量部署,项目的发布
准备目录结构
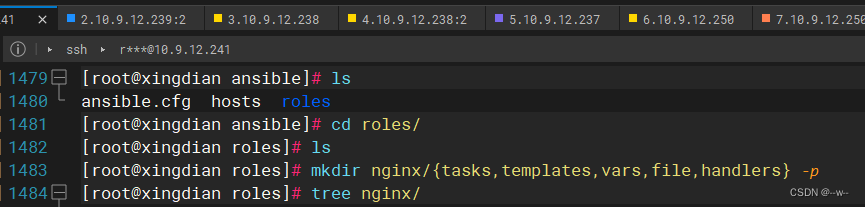
创建文件

[root@ansible roles]# touch nginx/templates/nginx.conf.j2
[root@ansible roles]# echo "hello world" > nginx/file/index.html

[root@ansible roles]# vi nginx/file/nginx.repo
[root@ansible roles]# mv nginx/file nginx/files
vim nginx/tasks/main.yaml

handlers
vim nginx/handlers/main.yaml
vim nginx/files/nginx.default.conf
server {
listen 80;
server_name localhost;
location / {
root /web;
index index.html;
}
}

下载老师的文件nginx.conf.j2
编写变量
[root@ansible-server roles]# vim nginx/vars/main.yml #添加如下内容
work_processes: 2
vim nginx/tasks/main.yaml
添加拷贝配置文件

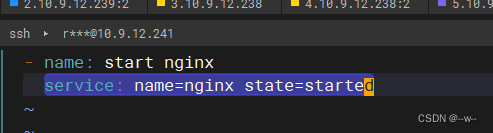
注意删掉:
- name: start nginx
vim site.yaml
j2模板:

。。
vim file/tasks/main,yaml
..
vim site.yaml
..
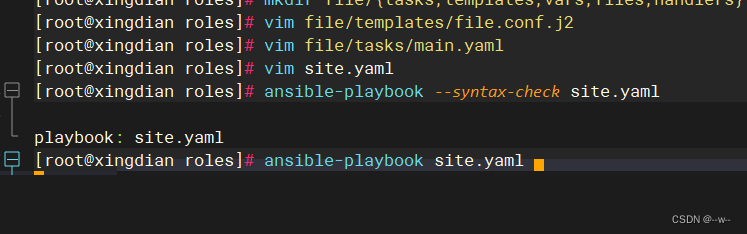
验证
被管理的主机:cat /opt/file.conf.j2

案例三keepalived :
yum -y install keepalived


 1450
1450


 被折叠的 条评论
为什么被折叠?
被折叠的 条评论
为什么被折叠?
 到【灌水乐园】发言


