


文章目录
前言
为了方便命令的输入,建议使用PuTTY进行远程连接。
如果不使用PuTTY请忽视后续使用的环节
一、Centos的配置
(一)查看ip地址
使用ip命令查看:
ip addr show
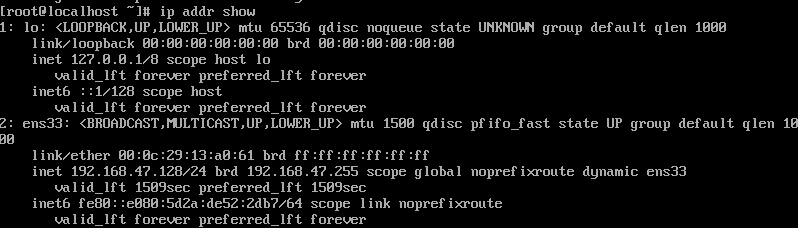
这里我使用的系统ip为192.168.47.128,各位需根据自己的电脑进行调整。
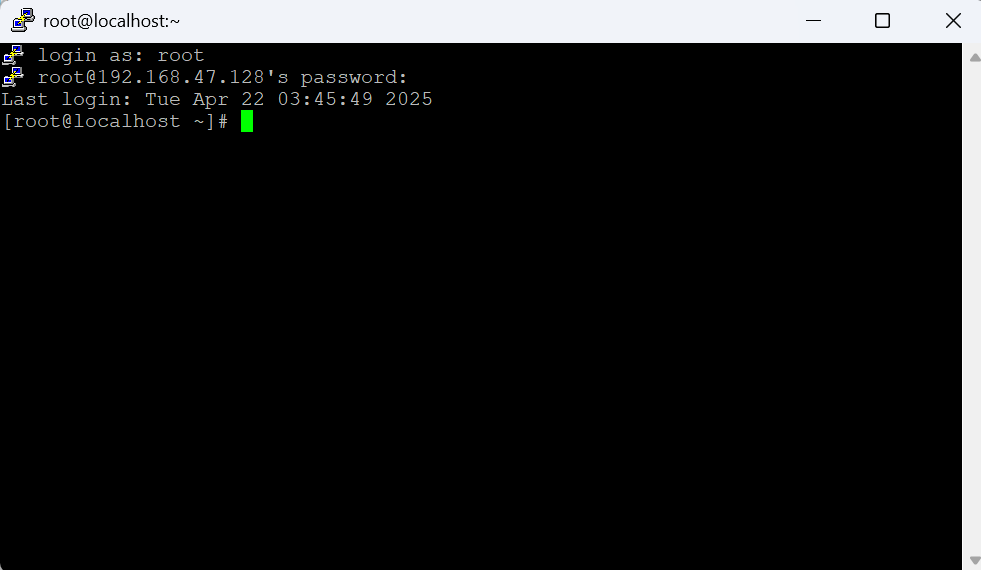
(二)使用PuTTY连接系统
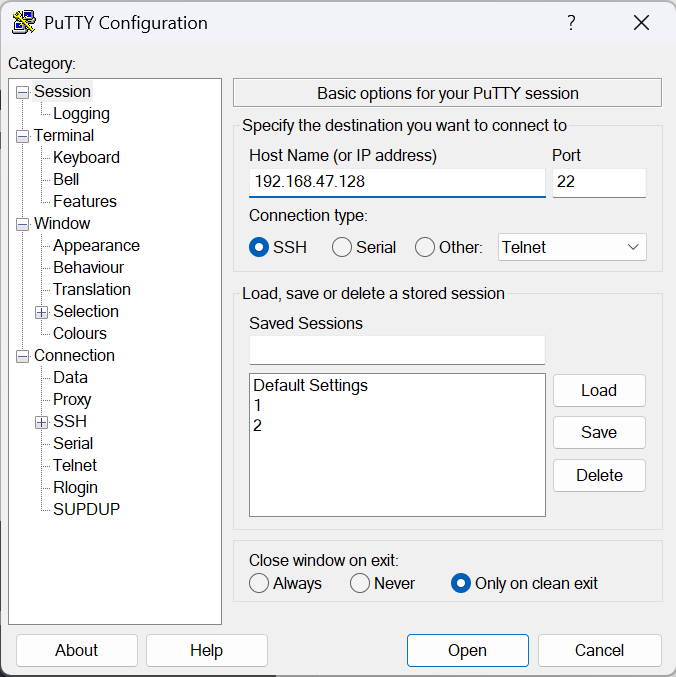
连接后输入用户名密码连接
(三)配置本地源
1、删除默认的Yum源
rm -rf /etc/yum.repos.d/*
2、挂载镜像
mkdir /opt/centos
mount /dev/cdrom /opt/centos/
如果挂载失败需要检查下图第二个图标是否点亮。

3、创建本地Yum源配置文件
vi /etc/yum.repos.d/local.repo
在文件中添加以下内容:
[centos]
name=centos
baseurl=file:///opt/centos
gpgcheck=0
enabled=1
4、清除并生成缓存
yum makecache
(四)关闭防火墙
1、查看当前防火墙状态
firewall-cmd --state
如果显示not running可以直接跳过这一步。
2、关闭防火墙
systemctl stop firewalld
再次查看防火墙状态应当如图所示

(五)安装所需软件
1、安装unzip
yum -y install unzip
2、安装httpd
yum -y install httpd
3、安装git
yum -y install git-core
4、安装node.js
配置安装源
curl -fsSL https://rpm.nodesource.com/setup_16.x | sudo bash -
配置完成后安装node.js
yum -y install nodejs
验证安装
node -v  # 应显示 v16.x.x
npm -v	# 应显示 npm 版本
5、安装hexo
npm -g install hexo-cli
二、配置hexo
(一)切换用户
我这里使用的是tom,各位做时需根据自己的实际进行调整
su tom
(二)切换目录
cd ~
(三)创建站点文件
mkdir os
cd os
(四)初始化hexo
hexo init blog
cd blog
hexo generate
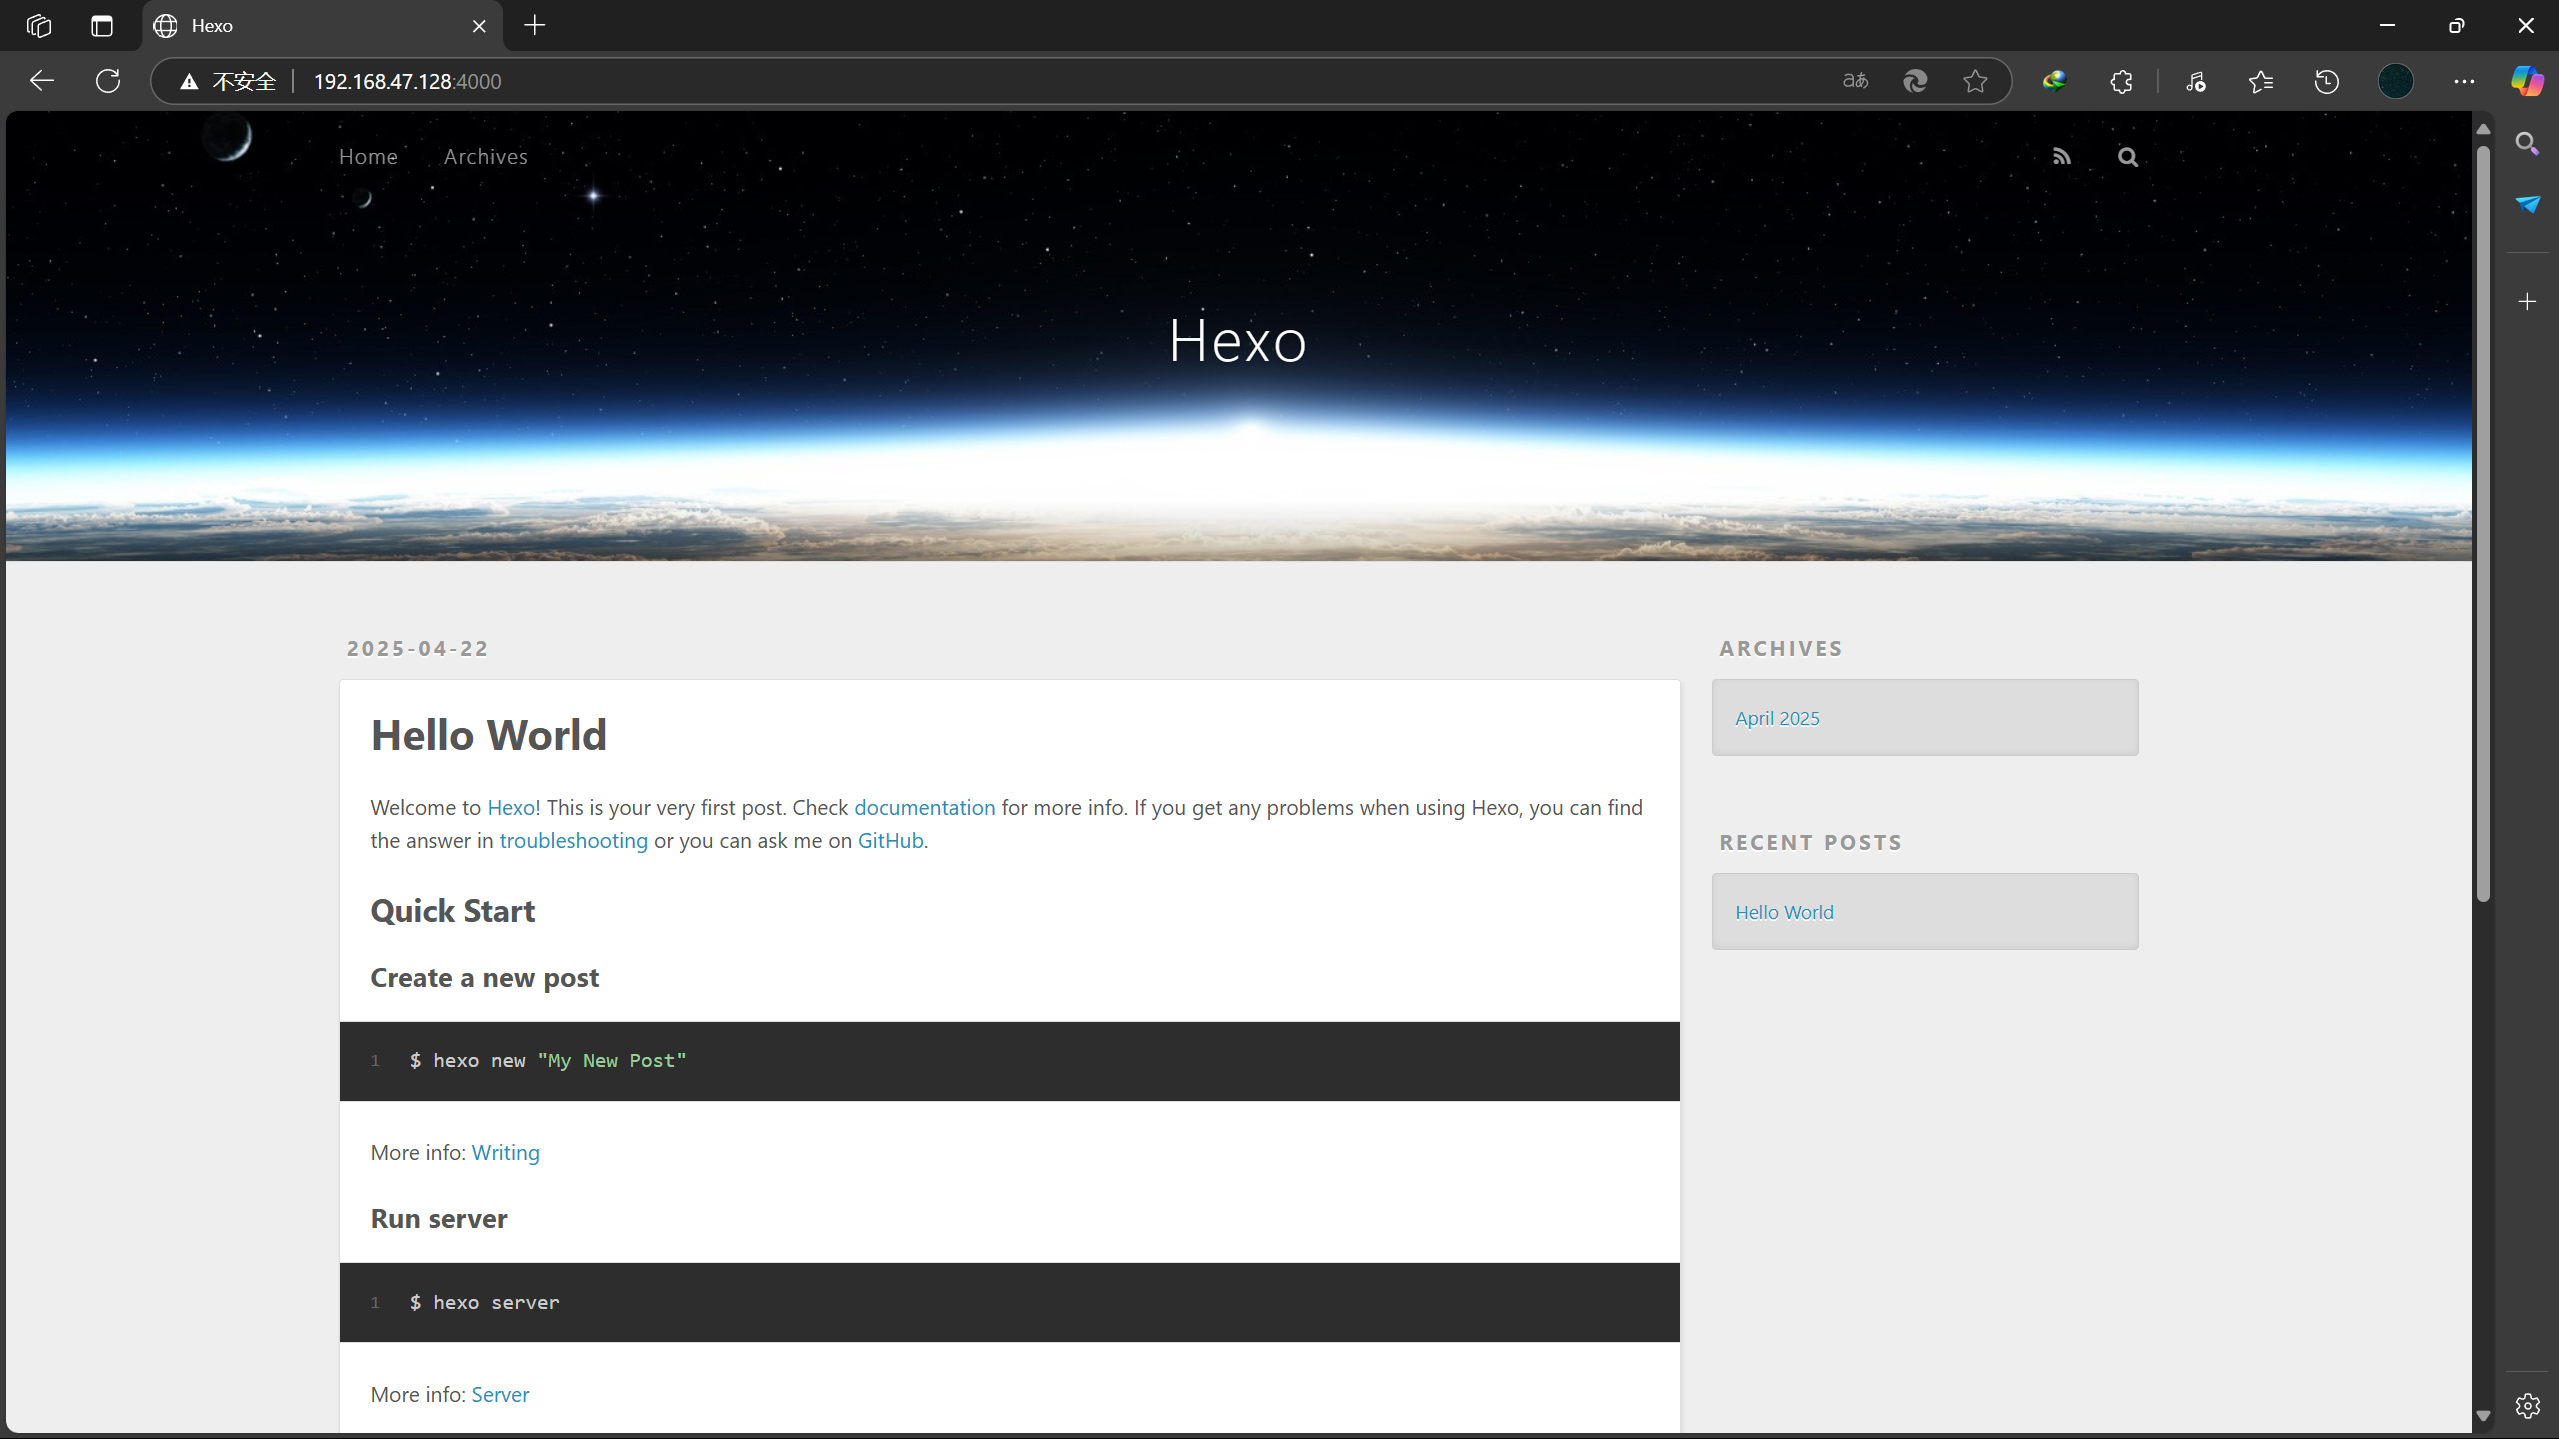
(五)开启本地服务
hexo s
开启成功后:

三、配置局域网网站
(一)传输本地文件到系统html文件夹
scp win12-main.zip root@192.168.47.128:/var/www/html
(二)解压zip文件
cd /var/www/html
unzip win12-main.zip
(三)开启httpd服务
systemctl start httpd
(四)修改httpd的配置文件
vi /etc/httpd/conf/httpd.conf
改的第一行
#
# DocumentRoot: The directory out of which you will serve your
# documents. By default, all requests are taken from this directory, but
# symbolic links and aliases may be used to point to other locations.
#
DocumentRoot "/var/www/html/win12-main" # 修改这一行为文件目录

#
# Relax access to content within /var/www.
改的第二行
# Further relax access to the default document root:
<Directory "/var/www/html">
改的第三行
<IfModule dir_module>
    DirectoryIndex desktop.html  #修改成所需要的目录网页
</IfModule>
之后重启httpd服务即可
systemctl start httpd


 1751
1751

 被折叠的 条评论
为什么被折叠?
被折叠的 条评论
为什么被折叠?
 到【灌水乐园】发言


