


创建一个桌面宠物:Python + Tkinter 实现
实现一个可以在屏幕上自由移动、随机切换动画,并且可以与用户交互的小宠物。
图片支持自定义,最好是用带透明的gif格式图片。
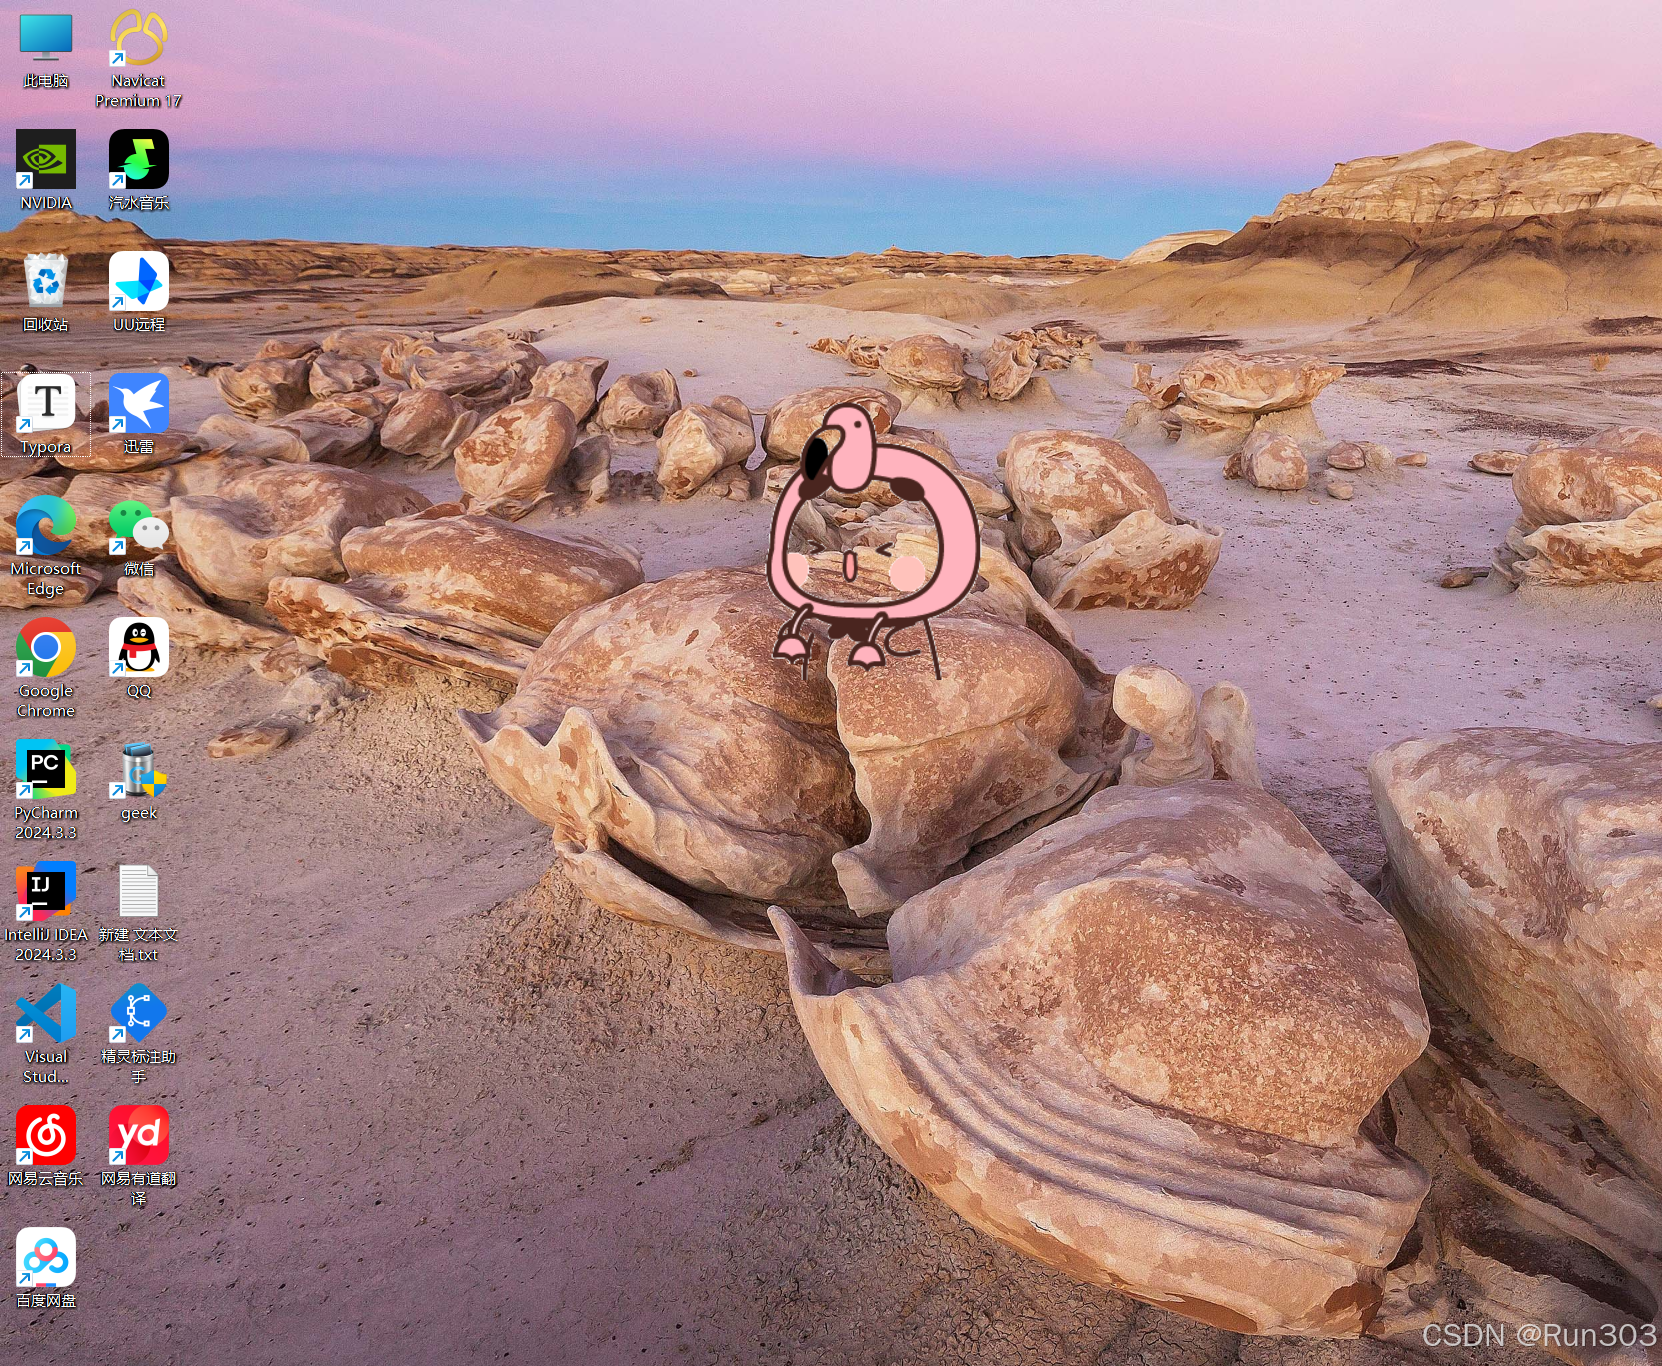
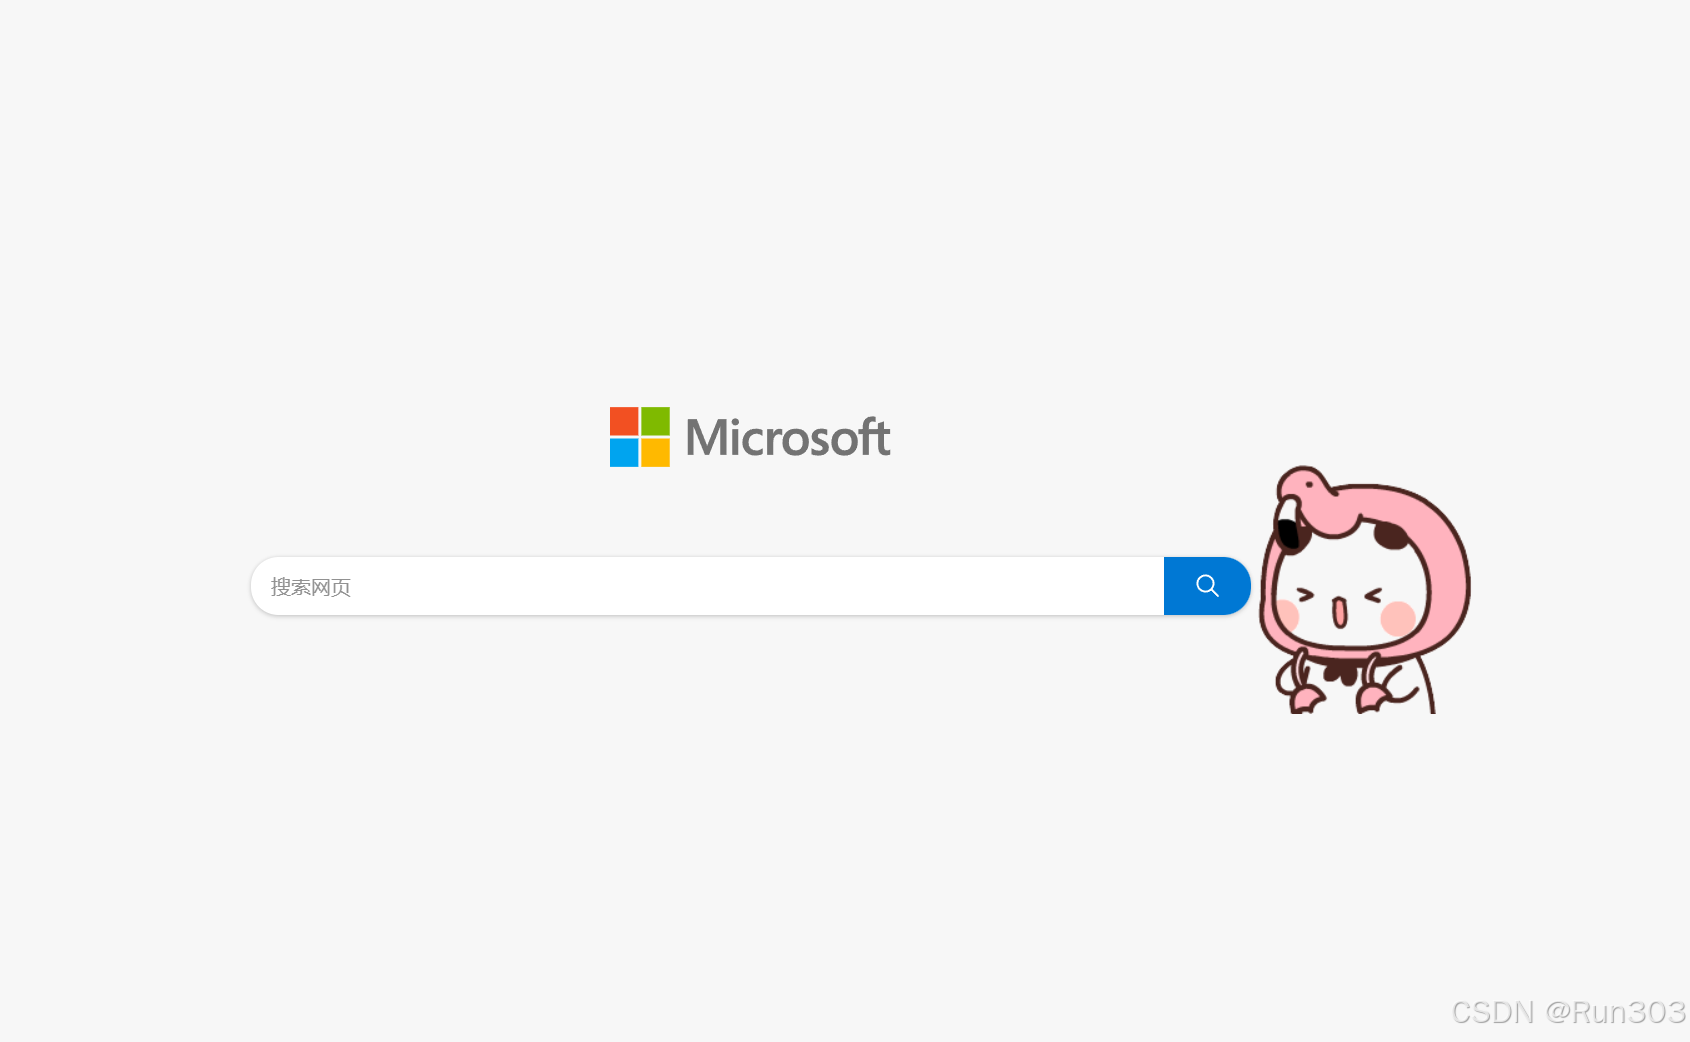
完成后的样子
1. 项目概述
我们的桌面宠物将具备以下功能:
- 随机选择动画并循环播放。
- 在屏幕上自动移动,碰到屏幕边缘会反弹。
- 用户可以通过鼠标拖动宠物,并且点击宠物会触发交互文本。
- 支持打包为可执行文件,方便分享和使用。
2. 所需工具和库
在开始之前,请确保你已经安装了以下工具和库:
- Python:确保你安装了 Python 3.x。
- Tkinter:Python 的标准 GUI 库,用于创建图形界面。
- Pillow (PIL):用于处理图像和 GIF 动画。
- PyInstaller(可选):用于将脚本打包为可执行文件。
你可以通过以下命令安装 Pillow:
pip install pillow
3. 代码实现
以下是实现桌面宠物的完整代码:
import tkinter as tk
from PIL import Image, ImageTk, ImageSequence
import random
import time
import os
import sys

def get_resource_path(relative_path):
    """获取打包后的文件路径"""
    if hasattr(sys, '_MEIPASS'):
        return os.path.join(sys._MEIPASS, relative_path)
    return os.path.join(os.path.abspath("."), relative_path)

class DesktopPet:
    def __init__(self, root):
        self.root = root
        self.root.attributes("-transparentcolor", "white")
        self.root.overrideredirect(True)
        self.root.attributes("-topmost", True)
        path = [get_resource_path("gif/cat2.gif"), get_resource_path("gif/Pet1.gif"), get_resource_path("gif/pet2.gif")]
        # 打开 GIF 文件
        gif = Image.open(path[random.randint(0, 2)])

        # 获取 GIF 的所有帧
        frames = [frame.copy() for frame in ImageSequence.Iterator(gif)]

        # 加载宠物图片
        self.images = frames
        self.current_image_index = 0
        self.pet_img = ImageTk.PhotoImage(self.images[self.current_image_index])

        # 创建画布
        self.canvas = tk.Canvas(root, width=self.images[0].width, height=self.images[0].height, bg='white', highlightthickness=0)
        self.canvas.pack()

        # 在画布上显示宠物
        self.pet = self.canvas.create_image(0, 0, anchor=tk.NW, image=self.pet_img)

        # 创建一个文本标签,初始隐藏
        self.text_label = self.canvas.create_text(50, 100, text="", fill="pink", font=("Arial", 12))

        # 绑定鼠标事件
        self.root.bind("<B1-Motion>", self.move_pet)
        self.root.bind("<ButtonRelease-1>", self.on_click)

        # 宠物的初始位置
        self.x = self.root.winfo_screenwidth() // 2
        self.y = self.root.winfo_screenheight() // 2

        # 宠物的移动方向
        self.dx = 1
        self.dy = 1

        # 宠物的状态
        self.is_idle = True

        # 开始宠物的自动移动
        self.move_automatically()

        # 开始图片的自动切换
        self.change_image()

    def change_image(self):
        # 切换到下一张图片
        self.current_image_index = (self.current_image_index + 1) % len(self.images)
        self.pet_img = ImageTk.PhotoImage(self.images[self.current_image_index])
        self.canvas.itemconfig(self.pet, image=self.pet_img)

        # 每隔一段时间切换图片
        self.root.after(80, self.change_image)  # 每1000毫秒切换一次图片

    def move_pet(self, event):
        # 鼠标拖动宠物
        self.x = event.x_root - self.images[0].width // 2
        self.y = event.y_root - self.images[0].height // 2
        self.root.geometry(f"+{self.x}+{self.y}")

    def on_click(self, event):
        if self.is_idle:
            self.is_idle = False
            self.canvas.itemconfig(self.text_label, text="你干嘛~")
        else:
            self.is_idle = True
            self.canvas.itemconfig(self.text_label, text="别戳我啦!")

        # 在这里添加点击后的动画或效果
        self.root.after(1000, self.return_to_idle)

    def return_to_idle(self):
        # 返回闲置状态
        self.is_idle = True
        self.canvas.itemconfig(self.text_label, text="")

    def move_automatically(self):
        # 自动移动宠物
        if self.is_idle:
            self.x += self.dx
            self.y += self.dy

            # 检查边界
            if self.x <= 0 or self.x >= self.root.winfo_screenwidth() - self.images[0].width:
                self.dx = -self.dx
            if self.y <= 0 or self.y >= self.root.winfo_screenheight() - self.images[0].height:
                self.dy = -self.dy

            self.root.geometry(f"+{self.x}+{self.y}")

        # 持续调用自身以实现持续移动
        self.root.after(50, self.move_automatically)

if __name__ == "__main__":
    root = tk.Tk()
    pet = DesktopPet(root)
    root.mainloop()
4. 代码解析
4.1 GIF 动画处理
我们使用 Pillow 库来处理 GIF 动画。通过 ImageSequence.Iterator 获取 GIF 的每一帧,并将其存储在一个列表中。然后,我们通过定时器不断切换帧,实现动画效果。
gif = Image.open(path[random.randint(0, 2)])
frames = [frame.copy() for frame in ImageSequence.Iterator(gif)]
4.2 自动移动
宠物的自动移动通过定时器实现。我们为宠物设置了水平和垂直方向的速度,并在每次移动时检查屏幕边界,实现反弹效果。
self.x += self.dx
self.y += self.dy
if self.x <= 0 or self.x >= self.root.winfo_screenwidth() - self.images[0].width:
    self.dx = -self.dx
if self.y <= 0 or self.y >= self.root.winfo_screenheight() - self.images[0].height:
    self.dy = -self.dy
4.3 用户交互
我们为宠物绑定了鼠标事件,用户可以通过鼠标拖动宠物,并且点击宠物会触发交互文本。
self.root.bind("<B1-Motion>", self.move_pet)
self.root.bind("<ButtonRelease-1>", self.on_click)
4.4 打包为可执行文件
如果你希望将这个项目打包为可执行文件,可以使用 PyInstaller。运行以下命令:
pyinstaller --add-data "images;images" -F -w main.py
注意:--add-data 参数用于指定额外的资源文件夹(如 GIF 图片),格式为 源路径;目标路径。
-w是用于取消出现命令框,你也可以去掉-w
5. 总结
通过这个简单的项目,我们实现了一个功能丰富的桌面宠物。你可以根据自己的喜好添加更多动画、交互效果或优化代码。希望这个项目能为你的编程学习带来乐趣,同时也能为你的桌面增添一份温馨和活力。
如果你有任何问题或建议,欢迎在评论区留言!


 5802
5802

 被折叠的 条评论
为什么被折叠?
被折叠的 条评论
为什么被折叠?
 到【灌水乐园】发言


